Contents
What Is a CV Axle?
Front-wheel-drive vehicles use CV axles exclusively, and most modern all-wheel-drive and rear-wheel-drive cars with independent rear suspension use CV axles to drive the wheels. These workhorse axles provide motion to the wheels and must actuate with the suspension and steering.
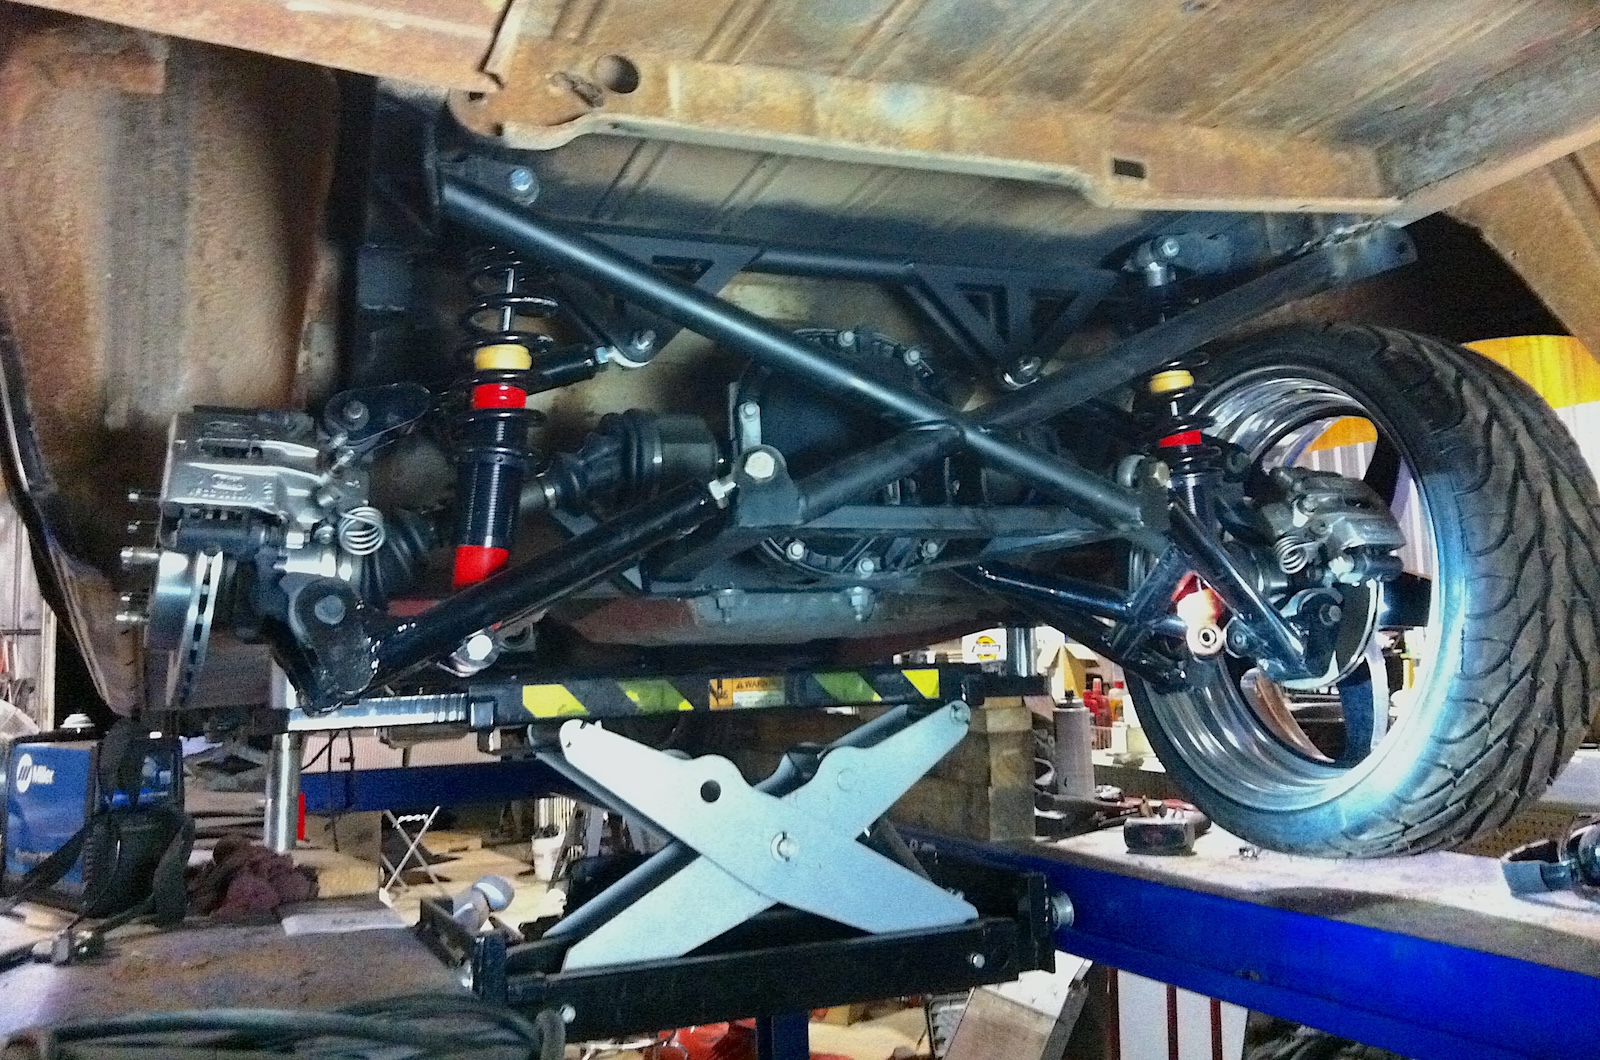
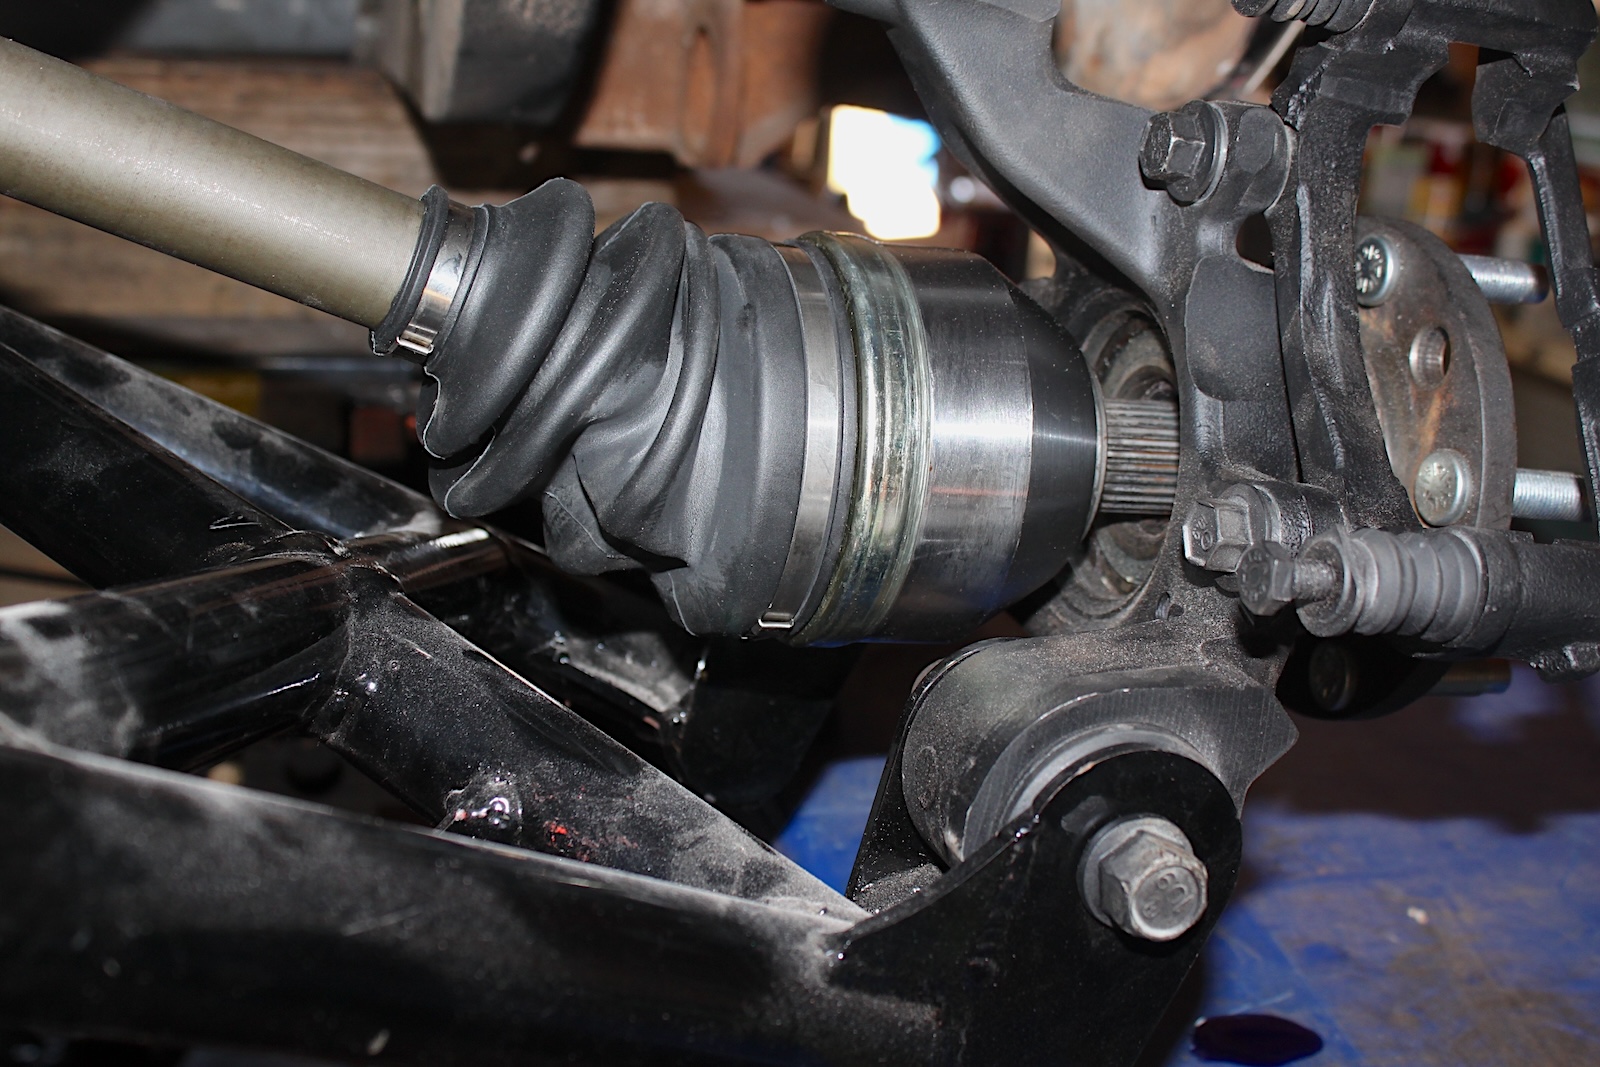
This is a custom IRS in a vintage wagon. You can see the severe angles of the axles. These have to do much more than just control the rotation.
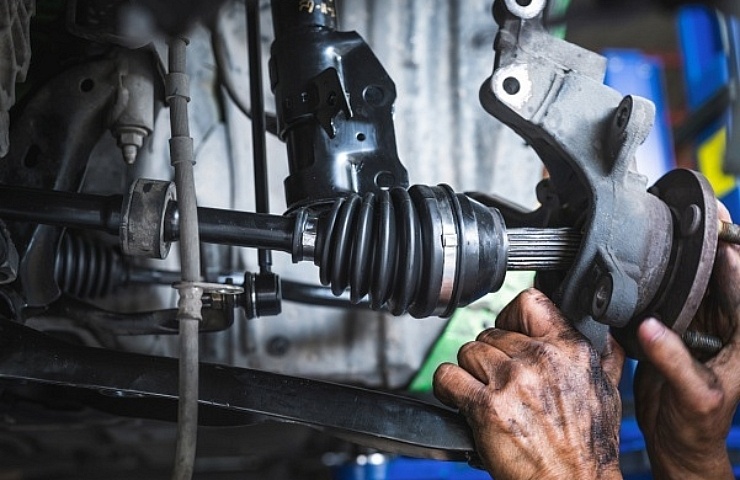
CV stands for “constant velocity.” This means that the axle rotates at the same speed end to end regardless of position in the suspension or turning. The ends are splined to allow engagement with both the transmission and wheel hub, and there’s a joint at each end.
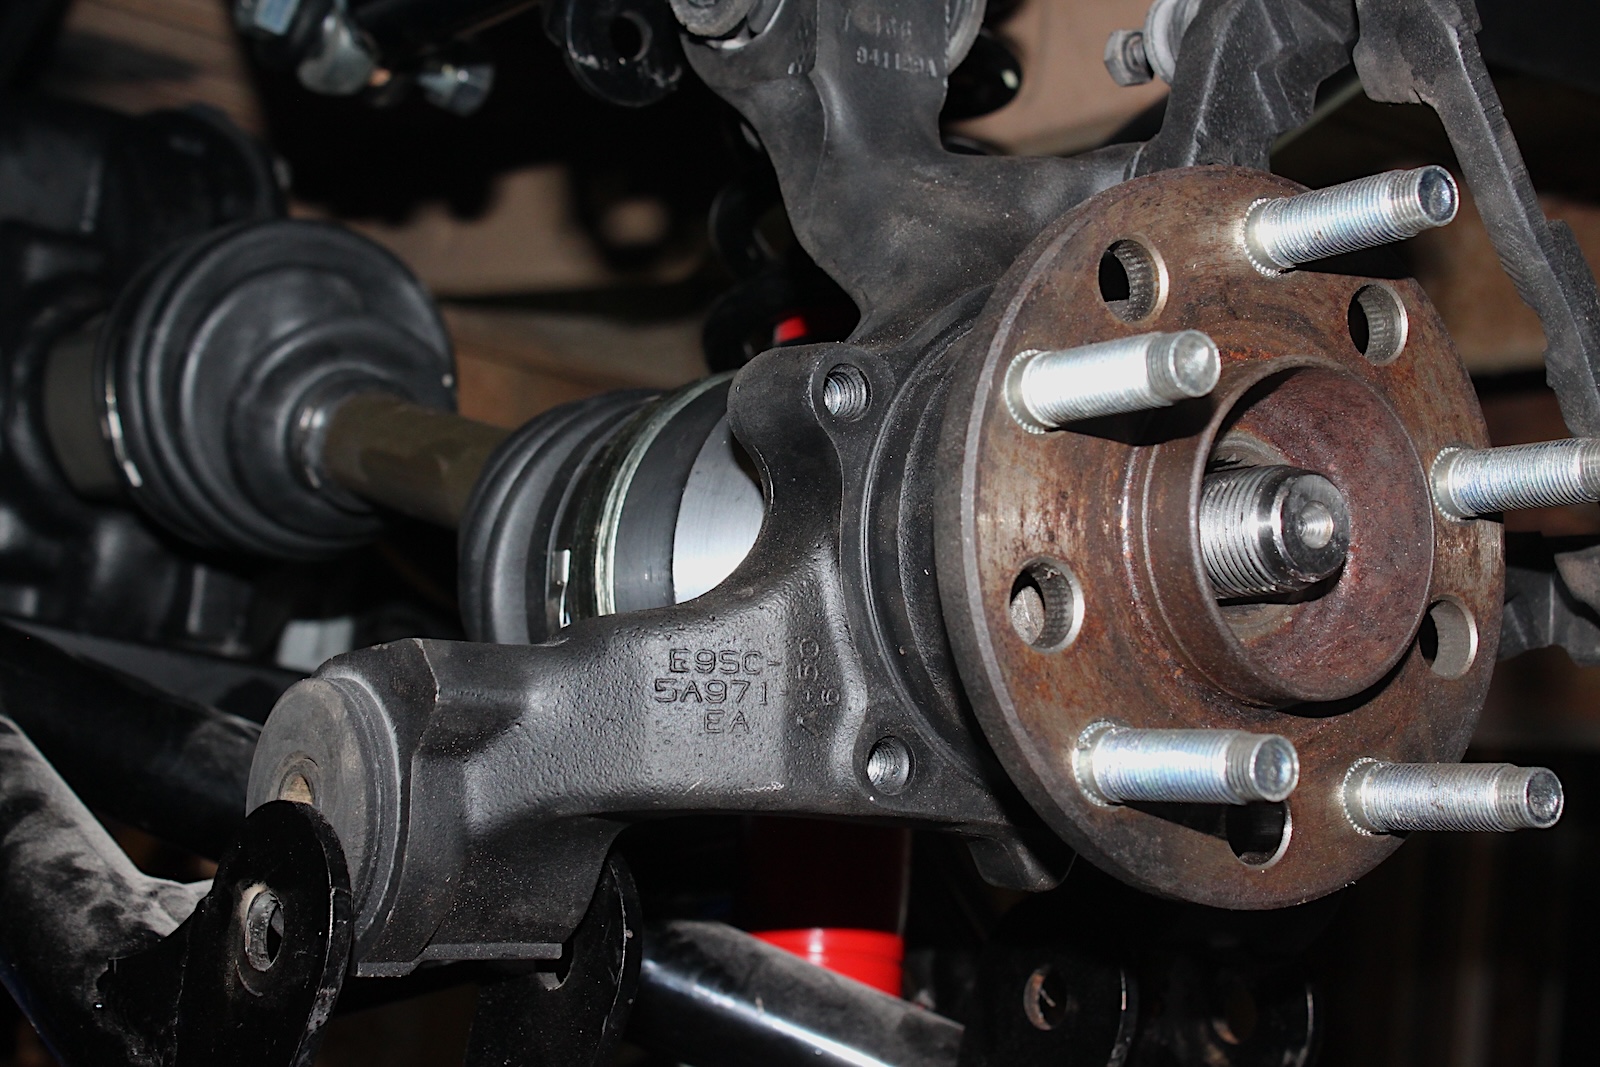
The outer connects to the wheel hub, the inner to the differential.
The inner joint allows movement in and out with suspension and steering movement, and it needs to accommodate vertical pivoting and sliding. The outer joint is fixed, with sliding bearings to allow for steering angle changes. A snap ring secures inner joints, whereas a single large nut and cotter pin retain the outer joints.
Symptoms of a Bad CV Axle
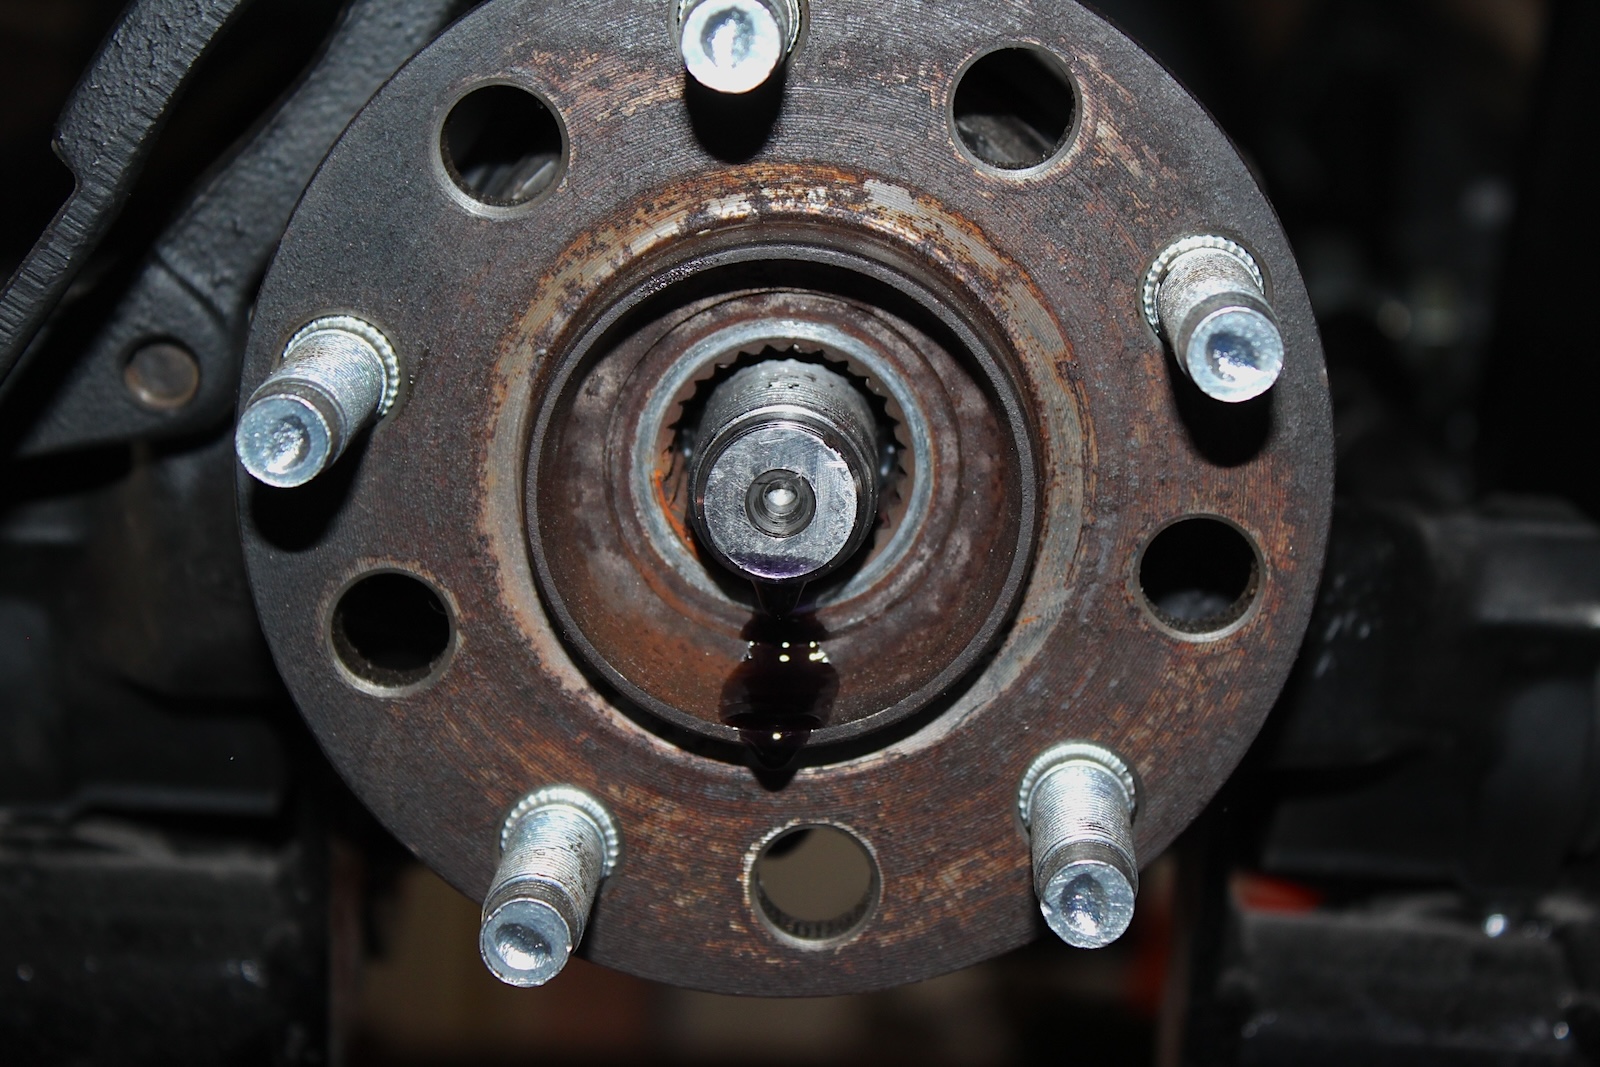
The outer hub is secured with a large nut. You can see the splines in the hub with the nut removed.
Clicking or Popping While Turning
What starts as a click progresses to popping and banging. As you turn, the axle has to articulate, but the joint has more room to move around as the metals wear out. This becomes evident when you turn when the joints are doing the most work. The joint doesn’t have much lateral pressure in a straight line, but it can walk onto itself a bit and pop when turning.
Leaky Axle
A worn axle will often cause the boot to tear and the grease to get flung out. It will be all over the suspension. Boots can be torn by other issues besides wear, but a torn CV boot is often a replacement issue. Replacement boots don’t last long, and a good replacement boot requires the removal of the shaft anyway. You might as well replace it if your vehicle has 80,000 miles or more on the same axles.
Bad Vibrations
Though less common, a severely worn axle can vibrate when driving. This is because the axle is not operating in balance as designed. The bearings are so loose that they are just flopping around. This is near the catastrophic failure point.
How to Replace a CV Axle
Replacing a CV axle is a medium-skill project for most vehicles. Some are more difficult than others, requiring disassembly of the suspension to get the axle out of the wheel hub.
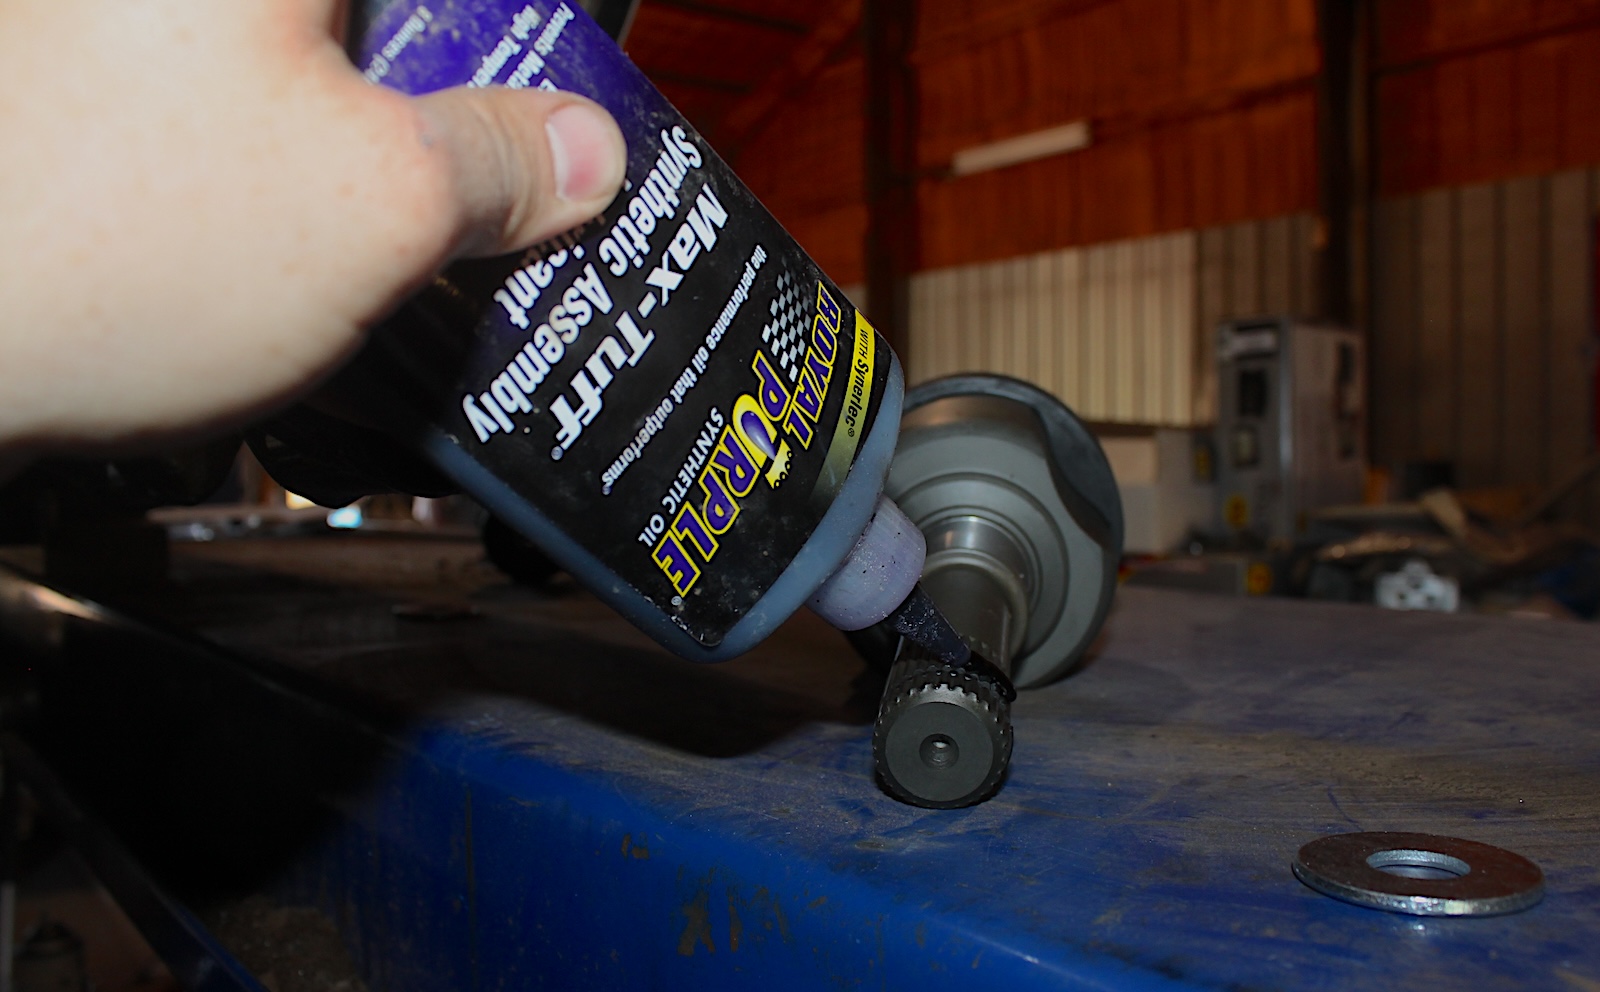
When installing a new CV axle, applying a little assembly lube or light oil to the splines is a good idea for an easier installation.
Here are the tools you need:
- Jack stands
- Tools to remove the wheels, caliper, rotor, etc.
- Axle nut socket
- Rod separator tool
- Pry bar
- Snap ring pliers
Compressing the CV axle can be really easy or quite difficult. Rear axles usually have enough play to slide in without removing other components; fronts often require more effort.
These steps outline the basic replacement process:
- Raise the vehicle and support it safely with jack stands.
- Remove the wheel from the offending side.
- Remove the dust cover (if there is one) and remove the cotter pin from the axle nut.
- Remove the axle nut. You will likely need to rent or buy an axle nut socket. They are quite large and vary in size by manufacturer.
- Remove the brake caliper and store it safely away from the suspension. DO NOT let it hang by the hose or position it where it could fall.
- Remove the brake rotor. You should have full access to the wheel hub.
- Remove the nut and cotter pin from the steering tie rod, then remove the tie rod end. You will likely need a tie rod separator tool (don’t use a pickle fork). Or you can tap the steering arm (not the tie rod end) with a hammer to release it.
- Use a pry bar to compress the CV axle and pull the outer joint out of the hub. Check your vehicle’s repair manual to confirm CV axle steps. In some vehicles, you must remove the wheel hub from the upper or lower suspension arm.
- Once the axle is out of the wheel hub, pull on the shaft to remove it from the transmission/differential. You may have to remove a snap ring with snap ring pliers or unbolt the shaft from the differential.
- Install the new CV joint in reverse of the removal. Be sure to follow the manufacturer’s specifications for bolt torque for any fasteners you remove during the process.
CV axles typically last 100,000 or more miles, but replacement should be done quickly when they go out. Failure could end in a bad wreck.
Having a shop do this for you will cost between $300 and $1,500 or more for complex vehicles. You can save a lot of cash by doing it yourself at home. Just be patient—removing the axle from the hub and transmission is usually the most challenging part.
Shop now for CV axles