Contents
Does Your Carburetor Need Cleaning?
If your car isn’t running as well as it used to, the fuel-air mixture generated by the carburetor may be the culprit. After ruling out other issues, including the ignition, it’s time to look at the carb.
If it’s been a long time since you’ve driven your carburetor-equipped car, your carburetor probably needs cleaning. When gasoline sits for a long time, it can evaporate. That causes buildup and varnish on the surfaces within the carburetor.
Worse yet, modern fuels often include a percentage of ethanol for emissions purposes. The ethanol attracts water, which can cause corrosion in the carburetor’s passages. Chances are you’ve used an ethanol-containing fuel at some point in your carburetor-equipped car, so a cleaning is in order.
How to Remove the Carburetor
To most effectively clean a carburetor, you’ll need to remove it from the engine. Gather the following tools and supplies:
- Aerosol carburetor cleaner, or a carburetor cleaner in a large container for soaking the components
- Lint-free shop towels
- Assorted screwdrivers and wrenches
- Wire brushes
- Plastic pan to catch fluids
- Work gloves
- Eye protection
- Masking tape and a marker
- Smartphone or digital camera
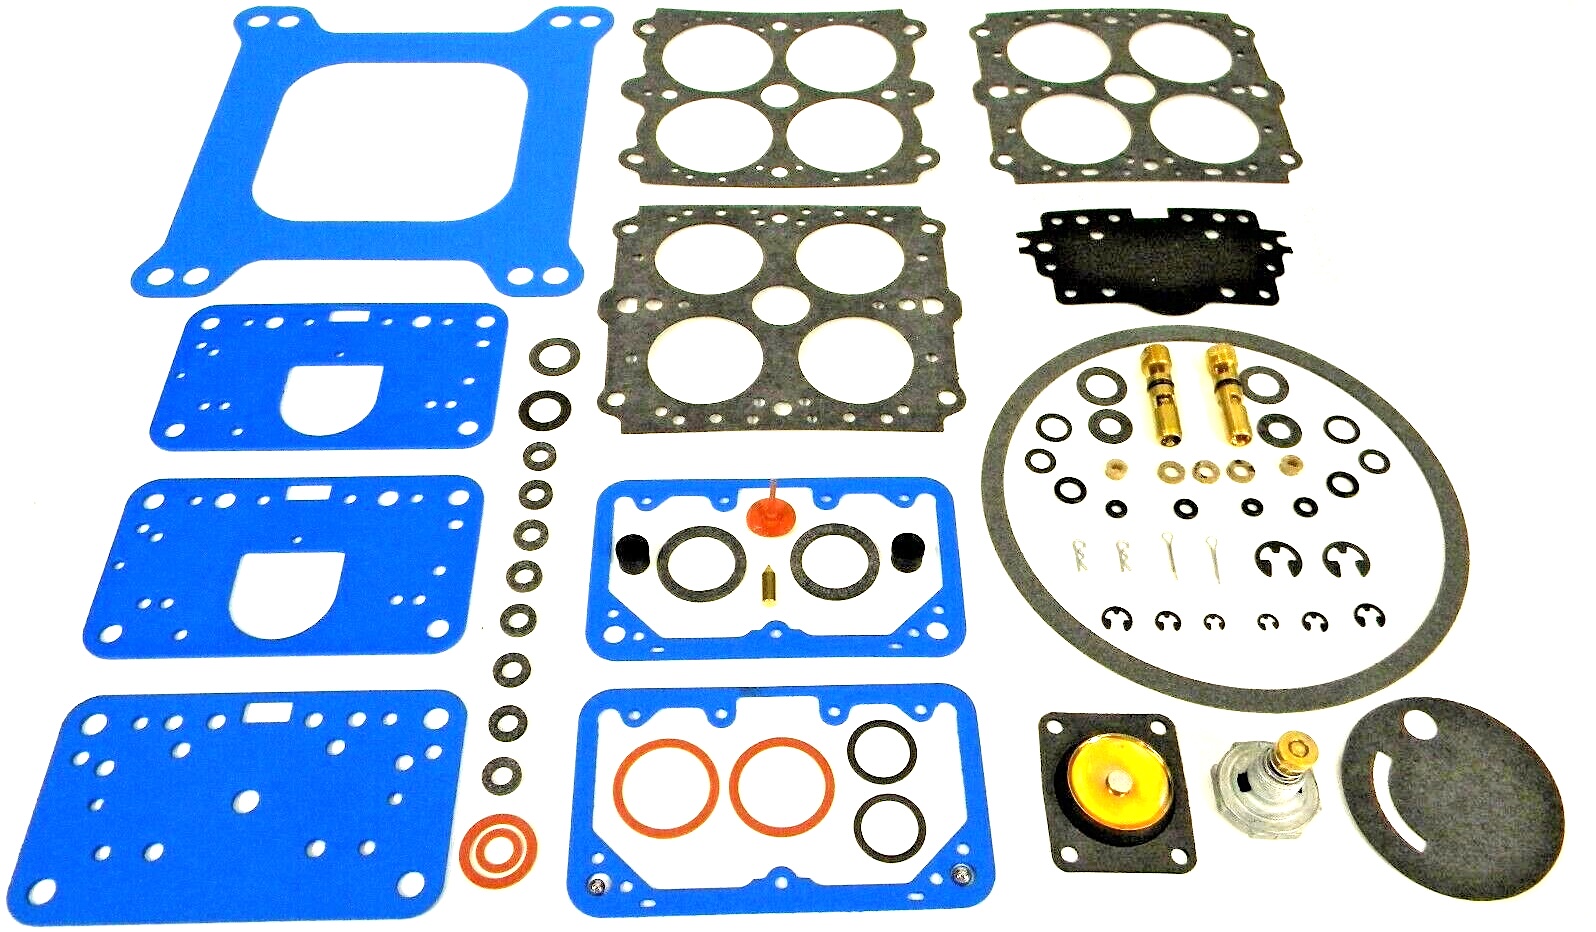
- Carburetor rebuild kit
Step-by-step instructions on removing the carburetor from an engine:
- Remove the air cleaner or filter from the carburetor. Take care not to drop any fasteners into the carburetor.
- Take a picture with your smartphone so you know where the vacuum lines are routed before you remove anything.
- Remove the vacuum lines from the carburetor, carefully marking them with masking tape and marker.
- Remove the fuel line from the carburetor.
- Remove the throttle linkage.
- With screwdrivers, wrenches, or sockets, unbolt the carburetor from the intake manifold. Take additional care not to drop any fasteners into the open intake manifold. A lost bolt or nut could enter the engine and cause catastrophic engine failure.
- Carefully stuff a shop towel into the open intake manifold to keep loose fasteners or rogue rodents from entering the engine.
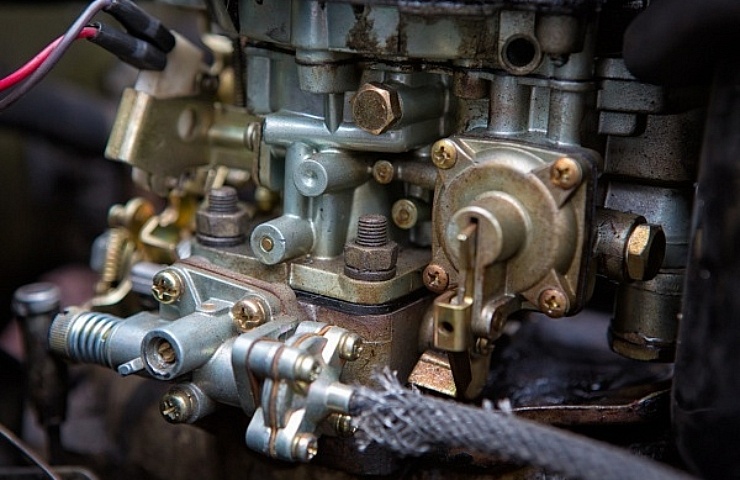
Now that you have the carburetor on the workbench, it’s time to inspect it. A shop manual for the car and for the specific carburetor will be helpful here, as there are too many variables to list. But there are a number of common parts throughout that you will need to disassemble.
Again, this is a time to break out the smartphone or other camera. You will need to remove dozens of small components, including jets, valves, metering rods, and nozzles, and possibly a number of seals or O-rings throughout the carburetor. Take your time, document every part as you remove it, and put each part in a container so you don’t lose it.
The Cleaning Steps
Once you’ve removed all of the small parts, it’s time to clean.

- Don the gloves and safety glasses, as the carburetor cleaner chemicals can be irritating to your skin and eyes.
- If you have a large container of carburetor cleaner, you can soak the entire carb body for a few hours or even overnight to help loosen baked-on deposits.
- Even after soaking, you will need an aerosol carburetor cleaner to clean out the narrow passages. Use a variety of brushes to clean gasket surfaces and the jets. Do this work over a plastic tray—a paint tray works well here—to catch the fluids as you spray and to catch any loose parts flying away under the aerosol pressure.
- Once you’ve cleaned all of the surfaces, wipe everything down with clean, lint-free shop towels and reassemble the carburetor with new seals, gaskets, and O-rings from the carburetor rebuild kit. Refer to the photos on your phone to make sure you’re putting everything back together correctly.
- Clean the gasket surface between the carburetor and intake manifold, remove the rag you stuffed into the manifold opening, and reinstall the carburetor in place.
- Carefully reattach any vacuum lines, the fuel line, and the throttle cable.
- Install the air filter, and it’s time to go for a drive.
Can You Clean a Carburetor Without Removing It?
In short, you can clean a carburetor while it’s still attached to the engine, but you might not do as thorough a job since you can’t access every component. However, if the buildup within the carburetor isn’t too bad, a quick cleaning may be effective enough to get you going.

Supplies needed:
- Gloves
- Eye protection
- Aerosol carburetor cleaner
- Lint-free shop towels
- Optional: brushes
In this case, you’ll still remove the air cleaner, taking care not to drop any fasteners.
- Wearing gloves and glasses for personal protection, liberally spray the venturis inside the carburetor with the aerosol carburetor cleaner.
- With the towel and brushes, scrub at any large deposits on the surfaces you see. Take care to not push those deposits down farther into the intake manifold.
- Wipe everything dry, and reassemble the air cleaner.
Carburetors are, on the surface, more complicated than modern fuel injection. But they’re ultimately very simple mechanical devices that can be repaired without a laptop computer. Fuel injection, on the other hand, is typically linked to a computer and can be hard to diagnose. That’s why many enthusiasts keep going back to carburetors, and why periodic cleaning is a simple way to keep your car in top shape.
Shop now for carburetor cleaners