Contents
How to Clean Headlights at Home
Turtle Wax, which offers a bestselling kit, provides a four-step solution for cleaning headlights. The kits include:
- a precision polishing pad to remove surface oxidation
- a compound to improve clarity
- two ceramic acrylic wipes to seal your work and provide protection against future damage for approximately a year
You don’t need a drill or power tool.
Shop now for Turtle Wax restoration kits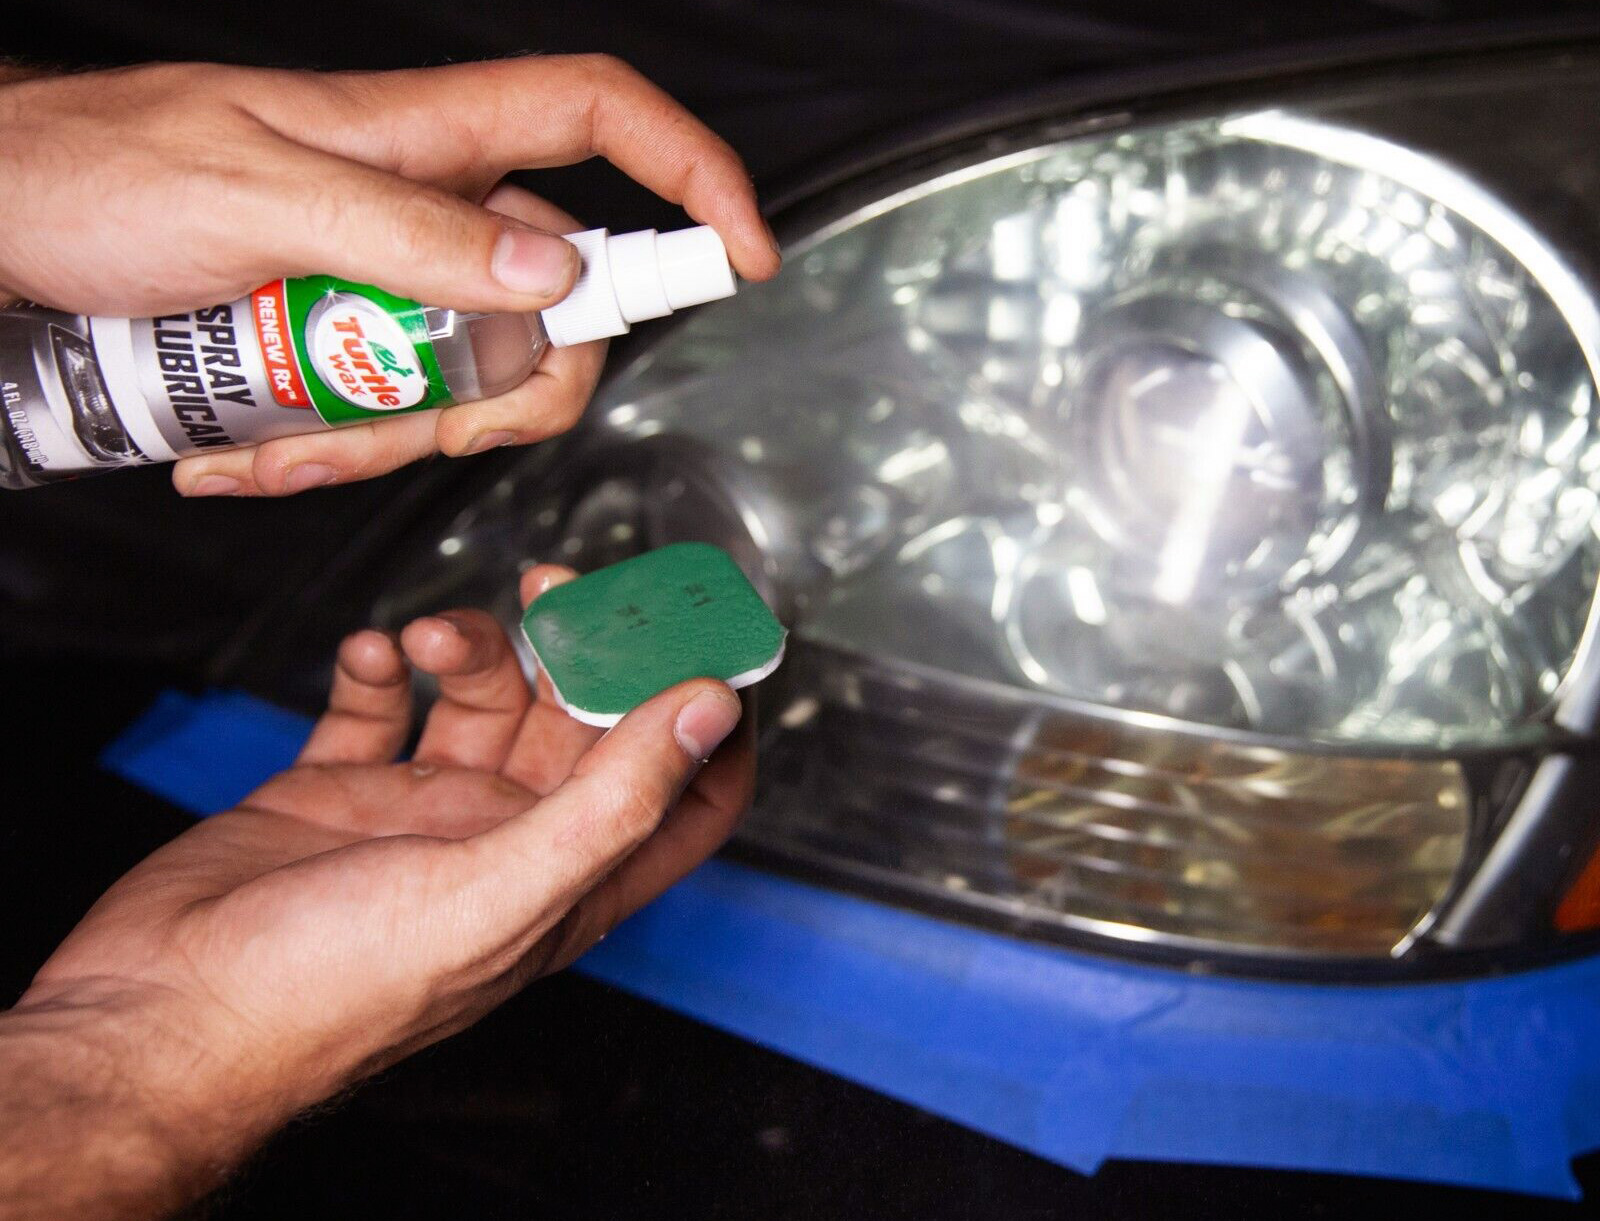
Or consider Meguiar’s Headlight and Clear Plastic Restoration Kit, which removes fine scratches, surface contaminants, oxidation, cloudiness, and yellowing. But it’s not just for cleaning headlights. It can also be used on plastic convertible windows, motorcycle windscreens, boat windows, and taillights. It’s best to avoid using it on coated plastics, navigational system displays, or LCDs. The kit includes:
- The company’s water-resistant PlastX polish
- A buff pad
- A microfiber towel
Unlike the Turtle Wax product, Meguiar’s wool pad is meant to be used on a slow-moving drill. Any remaining product should be removed with a clean towel before it dries. The kit also offers a “defect removal pack” for stubborn oxidation and other defects. Meguiar’s Headlight Protectant, sold separately, coats the headlights once the cleaning process is done.
Shop now for Meguiar’s restoration kitsIf your headlights aren’t seriously dull, you can clean them with simple restoration wipes in a simple three-part process.
- First, clean the headlights with one wipe per light, as thoroughly as possible.
- Next, dry twith a paper towel.
- Finally, use a protective wipe that guards against UV rays if included in the kit. Let it dry for half an hour.
Can You Clean Headlights Without a Special Kit?
The benefit of the kits is that they put everything you need together. Restoration kits cost around $20, though some are more expensive. For do-it-yourselfers, it’s possible to assemble an effective cleaning assemblage from household products. Believe it or not, toothpaste is one element.
Read this: Hacks to Restore a Headlight Lens
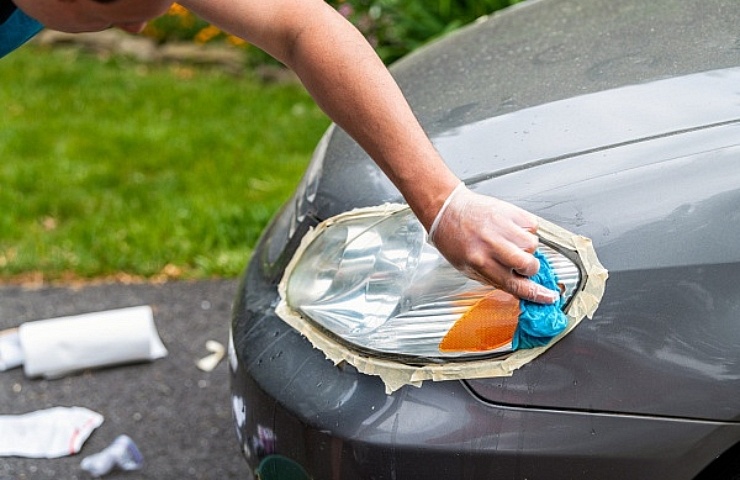
Gather car wash soap, masking tape, gloves, non-abrasive cloths, car wax, and, yes, toothpaste. Then use these steps to clean the headlights:
- Use the soap to wash the headlights—you don’t want the polishing cloth to grind grit into the surface.
- After the lights dry, mask off the area with tape.
- Apply modestly abrasive toothpaste to the dampened cloth. Rub vigorously, adding toothpaste and water as needed.
- Rinse, and when dry, use small amounts of car wax as a protectant. Voila!
You can also try mixing baking soda and vinegar (two parts distilled white vinegar to one part soda). The procedure is similar, but substitute the mixture for the toothpaste.
How to Clean Oxidized Headlights
If the lights are badly oxidized, try a product with more abrasion. A sheet of 800-grit wet sandpaper, then 1,500 and finally working up to 2,000 or 2,500 grit, is effective.
Shop now for 3M restoration kits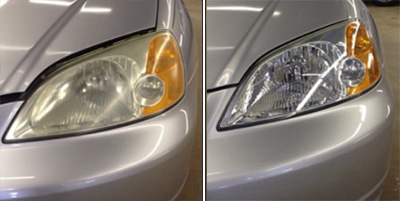
- Soak the sandpaper in clean water and spray additional water on the lens to keep moist while sanding.
- Sand vertically, rinse, and then change directions. Then use the next finest grade of sandpaper.
- Then, with a flannel polishing cloth, firmly apply the polishing compound in a circle until you get the desired results.
- Finally, polish with a clean cloth.
- Remember not to apply any product, including car waxes/polishes, not specifically designed to be used on plastic.
Foggy Headlights? No Problem
Let’s suppose the lights are fogged internally but clean on the outside. It’s possible to remedy this without breaking the headlight seal.
Usually, headlight assemblies come with a vent that, when clogged, can cause condensation. If that’s the case, wipe it clean or use compressed air to blow it out. To remove the internal moisture without breaking the seal, use a hair dryer blowing through the vent. If that doesn’t work, the unit must be opened up, which must be done carefully—consult your owner’s manual. Wipe up the internal moisture with a cloth, then reassemble.
To ensure the moisture doesn’t come back, reseal the headlights. When reinstalling, make sure that the angle is correct.
If your headlight reflectors are badly damaged, or the glass cracked, replacement is the best bet. This is an excellent opportunity to upgrade your headlights to LED or HID.
Shop now for auto headlight restoration kits


