Contents
Ensuring your CPS signal is correct is paramount. The crankshaft position sensor wiring harness is a common failure point, so tracking down the source of the problem usually starts there.
Shop now for crankshaft position sensorsLocation of the Crankshaft Position Sensor Wiring Harness
Most crankshaft position sensors are located at the engine’s rear or front.
- Front-mounted sensors are commonly located in the timing cover or block.
- Rear-mounted sensors, as you would expect, are typically at the back of the engine block.
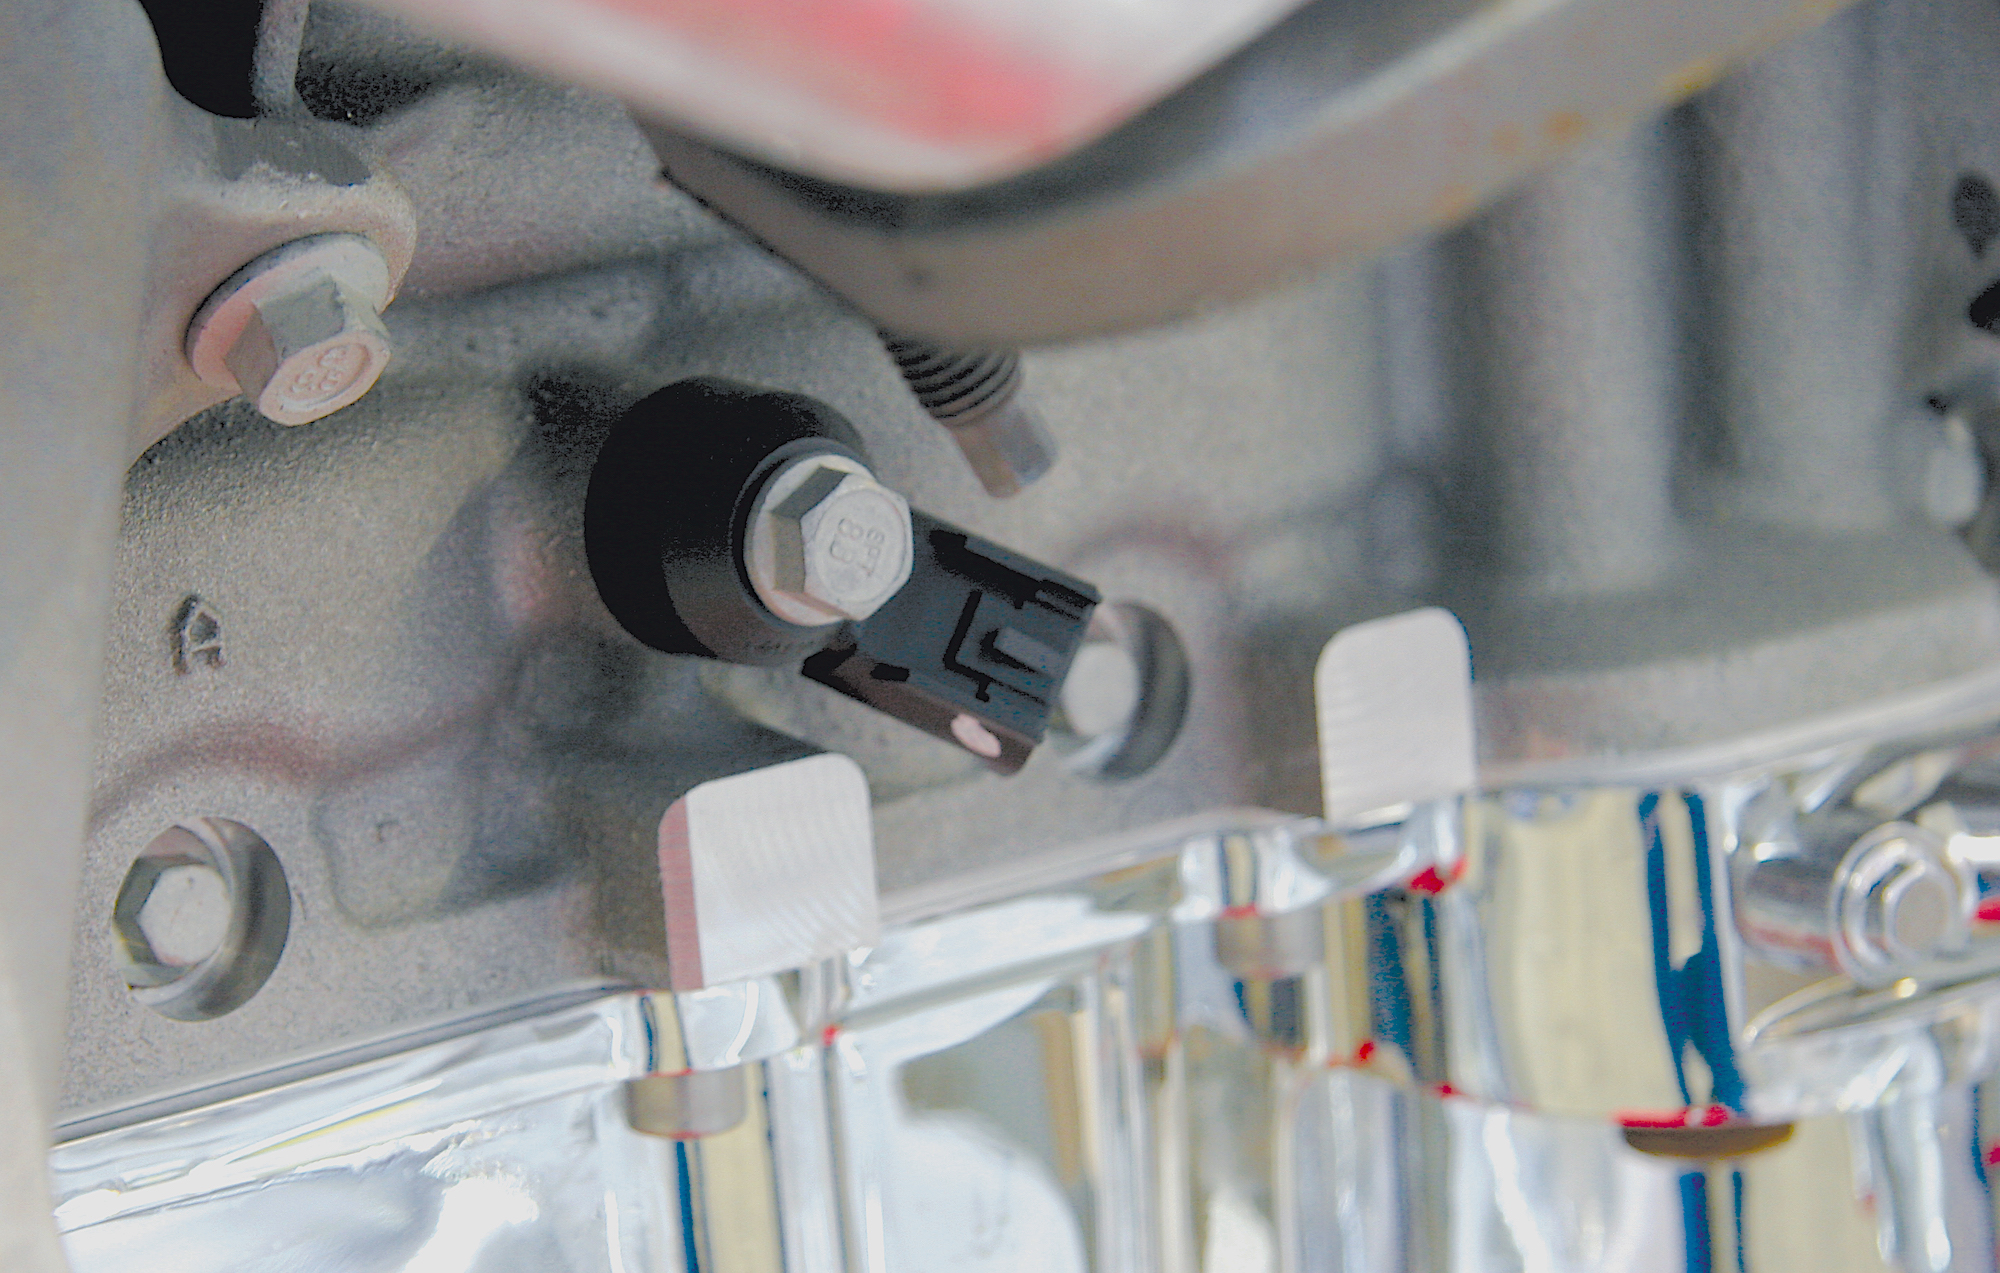
Locations vary for crank sensors. This is a GM LS-series engine with the sensor located at the back of the block on the passenger side.
The wiring harness for the sensor comes off the main engine harness, which is attached to the rest of the engine near the sensor. Some engines use secondary harnesses that plug into the main harness and usually have multiple sensor plugs rather than one plug.
There are two main types of crankshaft position sensors: two-wire and three-wire.
- Two-wire sensors generate an AC sine wave signal using a ground wire and a signal wire.
- A three-wire sensor has a ground wire, a +5-volt reference wire, and a signal wire. These three-wire sensors produce a square-wave signal.
You can’t switch out the two styles in most cases. Testing each type requires different techniques but can still be done with the same tools.
Symptoms of a Faulty CPS Wiring Harness
The check engine light is often the first sign of trouble for most vehicles, as the CPS signal is critical to engine operation. It could be lit for other reasons, so check the code. Most manufacturers use codes P0335 through P0338 for crankshaft position sensor faults.
In addition to the check engine light, you may notice these other symptoms:
Misfiring – When the ECM doesn’t know the crank phase or speed, it has no idea when to trigger the ignition. Your engine may misfire or even backfire.
Stall or surge – If your engine is running and suddenly starts stalling, surging, or bucking, the ECM could intermittently lose the CPS signal. This could lead to the engine dying and not starting again.
Low power or slow acceleration – When the ECM loses the crank signal, it may go into limp mode, which pulls timing, adds fuel, and runs on the bare minimum of power to protect itself.
Shop now for ECUsThese issues may be intermittent, as the wiring harness may have loose connections or damaged wires that only lose contact in certain positions. Always use a code scanner to check the codes before digging through the harness to find the source of the problem. What seems like a CPS problem could be due to another component.
Common Issues With the CPS Harness
Auto manufacturers take great care to ensure that the crankshaft position sensor harnesses are protected from heat and abrasion. Nonetheless, these are often the causes of problems in a harness. Heat is the biggest killer of a wiring harness, as the heat can melt the wire and plug, causing corrosion in the wire.
Mechanical damage—rubbing, scraping, or pulling on the harness—can also damage the wires or pull the pins out of the plug.
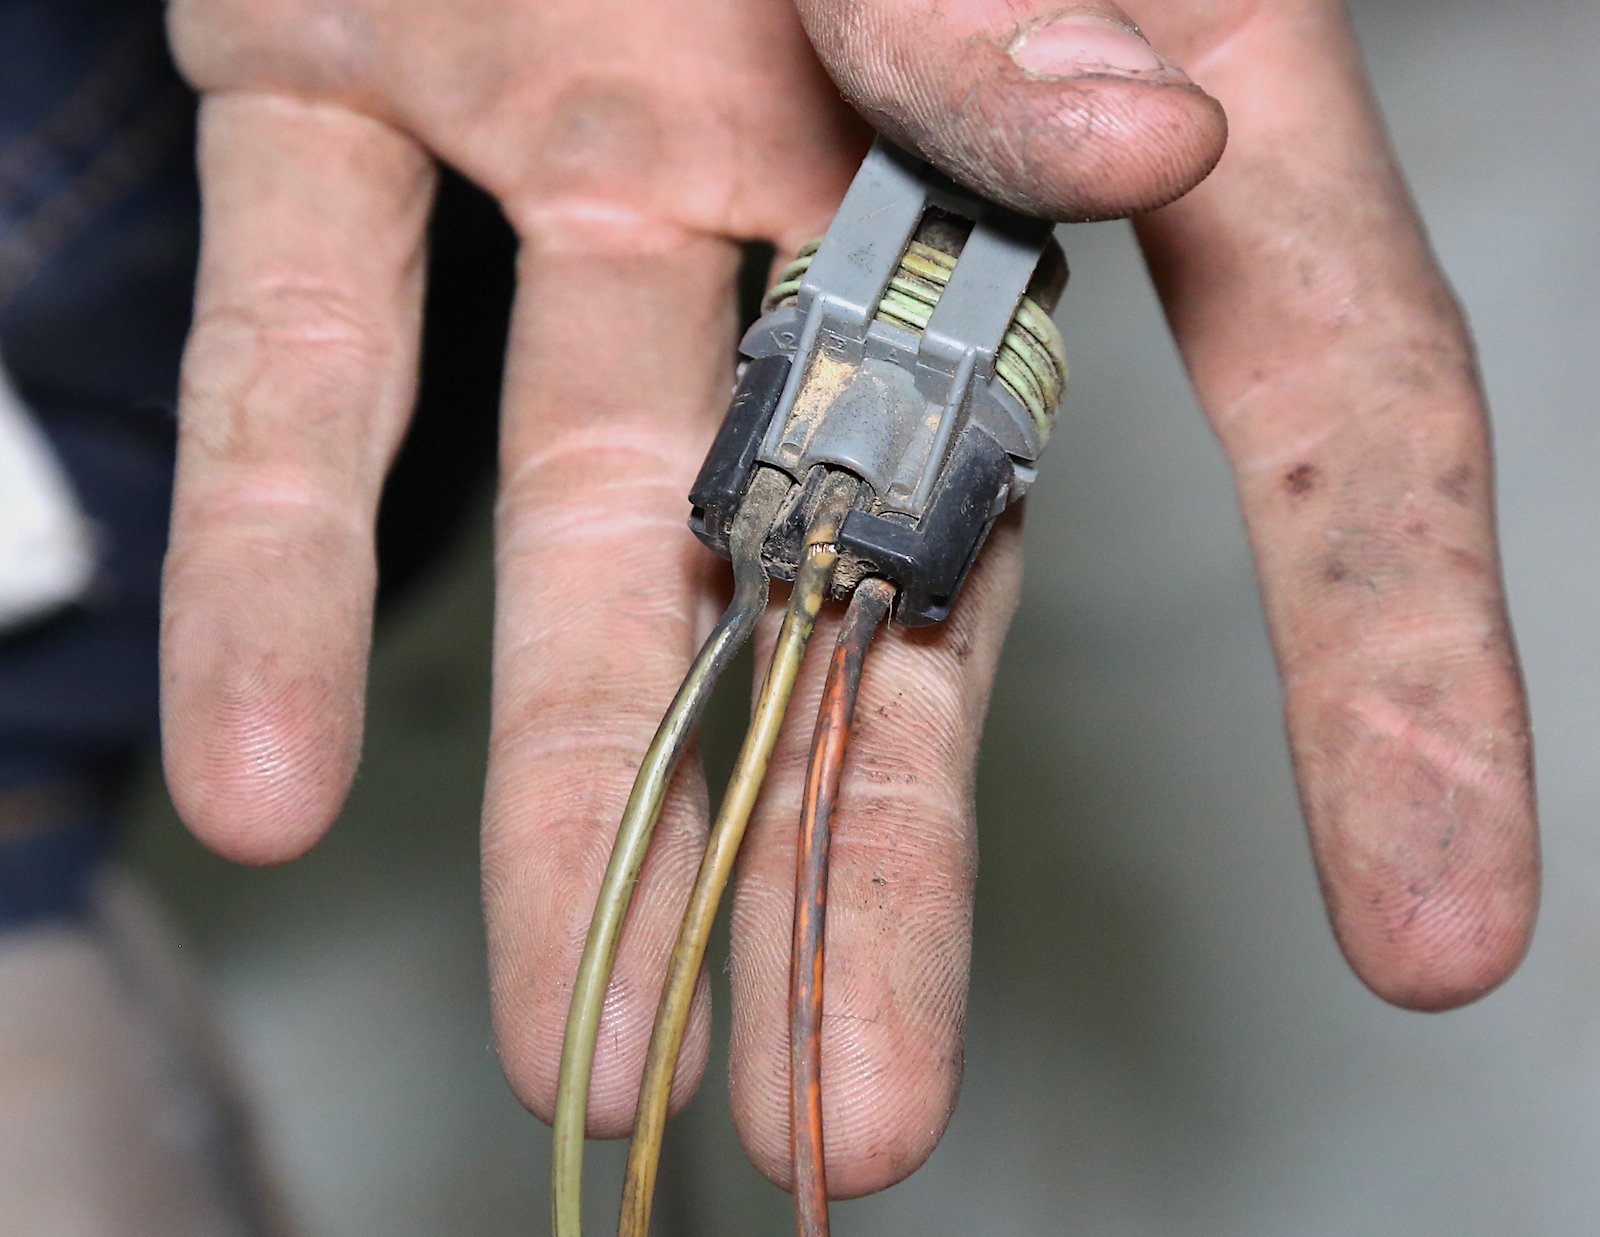
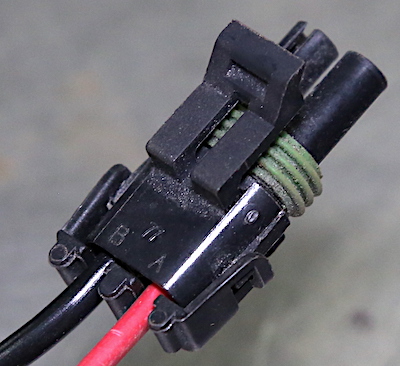
A damaged harness or plug can cause signal issues. This plug got pinched against the block and the wires are exposed.
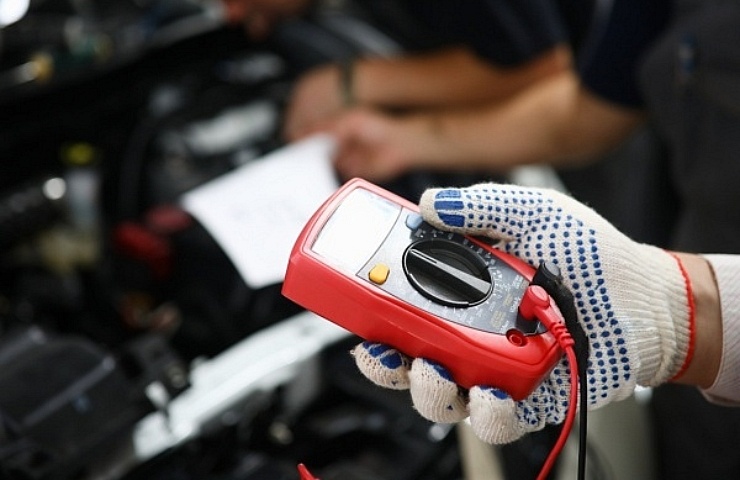
The sensor itself could fail as well. If you use a high-end code scanner, you should see between 100 and 500 rpm when cranking the engine. If there is no signal, it’s erratic, or it’s wildly off, the issue could be in the harness or the sensor.
You can also test the sensor with a digital multimeter (DMM). But first, locate the sensor and disconnect the harness plug. Then, determine if you have a two- or three-pin sensor and follow the appropriate steps below.
Shop now for code scannersFor two-pin sensors:
- Turn on the DMM and set it to ohms.
- Touch one probe to each terminal.
- If there is zero resistance between them, the sensor is shorted and has failed.
- If the reading is between 200 and 1,000 ohms, it should be good. Check your engine’s specific ohm level for the CPS to verify.
- If the reading is very high (millions or infinite ohms), the circuit is open, and the sensor is dead.
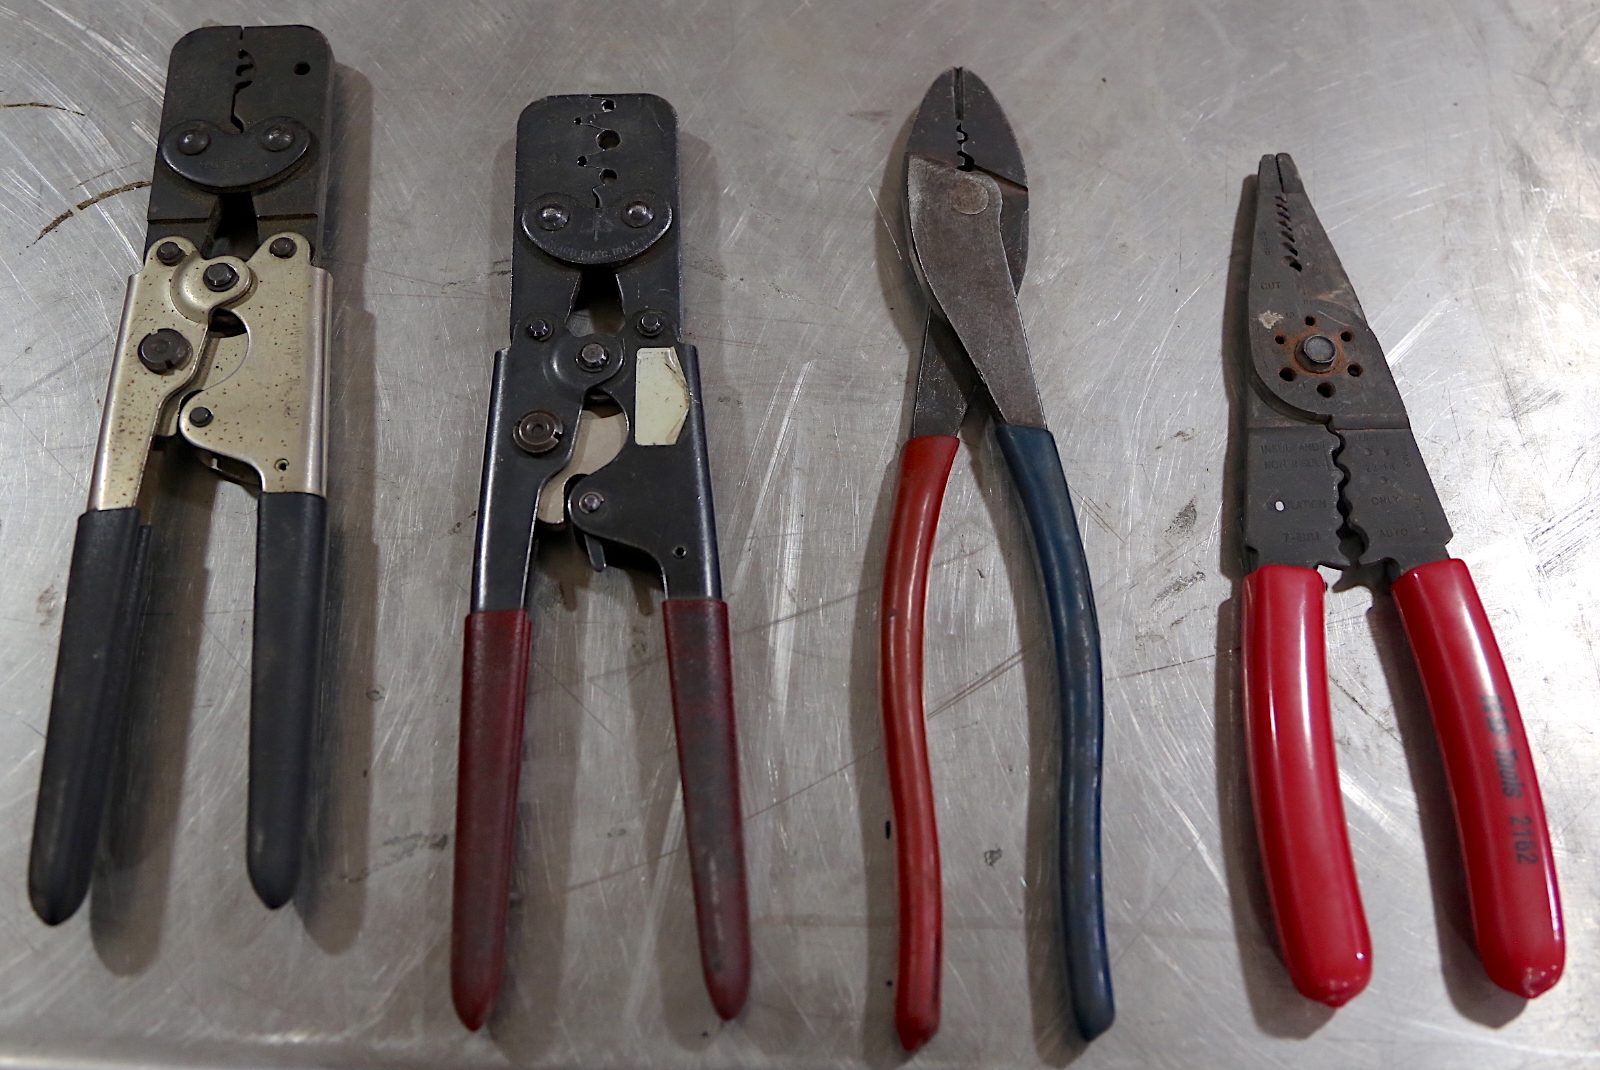
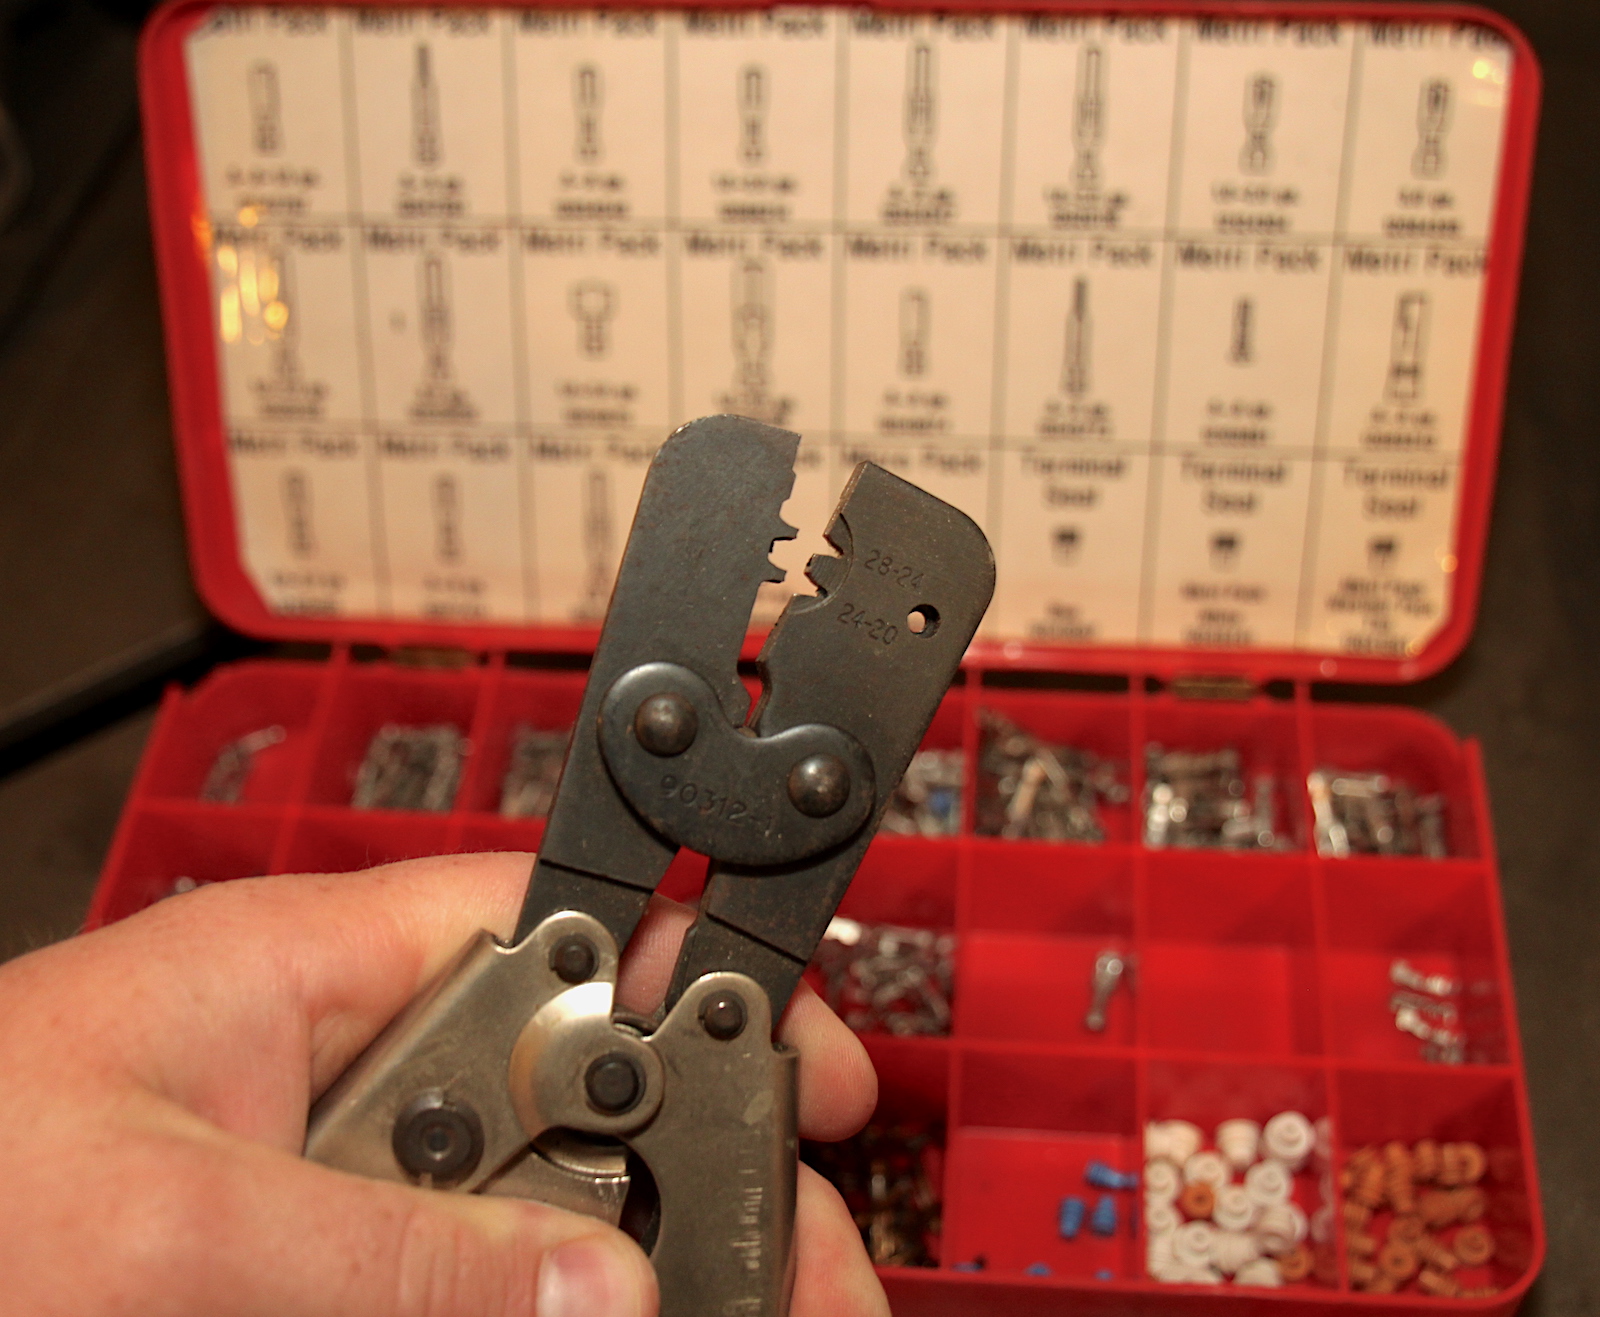
Wire repairs in vehicles require crimps, but there are alot of tools. The two on the right are the most common.
For three-pin sensors:
For standard crimp terminals, these are the best option, this tool does insulated and non-insulated terminals.
- Set the DMM to DC volts in the 20-volt range or auto-ranging.
- Have a helper operate the ignition switch while you test the sensor.
- Determine the wire functions. The easiest way to do this is to look up your specific engine’s CPS wiring diagram. If that is not available, you can test the wires themselves.
- > Touch the negative probe to the battery negative with the key on.
- > Clip the probe to the battery negative (or a suitable ground point).
- > Touch each wire with the other probe. You should find one wire with 5 volts. This is the reference wire.
- > Switch the meter to continuity and touch the other two pins on the plug. One should trigger the meter to read continuity. This is the ground wire. If your meter does not have continuity, you can use the meter in the DC volts 20-volt setting.
- > Move the black probe to the battery’s positive post. The ground wire will read the battery voltage.
- The signal wire will not have any voltage or ground connection while disconnected from the sensor.
- Connect the plug to the sensor. Use the DMM with the DC volts’ 20-volt setting.
- Using a wire-piercing probe, connect the ground probe of the meter to the ground wire and the positive probe to the signal—not the reference—wire.
- Ensure all wires, meters, probes, and body parts are clear of the engine’s moving parts.
- Start the engine.
- The meter should read about 5 volts. The sensor or plug is damaged if it is erratic, very low, or zero.
You can perform the live-running test on both two- and three-wire sensors at any point on the wiring harness. This is an excellent way to determine if the problem is in the harness and where the issue lies.
How to Fix a CPS Wiring Harness
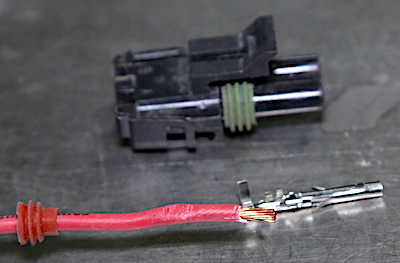
1 – To put new terminals on a wire, you strip back about ¼” as shown. This is a Weather Pack terminal.
After you determine the issue is in the harness and its precise location, you must fix it. If the plug is damaged, you may be able to find a replacement plug pigtail for the harness. If the wires are damaged, you can simply splice in new wires of the same gauge to repair the damage.
We recommend crimping the repair because soldering delicate sensor wires can increase resistance. Plus, soldering is prone to cold joints that fail, and it causes more wire breaks due to vibration. That’s why most OEMs require proper crimped repairs rather than solder.
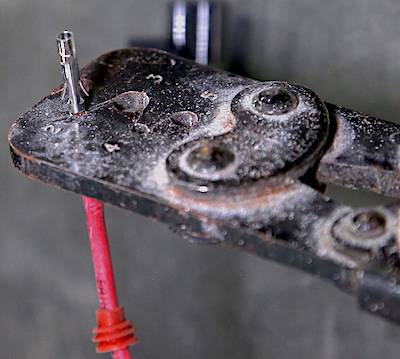
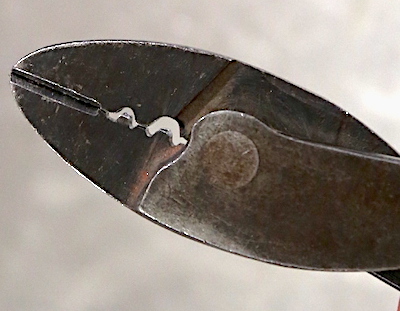
2 – The tool is cammed so that it can’t over-crimp the terminal.
Remember to be careful when disconnecting any engine harness, as they usually have a few push-lock pins that can break when removing them.
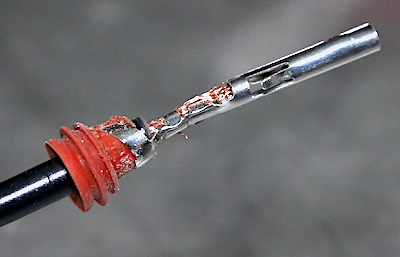
3 – The sealing boot is also crimped on using the same tool with a different jaw.
Tools needed for wiring repair:
- Wire cutters
- Wire strippers
- Crimpers
- Shrink tubing
- Heat gun or lighter
- Replacement wire or pigtail
- Wire crimps for the correct size (Uninsulated crimps are best, but insulated work just fine.)
With the car parked on a flat surface, follow these steps:
4 – Each new terminal and wire simply snap into the plug housing.
Disconnect the battery negative terminal.
- Locate the damaged wires. Remove enough loom or tape from the wires for suitable access. Work on one wire at a time so you don’t lose track of each wire’s function.
- If replacing a pigtail, cut away the minimum amount of wire required. Cut the first wire, then strip off ¼” to 3/8” insulation.
- Slide a section of heat shrink over the wire, then place a crimp butt connector over the wire.
- Crimp the wire. Strip and crimp the other side of the wire to the plug pigtail.
- Slide the heat shrink over the crimp and use the heat gun or lighter to shrink the tubing until it is sealed.
- Repeat on the other wires.
- Reconnect the battery and start the engine.
- Test the sensor’s function with the DMM to verify the successful repair.
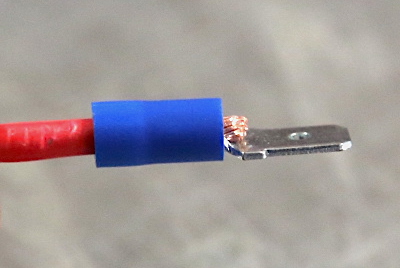
When crimping standard insulated terminals, the wire should go all the way through the crimp tube. A small amount can protrude, but no more than 1/16”.
The most common mistake in crankshaft position sensor wiring repairs is a poor connection caused by a cold solder joint or a bad crimp. Using the correct size crimp terminal and good-quality crimpers is the best solution. Other mistakes include making the harness too short, too long, or crossing the wires.
Most modern vehicles use weather tight plugs and they require specialty tools like the GM Weather Pack crimp tool.
This is a simple repair that you can complete in your driveway in less than an hour. The materials can cost $5 to $30, depending on if you need a pigtail or just some loose wire and crimps.