Contents
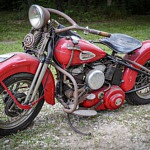
The Make of Your Metal
 When buffing and polishing trim, the first step is to determine the metal’s composition. You must know if the metal is ferrous (containing iron) or non-ferrous.
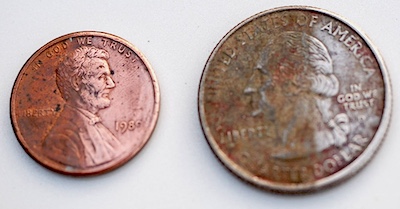
- Ferrous metals include steel, cast iron, and stainless steel.
- Non-ferrous metals include copper, brass, aluminum, and tin.
The type of metal dictates the products to use for polishing. The right products smooth out the surface of the metal, removing minor scratches or imperfections. (Many modern cars use plastic trim with a shiny, reflective coating. The process discussed here can’t be used on plastic trim.)
Shop now for metal polishSafety First
Always wear safety glasses and work gloves or disposable nitrile gloves when polishing trim. When using a power tool for polishing, wear a respirator mask and an apron to avoid staining your clothes.
Be aware of your surroundings: Think about where something will fly if your buffing wheel snags. We suggest doing polishing jobs in your driveway, with nothing but an open lawn behind your buffing wheel.
Shop now for safety glassesThe polishing can happen with the metal trim piece on or off the car. Removing the trim and working it by hand is generally easier and safer, so we’ll focus on that method. Use a bench grinder to restore most metal parts and proceed through three different polishing compounds, each with its own buffing wheel.
Shop now for bench grindersPick Your Polish
 Polishing compound is a mix of abrasive material suspended in resin. Most types of polish come in a stick, like a large crayon wrapped in thick paper, though companies like Dico also sell compounds in bars. Most companies offer three grades of polish for each metal type.
Start with the coarsest polish to remove hairline scratches and scuffs in the metal. The next compound removes smaller imperfections and adds luster to the metal, while the third and final compound gives the brightest, smoothest shine.
Shop now for Dico productsRiding the Wheel
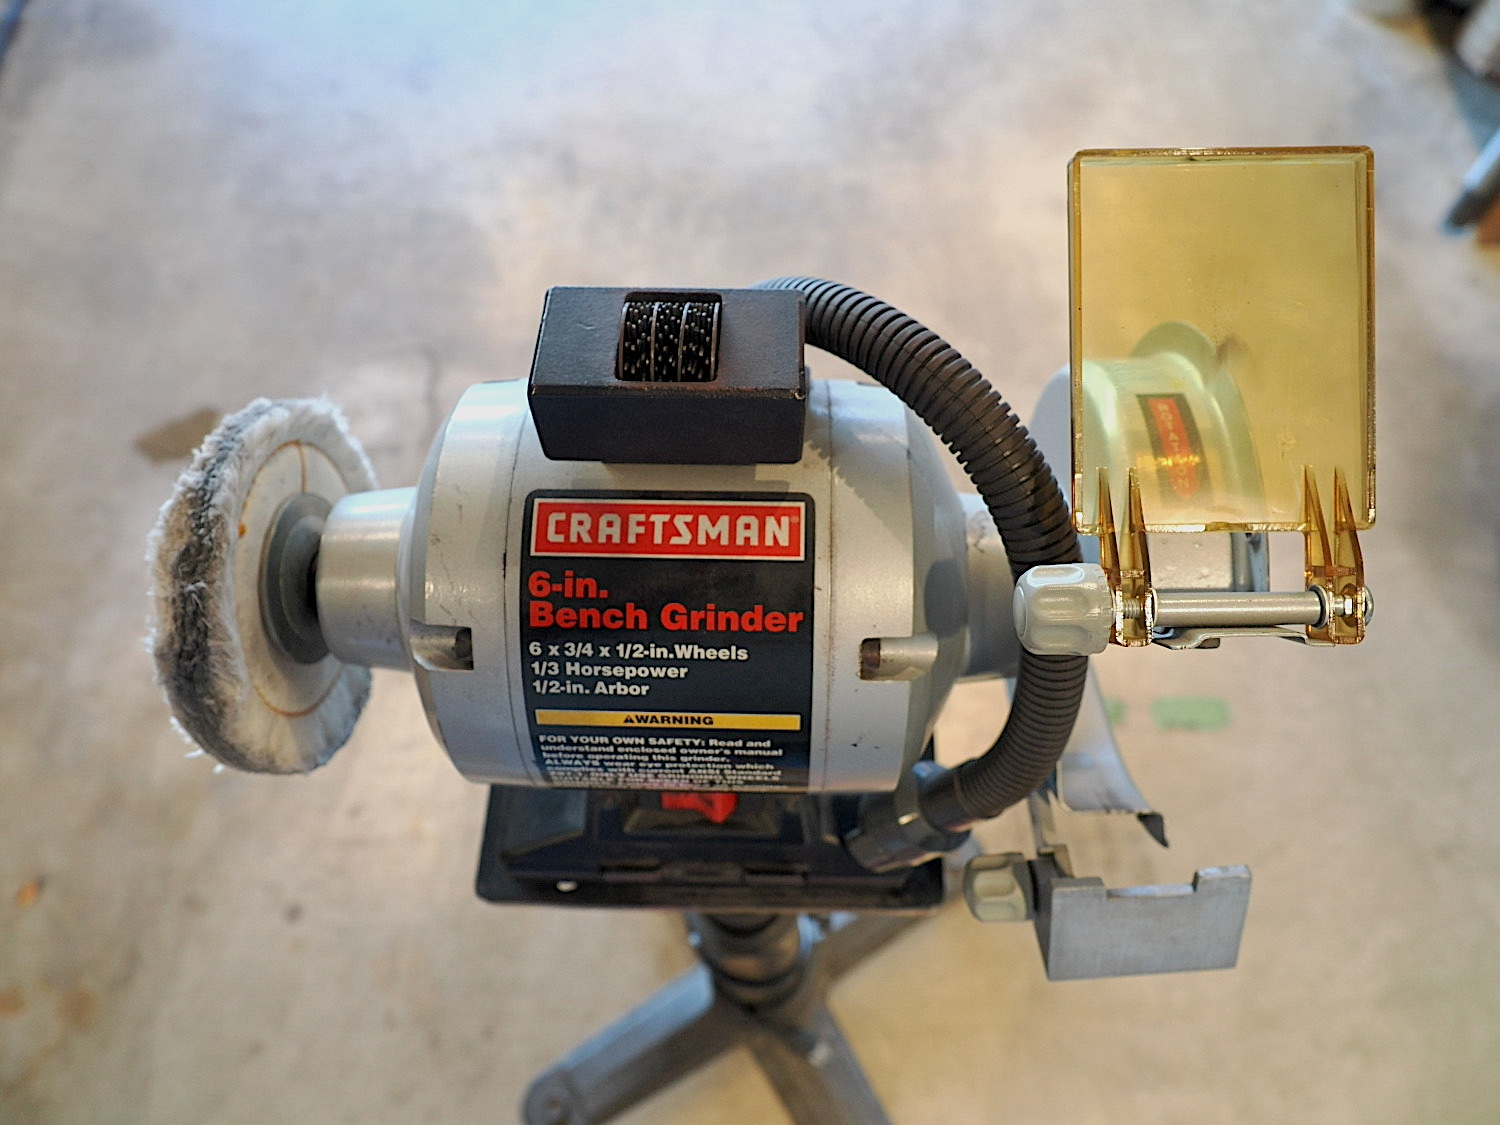 Use a buffing wheel to apply the polishing compound to the metal. Just like your compounds, each wheel has a different grade. Typically, you’ll start with a firm, coarse wheel, swapping to less aggressive wheels as you change compounds. End with a soft, nearly flannel-like wheel for final polishing.
It’s best to use only one compound with each wheel to avoid cross-contamination. Write the compound’s name on the side of each wheel with a marker. Most polishing jobs use a bench grinder, but you can mount a small polishing wheel to a drill or Dremel rotary tool for smaller projects.
Shop now for Dremel toolsStep-by-Step Polishing Procedure
- Remove the metal trim piece from your car, and clean it with soapy water to remove dirt or grime.
- Look carefully at your metal piece. Deep scratches must be sanded off before polishing. Start with a coarse-grit (200 or lower) sanding paper and work through finer grits until you can’t feel the scratch with your fingernail. Generally, 1000-grit will be your final sanding step. Clean the metal piece again after sanding.
- Firmly secure your buffing wheel to the bench grinder. Set your grinder to a slow speed and apply a small portion of the appropriate buffing compound to the face (edge) of the wheel.
- Holding the metal trim piece with two hands, press the face of the metal gently against the rotating buffing wheel. Keep the trim piece below the center of the wheel. Use light pressure and let the buffing wheel do most of the work. Expect the wheel to turn black as it works the polish into the metal. Move the trim piece along the edge of the buffing wheel until the entire visible surface has been buffed.
- Examine your work, reapply compound to the wheel, and repeat the process. You can increase the speed of the bench grinder, but don’t exceed 3,000 rpm.
- When you’re satisfied with the first step, swap on the next buffing wheel and repeat the process with the next level of compound (typically a light polish).
- If you desire a higher level of shine, swap on the next buffing wheel and apply the third grade of polishing compound. This wheel will be soft and flexible, with minimal cutting action. Polish until the entire face of the trim piece has a uniform shine.
- When you’re done polishing, clean the metal piece to remove any remaining compound. Dry with a clean microfiber cloth. Depending on the trim, you might apply sealant or wax to preserve the shine.
Working on the Car
If your metal trim piece is fastened to the car, you can still follow the process above, using small buffing wheels attached to a cordless drill or Dremel rotary tool. Painter’s tape can protect the paint or bodywork surrounding the metal trim piece to prevent damage if your buffing wheel slips off the trim. As with the bench grinder, never exceed 3,000 rpm when polishing.
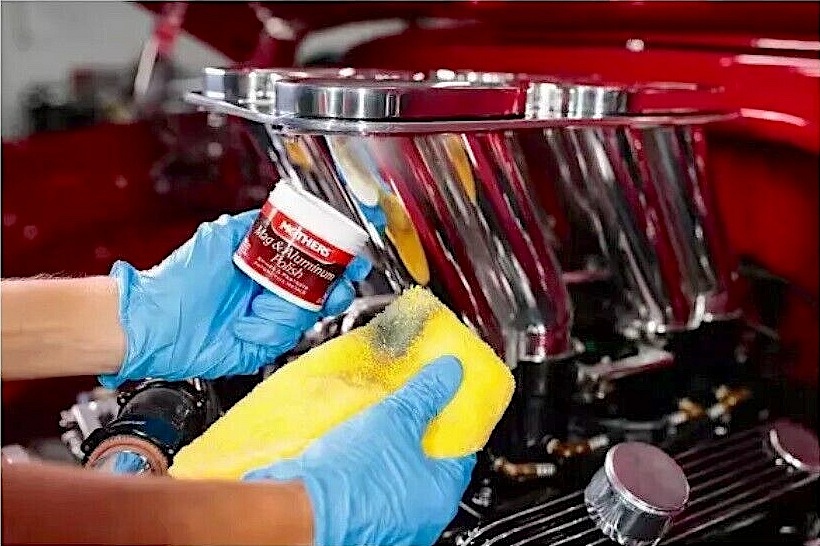
Another option is to use polishing paste and a cloth to clean metal trim by hand. Polishing paste removes oxidation and tarnish, but it’s not abrasive enough to make dull metal shine. Apply a pea-sized dot of paste to the metal piece and spread it across the entire surface with your cloth.
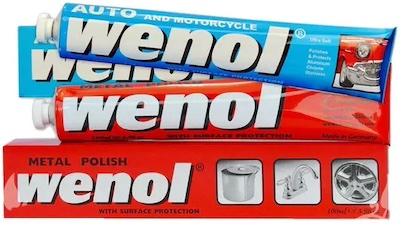 Work the polish into the metal using a circular motion to remove the tarnish. Rotate the cloth often so you’re always working with clean material. Polishing paste is frequently used on chromed or polished wheels and exhaust pipes. Wenol and Mother’s Mag and Aluminum are popular polishes for wheels and metal trim.
Apply polishing paste every three months to keep your car’s metal trim shining bright.
Shop now for polishing wheels