Contents
First, let’s note the difference between colored and tinted headlights.
- Colored headlights refer to the color of your headlight bulb.
- Tinted headlights refer to a film placed over your headlights, ultimately affecting road visibility. Smoked headlights offer the same aesthetic appeal as tinted headlights.
Types of Tinted Headlights
There are variations in tint films, depending on if you’re looking for basic dimming or using a distinct color.
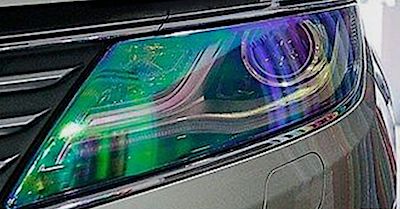
Chameleon headlight tint changes color when viewed from different angles.
- Tinted PPF provides a light, barely-there tint. Choose this if you’re mainly looking for added headlight protection.
- Mid-shade tints create a darker shade on your headlights. However, they provide less protection than lighter options.
- Dark tints provide the maximum level of tint on your lights. However, because they’re so dark, they are most likely illegal.
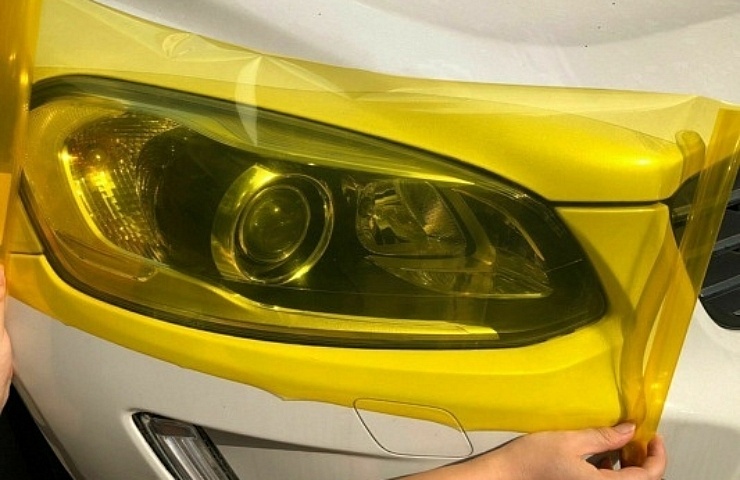
Color tints look cool and come in various colors but are illegal in some places. Make sure they are legal in your area.
Shop now for car light tint filmHow to Apply Tint Film to Lights
Tinting your headlights is a straightforward process. Here are a few hints to get you started.
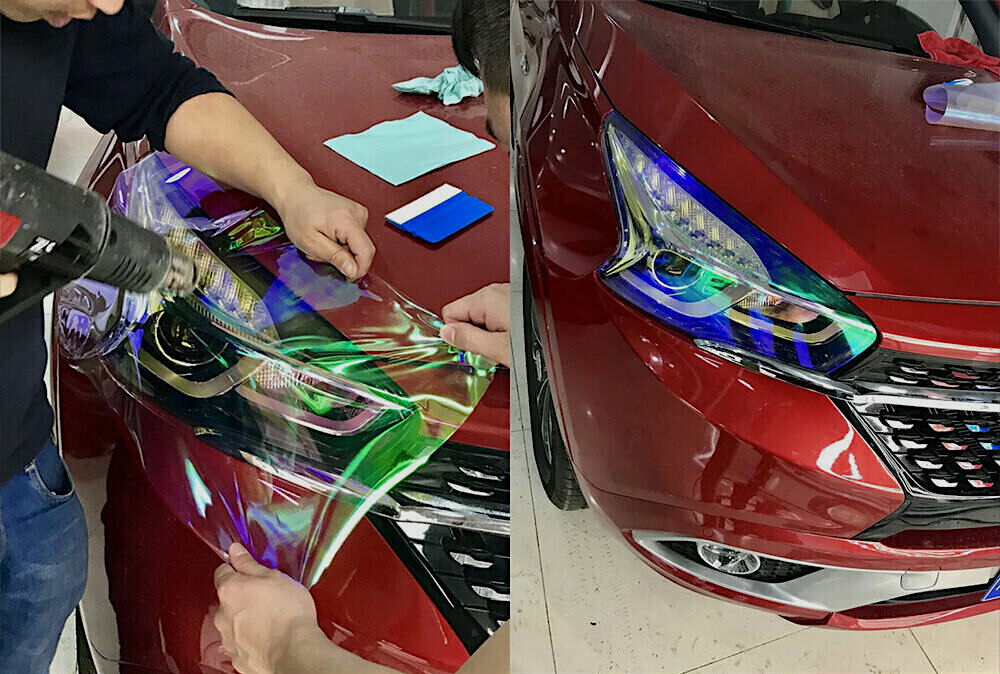
Applying chameleon headlight tint film
- Start by cleaning your headlights. Use soap and water to remove grime and buildup from the windows and surrounding areas. Use a lint-free cloth for a smooth finish.
- Decide whether to apply the films wet or dry. In most cases, tint films can be applied to your headlight dry. But when the headlight is curved or has an unusual shape, applying it wet might be best. For those times, water down the light and surrounding area.
- Prep the film for the headlight. Carefully remove the tint film from its backing. It’s suggested to wet down both sides of the adhesive to prevent it from sticking to itself and to make repositioning the tint on the headlight easy.
- Apply the film to the headlight. Line up the edges of the tint film with the headlight and stick it on. Don’t worry if it looks too big or too small. You can use a hair dryer or heat gun to stretch or shrink the film to the desired size.
- Adhere the film to the headlight. Press down to stick the film to the headlight, starting at one edge and moving to the other side. Use a squeegee to press the film down to remove any air bubbles, ensuring a flat smooth surface.
- Cut away excess film.
- Allow the film tint to cure for at least 30 minutes. For optimal results, let the headlight tint cure on the headlight for at least 30 minutes before taking your vehicle for a drive to show off your new tinted headlights.
Are Tinted Headlights and Smoked Headlights Legal?
Tinted headlights affect visibility. They dim the amount of light coming from your headlights. Fortunately, there are different kinds of tinted headlights with varying levels of dimming. Knowing your area’s laws ensures your tinted headlights are street-legal.
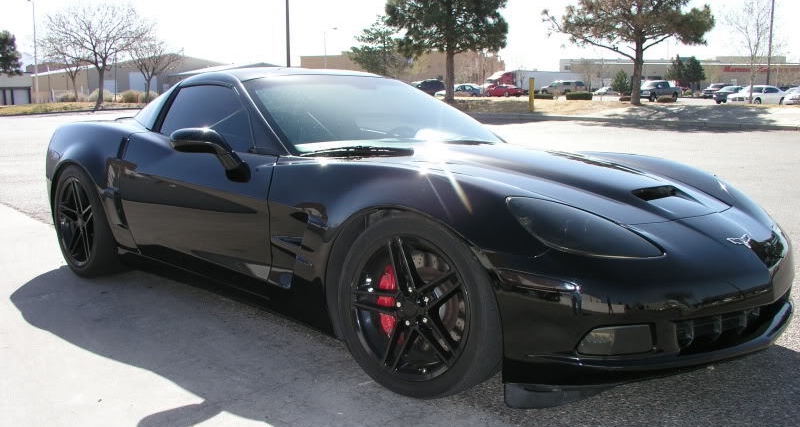
Smoked headlights look wicked cool on this murdered Corvette C6, but may be illegal in some jurisdictions.
In the US, states regulate tinted headlights, not the federal government. Many states set the minimum visible light transmission (VLT) requirements high to keep roads safe. There are also rules regarding lightbulb colors and the material you use to tint a headlight.
Some states, such as Texas and Illinois, have strict laws around tinted headlights. In other states, tinted headlights are only legal if they meet a 70 percent minimum VLT. Because requirements for VLT vary by state, you should double-check the laws where you live to ensure your tinted headlights meet that minimum.
Benefits of Smoked or Tinted Headlights
Beyond elevating the look of your vehicle, there are functional benefits to tinted headlights.
- Protection from road debris. The tint film acts as a shield against chips, scratches, and dings, so your headlights stay looking great for longer.
- Added UV ray resistance. Think of the film like a layer of sunscreen over your headlights. Usually, headlights become yellow and dull over time due to the sun’s harmful UV rays. But many tint films offer UV protection, keeping your headlights clear and bright for longer.
- Long-lasting look. Most tint films last two to three years. Higher-quality tints last even longer.
Removing Headlight Tints
If you want to switch your tint or remove it, the process is often straightforward. While it’s not always true, in many cases you only need a removal solution or a warm water-and-vinegar mixture.
Apply it liberally to your tinted headlight, allowing it to sit for a few minutes (or however long the directions of the store-bought solution say). Then, slowly and carefully scrape away the tinted material using a razor blade. Repeat this process until it’s all removed, then give your headlights a thorough wash to remove any residue.
Shop now for car light tint film