Contents
What Is Brake Fluid?
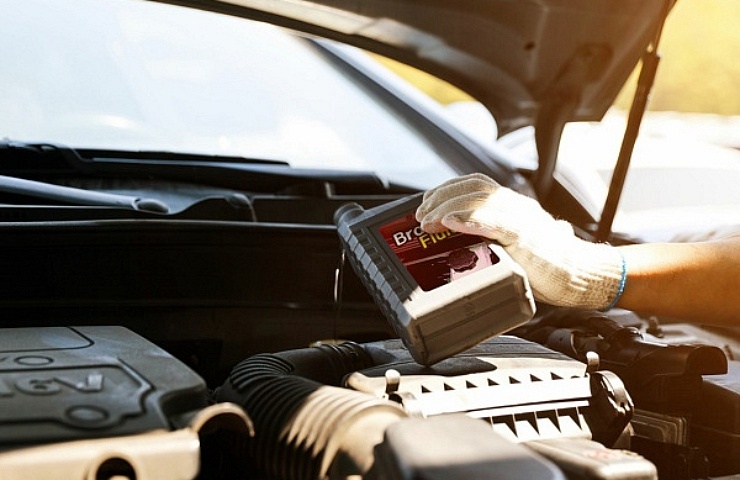
Brake fluid is an essential hydraulic liquid used by the automotive braking system. When you push on the brake pedal, fluid is forced out of the master cylinder against the brakes. Brake fluid moves through the system in lines.
 Brake fluid needs to be changed every two years or 30,000 miles. Fresh fluid has an amber color. However, as the fluid gets old and contaminated, it becomes brown and difficult to see through.
It’s crucial for safety to keep tabs on the condition of the fluid and change it when necessary. Dirty fluid is less effective and causes issues such as uneven wearing of the brake pads, warping of the rotors, and less efficient stopping power.
Shop now for brake fluidAlways wear gloves and eye protection when inspecting brake fluid. It’s a highly toxic substance that should not make contact with hair, skin, or eyes.
Brake Fluid Types
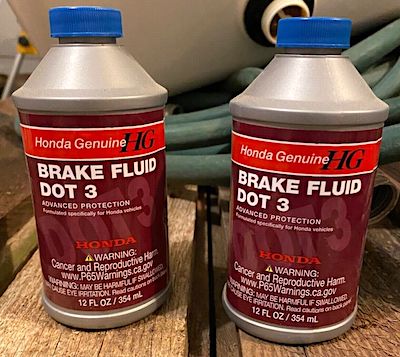
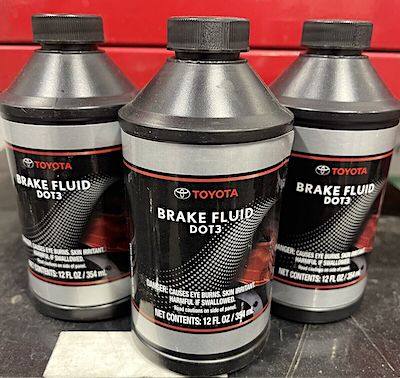
There are several different grades of brake fluid. Information on the type your car uses can be found in the owner’s manual. Do not deviate from the manufacturer’s suggested type.

Among the brake fluid types, these are the factors that differentiate the options:
- Base ingredient
- Wet boiling point
- Dry boiling point
Here’s a quick brake fluid guide showing the comparison between the five types.

Glycol-based fluids have three major disadvantages:
- They are hygroscopic, meaning they attract water.
- They must be changed every couple of years or efficiency diminishes.
- They harm painted surfaces when spilled.
DOT 5 is unique because it is silicone-based. Therefore, it doesn’t absorb water or harm painted surfaces. However, it can’t be used with anti-lock brake system (ABS) pumps, so it’s useless for most street-legal cars.
Shop now for brake fluidYou should never mix brake fluid types, not even the ones made from glycol. Follow what’s recommended by the manufacturer.
How Often Do Brake Fluids Need to Be Changed?
Every manufacturer sets its own recommendations for changing brake fluid. You can find the interval in your service manual or by visiting the automaker’s website.
Most manufacturers suggest changing the brake fluid every two years or 30,000 miles, whichever comes first. However, some say three years or every 45,000 miles is acceptable. If you frequently encounter harsh braking conditions, it may be necessary to flush and replace fluid at shorter intervals.
You can expect to spend $75 to $150 to have your brake fluid changed. The service is often be bundled with other maintenance tasks, such as an oil change.
However, you can also change your vehicle’s brake fluid yourself. If you have the right tools and some expertise, changing the brake fluid saves money because you only need to purchase the supplies.
How Do You Change Brake Fluid?
You can change the brake fluid in an hour or less with the right equipment. Here are the basic steps.
- Locate the brake master cylinder.
- Remove the cap.
- Drain the old brake fluid with a vacuum pump.
- Fill up the system with fresh fluid.
- Attach a brake bleeder hose to the bleeder screw on the caliper furthest from the master cylinder, normally on the right passenger side. The precise location varies per manufacturer. You may need to jack up the vehicle to get to the screw.
- Put the other end of the tubing into a jar with a half inch of clean brake fluid.
- Loosen the bleeder screw.
- Have a helper push down on the brake pedal.
- Bleed until there are no air bubbles in the tubing.
- Close the bleeder screw before your helper releases the pedal.
- Repeat the process until there are no more air bubbles.
- Top off the brake fluid and continue with the other calipers, moving one step closer to the master cylinder each time.
- When you are finished, make sure the bleeder screws are closed.
- Top up the brake fluid reservoir.
- Pump the brakes several times until the pedal feels firm to help remove air.
- Test drive the car and try the brakes.
After you change the brake fluid, it’s important to dispose of the old fluid properly. Take it to an auto parts store that accepts old fluid or visit a local waste recycling center. Do not dump it in a trash can or down a drain. It’s a toxic substance that poses a serious threat to the environment if not disposed of properly.
How to Detect a Brake Line Leak
The braking system is closed, meaning the fluid level and pressure should remain the same. If they don’t, there’s probably a brake fluid leak. Most often, the leak occurs at a hose, but it’s also possible for the brake line to leak at the caliper. If there is a leak, it may present itself as a spongy pedal, or the brakes may feel as though more pressure is needed to successfully stop.

Here are some steps to pinpoint a brake fluid leak.
- Check the reservoir. If it is full, there may not be a leak.
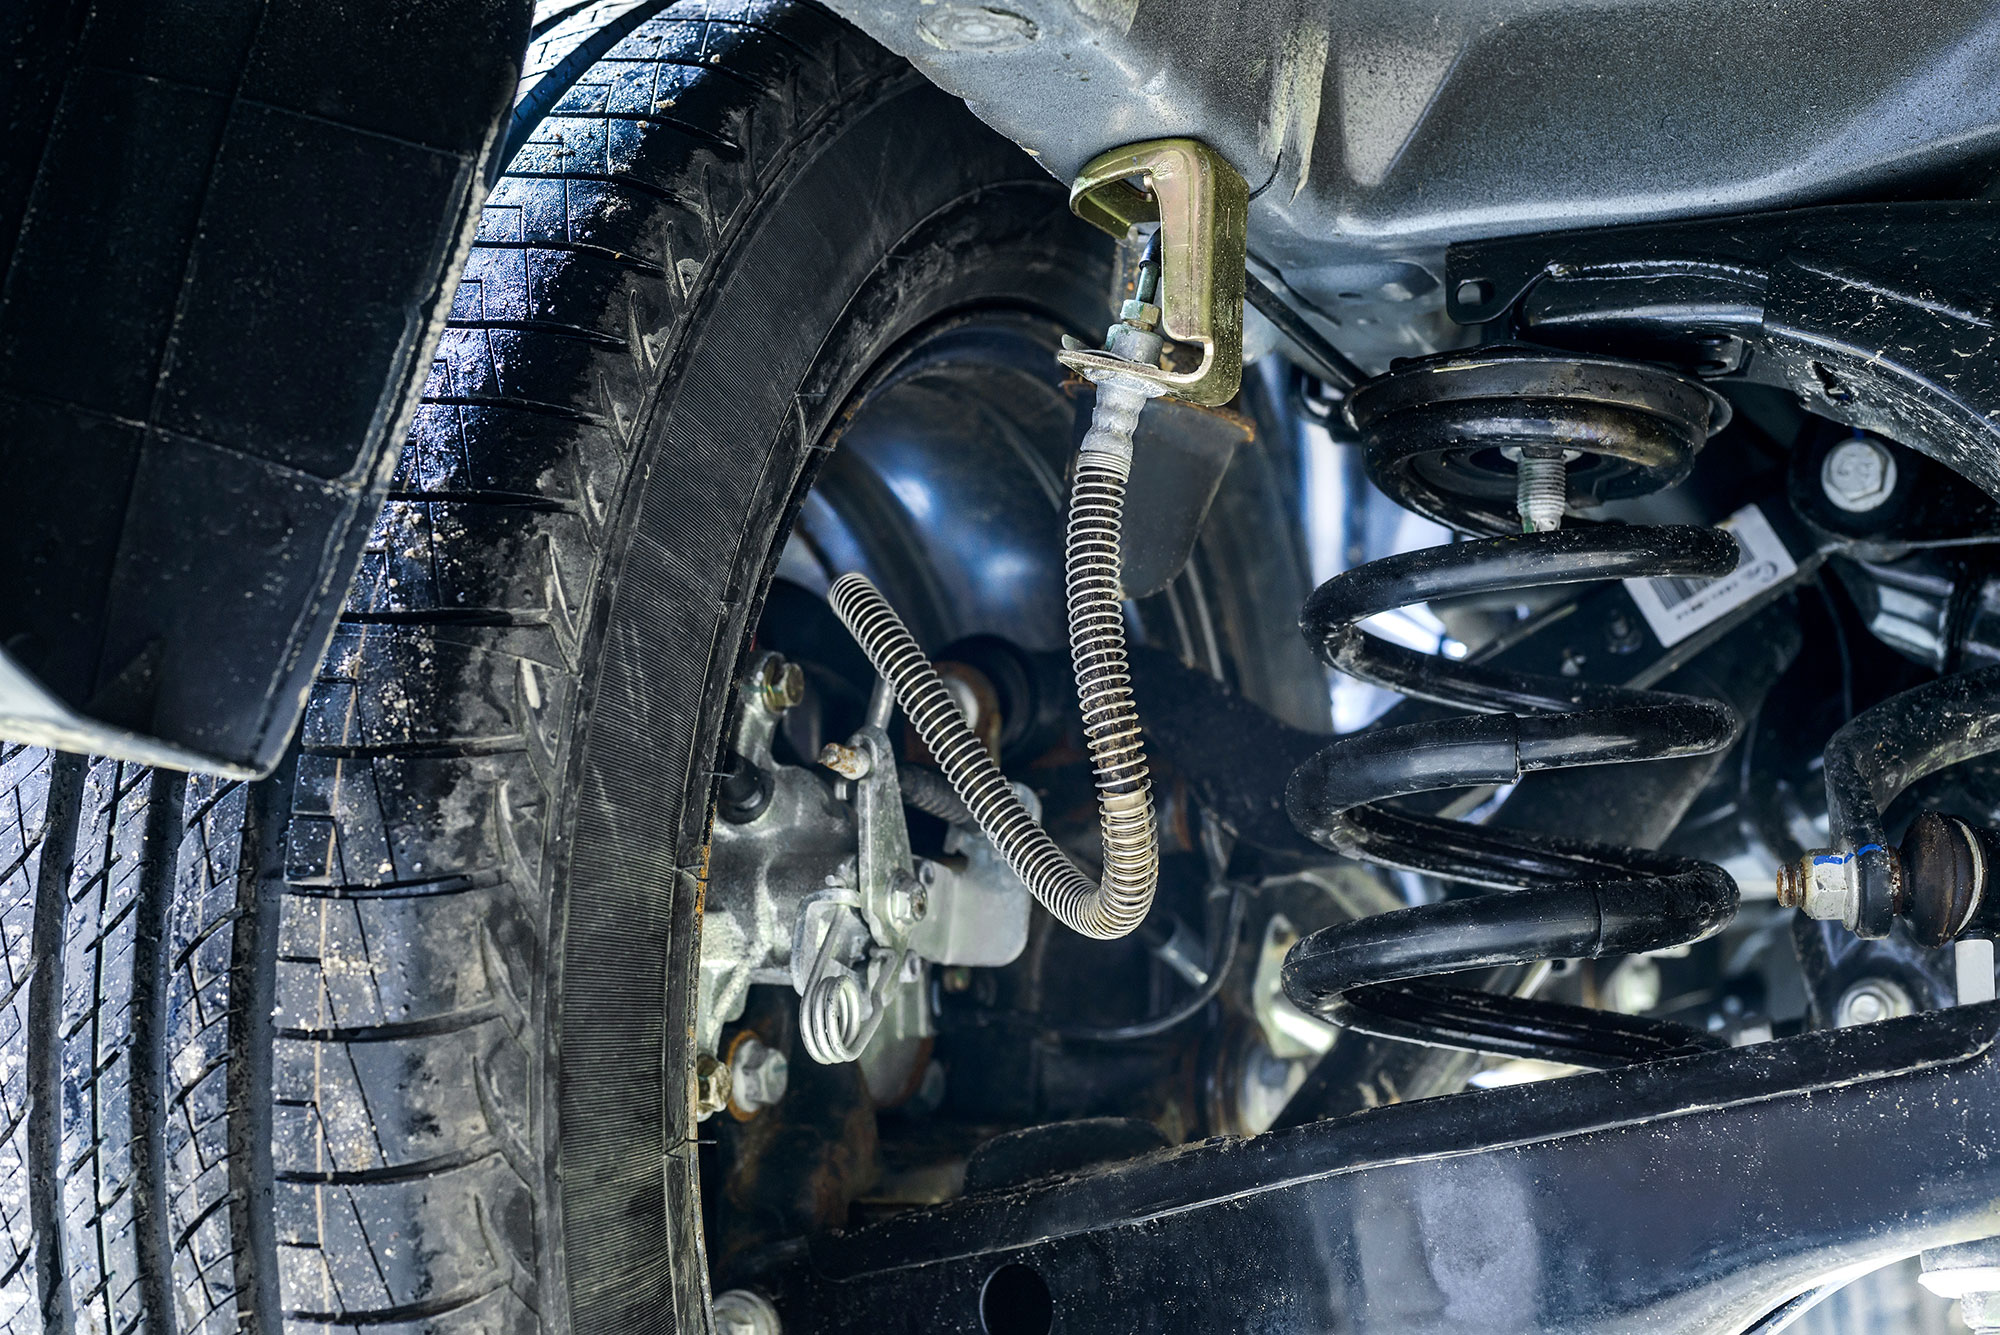
- If there’s a puddle of fluid below the car, you know where to start looking. Examine the area with a flashlight.
- Watch for signs of staining on the underside of the vehicle to see where the leak is coming from.
- If you haven’t found the leak, remove the wheels. You may also need to remove the drums.
- Look carefully around the caliper or wheel cylinder, where slow leaks can occur due to a defective seal.
- Step on the brake pedal several times to drive more fluid out, making the leak more noticeable.
If you still have trouble spotting the leak, it may be best to let a mechanic take over. With the help of a lift, a mechanic gets a better view of what’s going on.
How to Fix a Brake Line Leak
The brake system is made up of brake lines coming out of the master cylinder connecting to brake hoses near the wheels. Brake lines are made from metal and are quite durable. On the other hand, most brake hoses are rubber and are prone to failure.
If you need to replace a leaking brake hose, here are some steps.
- Secure the vehicle on jack stands.
- Remove the wheel.
- Fill up the master cylinder.
- Using a line wrench, open the connection on top.
- Crack the connection going to the brake caliper, but don’t unscrew it.
- Take off the defective brake hose at the top.
- Catch the brake fluid in the pan.
- Take the other end of the hose off of the caliper.
- Screw the new hose to the caliper.
- Place the top portion on the bracket.
- Tighten up all of the connections.
- Check the brake fluid.
- Bleed the brakes. Reference our step-by-step guide to bleeding brakes for more assistance.
- Gently lower the vehicle.
- Pump the brake pedal several times until the pedal is firm.
- Go for a test drive to try the brakes.
Average Brake Line Repair Cost
On average, you might spend $150 to $450 to have a brake hose or line replaced. The hoses may need to be replaced more frequently than a line would.
The cost depends on the type of vehicle you drive and where you take it for service. On the other hand, if you follow our steps, you only need to pay for parts.
Shop now for brake lines


