A flying stone or tiny chunk of concrete is all it takes to put a chip, crack, or bullseye in your windshield. The initial shock from the loud rap on the glass is usually followed by discovering a chip or crack, typically in your line of sight. Here’s the good news: If the damage is smaller than a US quarter, you can fix it with an inexpensive windshield repair kit.
See our video and guide to fixing a windshield chip for step-by-step instructions.
How Automotive Windshield Glass Is Made
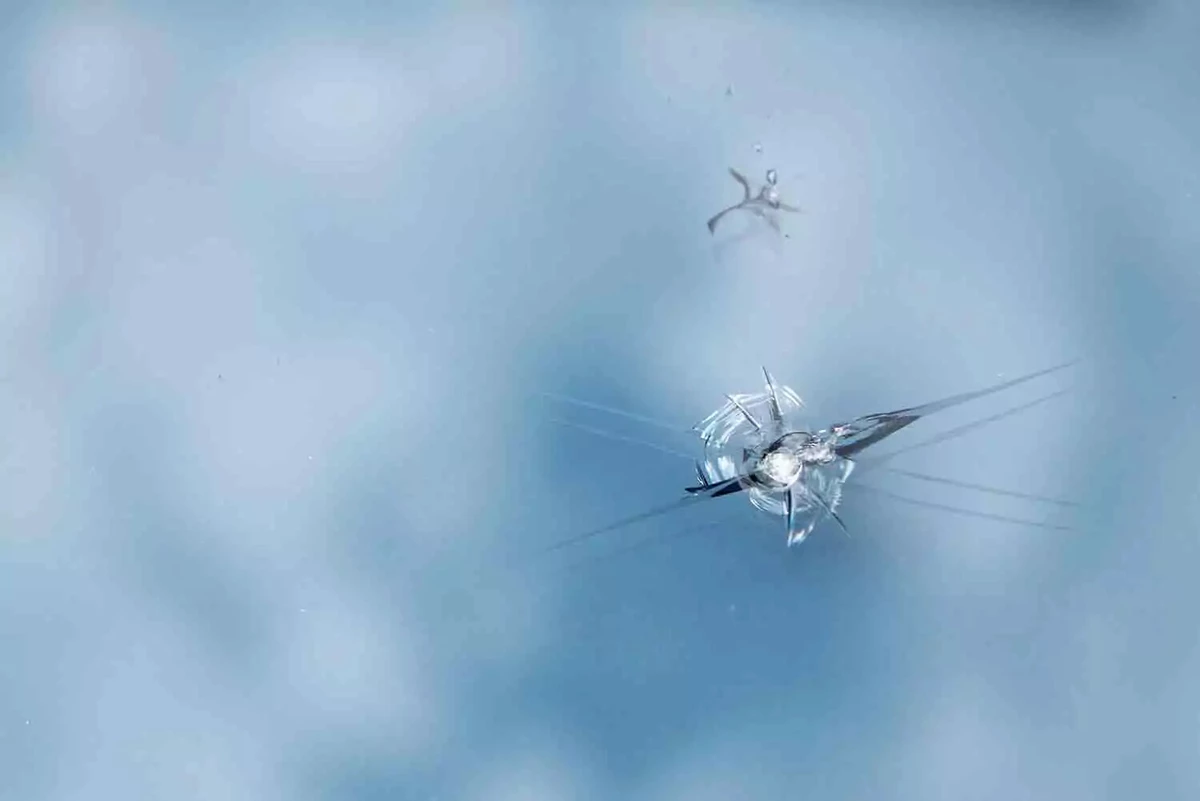
Some windshield chips are easier to fix than others. Smaller is better.
Understanding how to repair minor windshield damage starts with how automotive glass is made. Windshields are made of two layers of strengthened glass and a central layer of tough plastic. The heat-molded glass-and-plastic sandwich absorbs impacts without breaking into sharp pieces. Automakers have been using these laminated glass windshields since the early 1920s.
Today's windshield glass is structural. That means the windshield contributes to the structural strength of your vehicle. Older car windshields were fitted with a rubber seal and dropped into the frame. Modern vehicles use powerful adhesives that bond the laminated glass to the metal body structure, improving rollover crash protection.
How Windshield Repair Kits Work
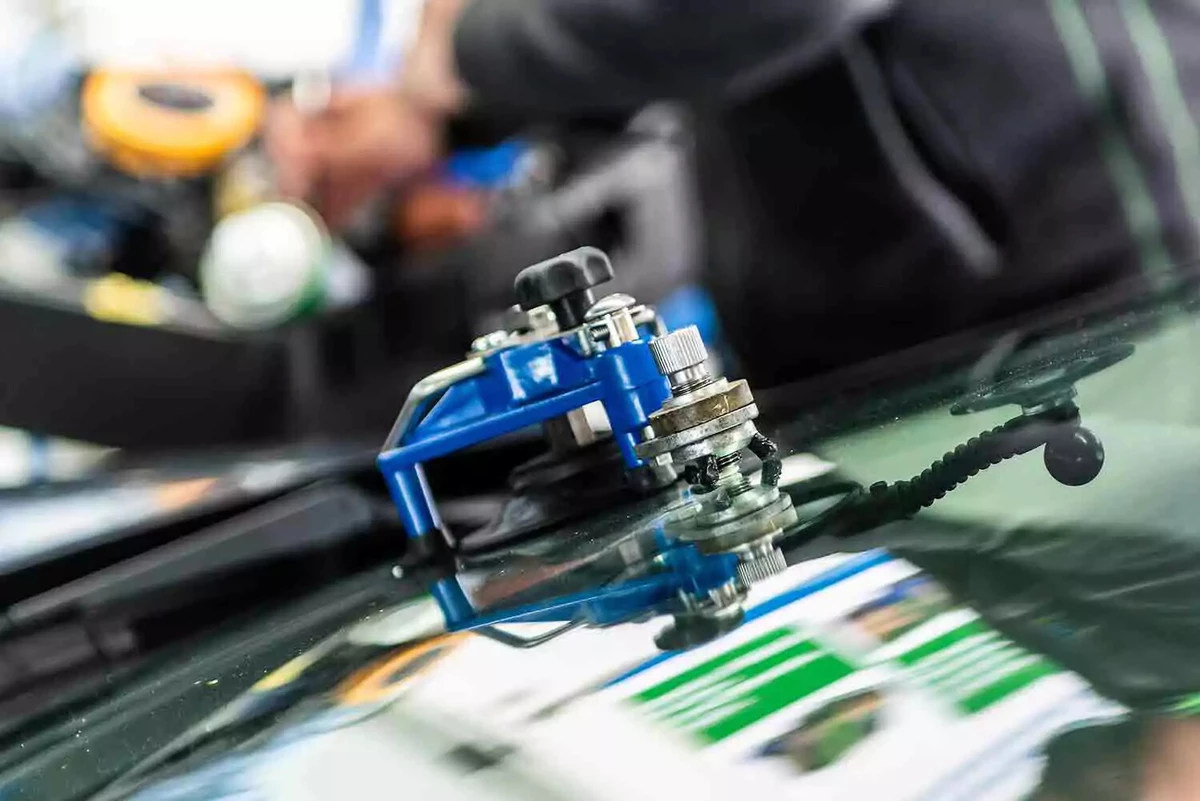
Windshield chip repair kit prices range from under $10 to thousands for professional kits.
Kits designed for crack repair may include curing sheets like you find in a plastic cell phone screen protector. The removable sheets force air bubbles out of the resin and hold the liquid in the crack during the curing process.
Do-it-yourself glass repair resin kits have limitations. Spiderweb cracks or damaged sections with electronic sensors or antennas cannot be repaired. Replace the windshield if the crack extends through the edge of the laminated glass. Most kits only work for chips smaller than 1.25 inches in diameter.
Tips for a Successful Do-It-Yourself Windshield Repair
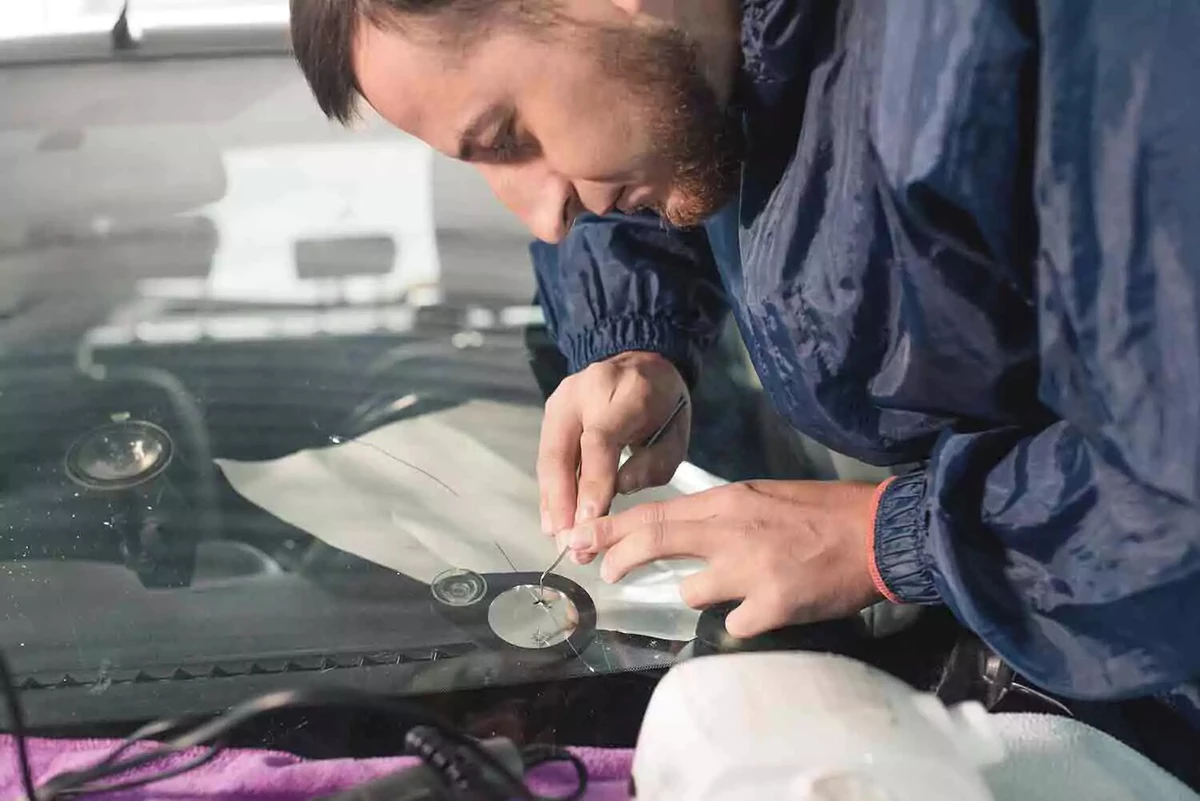
Successful windshield repair requires prep work.
Don't expect perfection. Even the best DIY windshield repair might still be visible from certain angles. Aim for the best and settle for good enough to stop windshield damage from getting worse.
Follow the instructions that come with the repair kit for the best results. We have a few more DIY window chip repair tips and tricks.
Cleanliness matters. Thoroughly clean the windshield and allow the work area to completely dry. Dirt or grime contamination prevents the resin from flowing into the crack and making a clear seal.
Don't force it. Let the resin flow on its own. Too much pressure can cause cracks.
Stay out of the sun. Work in the shade until you’re ready to cure the resin. Sunlight turns liquid resin solid.
Take your time. Allow for the recommended resin curing time in sunlight.
Temperature matters. Glass repair resin flows best between 50°F and 75°F (10°C to 25°C). If it’s frigid, you may have a hard time. If it’s hot, tackle the job in the early morning.
What to Do If Your Windshield Is Damaged

Small chips can grow into an unrepairable edge-to-edge crack.
When are safely back hom, take stock of the damage. DIY windshield repair kits are most effective on chips and bullseyes no larger than 1.25 inches. They work on cracks less than a foot long. Check the repair kit manufacturer's recommendations and limitations. Then, get the appropriate kit to address the damage.
Driving with a chipped or cracked windshield increases the chances of a small chip or bullseye growing into an unrepairable edge-to-edge crack. Make repairs as soon as possible after damage occurs. Acting quickly increases the likelihood of a successful DIY repair.
About the author

Share your feedback
This article is meant to provide general guidance only. Automotive maintenance, repair, upgrade, and installation may depend on vehicle-specifics such as make and model. Always consult your owner's manual, repair guide for specific information for your particular vehicle and consider a licensed auto-care professional's help as well, particularly for advance repairs.
Recommended for you
Find answers and inspiration
Buying the Right Windshield Washer Fluid
6 min read
How to Repair a Chipped Windshield
7 min read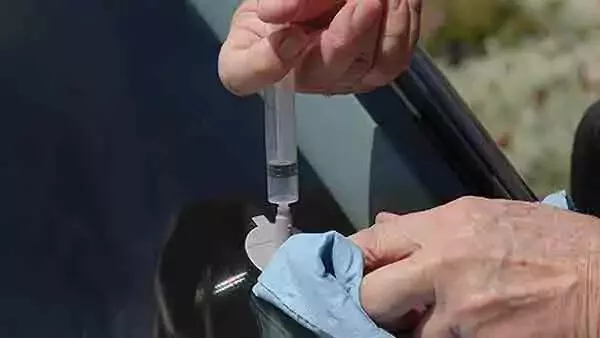
How to Buy the Best Windshield Chip Repair Kit
5 min read
How to Change Windshield Wipers
3 min read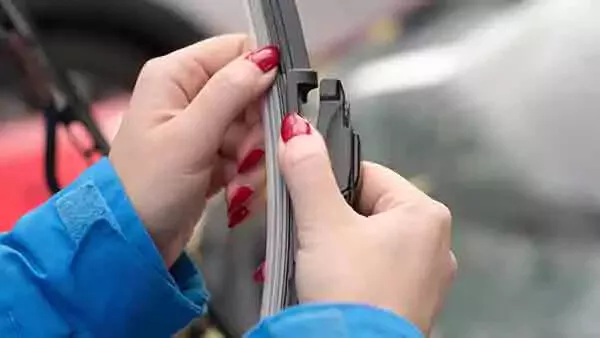
What You Should Know About Windshield Wipers
4 min read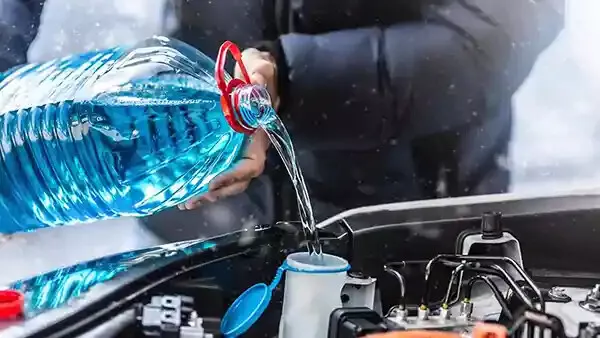
Essential Info About Windshield Washer Fluid
6 min read
How to Refill Windshield Washer Fluid
4 min read