A small thermo-mechanical device—a thermostat or t-stat—controls your engine’s temperature. Unlike your home thermostat, your engine’s t-stat is not adjustable. (The latest engine technology is starting to use electronically assisted t-stats.)
What Happens When a Car Thermostat Goes Bad?
When your engine thermostat fails, the valve could get stuck closed, causing your engine to overheat. That’s the most significant risk. An open t-stat allows the engine to run too cool, potentially causing engine sludge and illuminating a check engine light.
Manufacturers commonly suggest replacing the thermostat when draining or flushing the engine’s coolant—about every five years or 60,000 miles. Consider replacing the t-stat when replacing other parts, such as the water pump - opens in new window or tab. or timing belt - opens in new window or tab..
How Long Does It Take to Change a Car Thermostat?
This job usually takes less than an hour, especially if your thermostat is easily accessible. However, it could take longer if your engine requires removing other components, as with our demo vehicle.
Tips and Tricks for DIY Car Thermostat Replacement
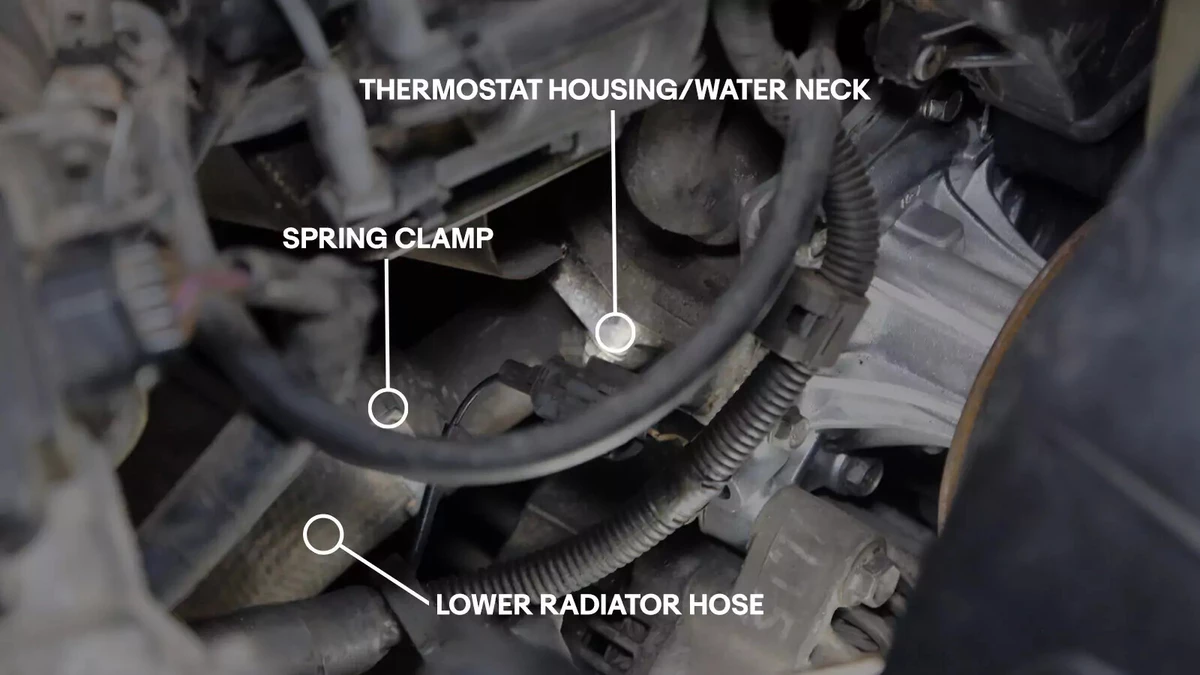
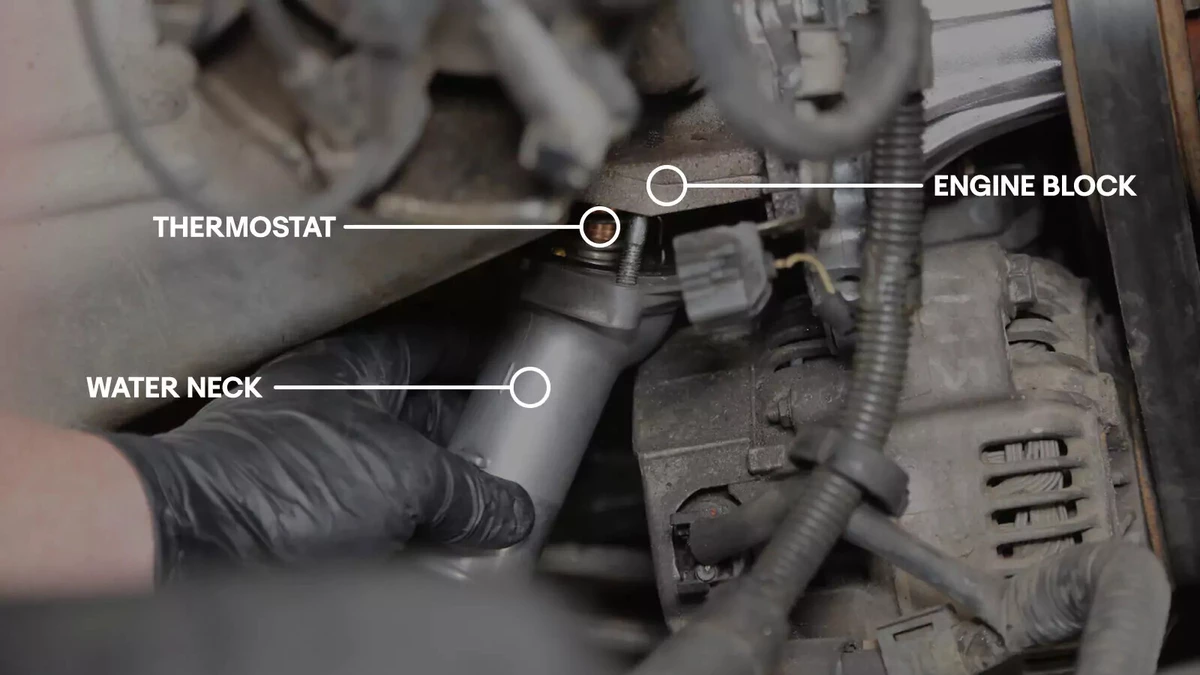
- On most vehicles, the thermostat is located in the upper water neck (on the engine output side). However, on some engines, such as the one in our demo vehicle, it is on the lower radiator neck on the engine input side.
- Changing the thermostat requires disconnecting the radiator hose. That makes it an excellent time to replace the old radiator hose - opens in new window or tab. with a new one.
- On some newer engines, the water neck and thermostat are a single assembly that is replaced simultaneously.
- Most engines will lose only a small amount of coolant because the upper hose won’t drain much. If you have to disconnect the lower radiator hose (as we did), the coolant will drain. Plan accordingly, and purchase enough coolant and distilled water (50/50 premix). Verify the correct coolant to use on your specific model. Your owner’s manual should indicate how much coolant is needed, typically two to four gallons.
The thermostat is commonly located in the water neck at the top of the engine, connected to the upper radiator hose. The water neck is removable.
If you can’t locate the thermostat, check your vehicle’s repair manual.
The thermostat is on the lower hose of our demo vehicle, which is uncommon.

Place a drain pan under the general area where the thermostat is located.
Most engines will lose only a small amount of coolant because the upper hose won’t drain much. If you have to disconnect the lower radiator hose (as we did), the coolant will drain.
If you have to drain the radiator, place the pan under the drain and open it.
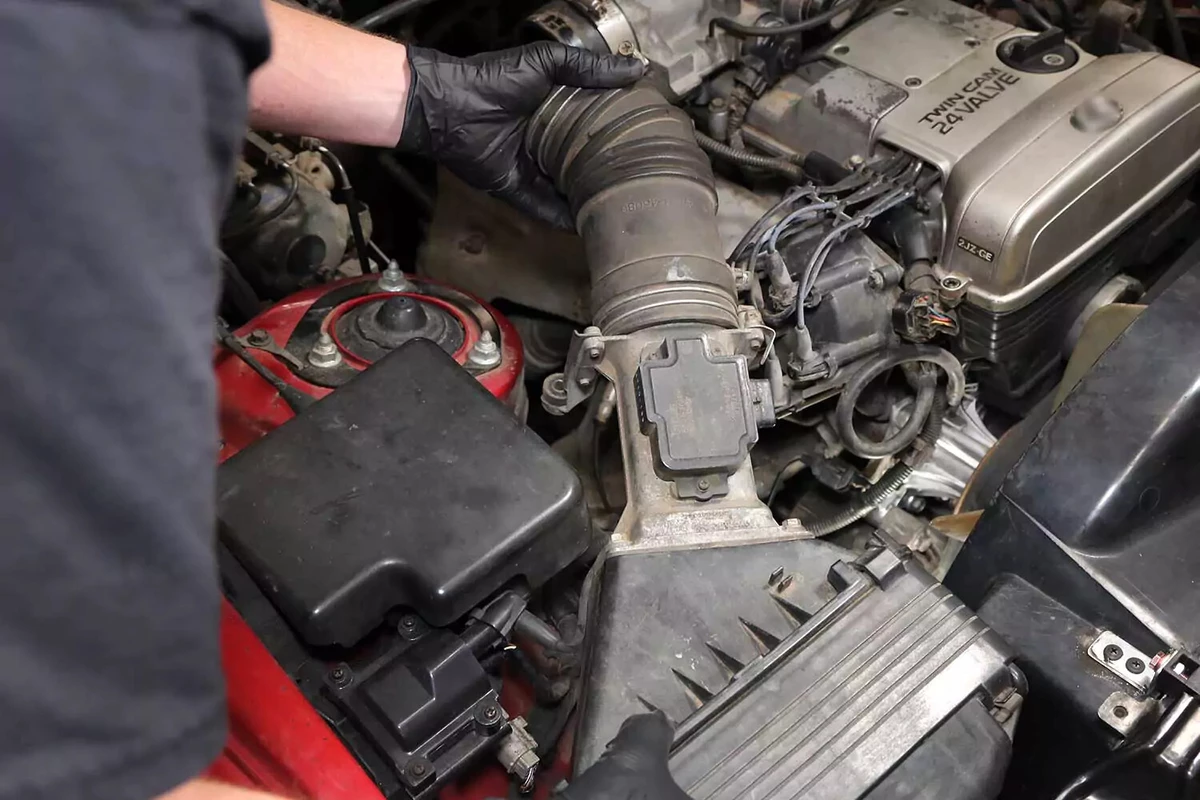
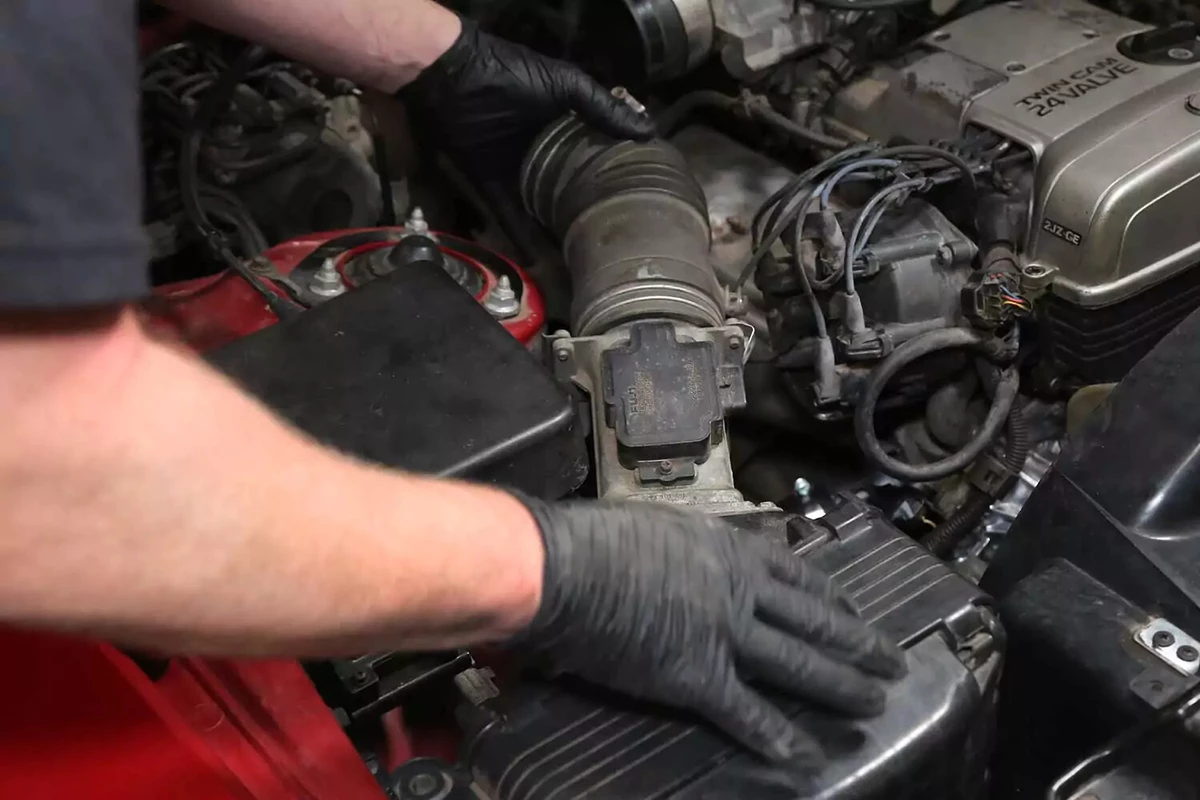
Remove any components—such as air intakes, brackets, or braces—that are in the way of the water neck. We removed the airbox and intake tube, a common task for this job. Depending on your vehicle's engine layout, you may need to remove other components.
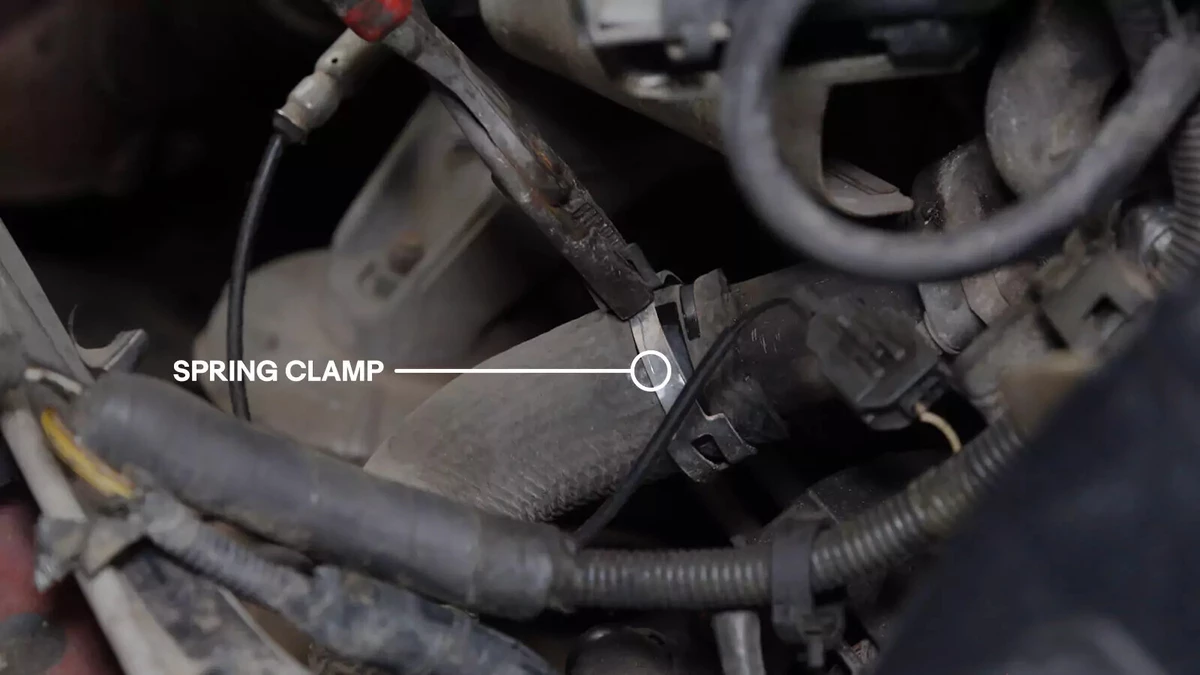
Remove the clamp connecting the radiator hose to the water neck. This vehicle uses spring steel clamps, which you can remove with pliers or a spring-clamp tool.
Slide the clamp off the hose. Then, twist and pull the hose off the neck. If the hose is bonded to the neck, you might have to cut it off. If you must dissect the hose, don’t scratch the neck. Scratches can become hard-to-find leaks.
When you pull the hose off, coolant will come out. Direct the hose towards the drain pan. Immediately clean up any spills to avoid contact with children or pets.
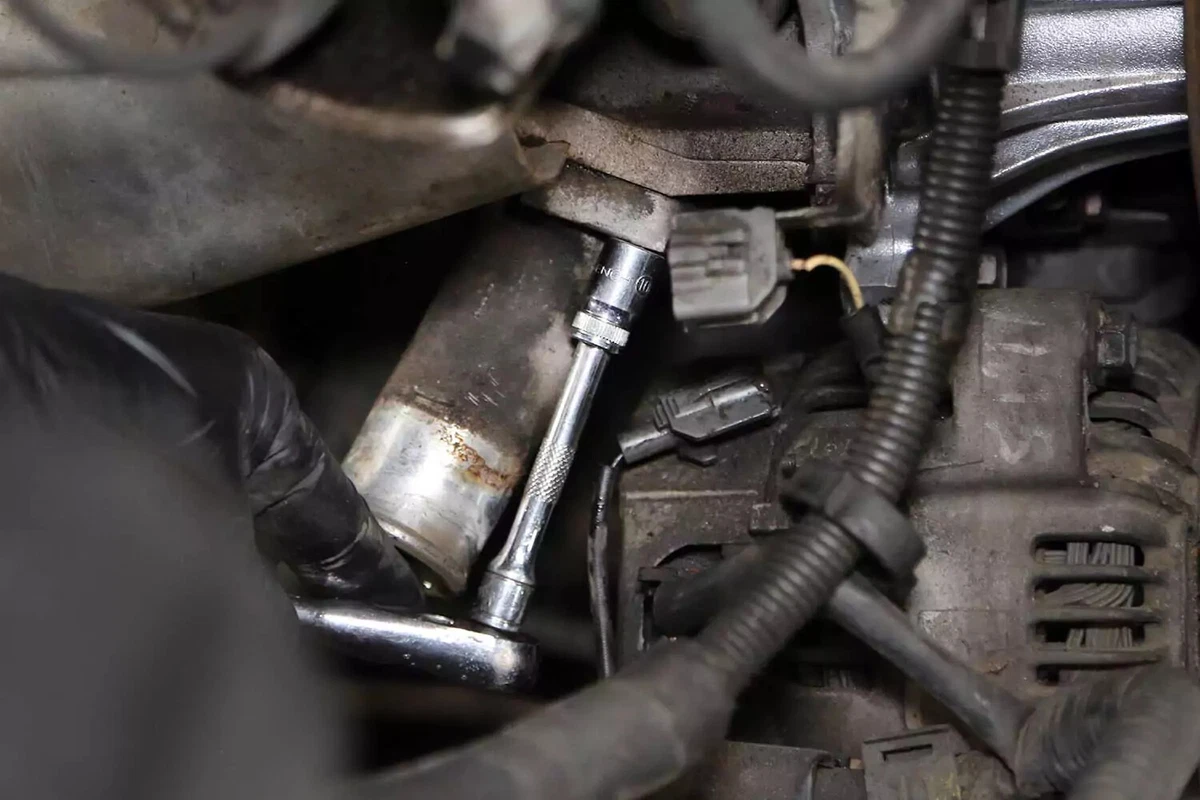
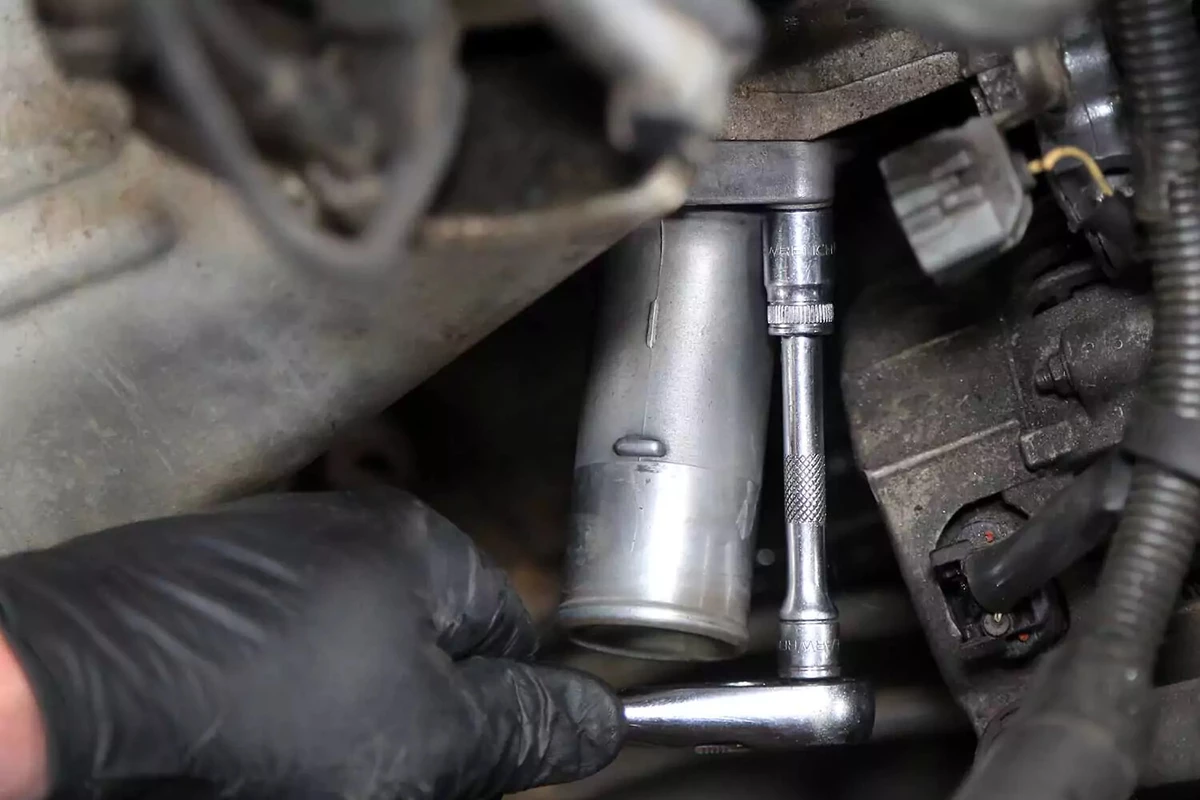
Remove the bolts or nuts holding the water neck to the engine. There are typically two or three bolts on the neck.
If necessary, use penetrating oil to break up rusted bolts.
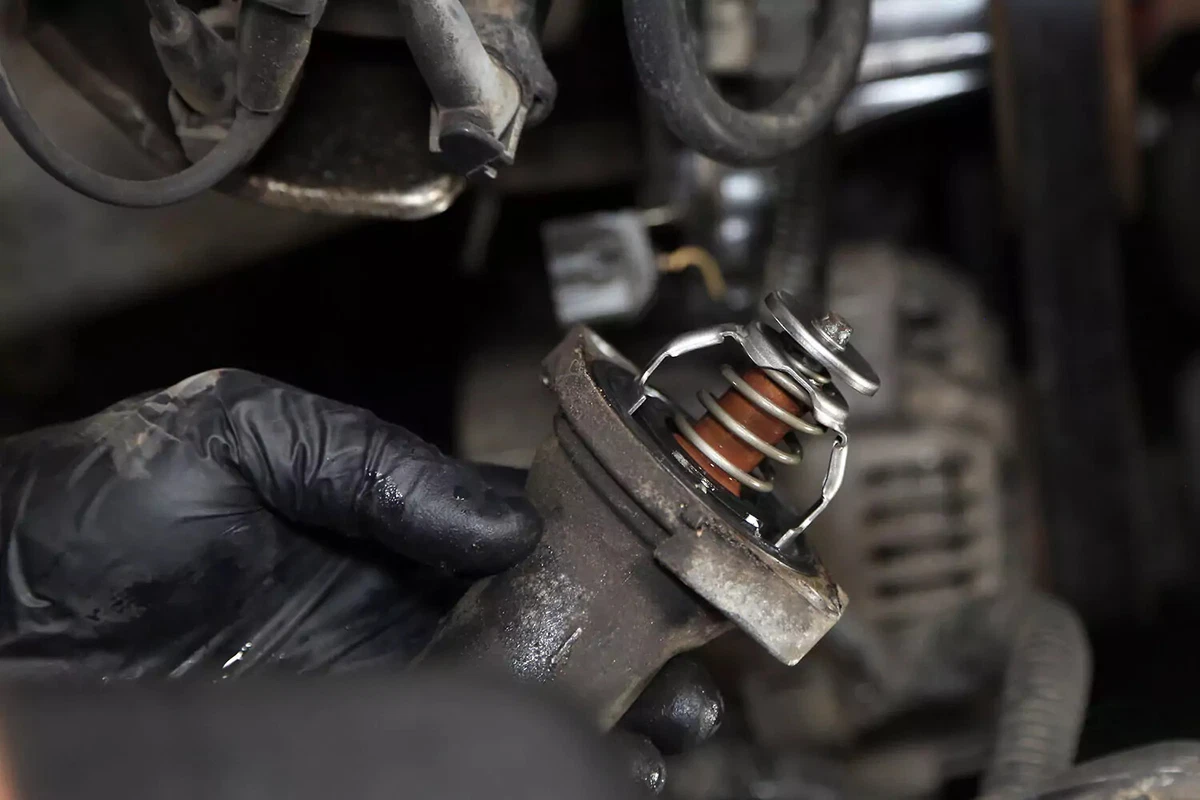
Gently wiggle the water neck to break the seal. Pull the housing off the engine. Sometimes, the thermostat comes out with the neck, although it might remain in place.

Separate the thermostat from the water neck.
Relatively newer engines use rubber or silicone seals or O-rings. Older engines use a paper gasket. If your engine has a paper gasket, clean all the old gasket surfaces down to the bare metal.
Remove the silicone gasket sealer if it was previously used in addition to or in lieu of a paper gasket.
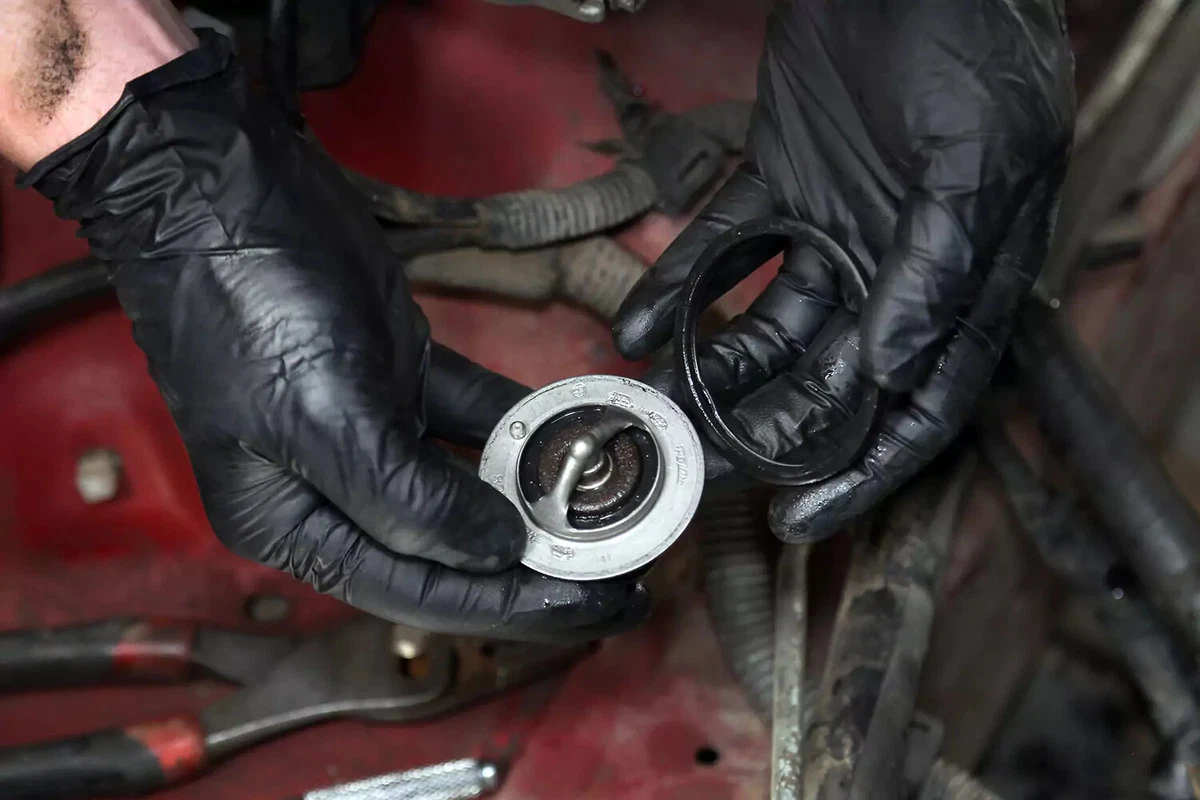
If your vehicle uses a silicone boot-type seal, you may need to reuse it. We carefully removed it and examined it for damage. This one was in good shape, so we reused it. Some replacement thermostats are sold with this seal.
Install the new or reused old seal to the thermostat housing.
If your engine uses a paper water neck gasket, install the thermostat into the engine recess and place the paper gasket over it.
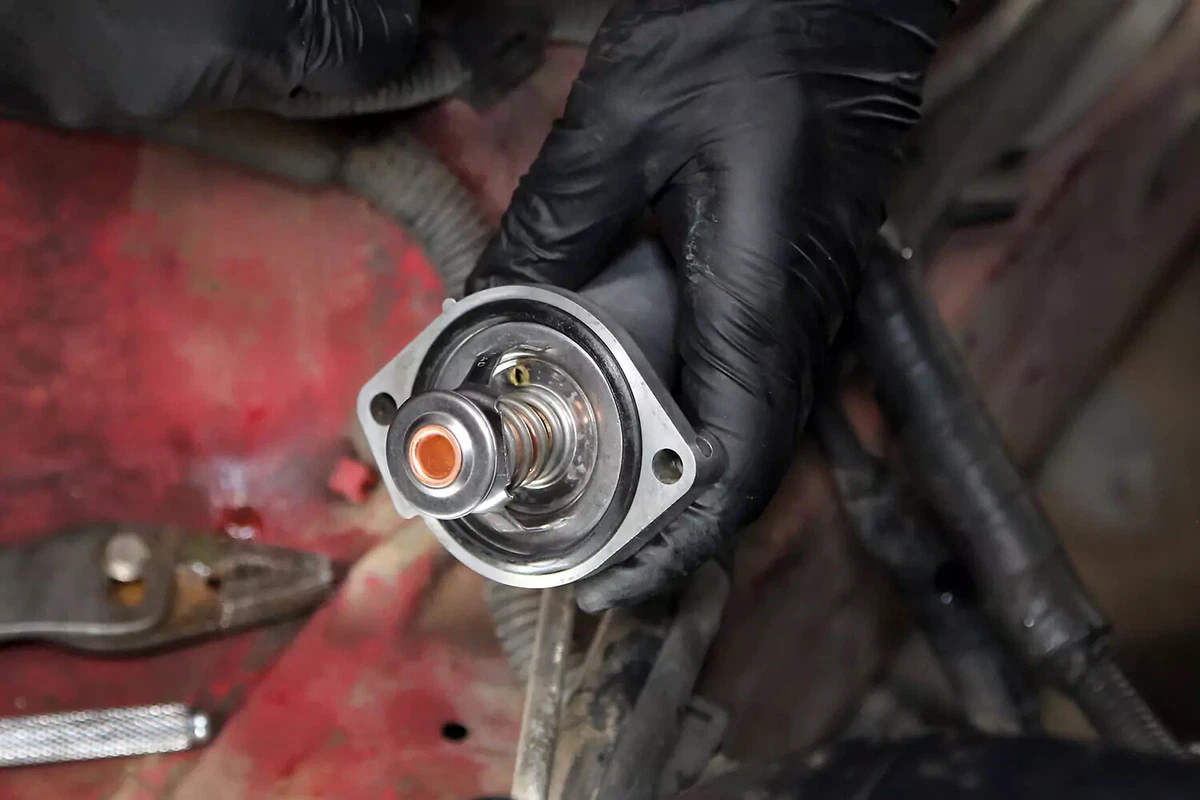
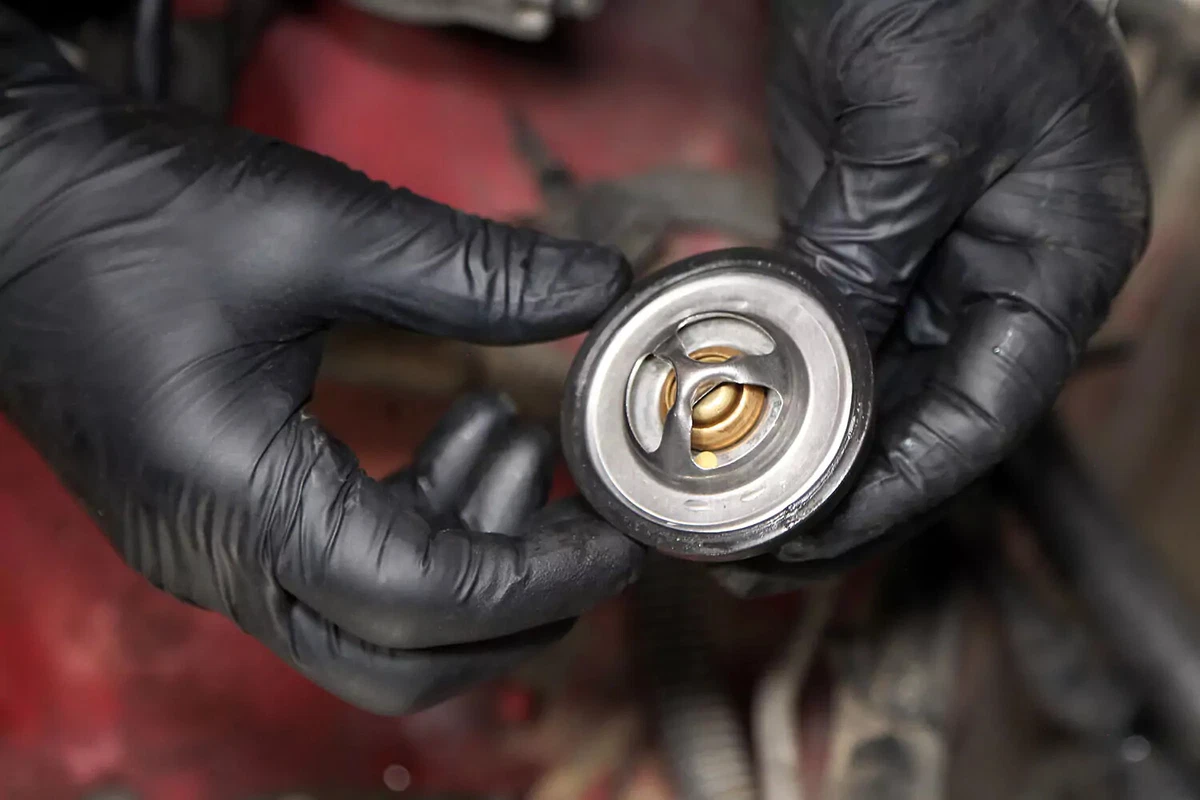
Install the thermostat into the housing (or engine as required) with the spring and valve going into the engine. If you insert it upside down, the engine will overheat because the hot coolant won’t warm up the mechanism. The thermostat in our demo vehicle loads into the water neck.
Install the water neck and thermostat assembly into the engine.
Install the nuts and bolts that secure the neck to the engine. Tighten them down. These are typically torqued at 15 to 20 pound-feet, so you can do this by hand until they’re snug but not too tight.
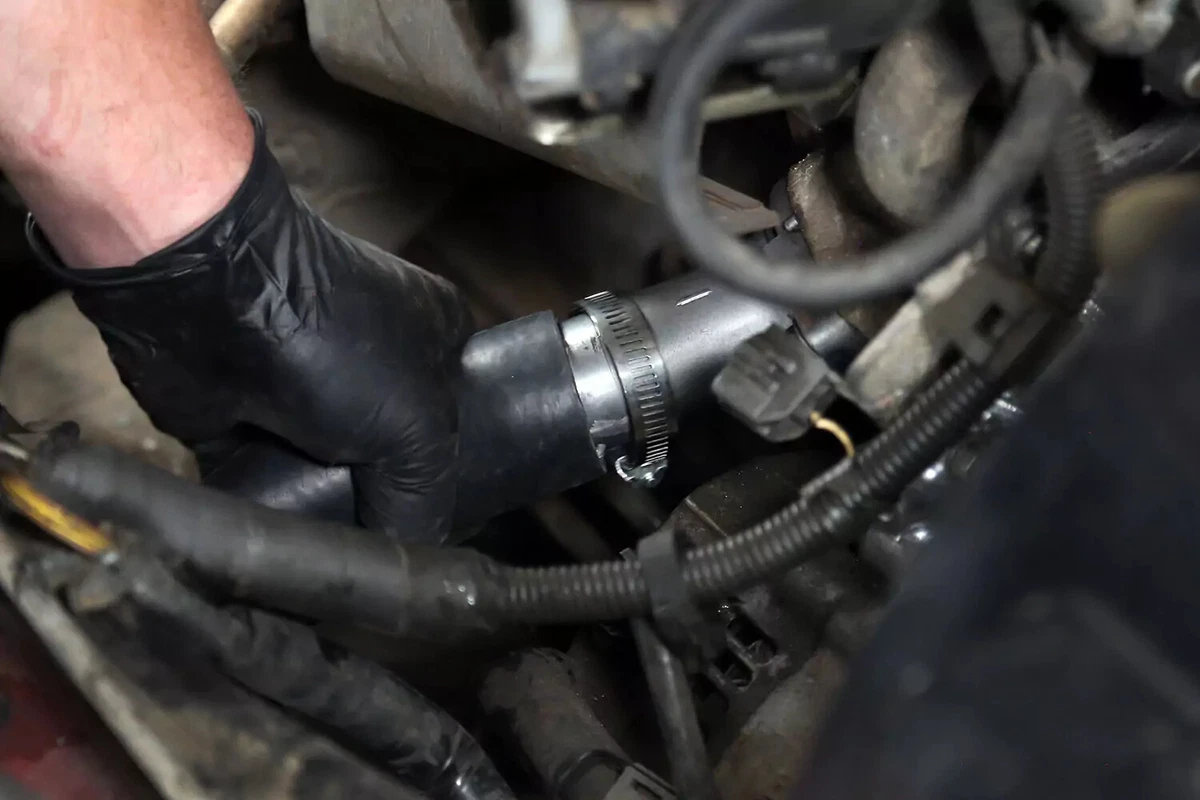
Connect the radiator hose to the water neck. Slip the hose clamp on first. If you’re replacing the hose, connect the other side to the radiator.
We replaced the spring clamp with a worm-gear style hose clamp. Spring clamps can be more effective, but we wanted to show the process with both clamp types.
Worm-gear clamps are easier to remove in emergency roadside situations when you might not have large pliers.
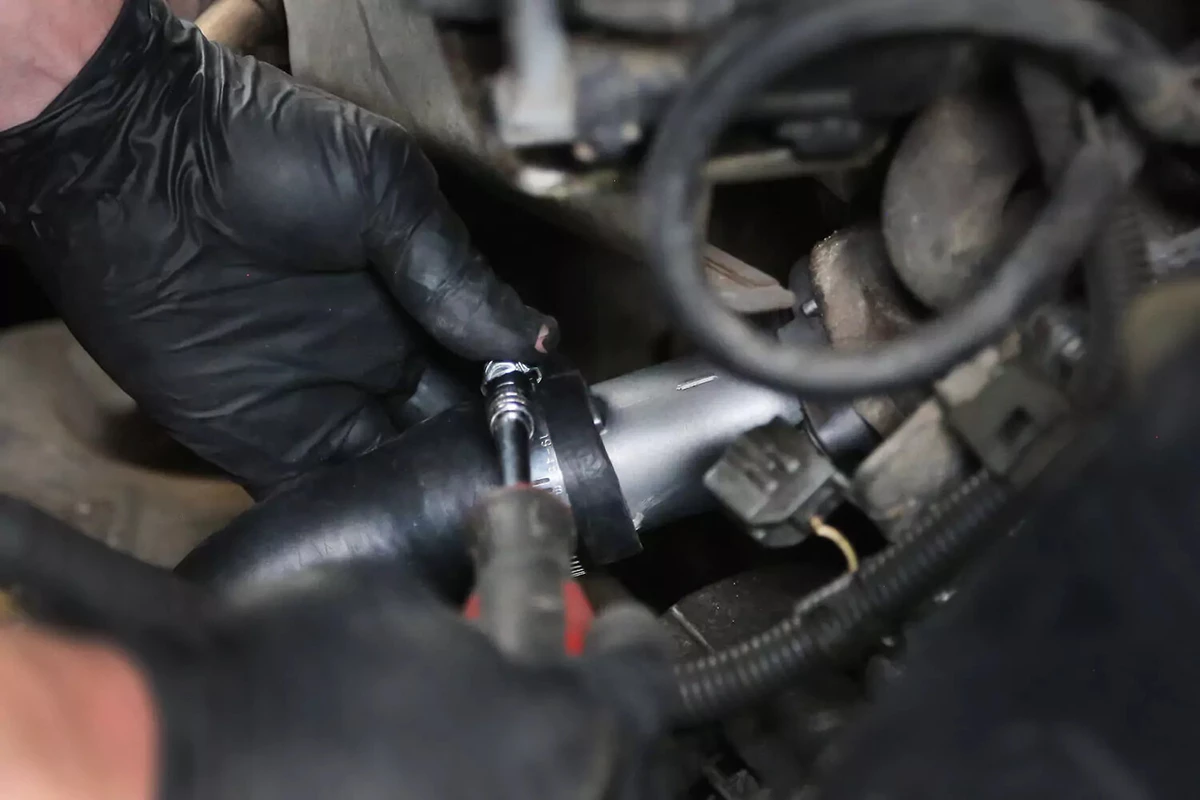
Don’t over-tighten the hose clamps. The clamp is too tight if the rubber hose bulges through the gear slots. That could cause the hose or clamp to fail.
If you removed components to gain access to the housing, reinstall them now.

Finally, fill the new radiator with a 50/50 mix of coolant and distilled water. It is easier to buy pre-mixed coolant, so you don’t have to find distilled water. Avoid using tap water, which has minerals and salts that can cause sediment to build up and corrode inside your cooling system and engine.
At this stage, your radiator will only take so much coolant. In other words, the cooling system won’t fill up until the engine reaches its normal operating temperature (usually 180 to 205 degrees Fahrenheit) and the thermostat is hot enough to open.
To properly fill the radiator, follow these steps:
- Start the engine and let it idle for a few minutes until the system reaches its operating temperature.
- Once the engine is warmed up to the point where the thermostat opens, coolant will start to move, and the level will drop. Also, the upper hose will get hot.
- Continue adding the coolant-water mix until it is once again at the top.
- Turn the heater all the way up so the heater core fills with fresh coolant as well.
- Replace the radiator cap and fill the expansion or recovery tank to the hot fill line on the reservoir's side. Turn off the engine and allow it to cool for at least an hour.
- Check the fluid level again. It will probably be low. Top it off another time. Do this for the next couple of days (after driving the vehicle) until the system is full. Never open a hot radiator. That’s dangerous.
- You might need to remove the remaining air from the system by burping your radiator. This typically requires running the car with the radiator pressure cap off for several cycles, allowing the air to escape. Consult your repair manual for details.
Your engine should promptly come up to operating temperature. It shouldn’t overheat, even after extended idling. Expect to smell some coolant boiling on hot surfaces for the first few minutes.
If your check engine light was on—caused by an overly hot or cold engine—you can disconnect the battery ground for 10 seconds to reset it. However, it should reset independently after a couple of engine run cycles.
About the author

Share your feedback
This article is meant to provide general guidance only. Automotive maintenance, repair, upgrade, and installation may depend on vehicle-specifics such as make and model. Always consult your owner's manual, repair guide for specific information for your particular vehicle and consider a licensed auto-care professional's help as well, particularly for advance repairs.
Recommended for you
Find answers and inspiration
How to Replace a Radiator Hose
5 min read
How to Flush and Change Engine Coolant
6 min read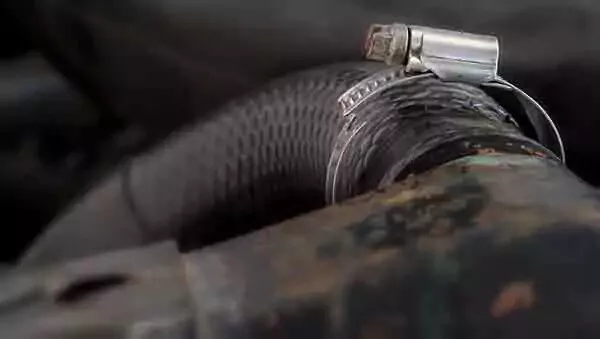
Everything You Need to Know About Radiator Hoses
6 min read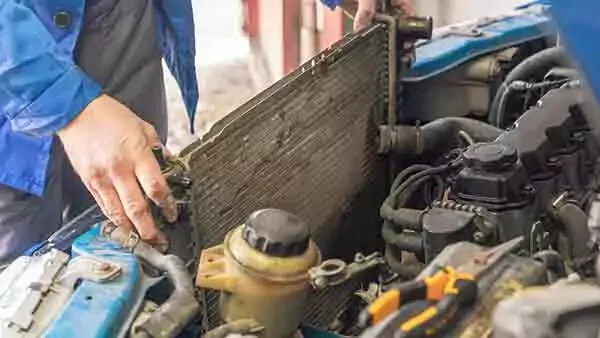
What You Should Know About Your Car Radiator
6 min read
How to Find the Right Radiator For Your Vehicle
6 min read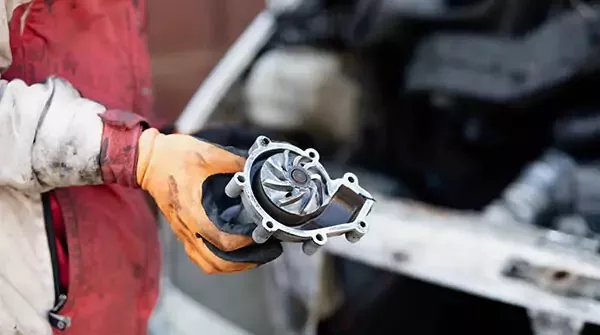
A Quick Guide to Your Car's Water Pump
6 min read
How to Change a Water Pump
8 min read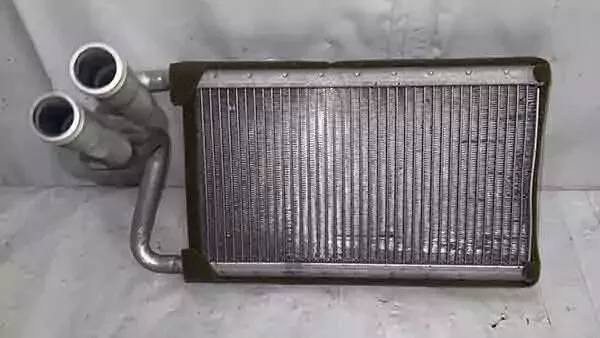
How to Buy the Right Heater Core
5 min read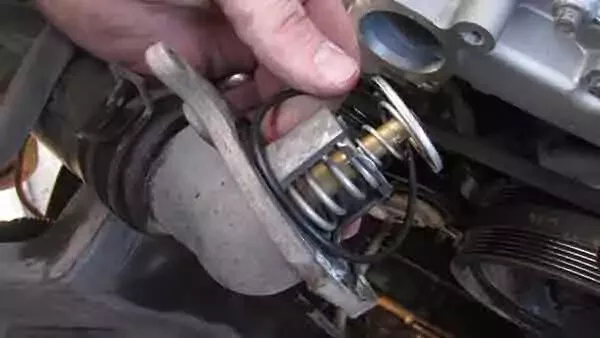
How to Choose a Thermostat for Your Vehicle
5 min read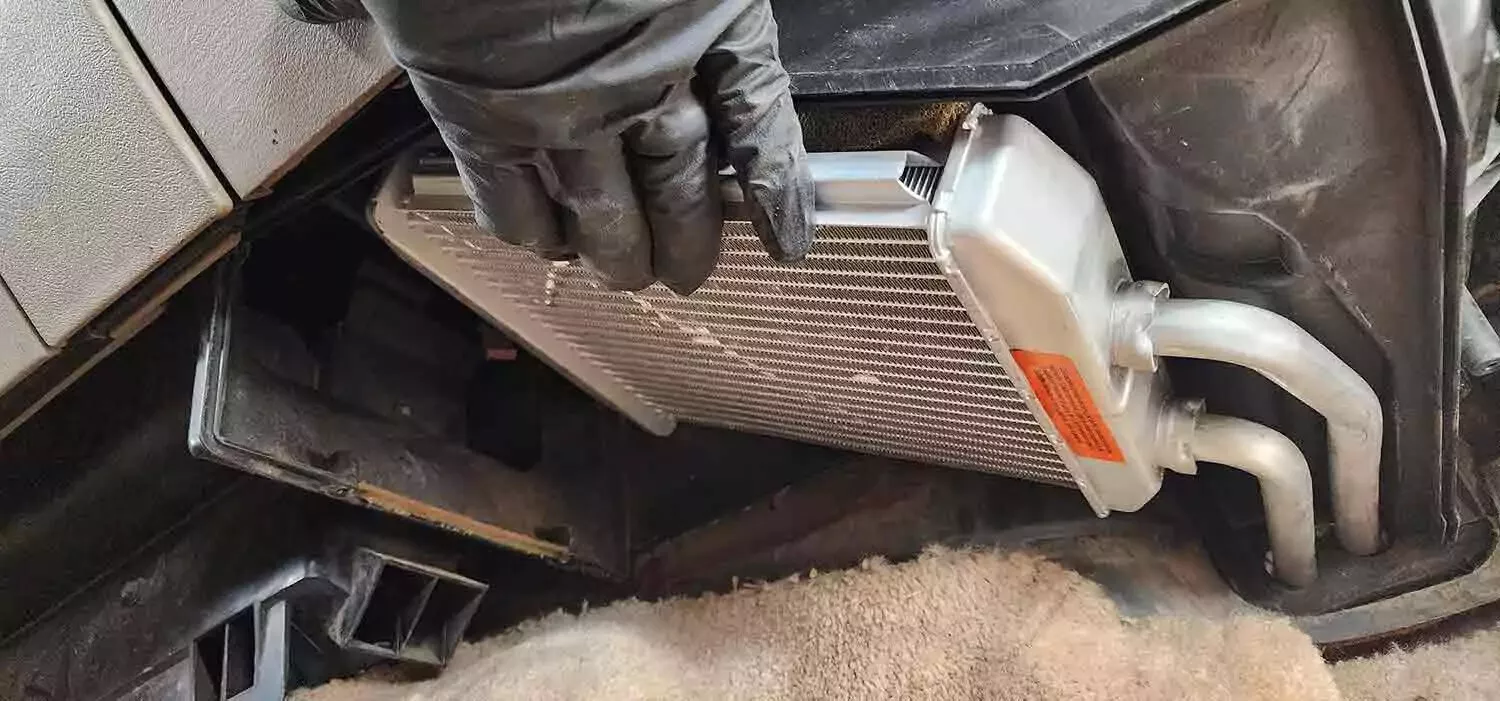
How to Replace a Heater Core
12 min read
Diagnosing a Bad Heater Core
5 min read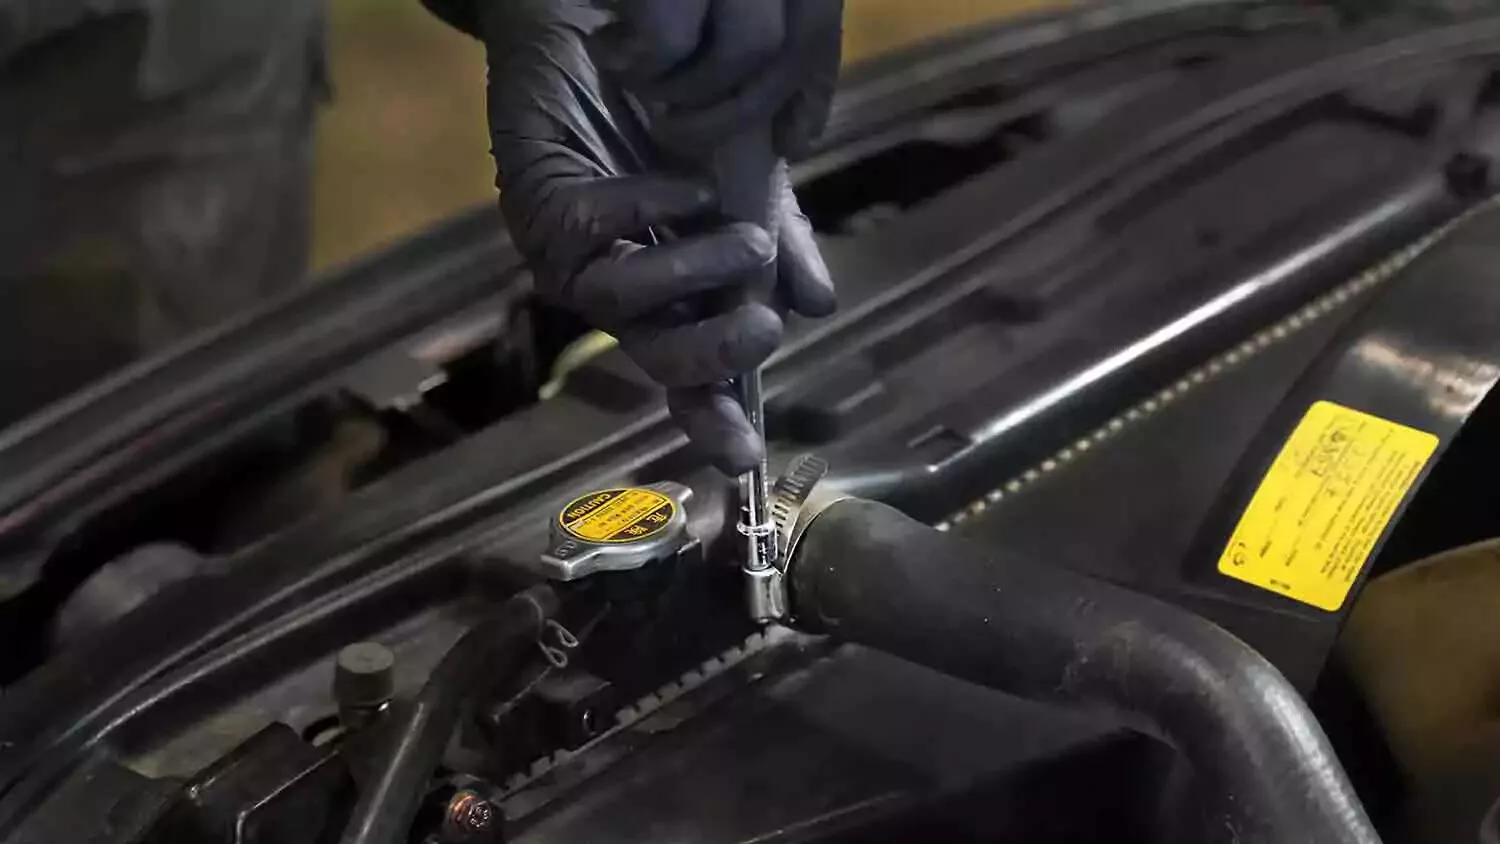
What to Consider When Buying a Radiator Hose
5 min read
Buying the Right Water Pump for Your Car
5 min read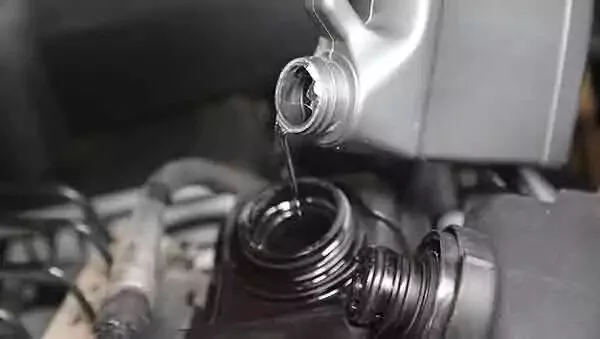
Selecting the Right Coolant for the Next Flush
5 min read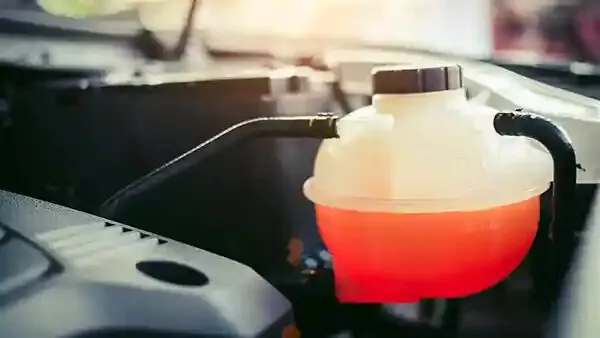
The Essentials of Engine Coolant
5 min read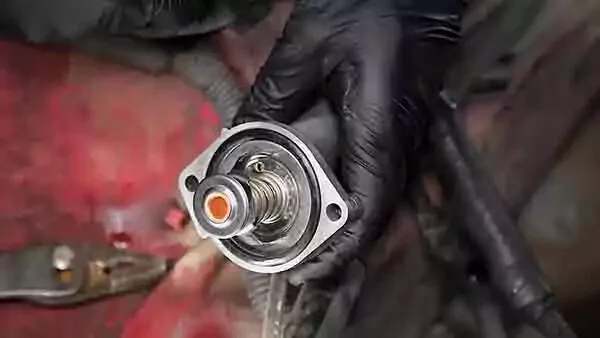
Everything You Need to Know About Car Thermostats
6 min read
How to Replace a Car Radiator
8 min read
Explore more projects

How to Replace a Car Starter
1 to 2 hours
Intermediate
7 min read

How to Replace Spark Plugs
1 to 2 hours
Intermediate
7 min read
How to Replace a Transmission Mount
1 to 2 hours
Intermediate
7 min read

How to Replace Engine Mounts
1 to 2 hours
Intermediate
4 min read

How to Change Manual Transmission Fluid
Less than 30 minutes
Intermediate
4 min read
How to Change a Water Pump
1 to 2 hours
Intermediate
8 min read

How to Replace an Intake Manifold Gasket
2 to 5 hours
Intermediate
7 min read

How to Replace Wheel Bearings
1 to 2 hours
Intermediate
7 min read

How to Replace Tie Rod Ends
30 to 60 minutes
Intermediate
8 min read
How to Replace a Heater Core
More than 5 hours
Intermediate
12 min read

How to Replace a Power Steering Pump
1 to 2 hours
Intermediate
7 min read

How to Replace a Steering Gearbox
2 to 5 hours
Intermediate
8 min read
How to Replace Power Steering Fluid
1 to 2 hours
Intermediate
8 min read

How to Change Automatic Transmission Fluid
Less than 30 minutes
Intermediate
6 min read
How to Replace a U-Joint
1 to 2 hours
Intermediate
14 min read
How to Replace a Car Radiator
1 to 2 hours
Intermediate
8 min read

How to Change an In-Tank Fuel Pump
2 to 5 hours
Intermediate
9 min read