Engine coolant, commonly called “antifreeze,” should be replaced at least every two to five years, depending on the coolant type used by your engine. Coolant becomes contaminated and loses its resistance to corrosion and freezing over time. Using weak coolant could result in cooling system damage.
The coolant type makes a difference. There are three main types:
Inorganic acid technology (IAT): This coolant, the classic green stuff, should only be used for vehicles built before the mid-1990s. IAT works well but only lasts about two years before losing its resistance to corrosion and freezing. When it gets old, IAT becomes toxic to your cooling system’s internal components, eating away at metals and seals. IAT coolant cannot be mixed with organic acid technology (OAT) coolant. If you have a copper or brass radiator, you must use IAT coolant. Don’t use OAT, which damages metal.
Organic acid technology (OAT): This coolant is better at resisting freezing and remains effective longer. OAT is often claimed to last five to 10 years. We believe it starts to degrade after three years. It’s less toxic but is not suitable for copper and brass cooling components. Nearly all engines built after 1995 require OAT coolant. Again, never mix IAT and OAT coolants. It will likely cost thousands of dollars to repair the impact.
Hybrid organic acid technology (HOAT): This is the only antifreeze type that can be mixed with the other two coolant types. HOAT was developed to avoid the massive problems caused by mixing OAT and IAT. It is called “universal” or “any color” coolant. Most automakers have switched to this coolant type.
We recommend flushing your cooling system when changing the coolant. Over time, minerals, dirt, debris, and other contaminants get into the system. These minerals are abrasive to your cooling system.
Flushing is a two-stage process. After the flush treatment is added to the radiator, bring the engine to operating temperature and then allow it to cool. After it reaches a safe temperature, drain the coolant. Finally, refill the cooling system with fresh coolant.
Tips and Tricks
- Never open a hot cooling system. Always give the coolant at least 30 minutes to cool.
- We recommend using pre-mixed coolant. That ensures the water is mineral-free and the formula is the correct 50/50 mix. If you decide to mix your own, use distilled water. Tap water has minerals that can damage your cooling system.
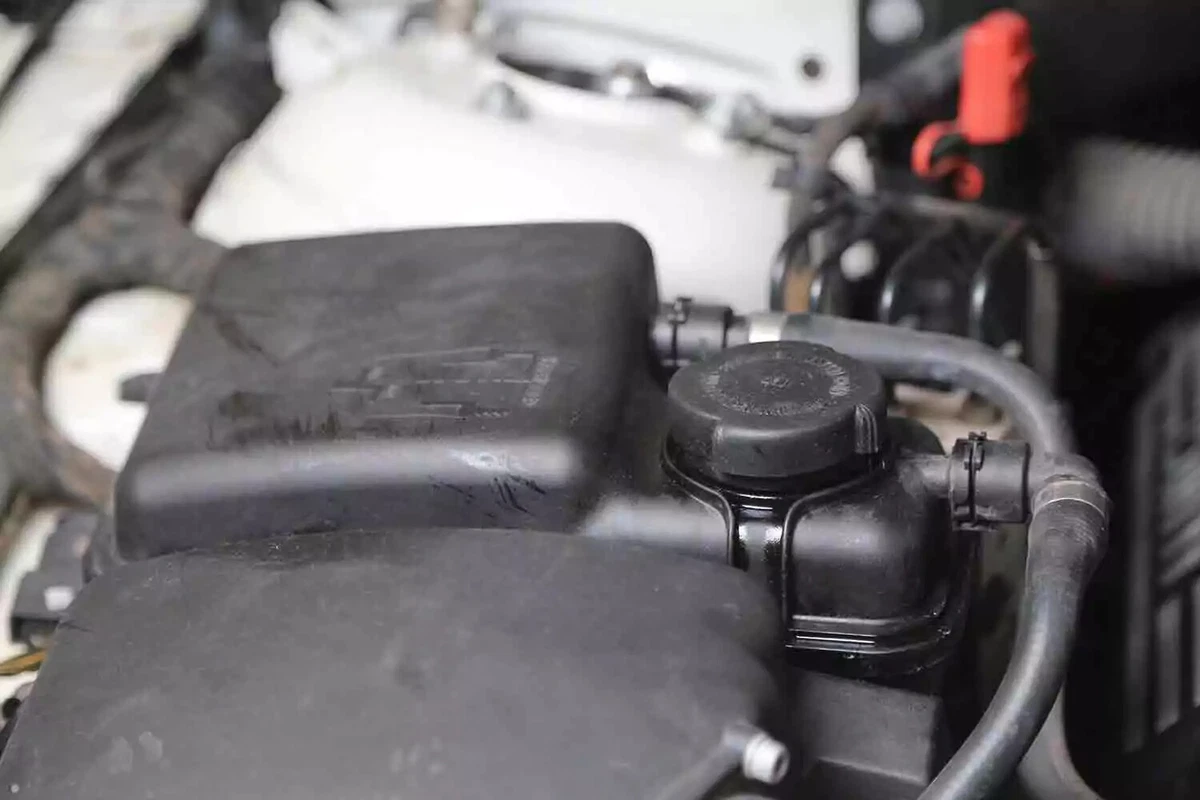
Open the hood to locate the radiator fill cap. Older vehicles have a radiator cap, while many newer vehicles have separate caps for the radiator and coolant expansion tank.
Other vehicles, including our demo vehicles, only have a cap on the expansion tank.
Vehicles without expansion tanks always have a small amount of air circulating through the system, reducing efficiency. Regardless, the procedure for filling the system is the same.
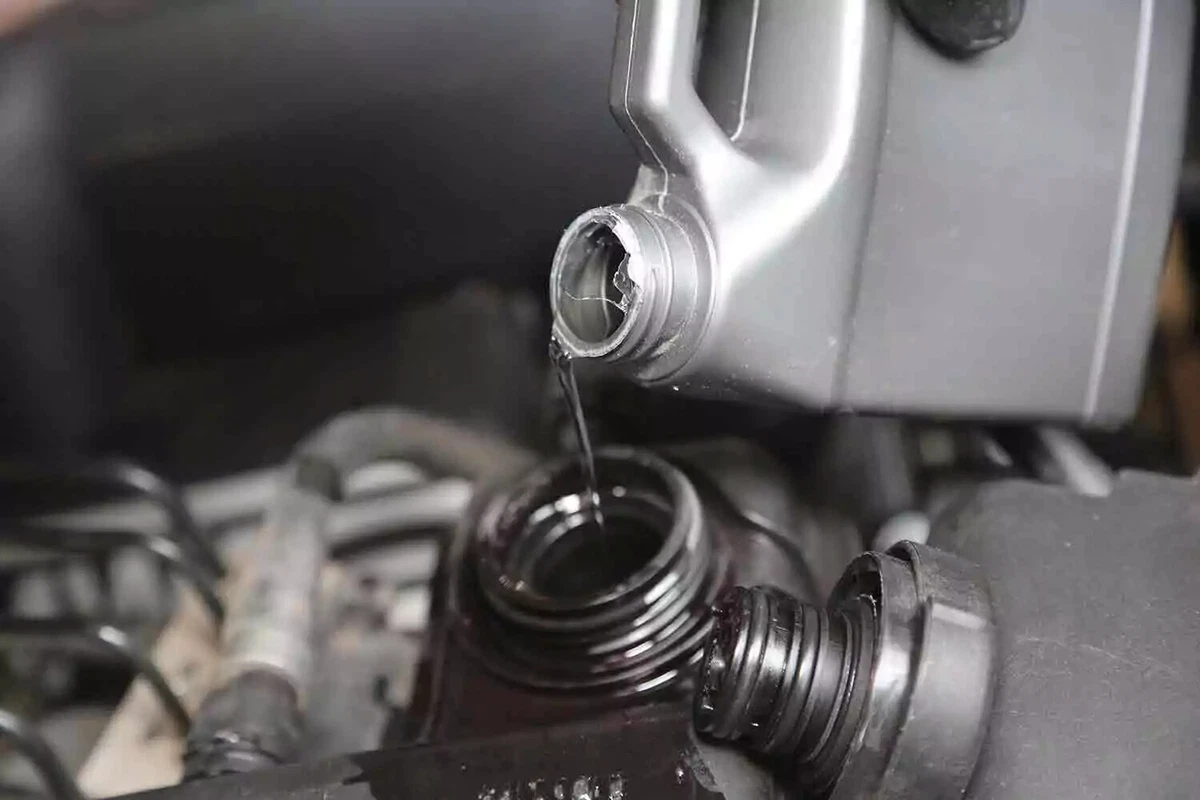
Open the cooling system cap and pour in the cooling system flush. Follow the instructions for the flush, which requires running the engine.
If you have a radiator cap, add the flush to the radiator.
If not, add it to the expansion tank. In that case, the flush will take longer to mix with the rest of the coolant.

The flush works only after it circulates through the cooling system for 15 to 20 minutes. Start the engine and take the vehicle for a drive. Turn the heater to its highest setting. This is critical. You can’t flush the heater core if the heater remains off.
After the engine runs, turn it off. Then, allow the engine to cool for one hour. Never open a hot cooling system.
Don’t run the vehicles inside a closed space.
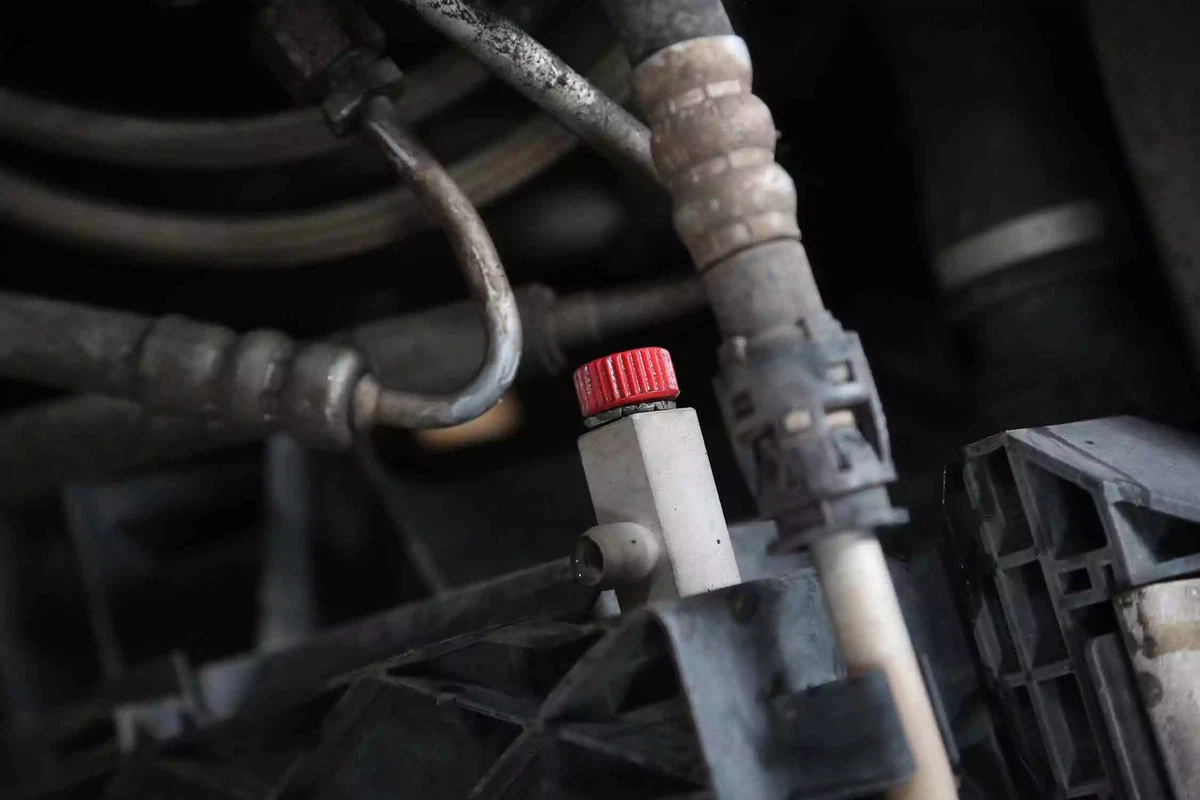
Position yourself under the radiator so you can locate the coolant drain port. It might be a metal or plastic plug. Our demo vehicle uses a petcock, as shown above. Check with your owner’s manual for the drain port’s location.
You shouldn’t need to lift the vehicle to drain the cooling system. However, it might be necessary for some low-slung vehicles.
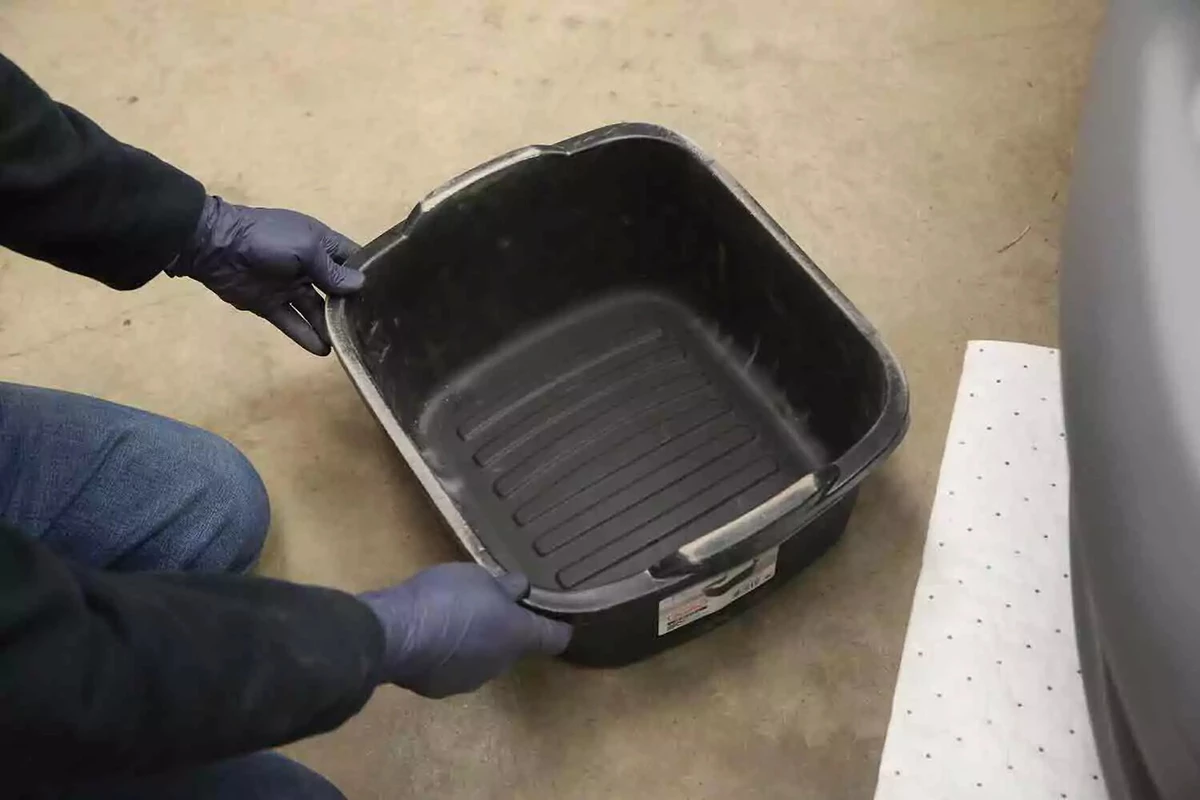
Place a drain pan under the port. Most cooling systems hold two to four gallons. Some vehicles have a small hose to make it easier to direct where the coolant drains.
Keep towels handy to clean up any spills.
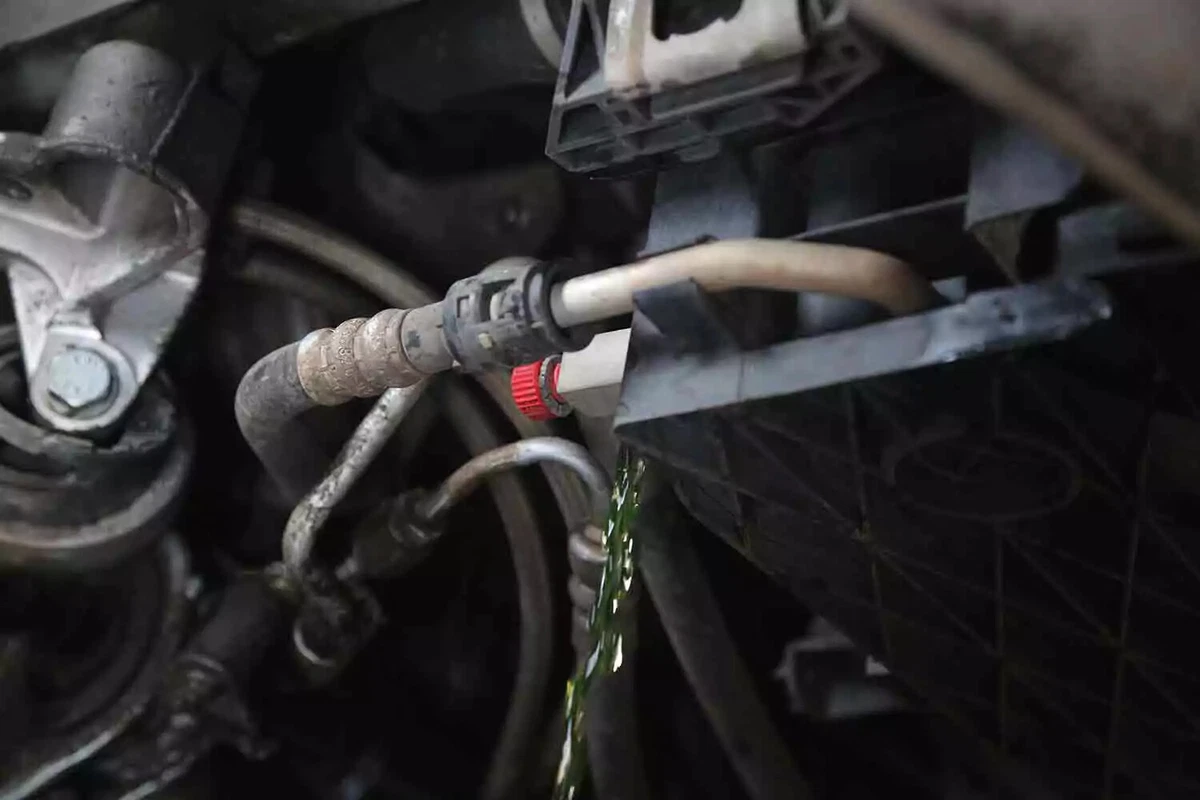
Open the drain. Drain the coolant until it becomes a slow drip. Close the drain.
Pour the old coolant into empty containers. Properly dispose of the old coolant, which is toxic, at a recycling center.
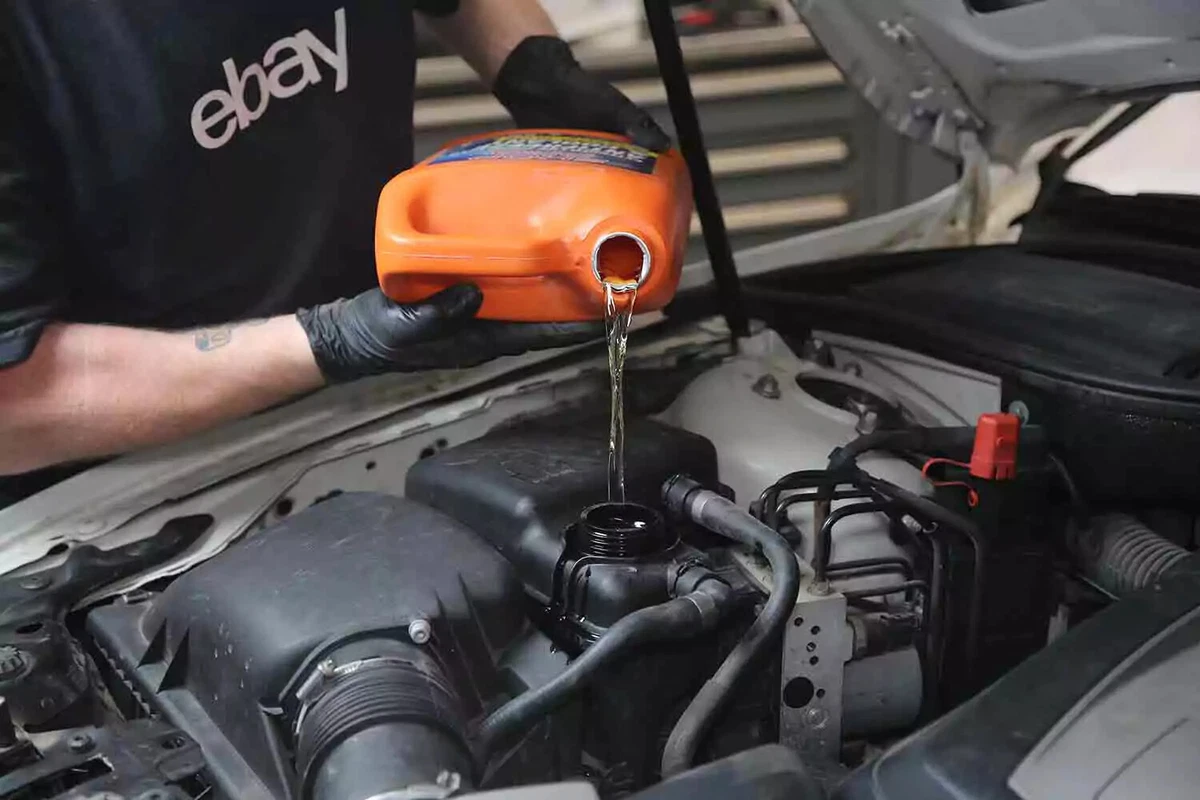
Finally, fill the new radiator with a 50/50 mix of coolant and distilled water. It is easier to buy pre-mixed coolant. Avoid using tap water, which has minerals and salts that can cause sediment to build up and corrode your cooling system and engine.
At this stage, your radiator will only take so much coolant. In other words, the cooling system won’t fill up until the engine reaches its normal operating temperature (usually 180 to 205 degrees Fahrenheit) and the thermostat is hot enough to open.
To properly fill the radiator, follow these steps:
- Start the engine and let it idle for a few minutes until the system reaches its operating temperature.
- Once the engine is warmed up to the point where the thermostat opens, the coolant will start to move, and the level will drop. Also, the upper hose will get hot.
- Continue adding the coolant-water mix until it is once again at the top.
- Turn the heater all the way up so the heater core fills with fresh coolant as well.
- Replace the radiator cap and fill the expansion or recovery tank to the hot fill line on the reservoir's side. Turn off the engine and allow it to cool for at least an hour.
- Check the fluid level again. It will probably be low. Top it off another time. Do this for the next couple of days (after driving the vehicle) until the system is full. Never open a hot radiator. That’s dangerous.
- You might need to remove the remaining air from the system by burping your radiator. This typically requires running the car with the radiator pressure cap off for several cycles, allowing the air to escape. Consult your repair manual for details.
About the author

Share your feedback
This article is meant to provide general guidance only. Automotive maintenance, repair, upgrade, and installation may depend on vehicle-specifics such as make and model. Always consult your owner's manual, repair guide for specific information for your particular vehicle and consider a licensed auto-care professional's help as well, particularly for advance repairs.
Recommended for you
Find answers and inspiration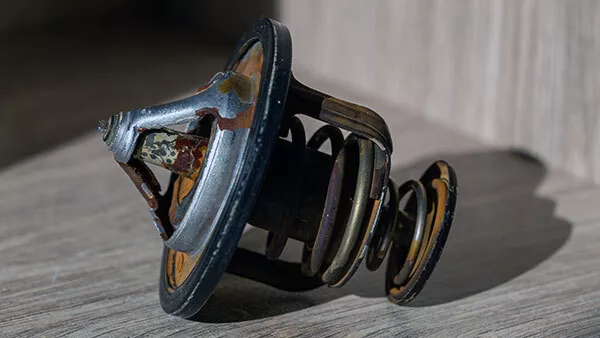
How to Change a Thermostat
7 min read
How to Replace a Radiator Hose
5 min read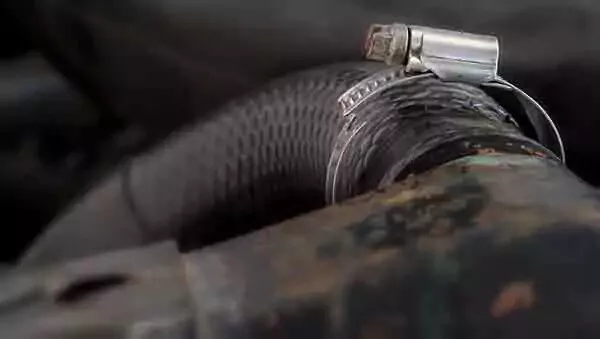
Everything You Need to Know About Radiator Hoses
6 min read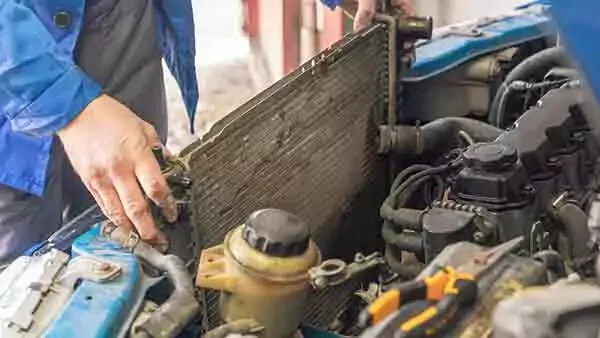
What You Should Know About Your Car Radiator
6 min read
How to Find the Right Radiator For Your Vehicle
6 min read
A Quick Guide to Your Car's Water Pump
6 min read
How to Change a Water Pump
8 min read
How to Buy the Right Heater Core
5 min read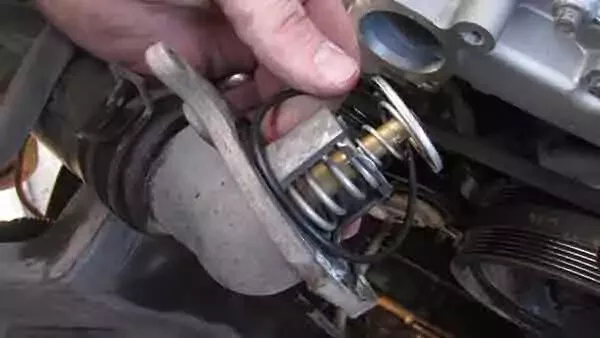
How to Choose a Thermostat for Your Vehicle
5 min read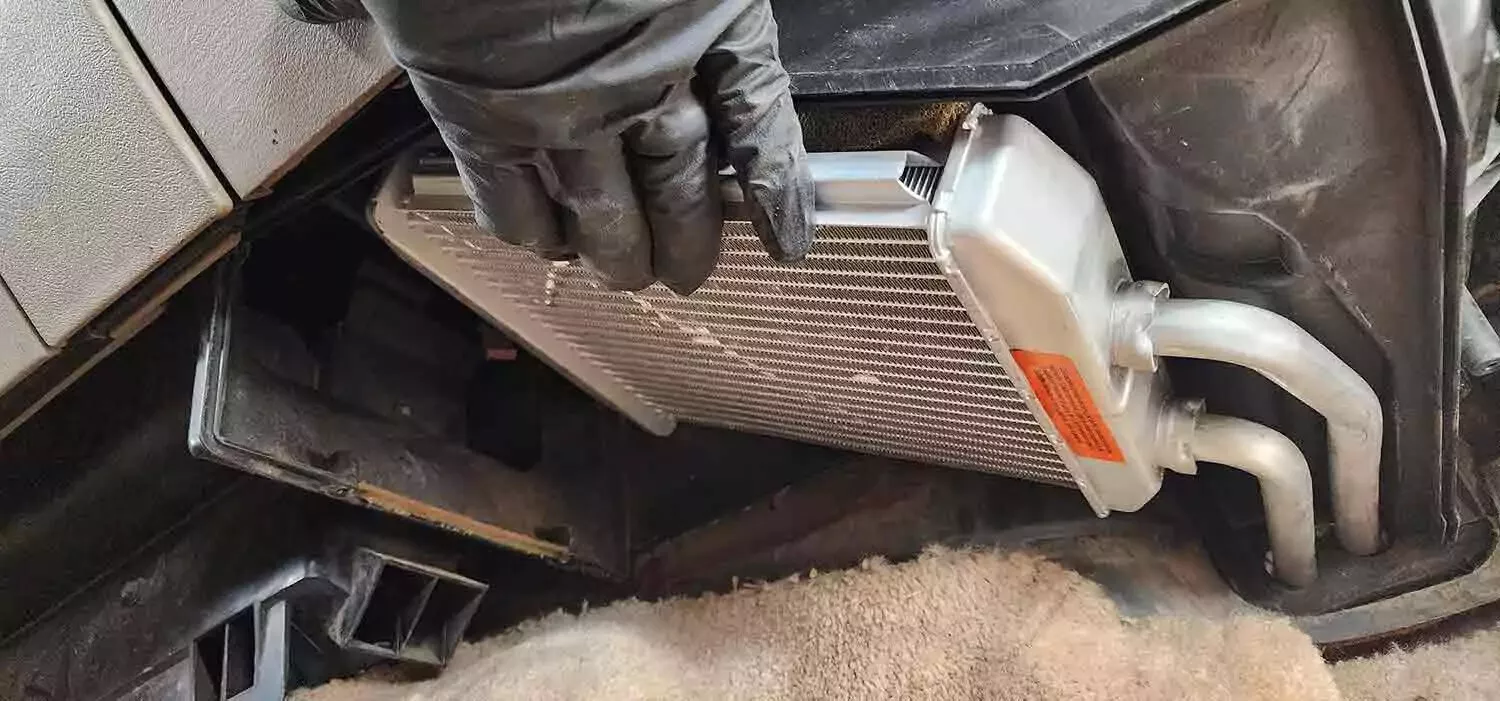
How to Replace a Heater Core
12 min read
Diagnosing a Bad Heater Core
5 min read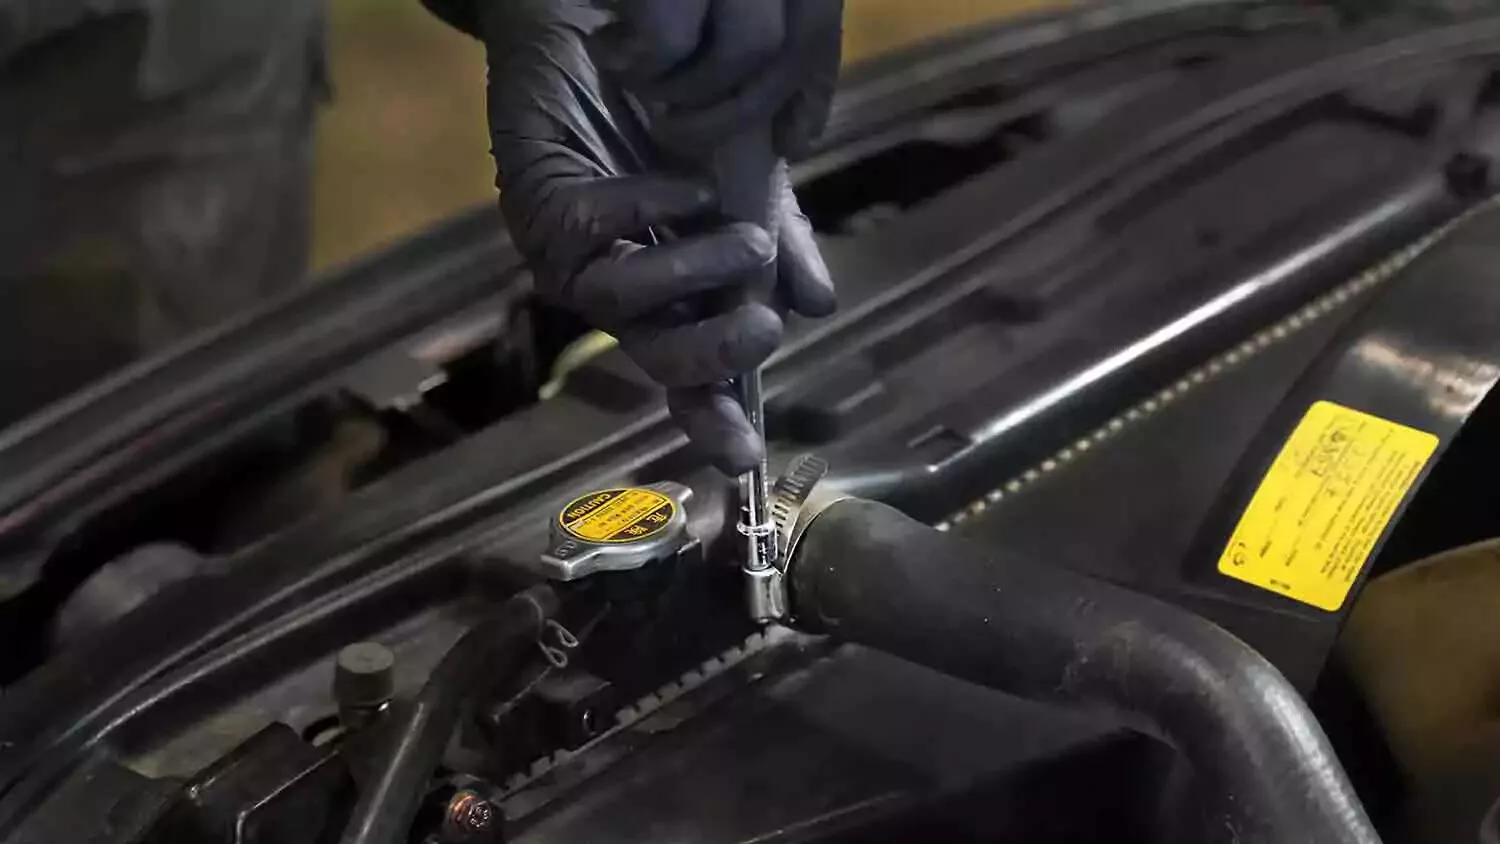
What to Consider When Buying a Radiator Hose
5 min read
Buying the Right Water Pump for Your Car
5 min read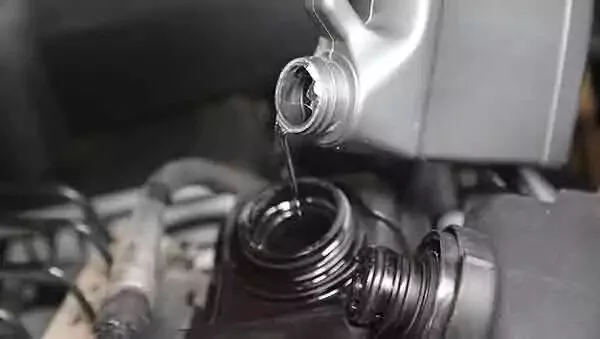
Selecting the Right Coolant for the Next Flush
5 min read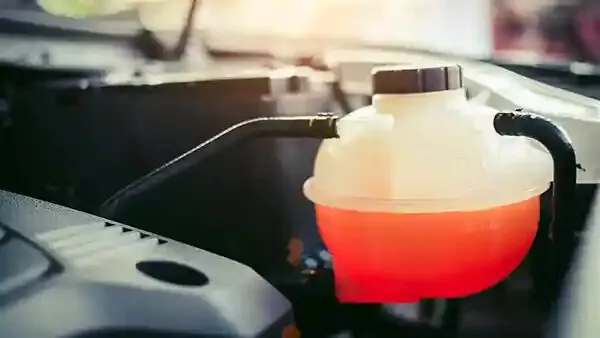
The Essentials of Engine Coolant
5 min read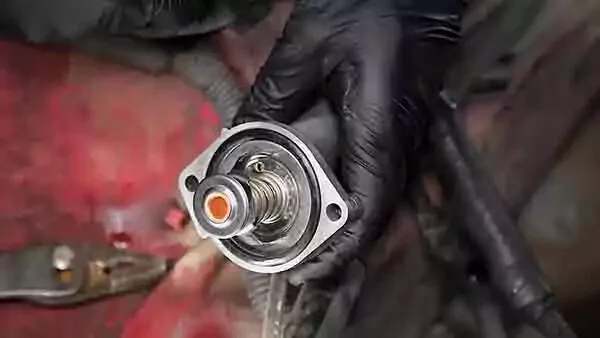
Everything You Need to Know About Car Thermostats
6 min read
How to Replace a Car Radiator
8 min read
Explore more projects

How to Repair a Chipped Windshield
1 to 2 hours
Beginner
7 min read

How to Replace Brake Fluid
1 to 2 hours
Beginner
10 min read

How to Replace an Ignition Coil
Less than 30 minutes
Beginner
6 min read
How to Replace a Radiator Hose
Less than 30 minutes
Beginner
5 min read

How to Replace Brake Rotors
1 to 2 hours
Beginner
7 min read

How to Replace a Serpentine Belt Tensioner
Less than 30 minutes
Beginner
4 min read

How to Rotate Your Tires
30 to 60 minutes
Beginner
5 min read

How to Replace a Drive Belt
Less than 30 minutes
Beginner
5 min read

How to Refill Windshield Washer Fluid
Less than 30 minutes
Beginner
4 min read

How to Replace an Oxygen Sensor
30 to 60 minutes
Beginner
5 min read

How To Replace Differential Fluid
Less than 30 minutes
Beginner
8 min read

How to Replace Sway Bar End Links and Bushings
30 to 60 minutes
Beginner
6 min read

How to Replace Transmission Fluid and Filter
1 to 2 hours
Beginner
11 min read

How to Change Disc Brake Pads
30 to 60 minutes
Beginner
8 min read

How to Replace a Valve Cover Gasket
Less than 30 minutes
Beginner
7 min read

How to Replace a Cabin Air Filter
Less than 30 minutes
Beginner
5 min read

How to Change Windshield Wipers
Less than 30 minutes
Beginner
3 min read

How to Replace an Engine Air Filter
Less than 30 minutes
Beginner
5 min read

How to Replace Shock Absorbers
30 to 60 minutes
Beginner
8 min read

How to Clean Fuel Injectors
1 to 2 hours
Beginner
8 min read

How to Change a Car Battery
Less than 30 minutes
Beginner
6 min read
Automation How to Change a Car Battery
Less than 30 minutes
Beginner
6 min read

How to Replace a Mass Air Flow (MAF) Sensor
Less than 30 minutes
Beginner
7 min read

How to Replace a Clutch Master Cylinder
1 to 2 hours
Beginner
11 min read

How to Replace a Distributor Cap and Rotor
30 to 60 minutes
Beginner
5 min read

How to Check Tire Pressure and Change a Tire
Less than 30 minutes
Beginner
9 min read

How to Replace a Fuel Filter
30 to 60 minutes
Beginner
7 min read

How to Replace a PCV Valve
30 to 60 minutes
Beginner
6 min read

How to Replace a Brake Caliper
1 to 2 hours
Beginner
7 min read

How to Replace an Idler Pulley
30 to 60 minutes
Beginner
4 min read

How to Change a Headlight Bulb
Less than 30 minutes
Beginner
6 min read

How to Replace an Exhaust Gasket
1 to 2 hours
Beginner
9 min read

How to Replace a Throttle Body
30 to 60 minutes
Beginner
6 min read

How to Change Oil in a Car
Less than 30 minutes
Beginner
8 min read

How to Jump Start a Car
Less than 30 minutes
Beginner
9 min read

How to Replace an Alternator
1 to 2 hours
Beginner
11 min read

How to Replace an EGR Valve
30 to 60 minutes
Beginner
5 min read