Your engine’s cooling system relies on the radiator. Of course, air flows through the radiator—but it also encounters debris from the road, including bugs, dirt, and rocks. Over time, this debris can damage the cooling fins and cause leaks. Regular wear and tear to your vehicle’s radiator (and bad fluid) can lead to leaks, cracks, and clogged passages, causing your engine to overheat.
Read about how to know if your radiator is bad - opens in new window or tab. and other basics. And check out our radiator buying guide - opens in new window or tab..
How long does it take to replace a car radiator?
Changing your radiator is considered a beginner DIY mechanic job. This job usually takes less than two hours. However, it can take additional time on newer vehicles because more components are packed into a relatively same space. For example, expect a longer job if you have to remove electric radiator cooling fans. You just need a little patience and guidance through the process. If you can turn a wrench and squeeze pliers, you can swap the radiator in your car.
Tips and Tricks for DIY Car Radiator Replacement
- Some vehicles require specialty tools for removing the cooling fan.
- This job can usually be done in less than two hours. However, some newer vehicles take additional time because more components are packed into a relatively same space. For example, expect a longer job if you have to remove electric fans.
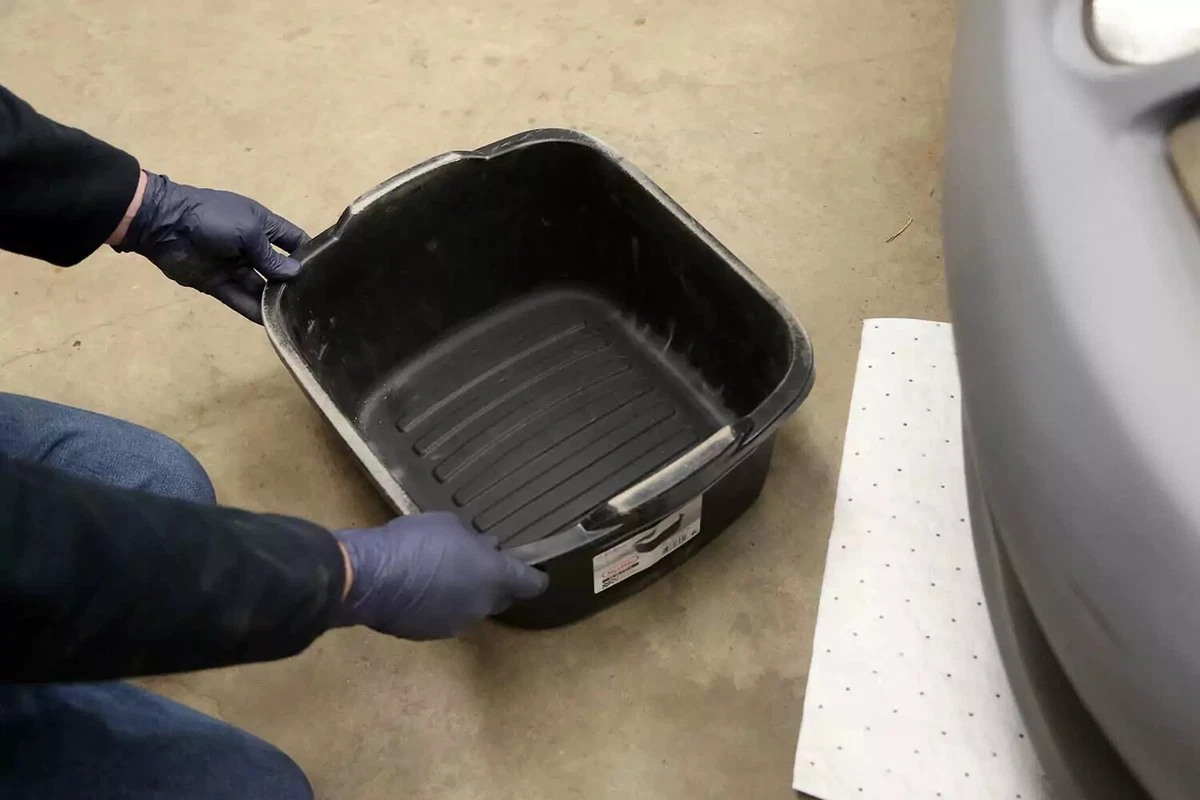
You will be emptying the entire cooling system. So you need a large drain pan to catch the coolant. It could be as much as four gallons. Avoid getting coolant on the ground. It’s toxic to animals and children.
Place the pan under the front of the vehicle, directly below the drain port or petcock. If your radiator does not have a petcock or drain, place it under the lower radiator hose.
Remove the plug or open the petcock to drain all of the coolant.
Our demo vehicle required removing the upper hose and fan shroud first to access the petcock. Most vehicles don’t require removing the upper hose first. Draining the radiator by the petcock is far less messy than disconnecting a hose full of coolant.
The drain petcock might open with left-hand threads.
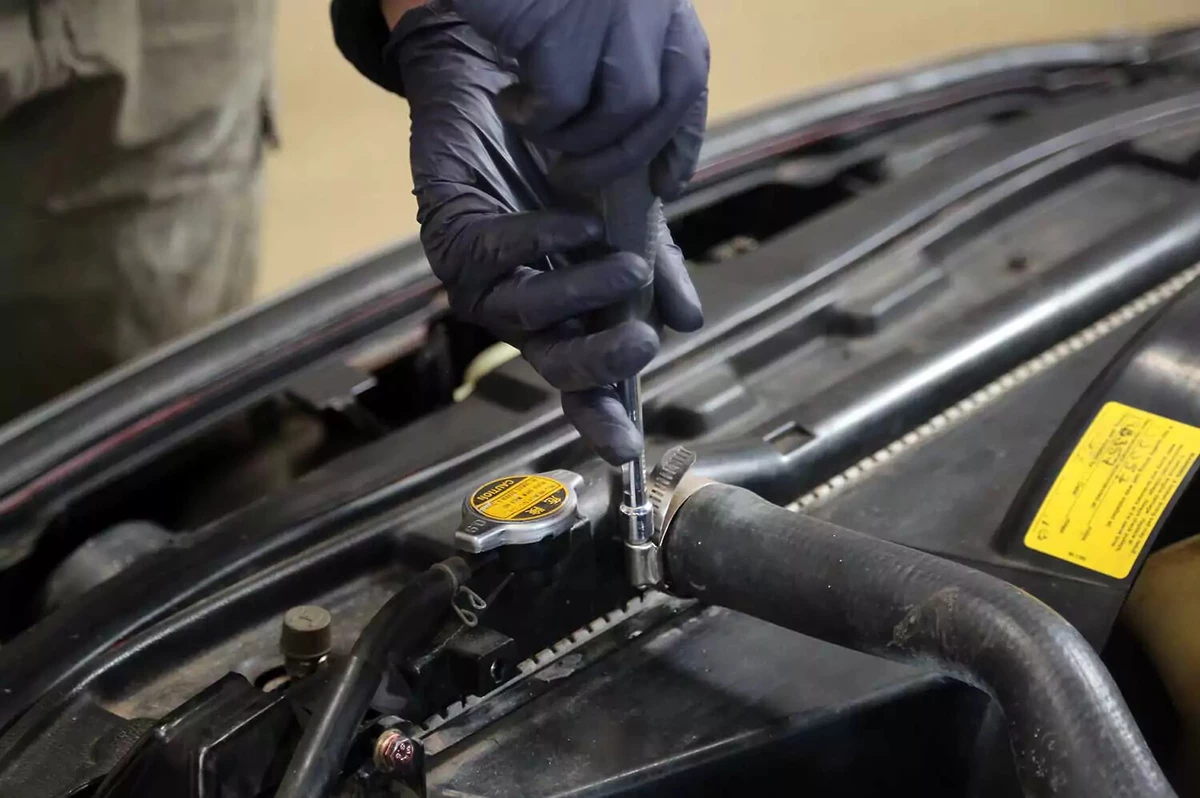
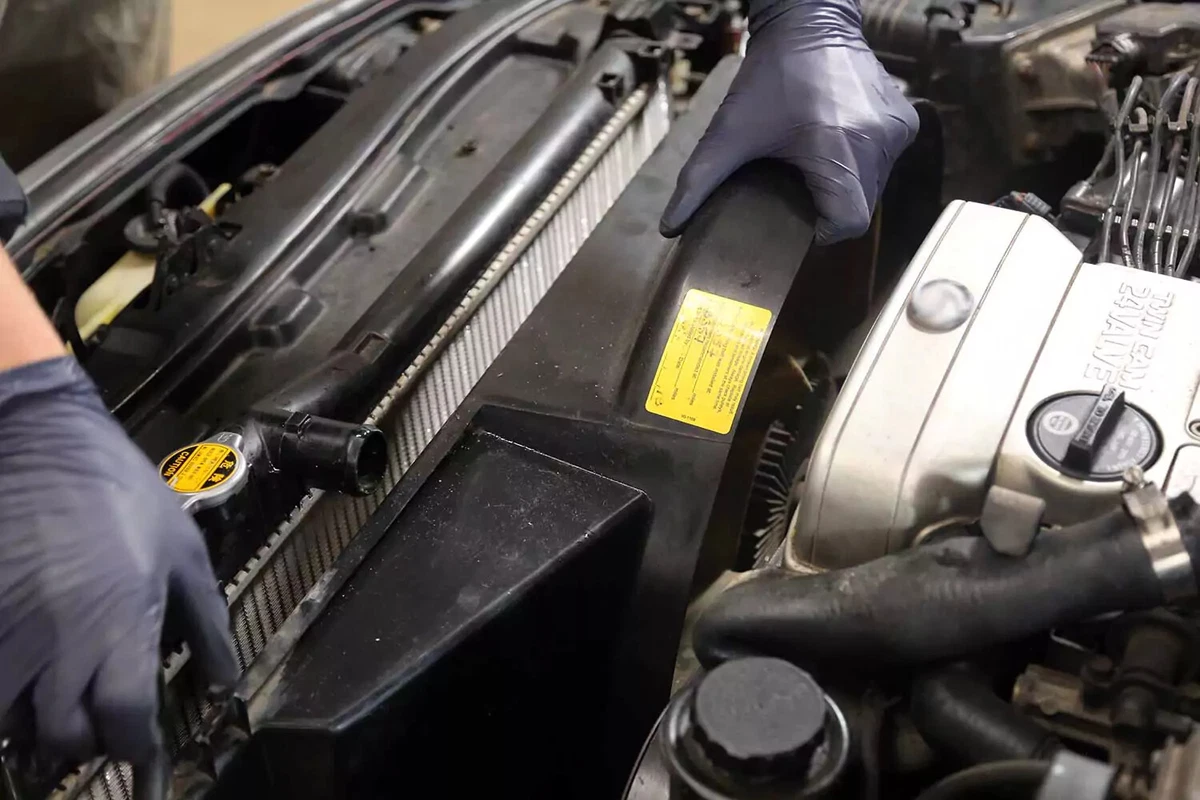
Use a nut driver, socket, or screwdriver to remove the upper radiator hose’s clamp. Your vehicle may have steel spring clamps, which you can remove with a pair of pliers or a spring clamp plier set.
Remove the hose by gripping it close to the radiator neck. Then, twist and pull it away from the radiator. Some coolant will come out. Direct the hose down to the drain pan.
If the hose is stuck, you might have to use a sharp utility knife to dissect it so you can remove it. Be careful not to scratch the radiator neck.
Again, our demo vehicle required removing the upper hose and fan shroud first to access the petcock. That might not be required for your vehicle.

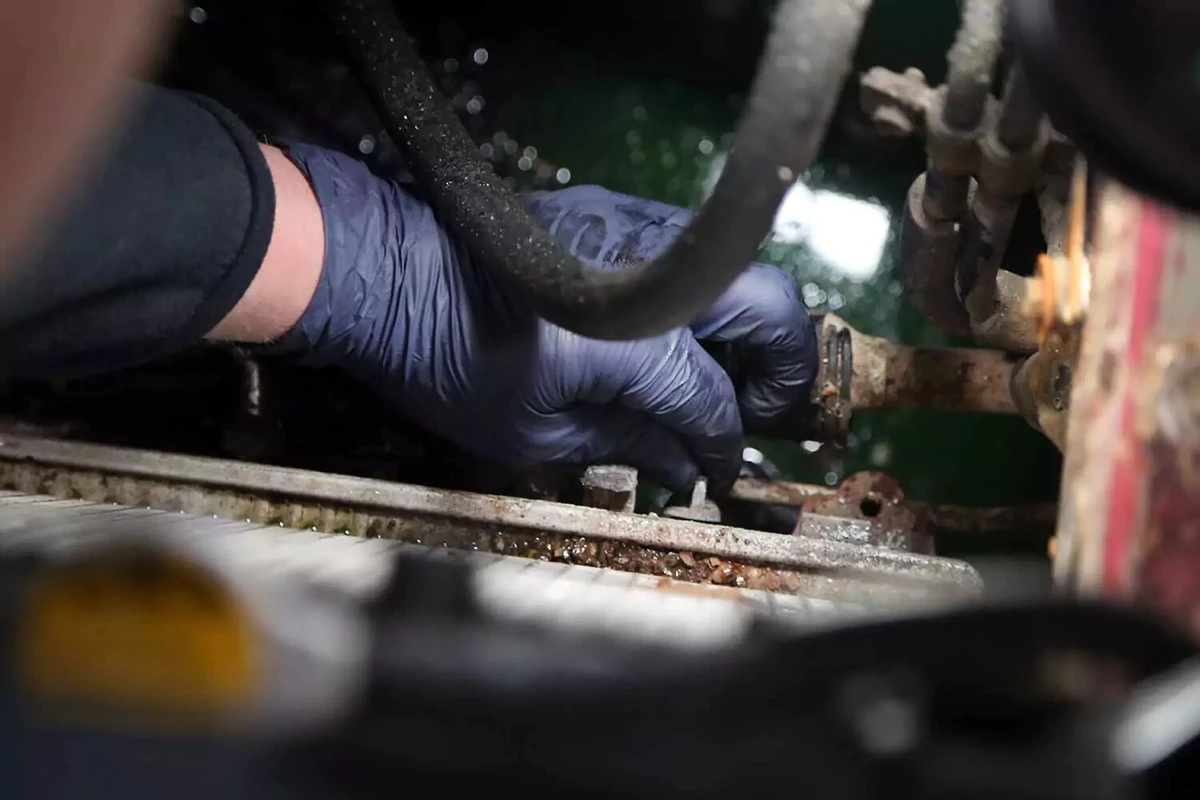
Our demo vehicle uses a mechanical fan, which has a large fan shroud. Shrouds are typically attached with screws, bolts, or plastic push pins. Remove the fasteners to separate the shroud from the radiator or core support. (The core support is the radiator’s large metal mounting frame.)
The removal process is similar for electric fans. Disconnect the electric fan’s wiring plugs and secure them out of the way.
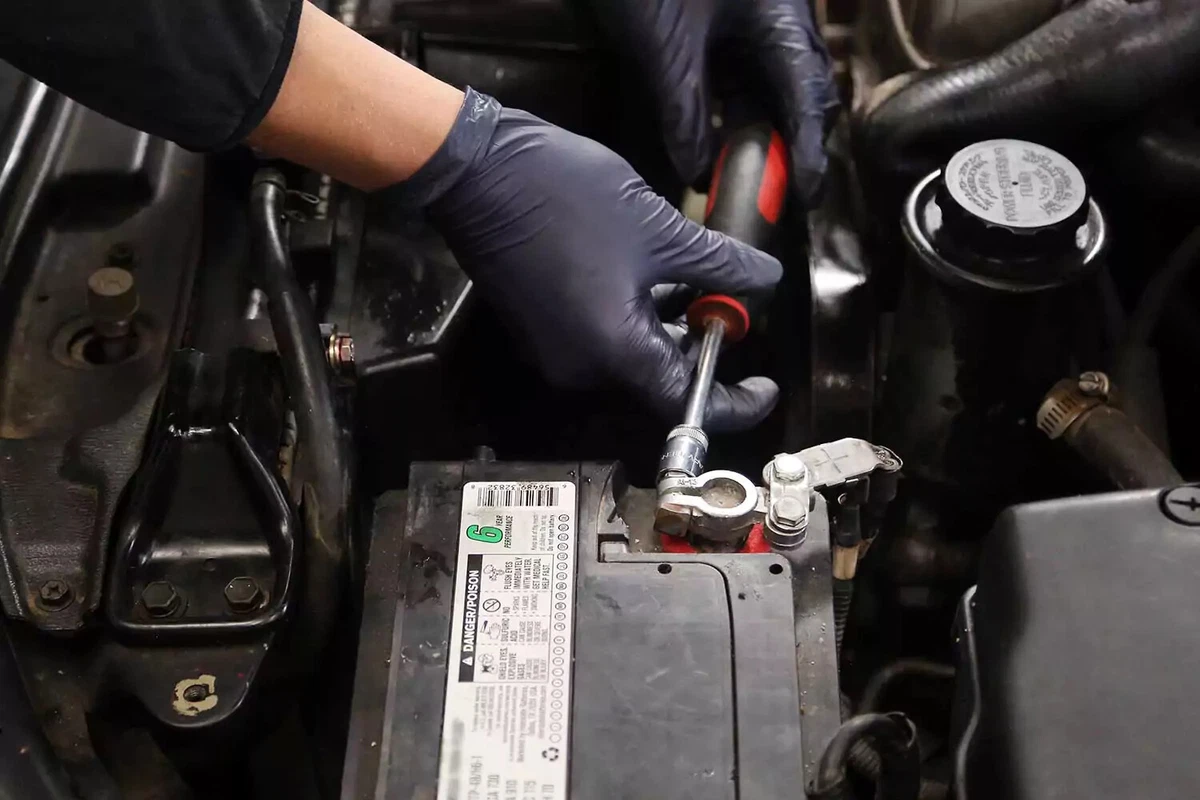
To reach the radiator in our demo vehicle, we removed the battery and the tray that supports it. Your vehicle might require removing the battery, air ducts and air cleaner, washer fluid bottle, or components.
Push the shroud slightly away from the radiator toward the engine. Lift to remove it from the vehicle.
Some vehicles use tabs and slots at the bottom of the shroud, while others use mechanical fasteners. Refer to your vehicle’s repair manual for details about how the shroud is connected. You may need to disassemble or remove a section of the shroud to clear the fan.
In rare cases, vehicles might require removing the fan from the engine. If so, this is an excellent time to replace the fan clutch, if so equipped.
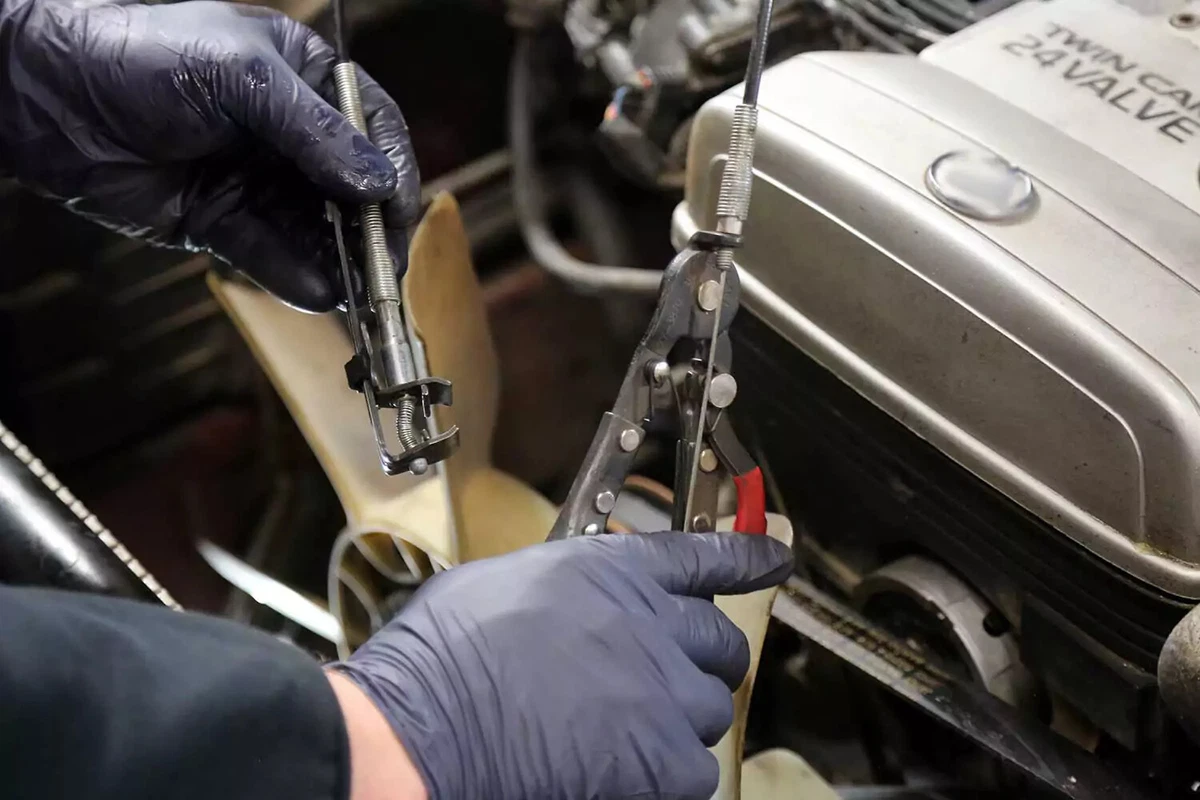
Spring clamp pliers are mainly used on large radiator hose clamps. These tools lock to keep the spring clamp open. They also work for smaller clamps.
Our vehicle had a spring clamp on the lower hose, so we used our spring clamp pliers to remove it.
Spring clamps can be challenging to handle when returning them to the hose. Feel free to replace them with stainless steel worm-drive clamps when you’re putting things back together.

After the clamp is loosened and slid back on the hose, remove the hose from the radiator.
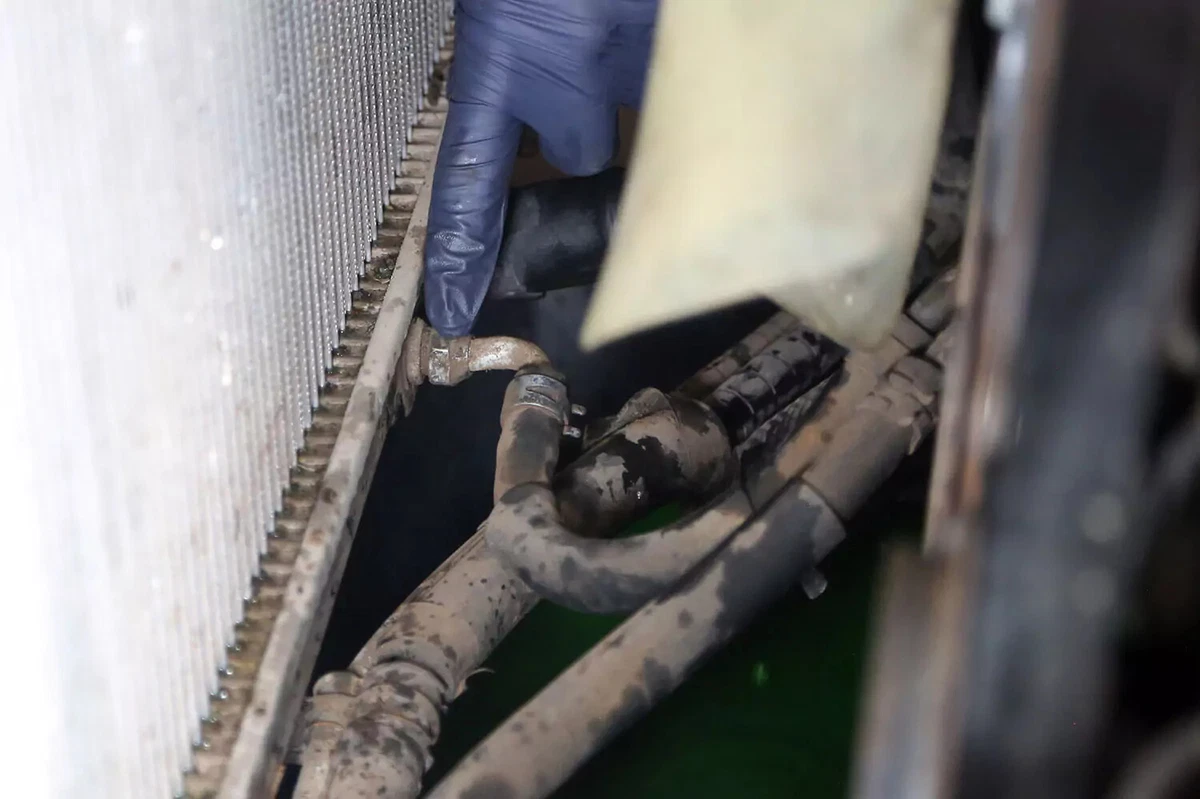
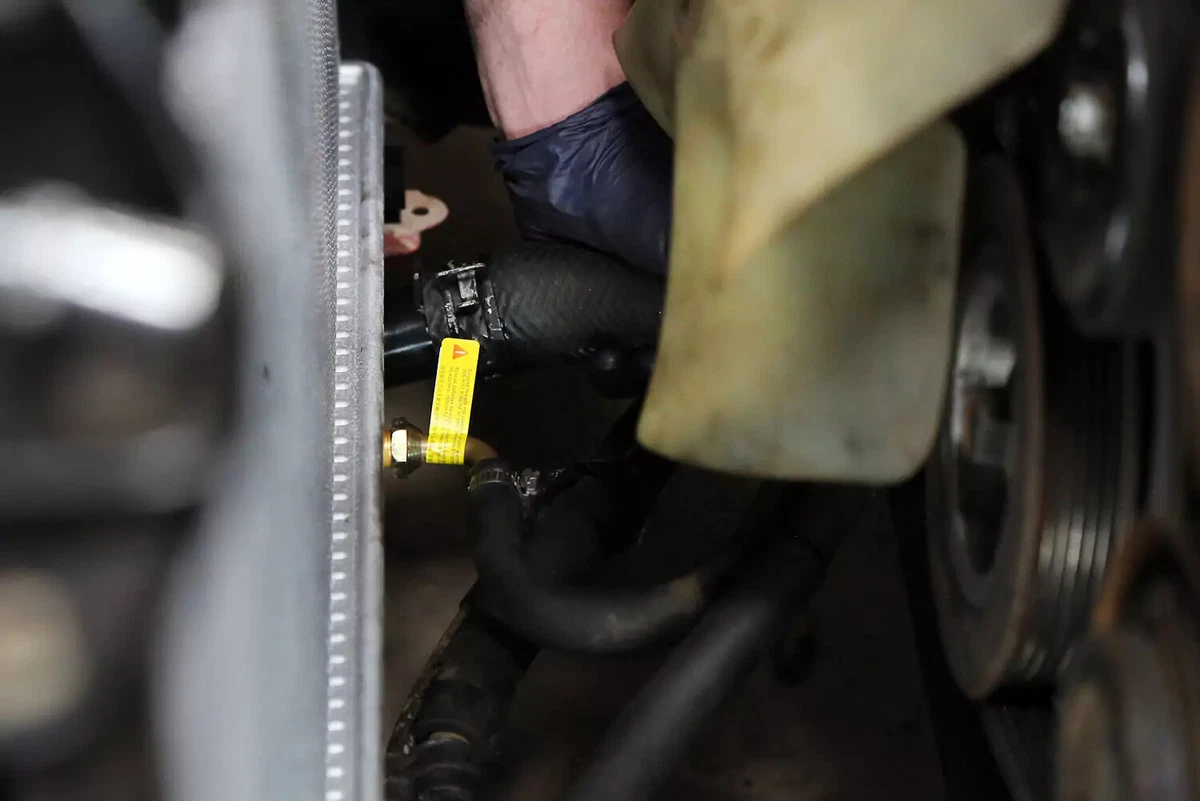
If your vehicle has an automatic transmission, the transmission fluid is cooled through a separate cooler in one of the radiator’s side or bottom tanks.
Our demo vehicle has two types of connectors: a spring hose clamp and a threaded fitting. Our new radiator came with new threaded 90-degree elbows, so we removed the hoses from the fittings. We’ll connect the hoses to the new fittings on the new radiator. You may need to transfer the old fittings to the new radiator.
There may also be an engine oil cooler in the tank opposite the transmission cooler. Disconnect that as well. Be prepared for any of these fittings to drip transmission fluid or oil while they’re loose.

Most modern vehicles use either an overflow or expansion tank, which is connected to the radiator just below the radiator cap. An overflow tank has a cap to prevent debris from entering, while an expansion tank is pressurized.
Either way, remove this line, which could have a clamp. This line may run to the ground or to a tank located on the inner fender or radiator core support.
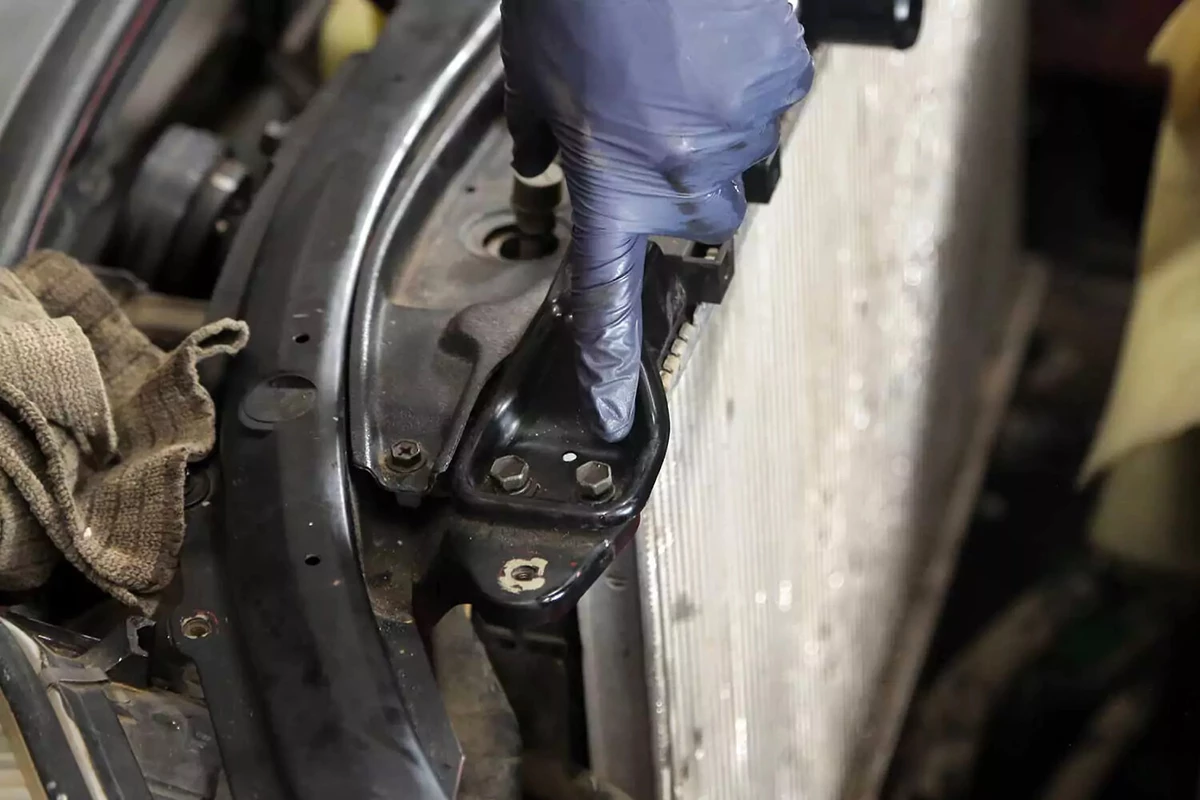
Depending on your vehicle, the radiator may be retained with individual bolts, brackets, or a large clamping plate. This vehicle has individual mounts with two bolts each. Remove those mounts.
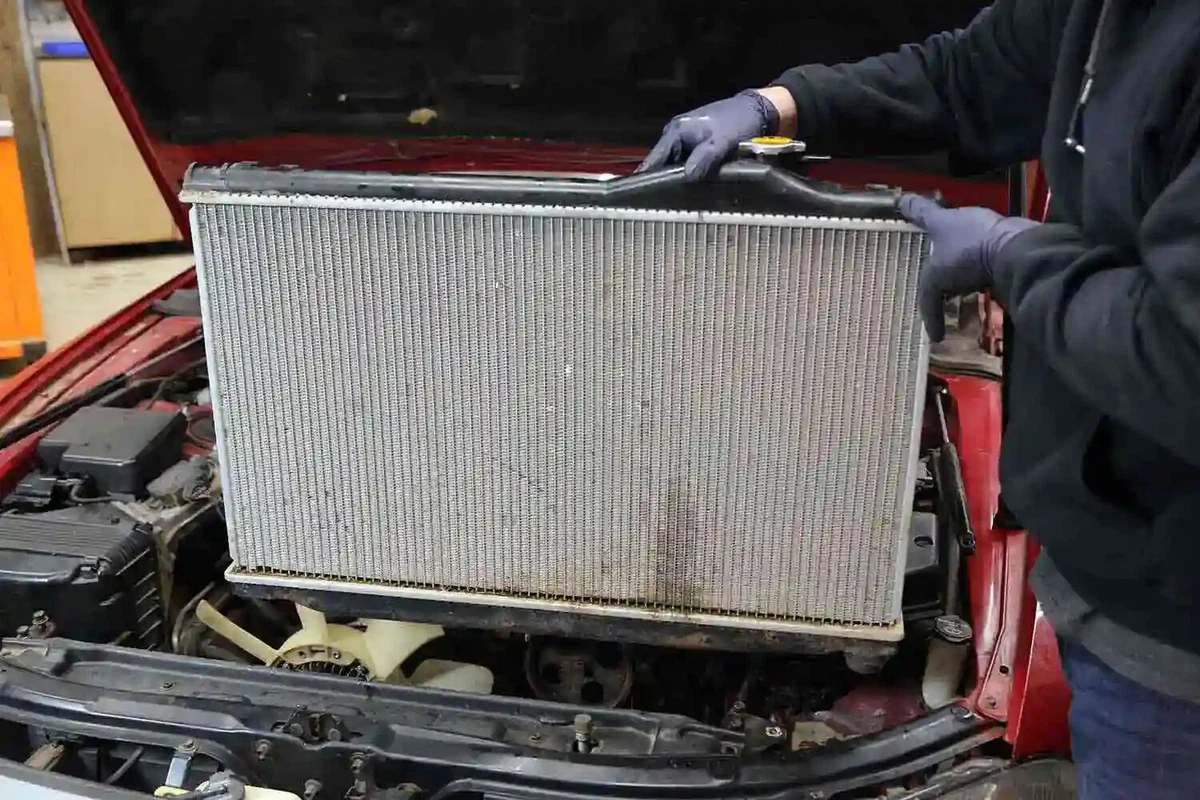
After the radiator is fully unbolted with no hoses or lines connected, lift it to remove it from the vehicle. Radiators are large but usually not very heavy.
Immediately clean up any coolant that spills. Coolant is slick, so you could slip. (Don’t let pets near the coolant.)
Inspect the mounts, particularly any rubber or silicone bushings. If they are cracked or split, replace them now. Most newer vehicles don’t use bushings.

Carefully lower the new radiator into the vehicle. This step is the reverse of how you removed the old radiator.
Ensure that the radiator is in the proper position. Fasteners and clamps should be back to their original position. Don’t force anything.
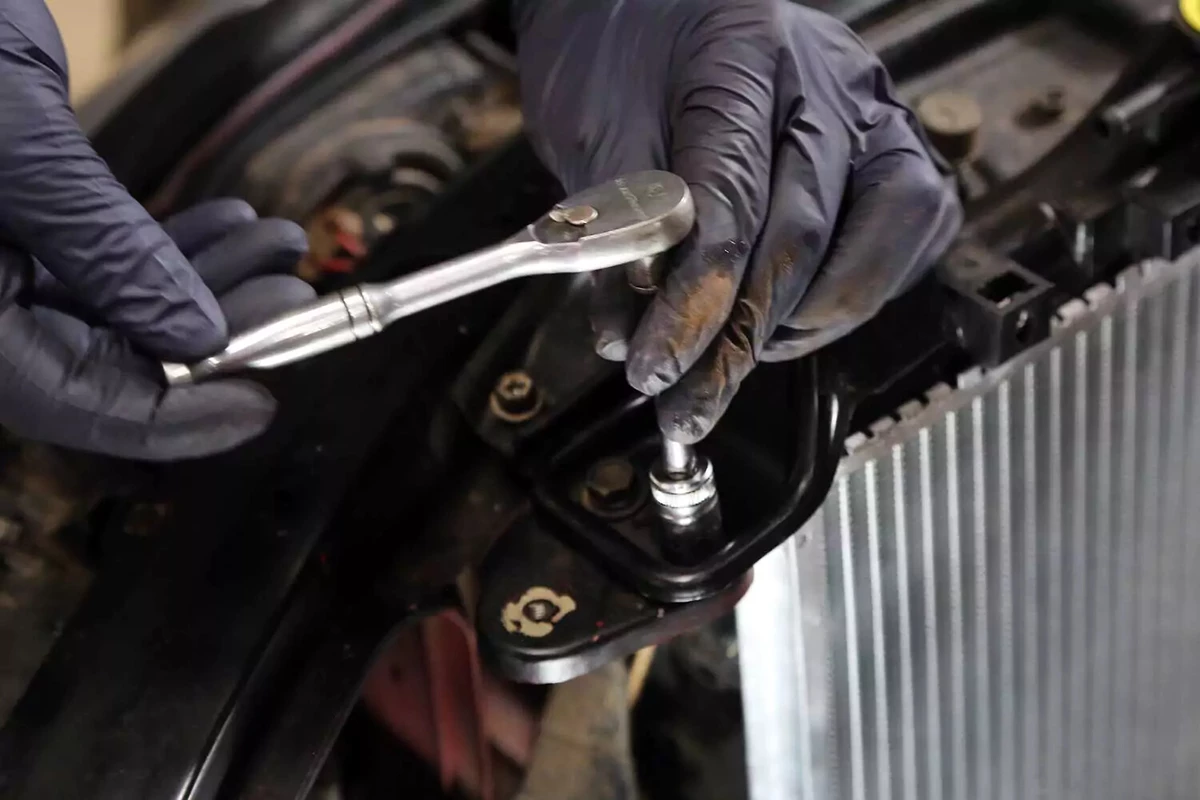
Secure the new radiator using the original mounts and hardware. If any bolts are damaged or stripped, replace them now.
These bolts typically should not be turned with a torque wrench. Tighten them by hand until they are snug.

Connect the cooler lines that were removed. In our demo vehicle, we connected the new fittings (installed by the manufacturer) to the original fluid lines and replaced the clamps with worm-gear clamps. You can reuse the original clamps if they are in good shape.
Reinstall the lower radiator hose. Slip the clamp onto the hose before seating it on the outlet. If accessing the lower hose is challenging, try working from under the car.
We recommend replacing all the hoses when you install the new radiator. It’s imperative to replace hoses if they are cracked, flimsy, bulging, or otherwise damaged.
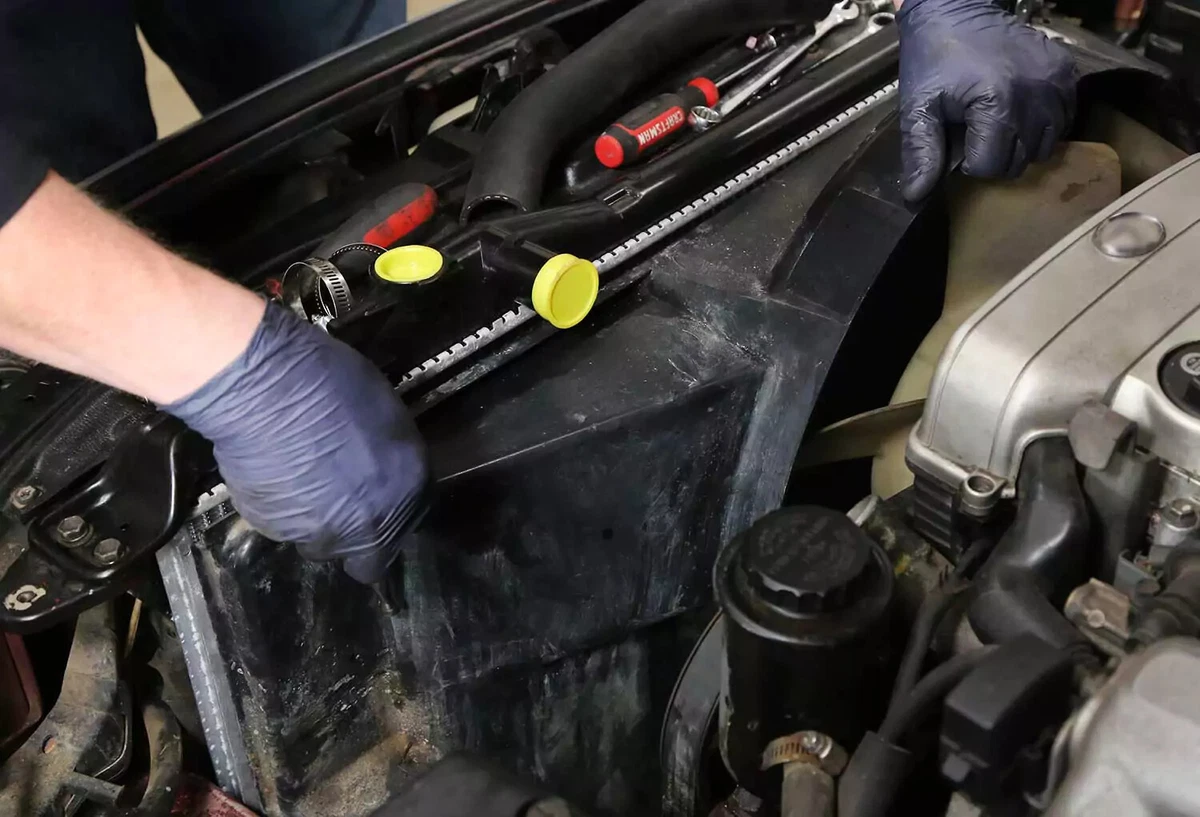
Reinstall the fan shroud and electric fans using the original hardware. Ensure that any plugs, sensors, or wires are correctly installed in the original position.
Use a few zip ties to ensure that cables and wires related to fans, belts, and pulleys are fastened away from other moving parts.

Install the original (or new) upper radiator hose on your new radiator. Secure it with clamps.
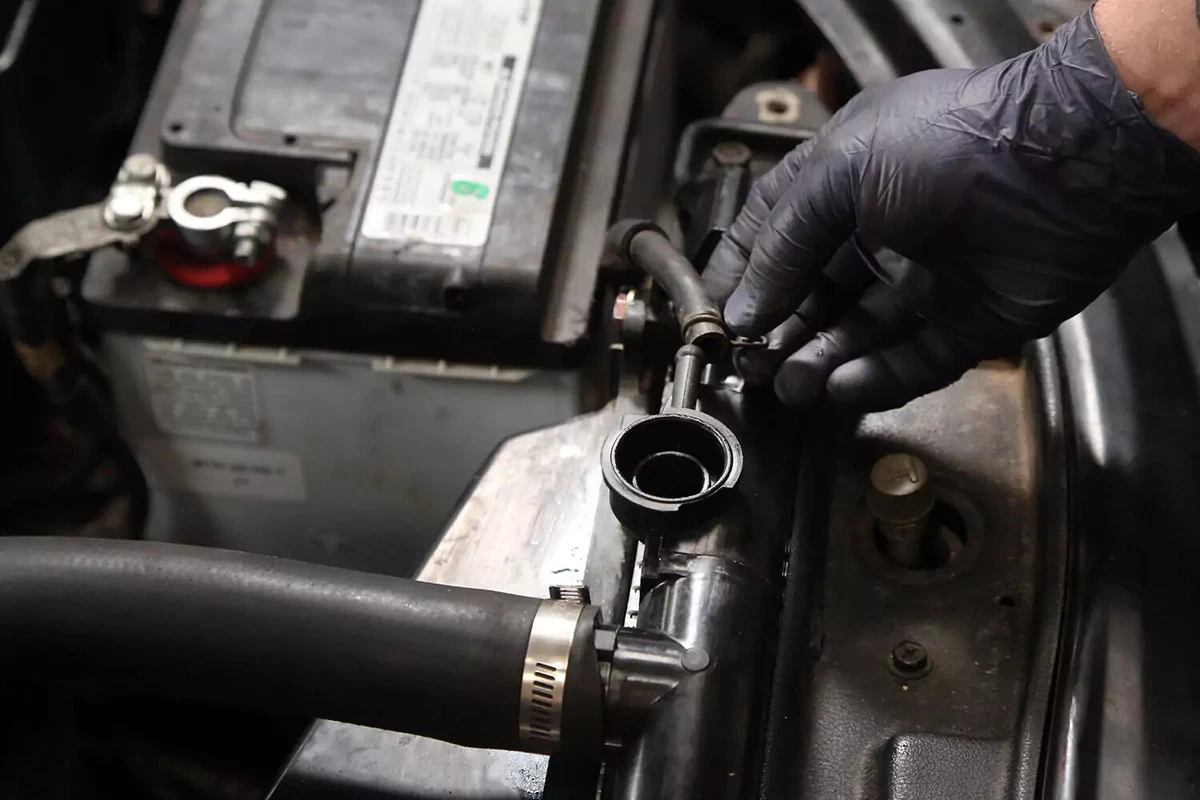
Reinstall all hoses or lines that were disconnected.
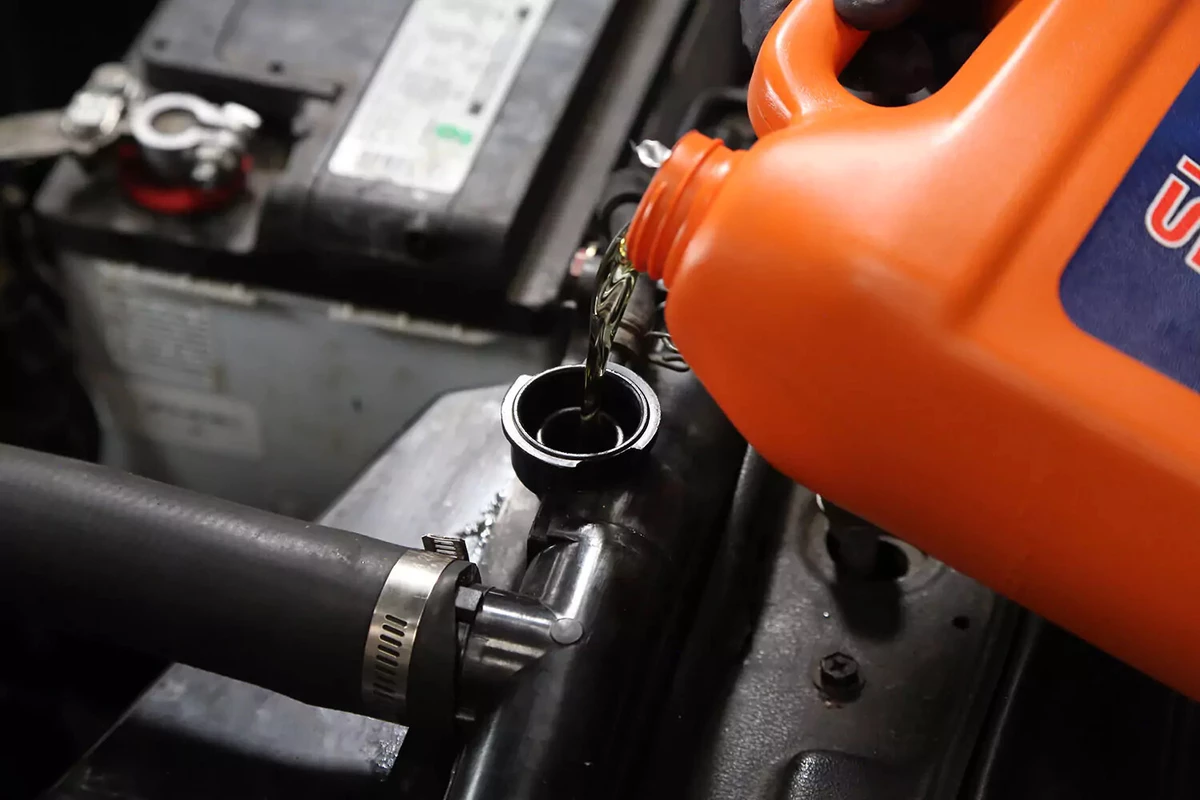
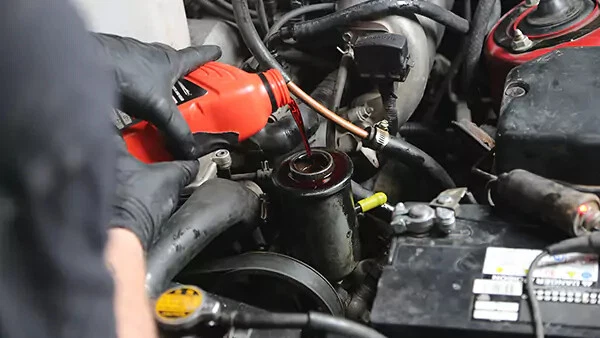
Finally, fill the new radiator with a 50/50 mix of coolant and distilled water. It is easier to buy pre-mixed coolant, so you don’t have to find distilled water. Avoid using tap water, which has minerals and salts that can cause sediment to build up and corrode inside your cooling system and engine.
At this stage, your radiator will only take so much coolant. In other words, the cooling system won’t fill up until the engine reaches its normal operating temperature (usually 180 to 205 degrees Fahrenheit) and the thermostat is hot enough to open.
To properly fill the radiator, follow these steps:
- Fill the radiator.
- Start the engine and let it idle for a few minutes until the system reaches its operating temperature.
- Once the engine is warmed up to the point where the thermostat opens, coolant will start to move, and the level will drop. Also, the upper hose will get hot.
- Continue adding the coolant-water mix until the system is once again to the top.
- Turn the heater all the way up so the heater core fills with fresh coolant as well.
- Replace the radiator cap and fill the expansion or recovery tank to the hot fill line on the reservoir's side. Turn off the engine and allow it to cool for at least an hour.
- Check the fluid level again. It will probably be low. Top it off another time. Do this for the next couple of days (after driving the vehicle) until the system is full. Never open a hot radiator. That’s dangerous.
- You might need to remove the remaining air from the system by burping your radiator. This typically requires running the car with the radiator pressure cap off for several cycles, allowing the air to escape. Consult your repair manual for details.
About the author

Share your feedback
This article is meant to provide general guidance only. Automotive maintenance, repair, upgrade, and installation may depend on vehicle-specifics such as make and model. Always consult your owner's manual, repair guide for specific information for your particular vehicle and consider a licensed auto-care professional's help as well, particularly for advance repairs.
Recommended for you
Find answers and inspiration
How to Change a Thermostat
7 min read
How to Replace a Radiator Hose
5 min read
How to Flush and Change Engine Coolant
6 min read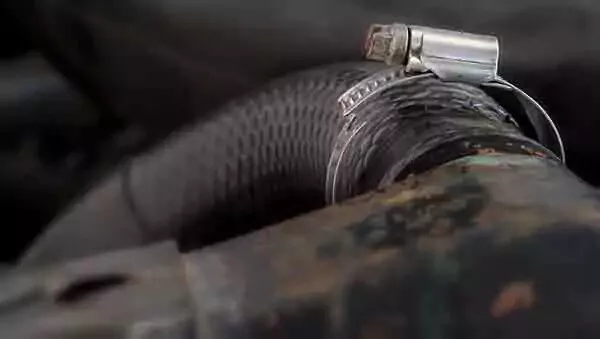
Everything You Need to Know About Radiator Hoses
6 min read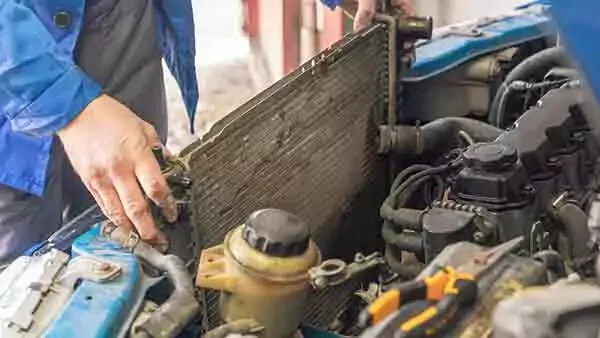
What You Should Know About Your Car Radiator
6 min read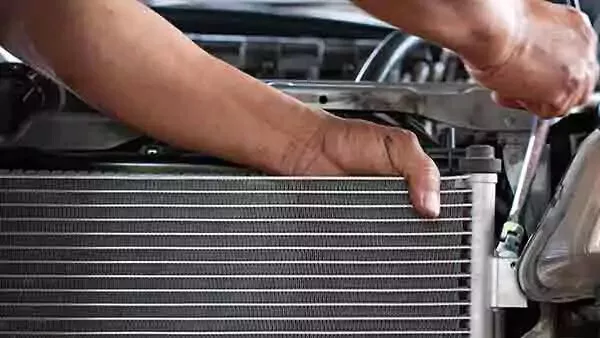
How to Find the Right Radiator For Your Vehicle
6 min read
A Quick Guide to Your Car's Water Pump
6 min read
How to Change a Water Pump
8 min read
How to Buy the Right Heater Core
5 min read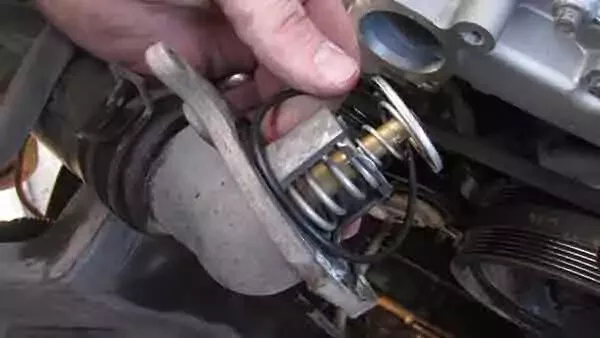
How to Choose a Thermostat for Your Vehicle
5 min read
How to Replace a Heater Core
12 min read
Diagnosing a Bad Heater Core
5 min read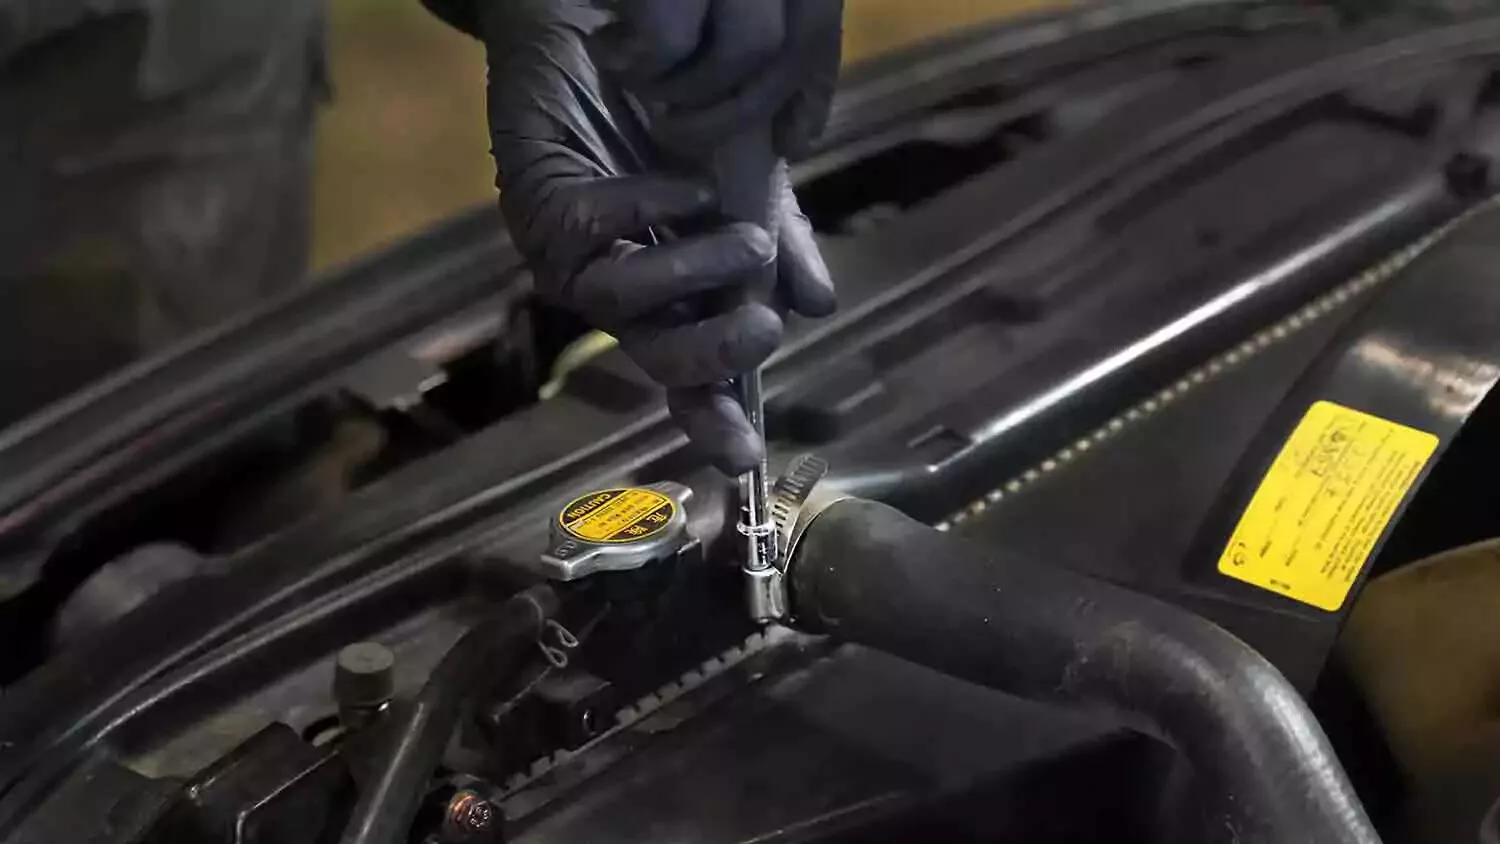
What to Consider When Buying a Radiator Hose
5 min read
Buying the Right Water Pump for Your Car
5 min read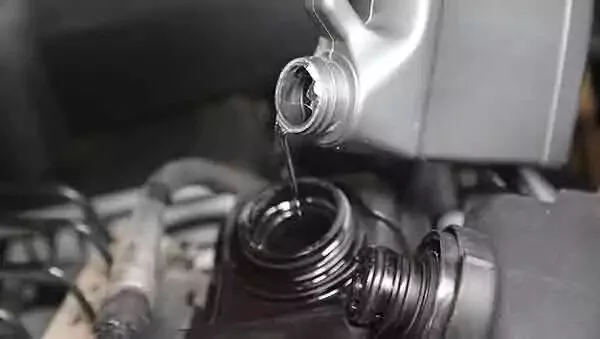
Selecting the Right Coolant for the Next Flush
5 min read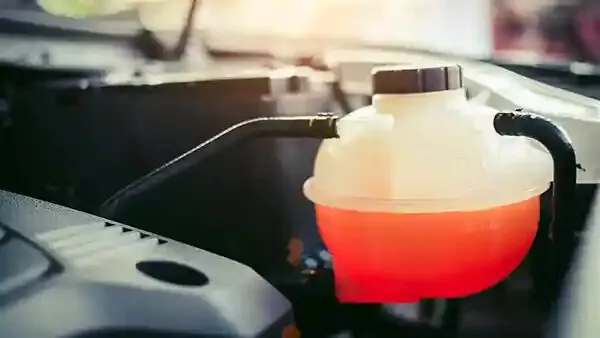
The Essentials of Engine Coolant
5 min read
Everything You Need to Know About Car Thermostats
6 min read
Explore more projects
How to Change a Thermostat
30 to 60 minutes
Intermediate
7 min read

How to Replace a Car Starter
1 to 2 hours
Intermediate
7 min read

How to Replace Spark Plugs
1 to 2 hours
Intermediate
7 min read
How to Replace a Transmission Mount
1 to 2 hours
Intermediate
7 min read

How to Replace Engine Mounts
1 to 2 hours
Intermediate
4 min read
How to Change a Water Pump
1 to 2 hours
Intermediate
8 min read

How to Change Manual Transmission Fluid
Less than 30 minutes
Intermediate
4 min read

How to Replace an Intake Manifold Gasket
2 to 5 hours
Intermediate
7 min read

How to Replace Wheel Bearings
1 to 2 hours
Intermediate
7 min read

How to Replace Tie Rod Ends
30 to 60 minutes
Intermediate
8 min read
How to Replace a Heater Core
More than 5 hours
Intermediate
12 min read

How to Replace a Power Steering Pump
1 to 2 hours
Intermediate
7 min read

How to Replace a Steering Gearbox
2 to 5 hours
Intermediate
8 min read
How to Replace Power Steering Fluid
1 to 2 hours
Intermediate
8 min read

How to Change Automatic Transmission Fluid
Less than 30 minutes
Intermediate
6 min read
How to Replace a U-Joint
1 to 2 hours
Intermediate
14 min read

How to Change an In-Tank Fuel Pump
2 to 5 hours
Intermediate
9 min read