The fluid in your vehicle’s hydraulic clutch system absorbs moisture from the air. Over time, the moisture degrades the fluid, causing corrosion in the lines and reducing the fluid’s boiling point. Also, wear particles and dirt form an abrasive slurry that deteriorates soft rubber seals. The antidote is to follow the recommended change interval for clutch fluid: three to five years (or sooner if you regularly drive through water or on dirt roads).
Use a brake fluid test strip to evaluate clutch fluid. Dip the strip into the fluid for about one second, allow it to rest for 30 seconds, and then read within one minute. This tests the amount of copper in the fluid, an early sign of corrosion. If the fluid is above 100 parts per million (ppm), change it. If the fluid is 200 ppm or higher, there could be significant corrosion.
There are several ways to bleed a clutch system: manually, pressure bleeding, or vacuum bleeding. This guide shows you how to manually bleed the system.
Pressure bleeding is another method, which can be seen in our guide and video for changing brake fluid. New fluid pushes out the old fluid. Vacuum bleeding is the same as pressure bleeding, but instead of pushing fresh fluid, it uses a vacuum to pull fluid through the master.
Tips and Tricks
- Some vehicles have self-bleeding systems, which can be pressure-bled. Manually flushing a self-bleeding clutch takes a long time. It requires pumping the clutch pedal about 100 times.
- There are two types of hydraulic clutch systems: slave cylinder and hydraulic release bearing (HRB). Both are bled nearly the same way, with minor differences, which we will explain in the steps below. HRB-equipped vehicles require getting under the vehicle. Take the necessary safety precautions.
- Nearly all hydraulic clutch systems use DOT 3 or DOT 4 brake fluid. However, motorcycles and some off-road vehicles use DOT 5, which is not compatible with the other fluids. Mixing these fluids could cause serious damage to seals. If DOT 3 or DOT 4 fluids are mixed with DOT 5, the entire system has to be flushed. Also, some seals might need to be replaced.
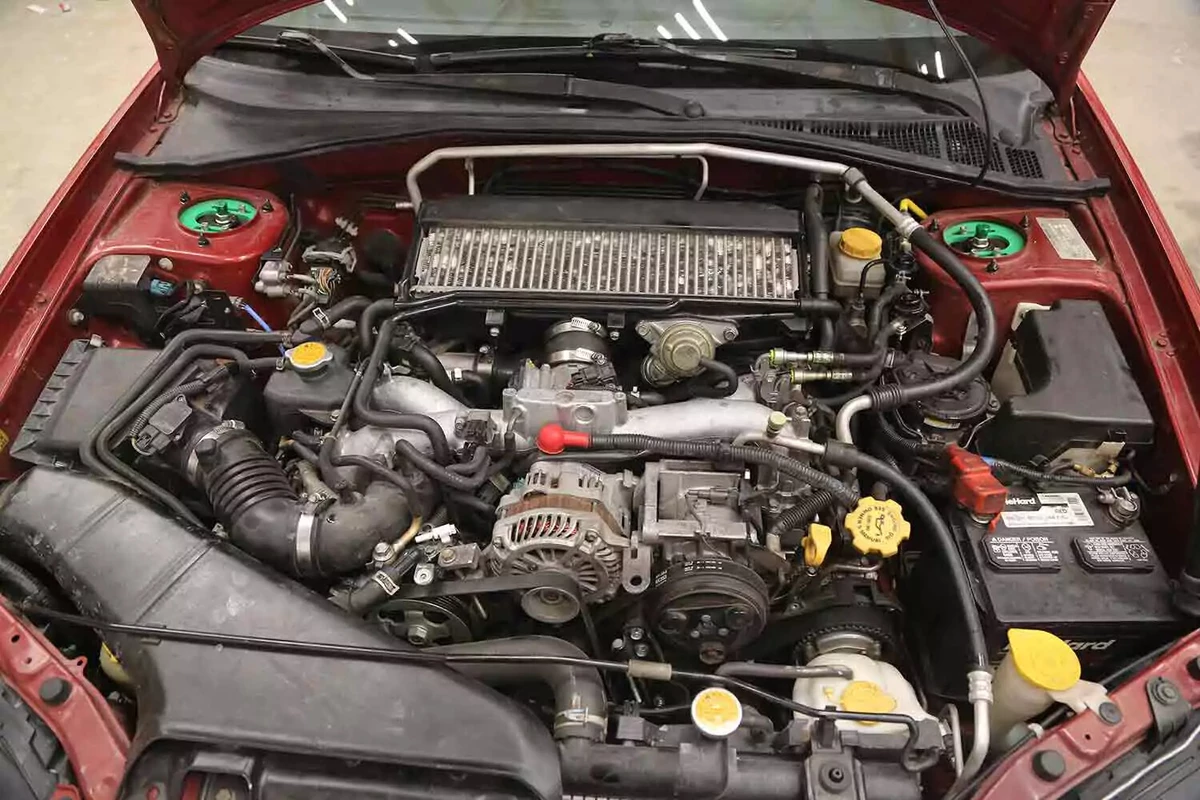
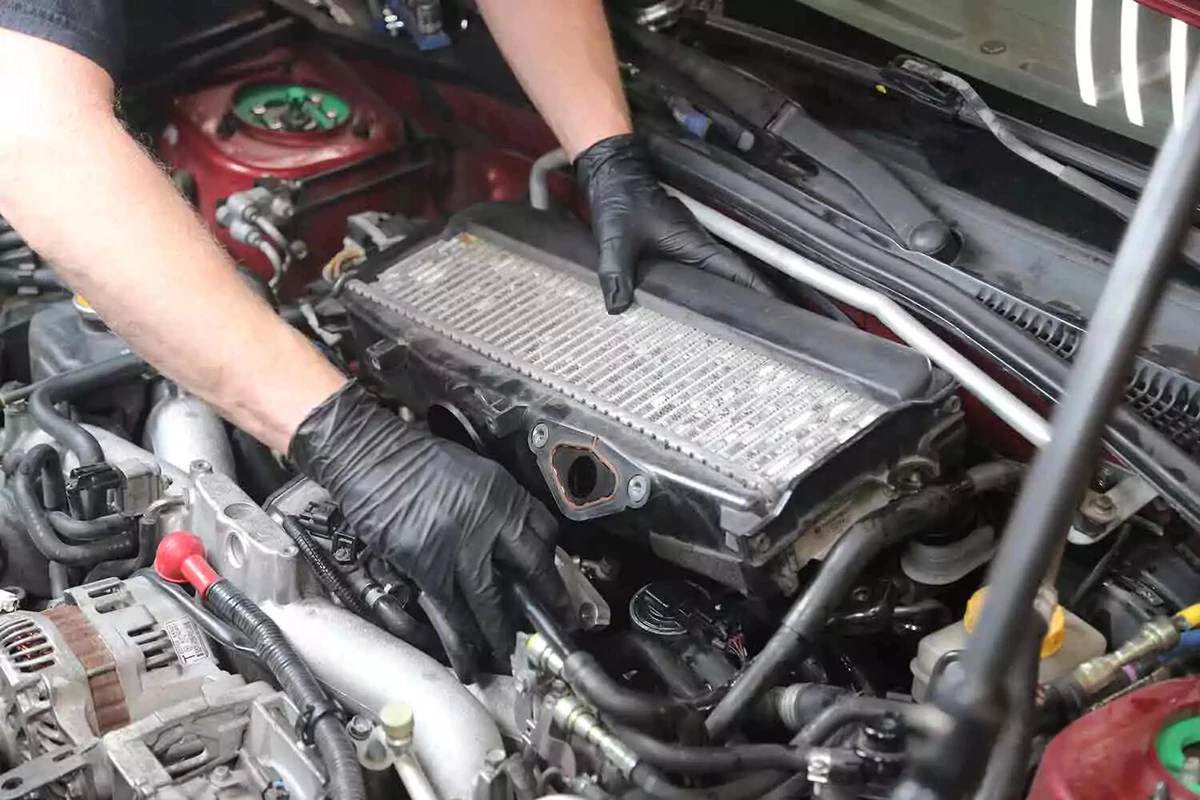
Look under the hood. Remove any items needed to gain access to the clutch master, slave cylinder, or HRB.
Our demo vehicle is packaged tightly. The slave cylinder is under the intercooler, so we had to remove it.
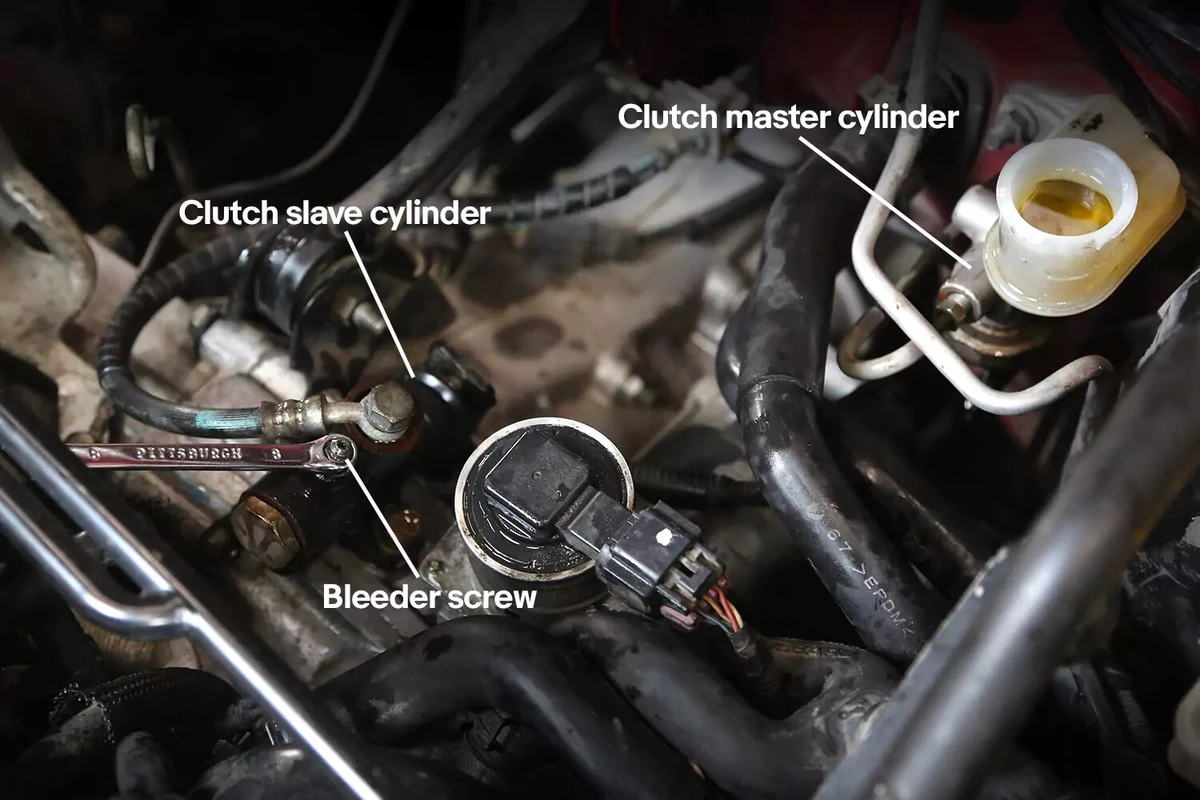
The master cylinder is typically directly in front of the clutch pedal. On our demo vehicle, the clutch master cylinder is inboard of the brake master cylinder, even though the pedal is on the outside of the brake pedal.
Regardless, the clutch slave has a single hydraulic pipe. The brake master cylinder has several.
The slave cylinder on our demo vehicle is mounted on the engine block. Most are mounted to the transmission or bellhousing.
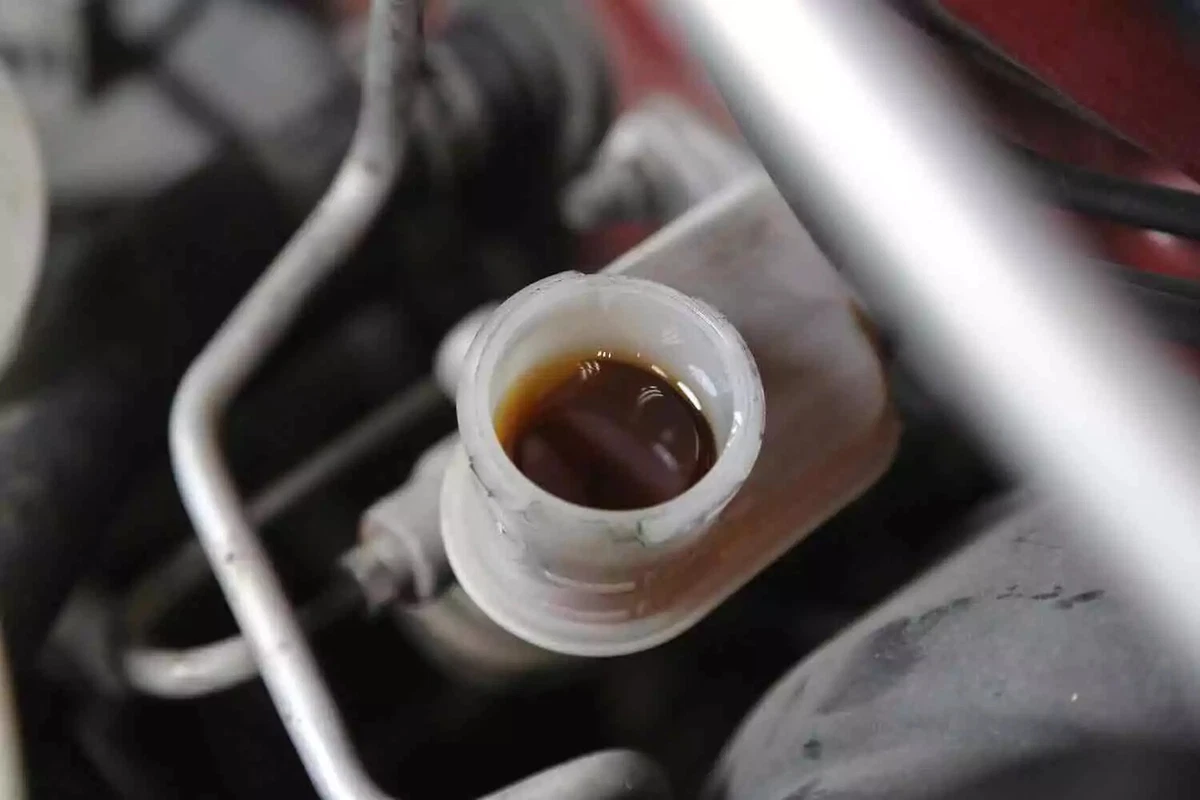
Open the clutch master. Look at the fluid, which is yellowish brown in our demo vehicle. That color indicates that it’s contaminated with water and dirt. It needs to be flushed. Fresh brake fluid is clear. Over time, it yellows as moisture is absorbed.
Cloudy fluid must be replaced. That cloudiness is suspended particles of dirt.
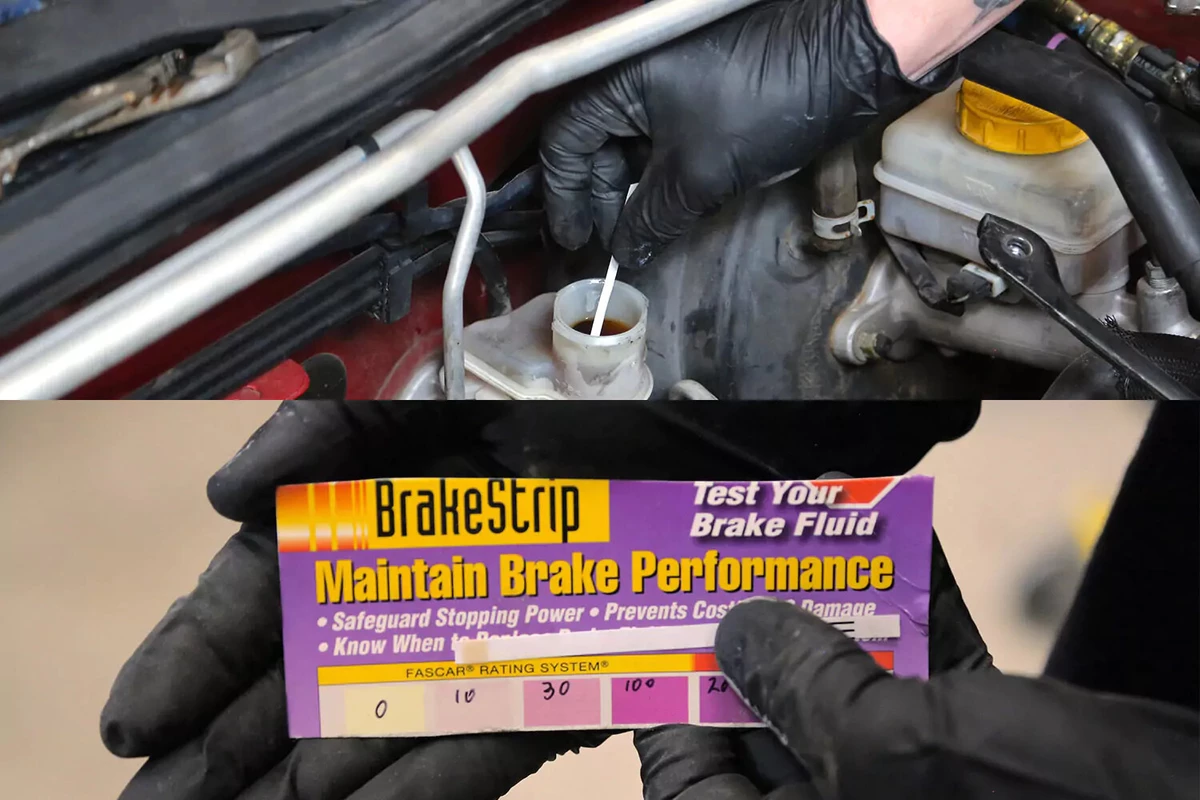
Dip a test strip into the reservoir for one second (top). Lay it flat for 30 seconds. Then, check the strip against the chart on the package within one minute (bottom).
The test strip used in our demo vehicle has 10 to 30 ppm of copper. Technically, that’s acceptable. But the yellowish brown indicates that the fluid should be flushed.

Use a squeeze bulb (turkey baster) to draw out as much of the old clutch fluid as possible. This limits how much old fluid gets pushed through the line. Then, refill the reservoir with fresh fluid.
Maintain a full reservoir throughout the flushing process. Replace the cap so the fluid doesn’t splash out.

Put the box-end wrench on the bleeder screw. Attach a catch can with a push-on adapter or a piece of tubing for a drain hose. That allows you to use the wrench to open and close the bleeder without removing the adapter, which can allow air into the system.
Clutch fluid is corrosive to paint, using a fluid catch can or drain hose to collect the old fluid will save your paint and a lot of unnecessary clean up.
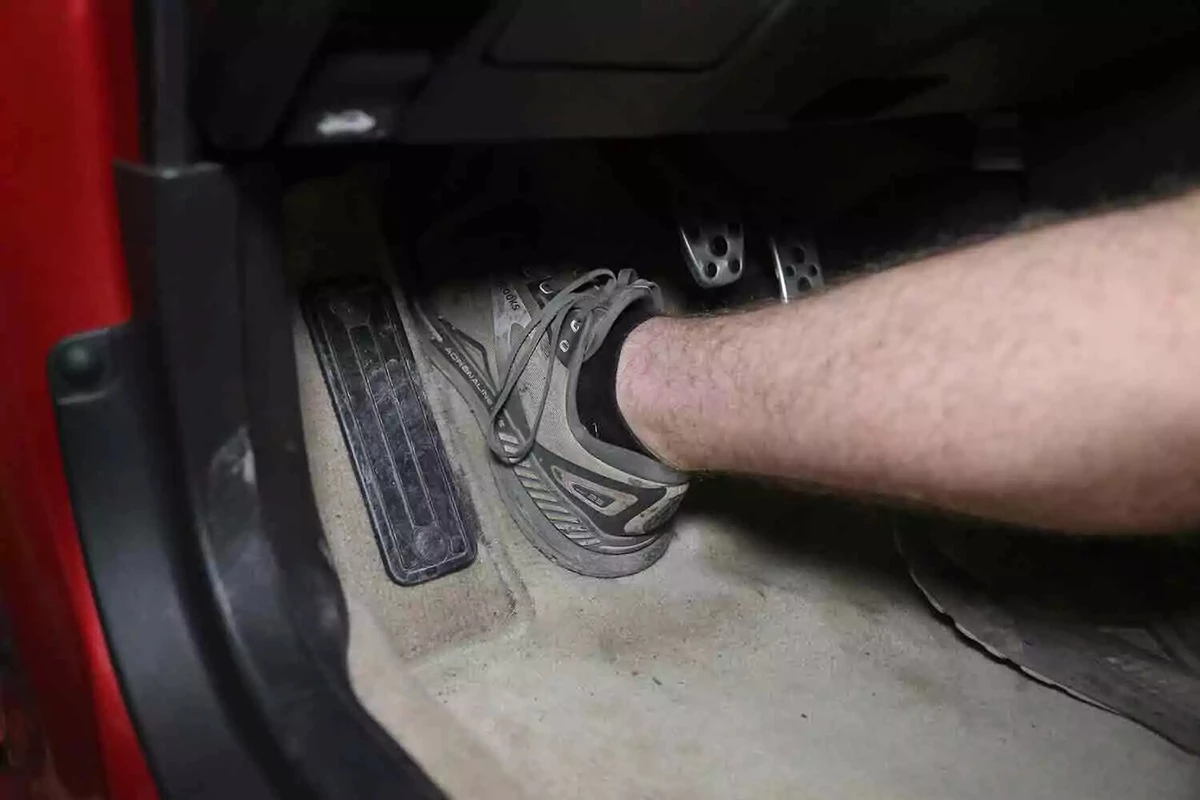
Have an assistant slowly press the clutch pedal and hold it to the floor.
While the pedal is pressed firmly to the floor, open the bleeder to allow fluid to come out.
Tighten the bleeder screw, then have your assistant release the pedal. In most cases, the pedal will snap to the floor. Lift up on the pedal to raise it back to the resting position.
Check the reservoir and refill with fresh fluid if low.
Repeat these steps until the pedal is firm and you can feel the clutch disengaging and engaging with pedal actuations.
Put the transmission in gear and push the body with the pedal depressed to verify the clutch is disengaged. This process can take several minutes.
The job is finished for most vehicles, but some clutch slave cylinders trap air and won’t fully bleed. If this happens to you, move to the next step.
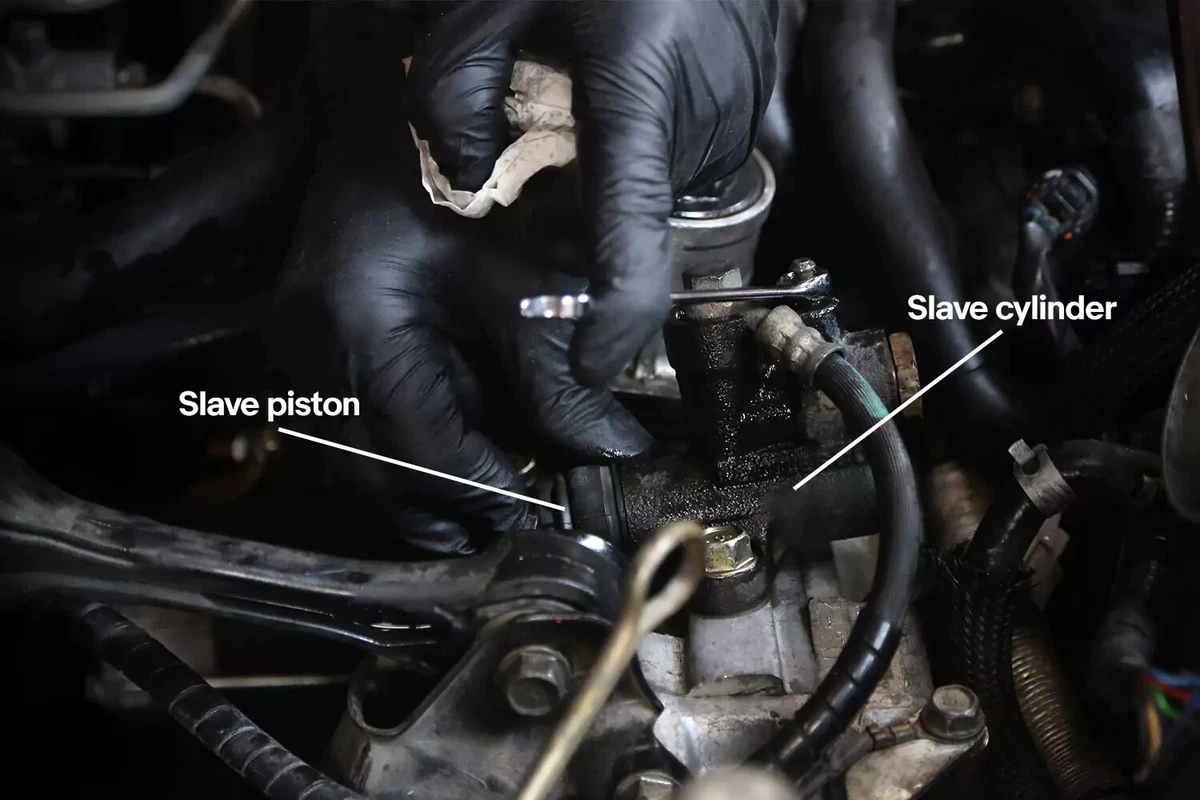
On our demo vehicle, we had to do a final manual bleed of the slave cylinder. This is done after the main system is bled while there’s some pressure, but the pedal snaps to the floor.
- With the pedal fully raised, open the bleeder and manually pull the slave’s piston into the This pushes out the remaining air pocket with a bit of fluid.
- Hold the piston in place and close the bleeder. Then, release the piston.
- Pump the pedal about 20 times to adjust the slave—so the piston pushes out until it fully contacts the clutch mechanism.
This step is complete when the pedal feels normal and does not snap to the floor.
For hydraulic release bearing (HRB) systems, the process is the same. Some HRBs are self-bleeding. Check your repair manual to confirm. Self-bleeding HRBs require pumping the clutch pedal about 100 times.
If you removed components to gain access to the clutch system, reinstall them.
About the author

Share your feedback
This article is meant to provide general guidance only. Automotive maintenance, repair, upgrade, and installation may depend on vehicle-specifics such as make and model. Always consult your owner's manual, repair guide for specific information for your particular vehicle and consider a licensed auto-care professional's help as well, particularly for advance repairs.