The ignition systems of engines built before 2000 often have a distributor. The distributor is driven from the engine’s camshaft, which spins a rotor—also called a rotor bug or rotor button—inside the cap.
There is a brief electrical connection when the bug sweeps past each spark plug terminal. That allows the spark to jump from the ignition coil to each spark plug. Over time, the contacts on the cap and rotor wear out, increasing the space between the two terminals. The extra space can result in misfires.
Replacing the cap and rotor is commonly part of a tune-up. Most manufacturers recommend a tune-up every two years or 30,000 miles.
Tips and Tricks
- Distributors can be difficult to reach on some vehicles. That adds time to the replacement process.
- Remove and replace the plug wires one at a time and use a damp rag to wipe them clean.
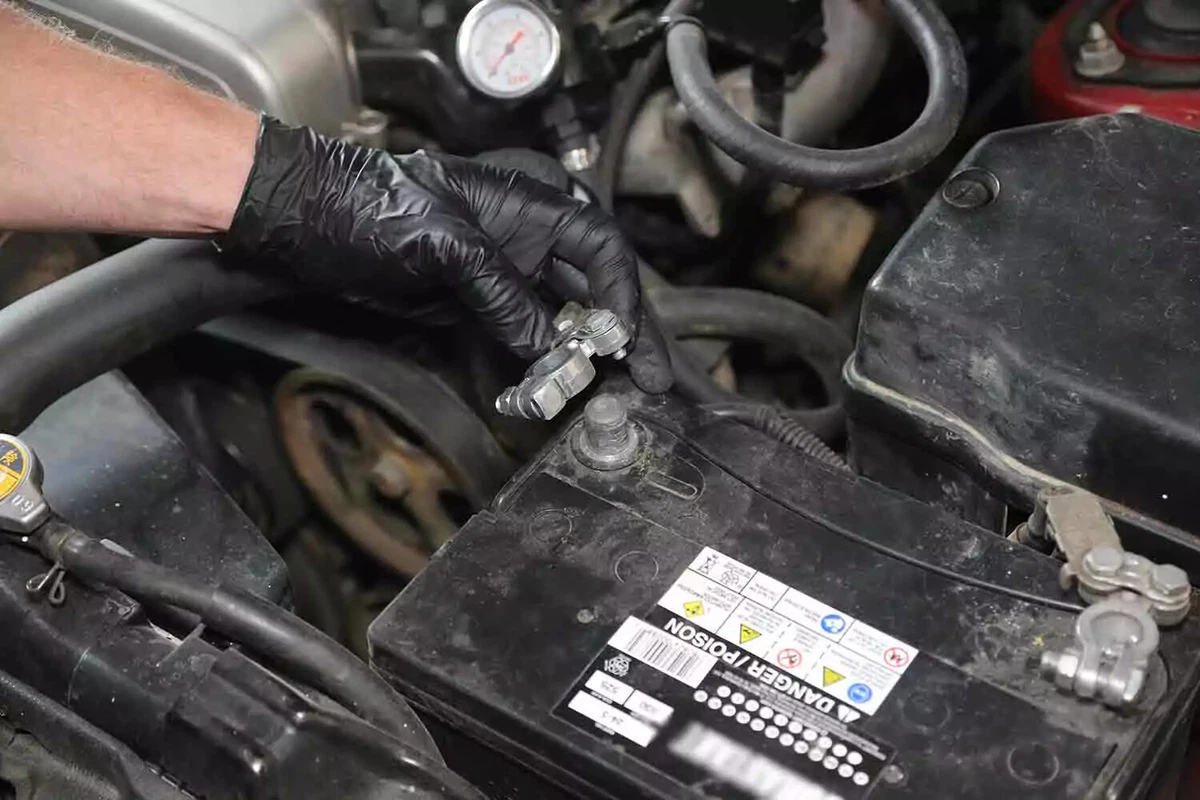
The first step for many auto repair jobs is disconnecting the vehicle’s battery. It’s a simple task. Remove the ground clamp from the battery’s negative post. Plus (+) and minus (-) signs are usually molded into the plastic battery case near the post.
Removing the negative terminal first ensures the vehicle is no longer connected to a live battery. This prevents sparks, electrical shorts, or components (such as fans) from unnecessarily coming on.
Pull the terminal off the battery for a close inspection. If there is corrosion, loose wires, or physical damage, consider replacing the battery terminal or cable.
Move the terminal away from the battery into a position where it can’t accidentally touch the battery post.
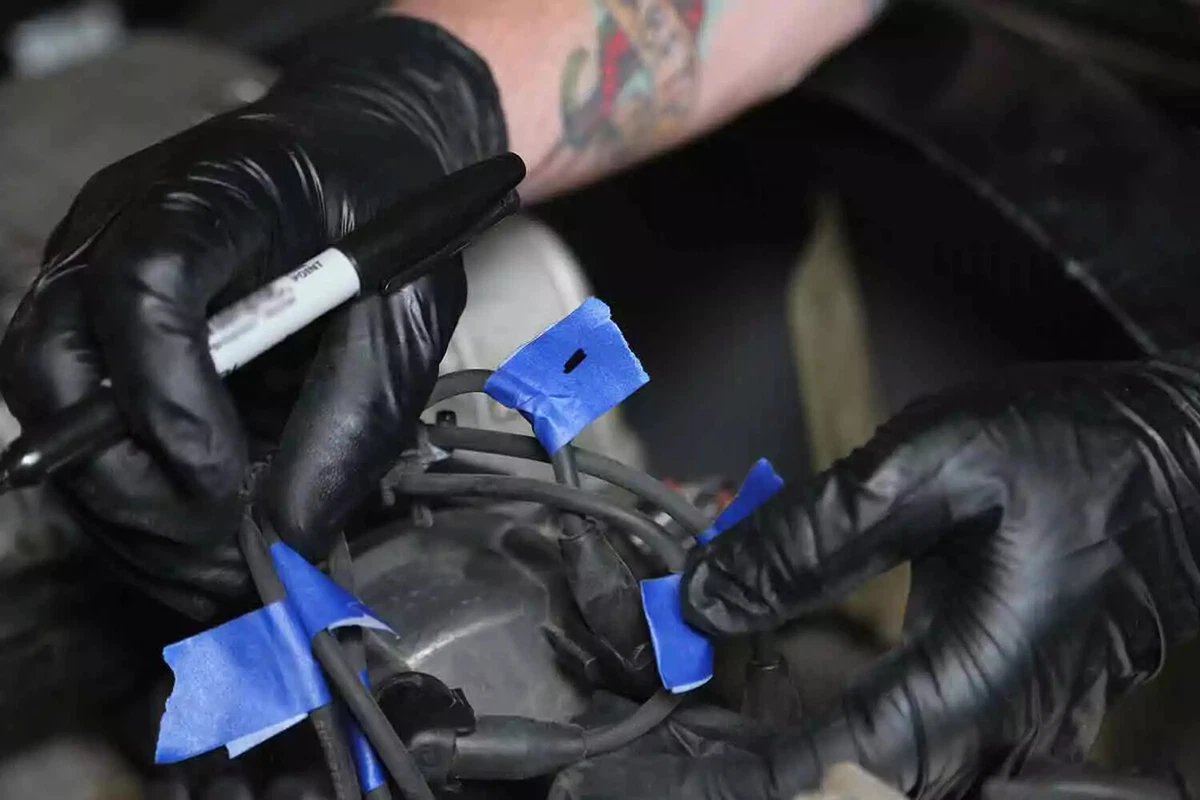
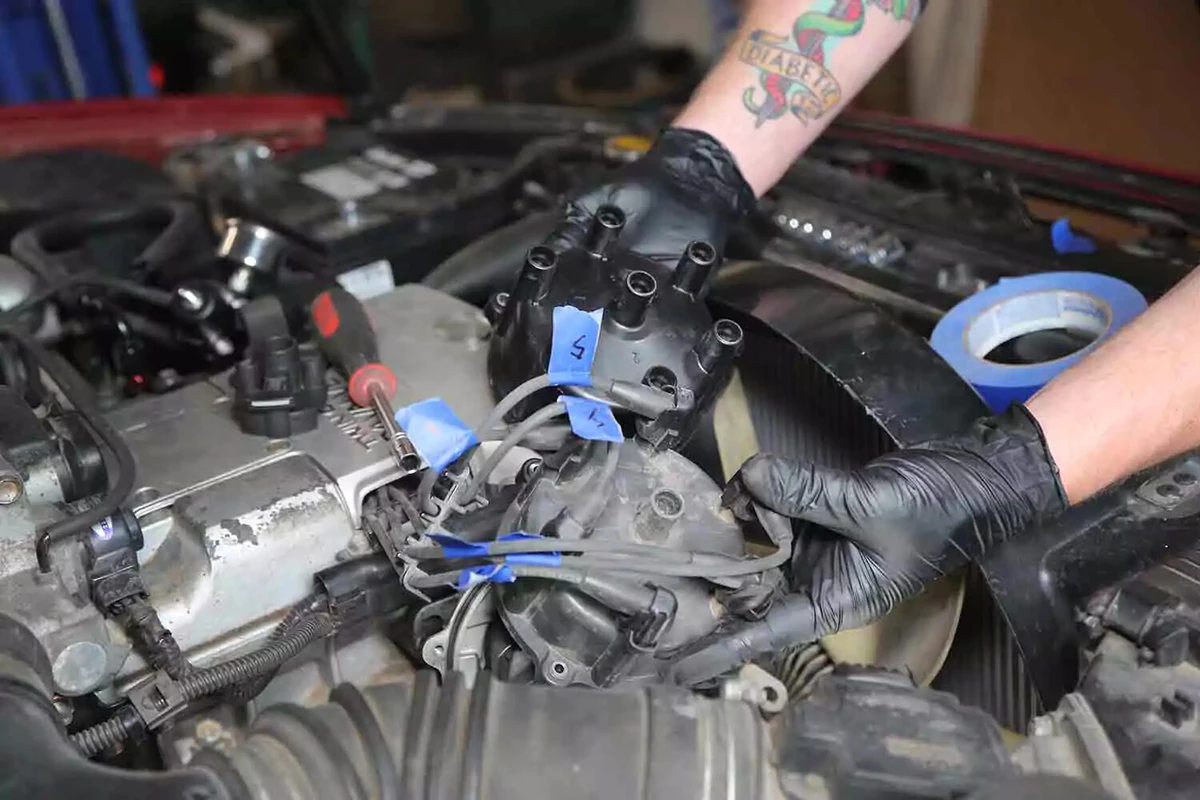
Mark each plug wire with a piece of masking tape. To confirm the correct plug position, trace each wire from the cap to the spark plug.
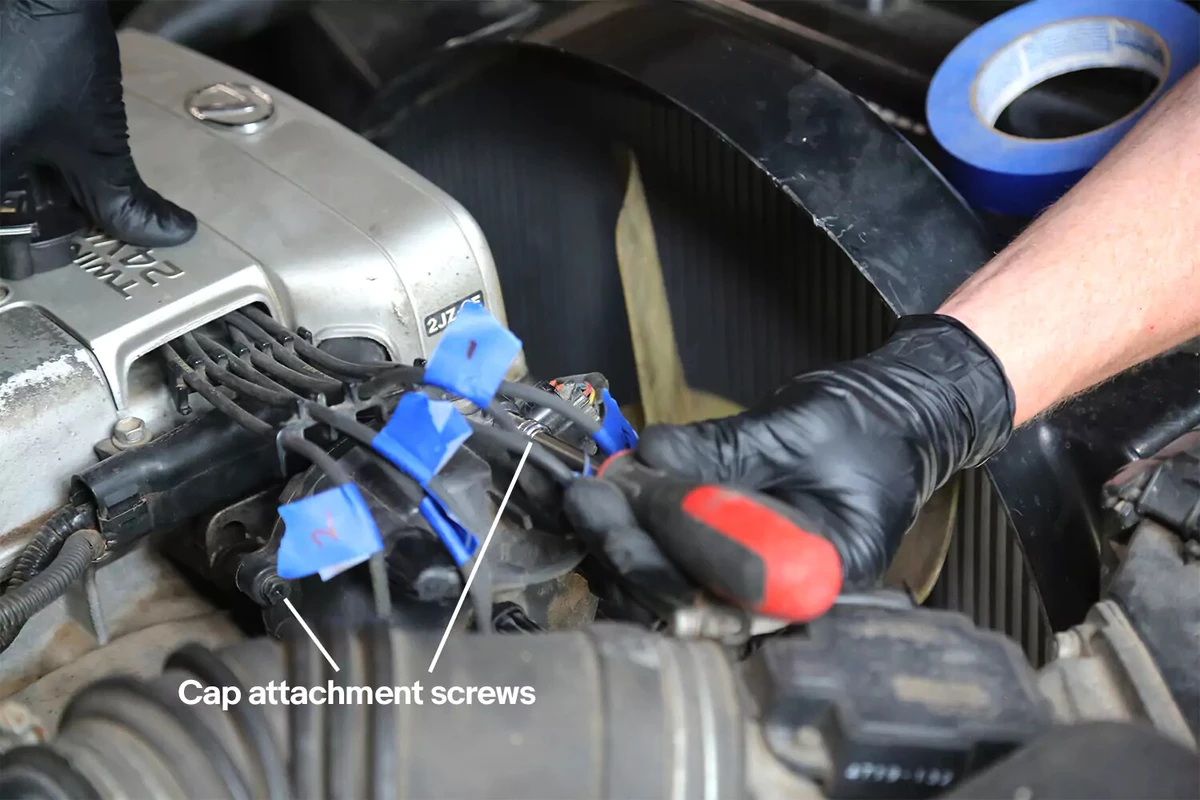
Remove the distributor cap fasteners. They might be screws, bolts, or spring-loaded locking pins. Most caps have two or three fasteners.
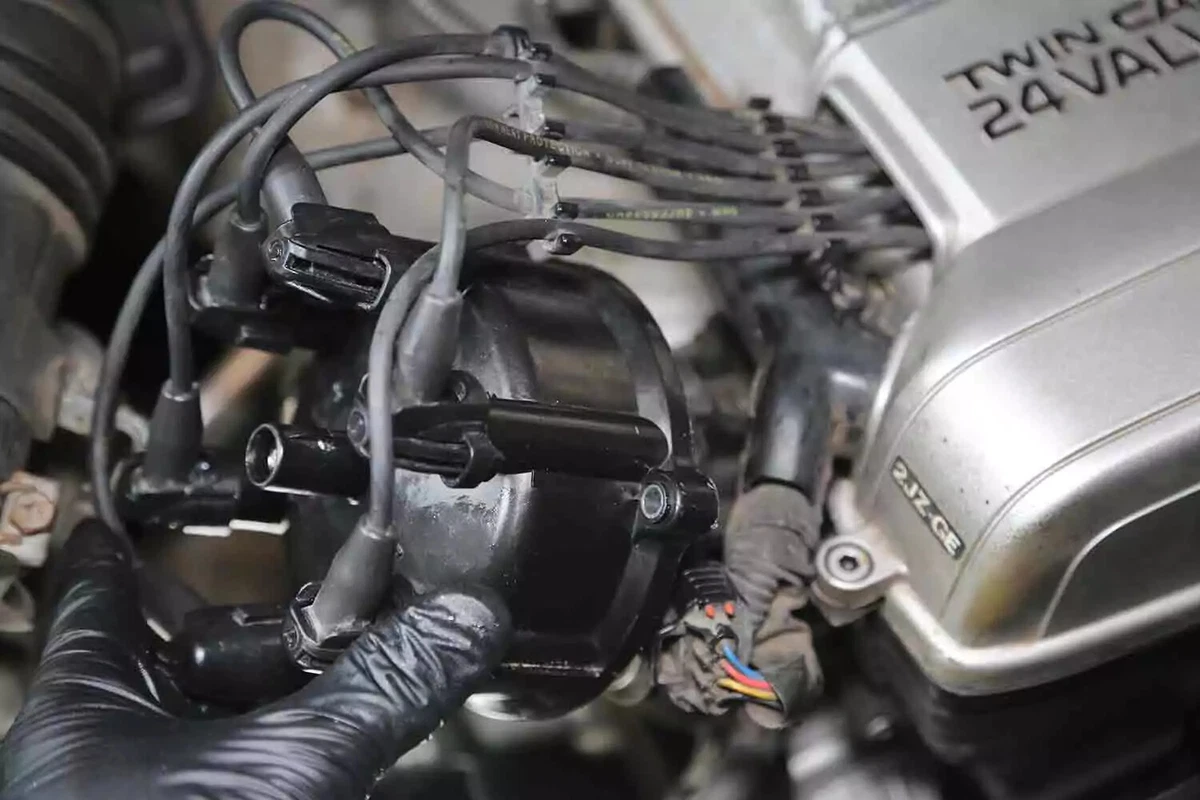
Remove the distributor cap from the distributor. We recommend removing the coil wire first so you have more flexibility to move the cap.
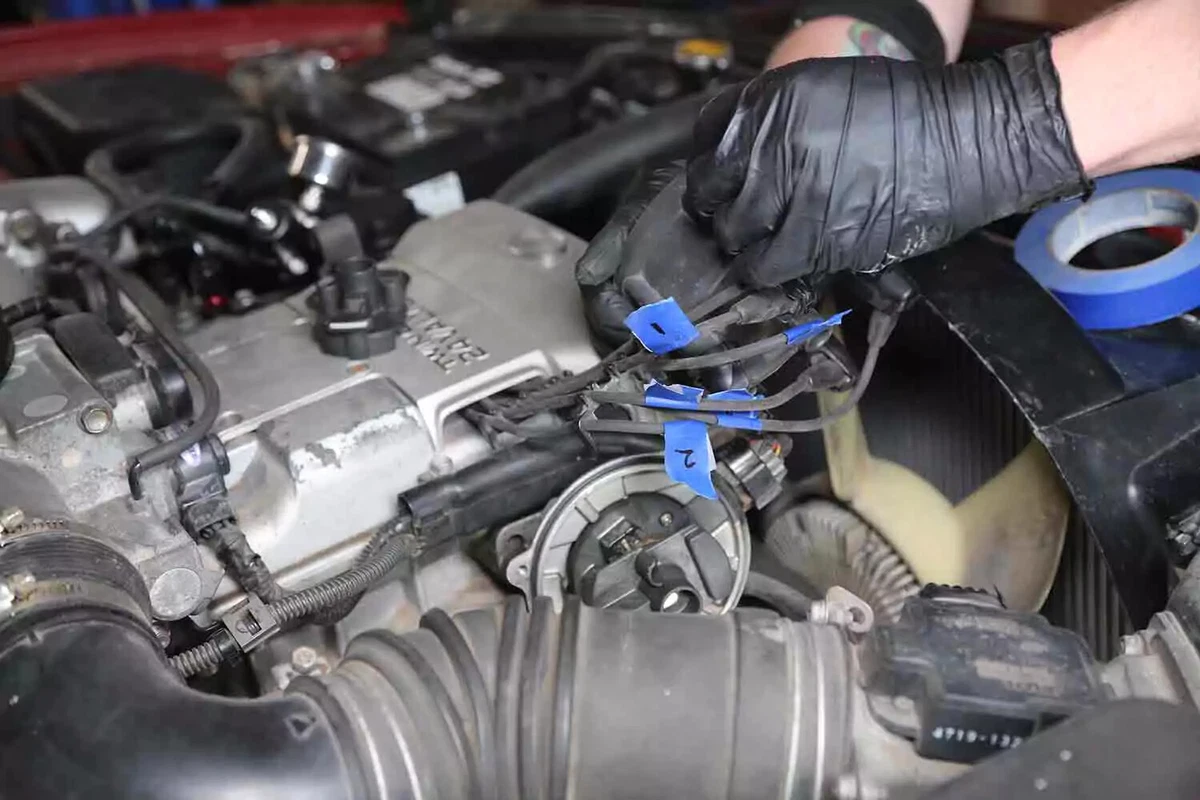
Note the #1 plug wire position in relation to the distributor. The #1 position will be the same on the new cap.
Examine the new and old caps next to one another. Most caps have an indexing tab to locate its correct position. However, our demo vehicle uses offset bolt spacing for positioning.
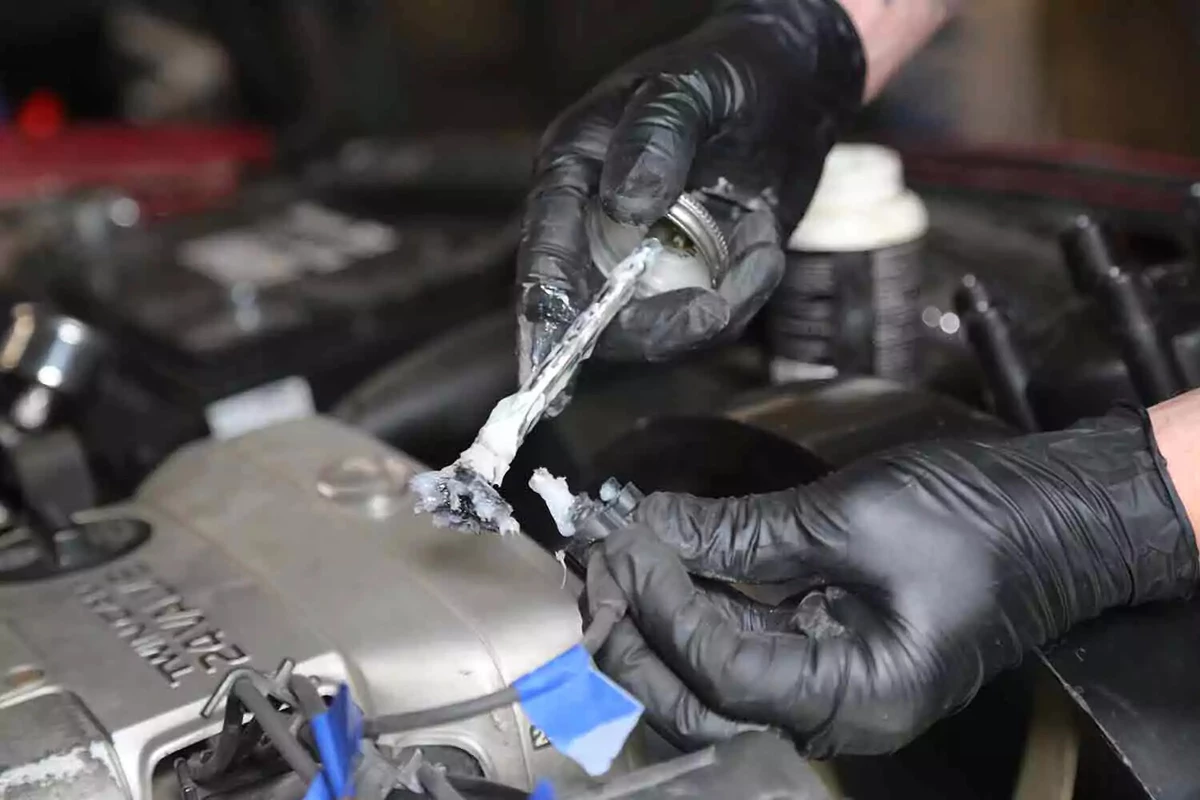
Remove each plug wire one at a time. Add a bit of dielectric grease to the plug wire boots.
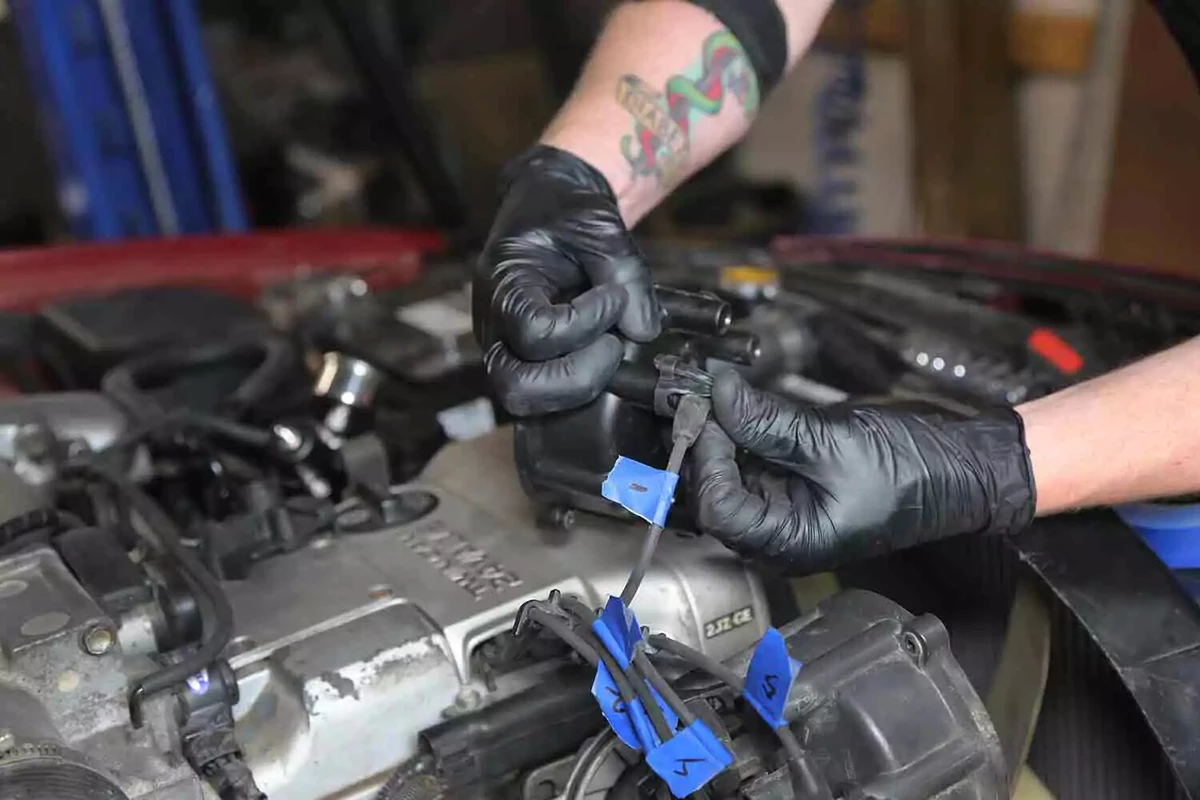
Install each wire to the matching position on the new cap. Set the old cap aside after all wires are transferred and you attach the center coil wire.
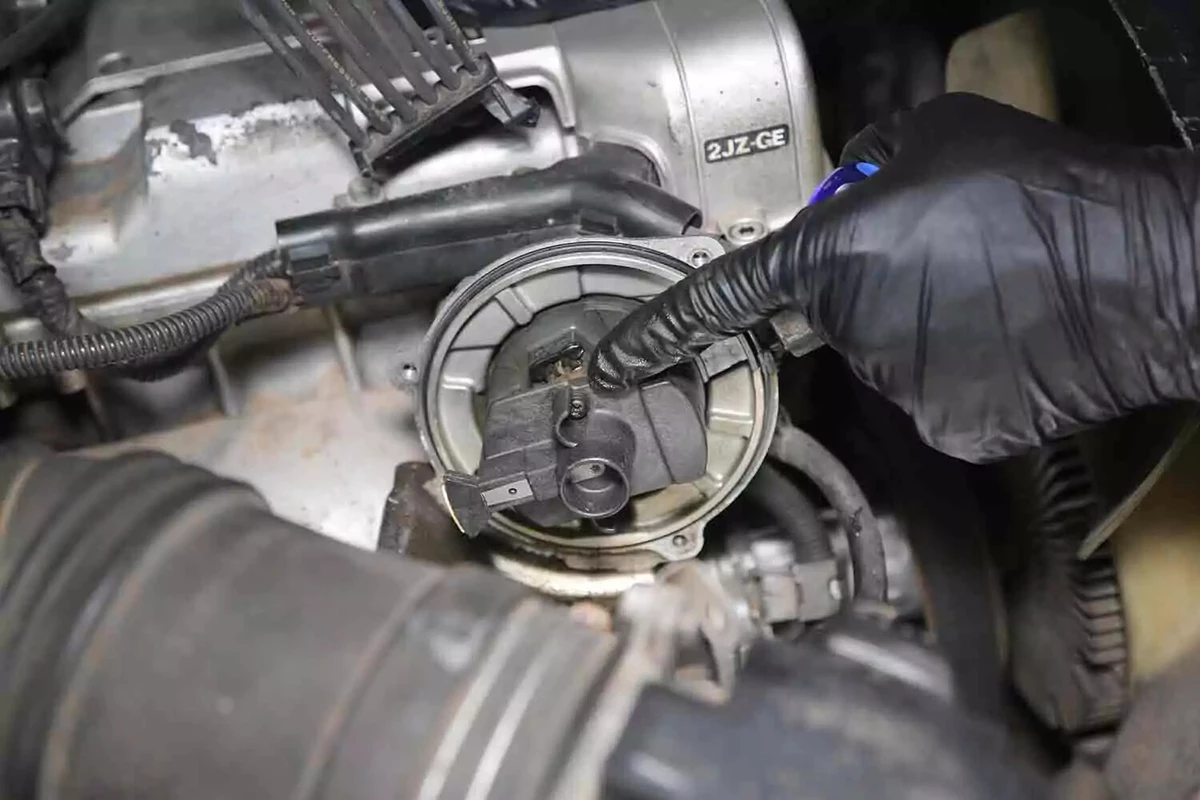
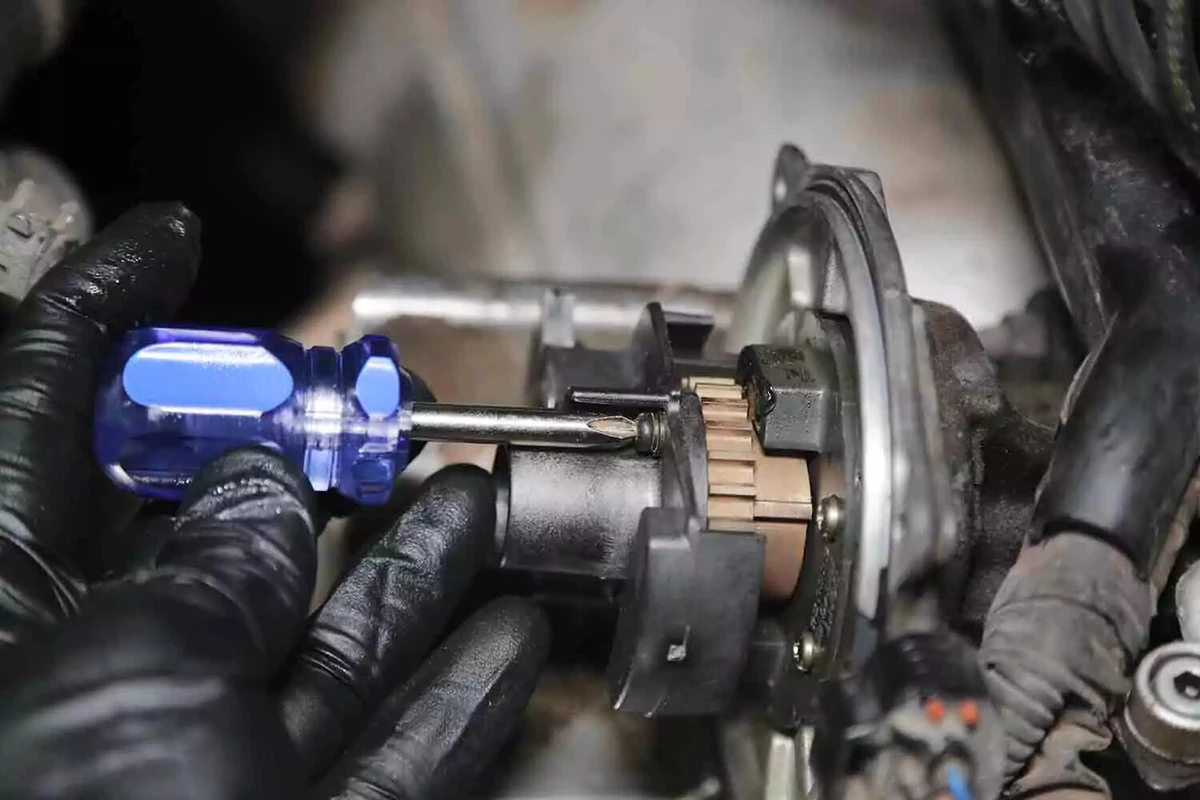
The rotor is in the distributor’s center. Some rotors slide off, while others have one or two fasteners to be removed. This one has two Phillips-head machine screws.
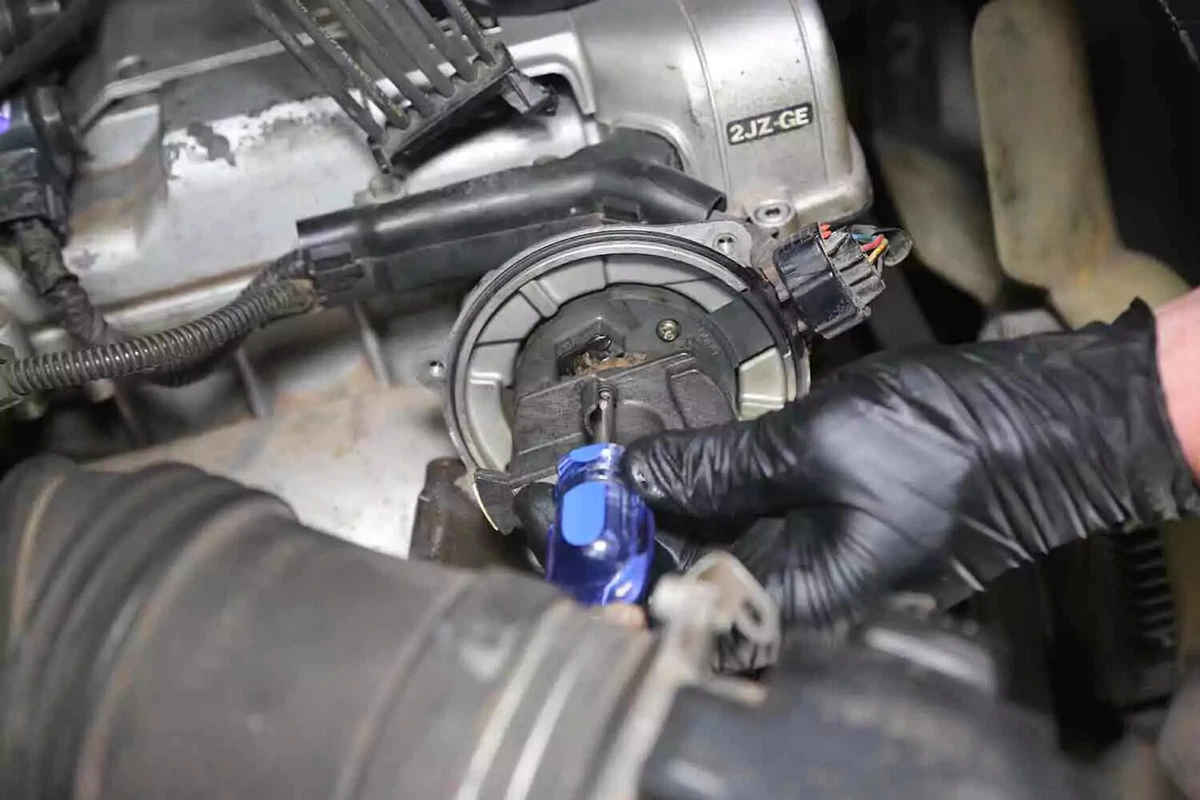
Use the correct tool to remove the fasteners. Some rotors come with new fasteners. For our rotor, we reused the original screws.
Remove the rotor.

Compare the new rotor to the old one. Make sure they are the same.
Install the new rotor. Most rotors are indexed so they cannot be installed backwards.
The shaft is D-shaped or has a tab-and-slot to ensure a proper fit. Spin the rotor on the shaft until it seats completely.
Install the new cap over the distributor, making sure that it is correctly oriented. Rotate it slightly until the tab-and-slot seats or the bolt holes line up.
The cap only fits and fastens properly when rotated to its correct position. As you seat the cap, rotate it slightly back and forth to line up the bolt holes or drop the indexing tab into its corresponding slot.
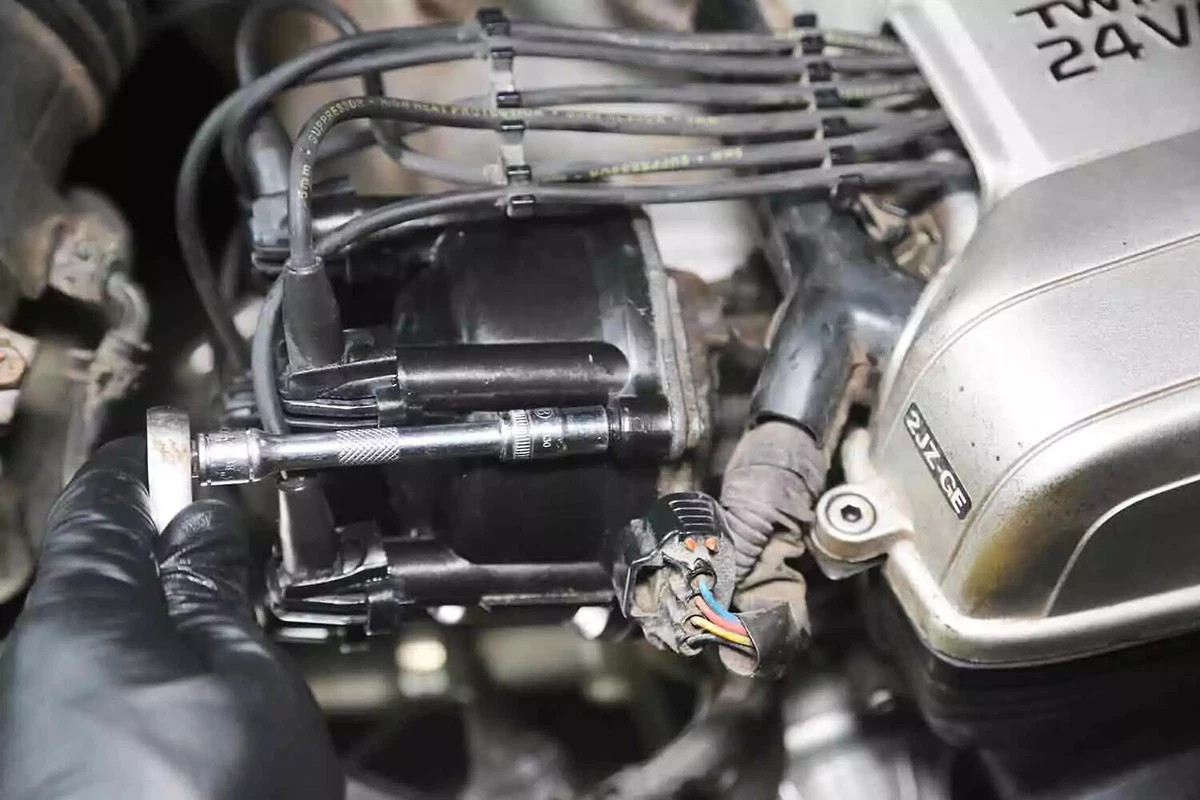
Install and tighten the fasteners. Hand tight is adequate. Overtightening the fasteners could crack or warp the cap.
Reconnect the negative battery terminal.
About the author

Share your feedback
This article is meant to provide general guidance only. Automotive maintenance, repair, upgrade, and installation may depend on vehicle-specifics such as make and model. Always consult your owner's manual, repair guide for specific information for your particular vehicle and consider a licensed auto-care professional's help as well, particularly for advance repairs.
Recommended for you
Find answers and inspiration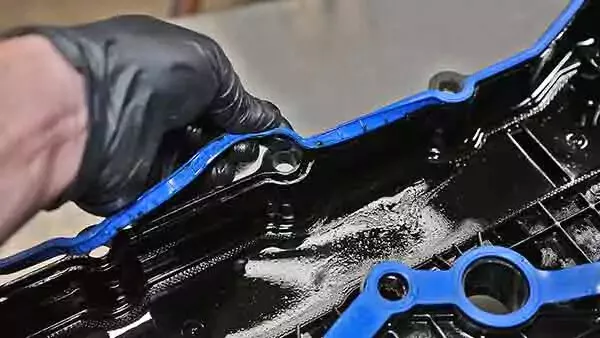
A Quick Guide to Valve Cover Gaskets
6 min read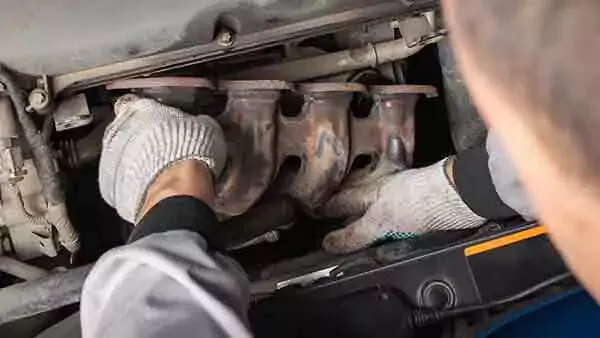
When to Replace Your Exhaust Manifold Gasket
6 min read
How to Replace an Ignition Coil
6 min read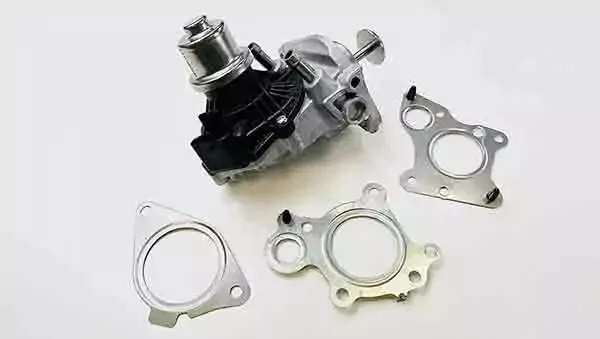
How to Buy the Right EGR Valve and Gasket
6 min read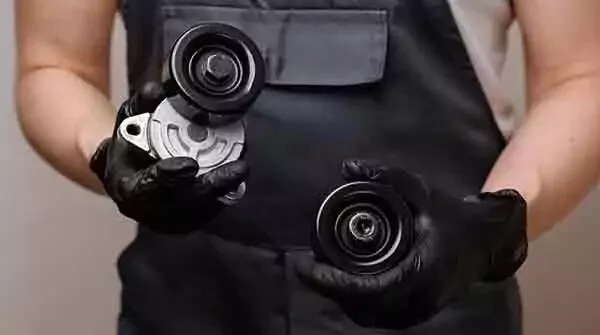
Your Complete Idler Pulley Buying Guide
5 min read
Buying the Right Distributor Cap and Rotor
4 min read
How to Buy the Right Throttle Body
5 min read
How to Replace a Drive Belt
5 min read
How to Replace an Intake Manifold Gasket
7 min read
How to Buy the Right Car Starter
5 min read
How to Replace a Valve Cover Gasket
7 min read
How to Change a Timing Belt
12 min read
Diagnosing Your Serpentine Belt and Tensioner
6 min read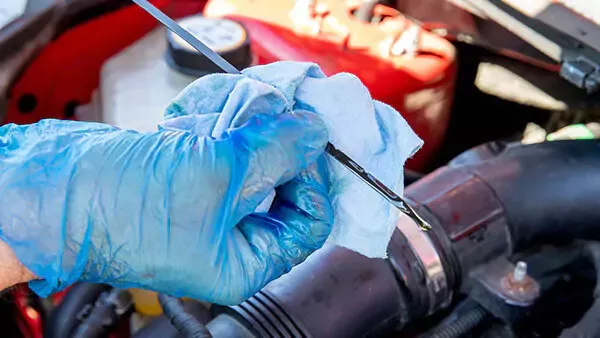
Changing Your Oil: 5 Things to Know
6 min read
How to Clean Fuel Injectors
8 min read
How to Change a Car Battery
6 min readAutomation How to Change a Car Battery
6 min read
How to Replace a Mass Air Flow (MAF) Sensor
7 min read
Distributors 101
6 min read
How to Replace Spark Plugs
7 min read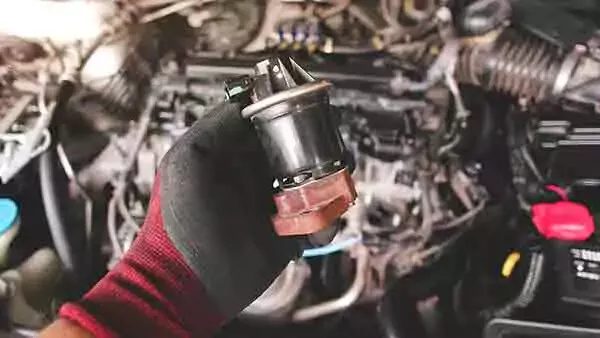
Everything You Should Know About EGR Valves
5 min read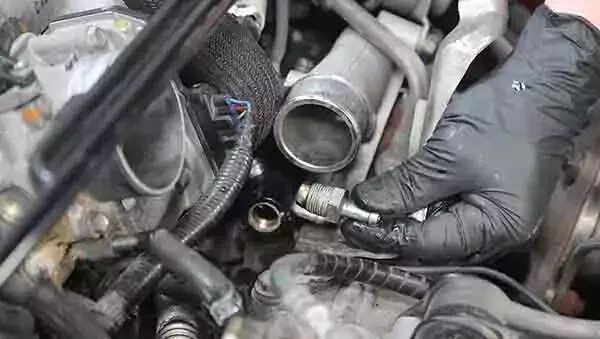
How to Test Your PCV Valve
6 min read
Buying the Best Portable Car Battery Jump Starter
6 min read
An Introduction to Cleaning Fuel Injectors
5 min read
A Deep-Dive Guide to Ignition Wires
7 min read
How to Replace Engine Mounts
4 min read
The Right Tools to Clean Your Fuel Injectors
6 min read
How Do Ignition Coils Work?
5 min read
What to Consider When Buying a Car Battery
6 min read
How to Jump Start a Car
9 min read
Spark Plugs 101
7 min read
When to Replace Your Drive Belt
6 min read
Fuel Pumps and How They Work
8 min read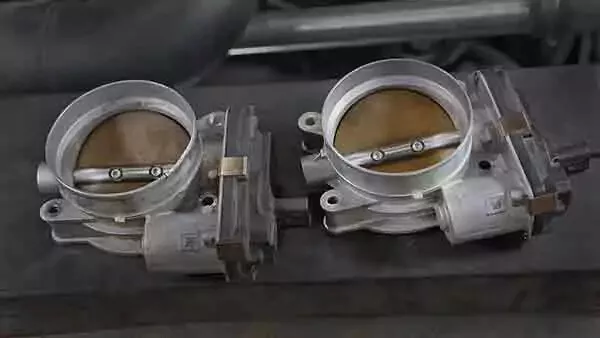
What to Know About Your Vehicle's Throttle Body
6 min read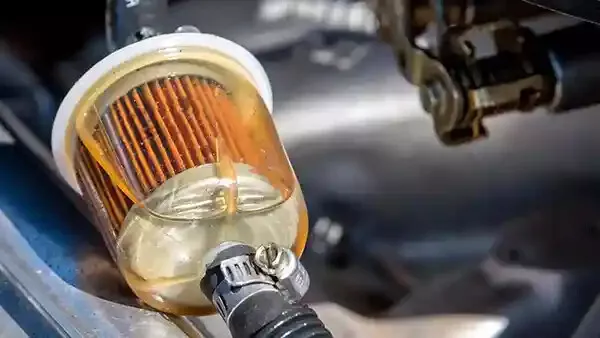
Everything You Need to Know About Fuel Filters
6 min read
How to Buy the Right Ignition Coils
7 min read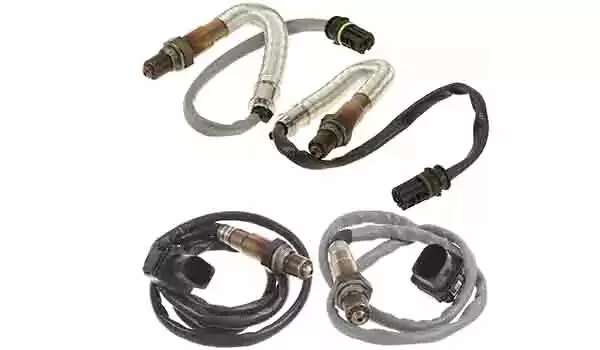
How to Buy the Right O2 Sensor
5 min read
How to Replace a Serpentine Belt Tensioner
4 min read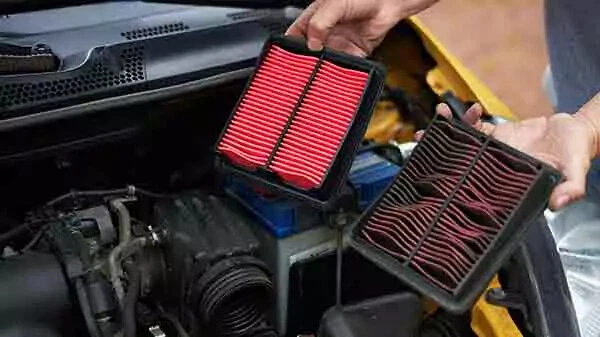
When to Replace Your Engine Air Filter
5 min read
How to Replace an Oxygen Sensor
5 min read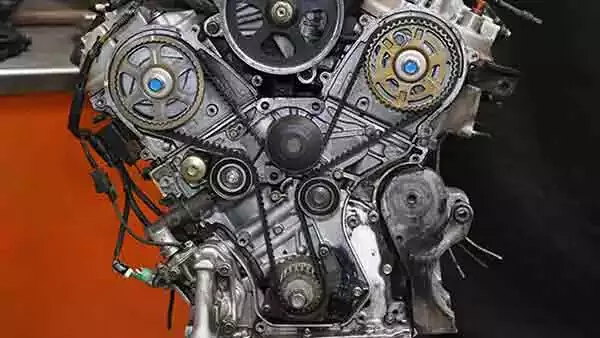
How to Buy the Right Timing Belt and Related Tools
5 min read
How to Buy the Right Car Distributor
6 min read
An Intro to Jump-Starting Your Car Battery

Timing Belts 101
5 min read
How to Replace an Engine Air Filter
5 min read
How to Buy the Right Exhaust Manifold Gasket
6 min read
How to Choose the Best Spark Plugs
5 min readSBJ 1.2 Test Prod - Change a Car Battery Shari
6 min read
How to Replace a Car Starter
7 min read
What You Should Know About O2 Sensors
6 min read
How to Buy the Right Valve Cover Gasket
4 min read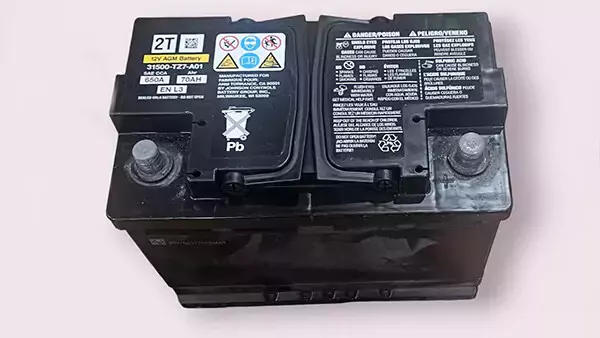
When to Replace Your Car’s Battery
5 min read
Understanding Your Car's Idler Pulley
4 min read
How to Replace a Fuel Filter
7 min read
How to Replace a PCV Valve
6 min read
Do You Have a Faulty Mass Air Flow Sensor?
4 min read
Everything You Need to Know About Car Starters
7 min read
How to Replace an Exhaust Gasket
9 min read
Ignition Wire Buying Guide
6 min read
All About Your Distributor Cap and Rotor
7 min read
How to Replace a Throttle Body
6 min read
Spotting Intake Manifold Gasket Problems
7 min read
How to Change Oil in a Car
8 min read
How to Buy the Best MAF Sensor
4 min read
How to Replace an Alternator
11 min read
How to Replace an EGR Valve
5 min read
How to Change an In-Tank Fuel Pump
9 min read
Explore more projects

How to Repair a Chipped Windshield
1 to 2 hours
Beginner
7 min read

How to Replace Brake Fluid
1 to 2 hours
Beginner
10 min read
How to Replace an Ignition Coil
Less than 30 minutes
Beginner
6 min read

How to Replace a Radiator Hose
Less than 30 minutes
Beginner
5 min read

How to Replace Brake Rotors
1 to 2 hours
Beginner
7 min read
How to Replace a Serpentine Belt Tensioner
Less than 30 minutes
Beginner
4 min read

How to Rotate Your Tires
30 to 60 minutes
Beginner
5 min read
How to Replace a Drive Belt
Less than 30 minutes
Beginner
5 min read

How to Refill Windshield Washer Fluid
Less than 30 minutes
Beginner
4 min read
How to Replace an Oxygen Sensor
30 to 60 minutes
Beginner
5 min read

How To Replace Differential Fluid
Less than 30 minutes
Beginner
8 min read

How to Replace Sway Bar End Links and Bushings
30 to 60 minutes
Beginner
6 min read

How to Replace Transmission Fluid and Filter
1 to 2 hours
Beginner
11 min read

How to Change Disc Brake Pads
30 to 60 minutes
Beginner
8 min read
How to Replace a Valve Cover Gasket
Less than 30 minutes
Beginner
7 min read

How to Replace a Cabin Air Filter
Less than 30 minutes
Beginner
5 min read

How to Change Windshield Wipers
Less than 30 minutes
Beginner
3 min read
How to Replace an Engine Air Filter
Less than 30 minutes
Beginner
5 min read

How to Replace Shock Absorbers
30 to 60 minutes
Beginner
8 min read
How to Clean Fuel Injectors
1 to 2 hours
Beginner
8 min read
How to Change a Car Battery
Less than 30 minutes
Beginner
6 min read
Automation How to Change a Car Battery
Less than 30 minutes
Beginner
6 min read
How to Replace a Mass Air Flow (MAF) Sensor
Less than 30 minutes
Beginner
7 min read

How to Replace a Clutch Master Cylinder
1 to 2 hours
Beginner
11 min read

How to Flush and Change Engine Coolant
30 to 60 minutes
Beginner
6 min read

How to Check Tire Pressure and Change a Tire
Less than 30 minutes
Beginner
9 min read
How to Replace a Fuel Filter
30 to 60 minutes
Beginner
7 min read
How to Replace a PCV Valve
30 to 60 minutes
Beginner
6 min read

How to Replace a Brake Caliper
1 to 2 hours
Beginner
7 min read

How to Replace an Idler Pulley
30 to 60 minutes
Beginner
4 min read

How to Change a Headlight Bulb
Less than 30 minutes
Beginner
6 min read
How to Replace an Exhaust Gasket
1 to 2 hours
Beginner
9 min read
How to Replace a Throttle Body
30 to 60 minutes
Beginner
6 min read
How to Change Oil in a Car
Less than 30 minutes
Beginner
8 min read
How to Jump Start a Car
Less than 30 minutes
Beginner
9 min read
How to Replace an Alternator
1 to 2 hours
Beginner
11 min read
How to Replace an EGR Valve
30 to 60 minutes
Beginner
5 min read