Most vehicles built since the mid-1990s use a long belt to drive engine accessories, such as the air conditioning compressor, alternator, power steering pump, and water pump. The belt wraps around pulleys like a snake—hence the name “serpentine belt.”
Serpentine drive belts, which are critical for proper engine operation, commonly last between 50,000 and 100,000 miles. If the belt slips, breaks, or comes off, then your engine will overheat, the alternator will not charge, and the power steering pump will stop.
It’s important to change the serpentine belt before it fails. Signs of a worn-out belt include frayed edges, cracked ribs, missing ribs, and splits. Any of these signs indicate the need to replace the belt immediately.
Tips and Tricks
- Take a photograph of the routing for reference. Belt routing is complex. The photos will make it easier to install the new belt correctly.
- Use a spring clamp to hold the belt in place for complex routings. A helper with another set of hands to keep the belt on the pulleys is also helpful.
- Most serpentine belts are ribbed on one side and smooth on the other. However, relatively new vehicles might use belts with ribs on both sides.
- A smooth pulley will always ride on the smooth back side of the belt.
- We recommend replacing the serpentine belt and the belt tensioner at the same time.
- While most belt tensioners use a square drive (like a ratchet and socket), some use an Allen or Torx bit. Tensioners hold significant pressure against the belt. It takes effort and leverage to release that tension. If you can fit a breaker bar into the space, use it to release the tension.

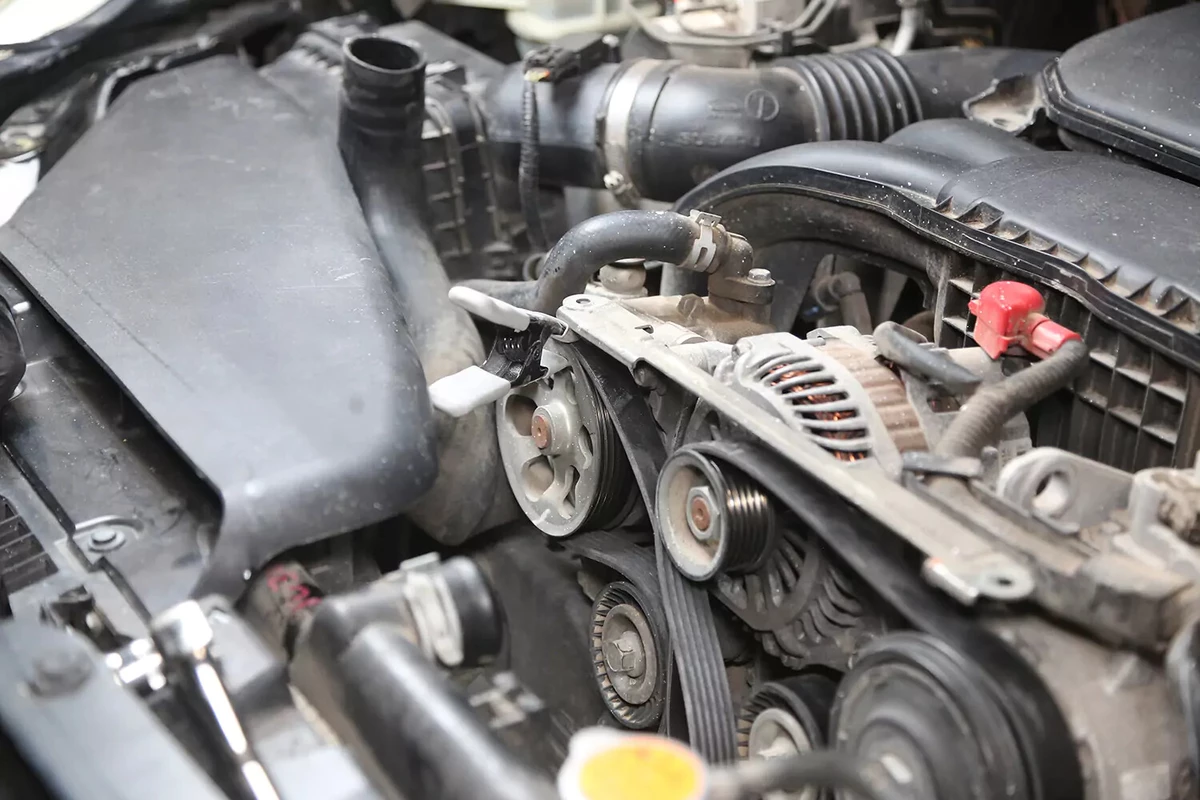
Open the hood to locate the drive belt. The drive belt is on the accessory drive, which may be at the front of the vehicle (for longitudinal engines) or on the side (for transverse engines).
To access the belt, you might need to remove the air intake tubing, trim panels, or radiator shrouding.
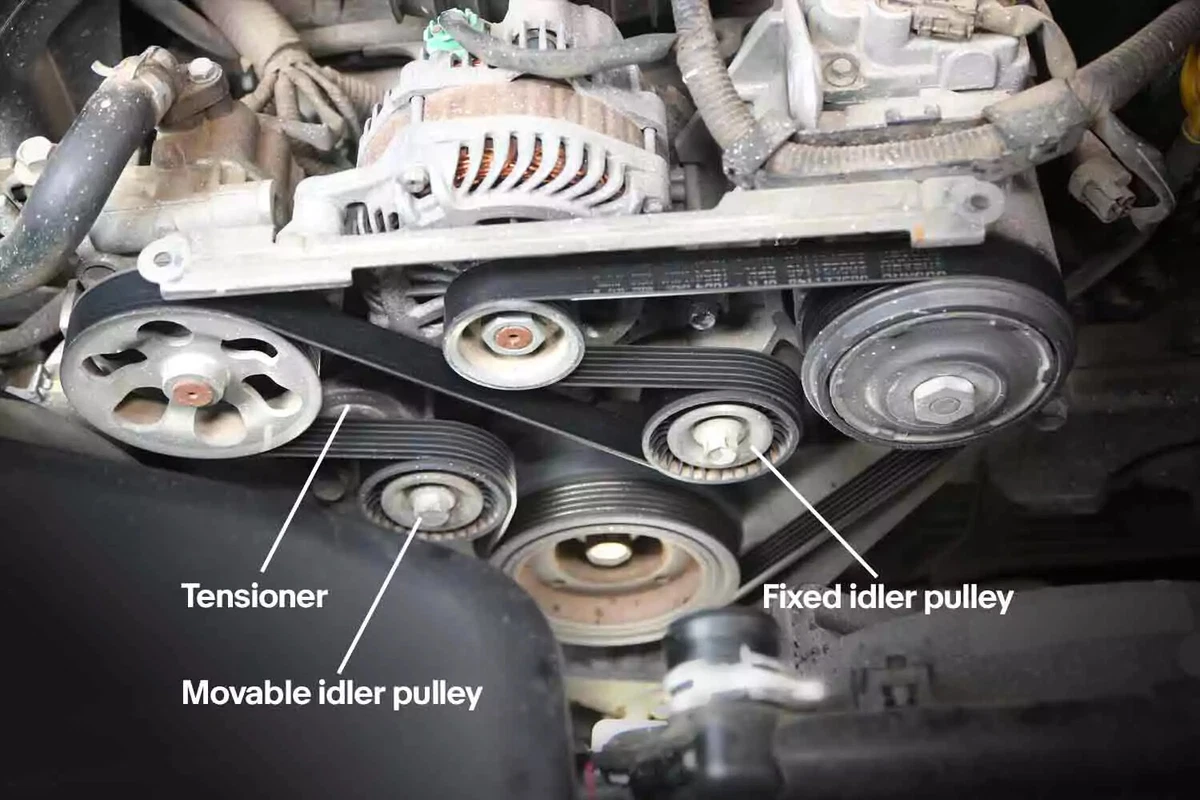
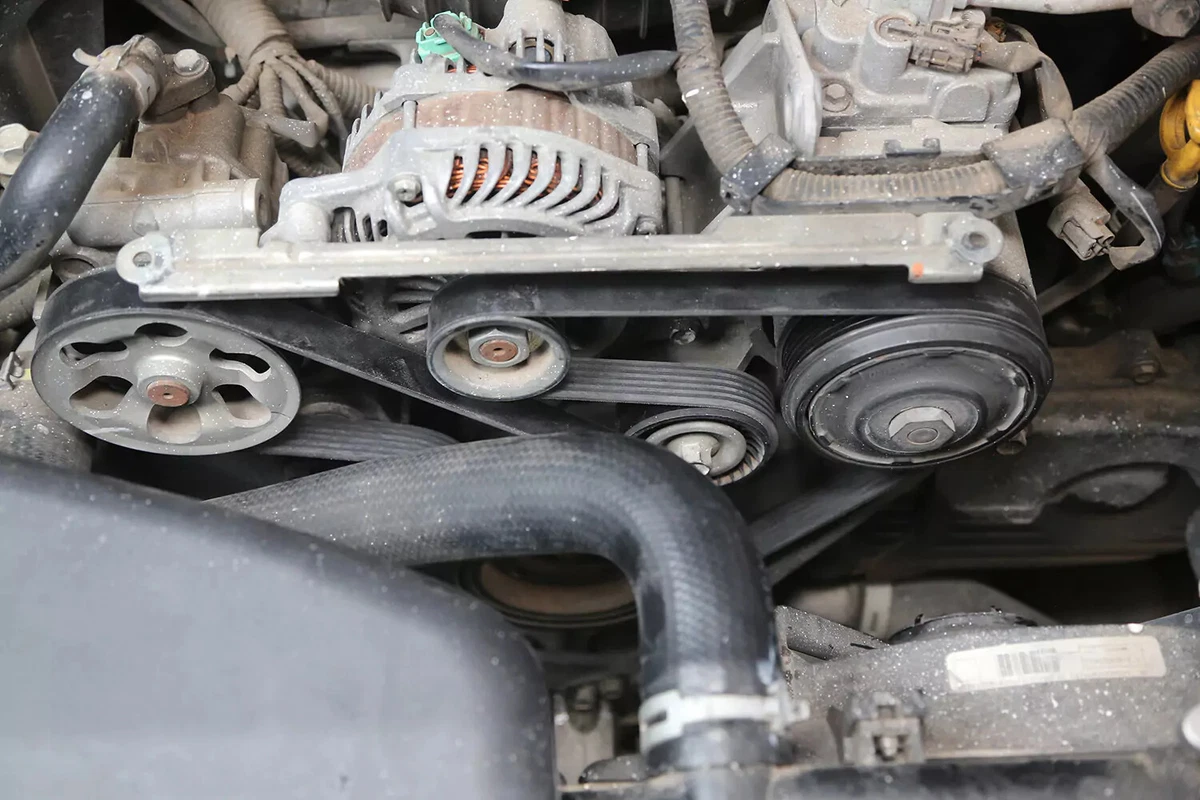
Take a picture of the belt routing before moving to the next step. There also could be a sticker on the radiator shroud that shows the belt routing.
We removed an upper radiator hose in our demo vehicle. It wasn’t in the way, but removing it made it easier to show the process.
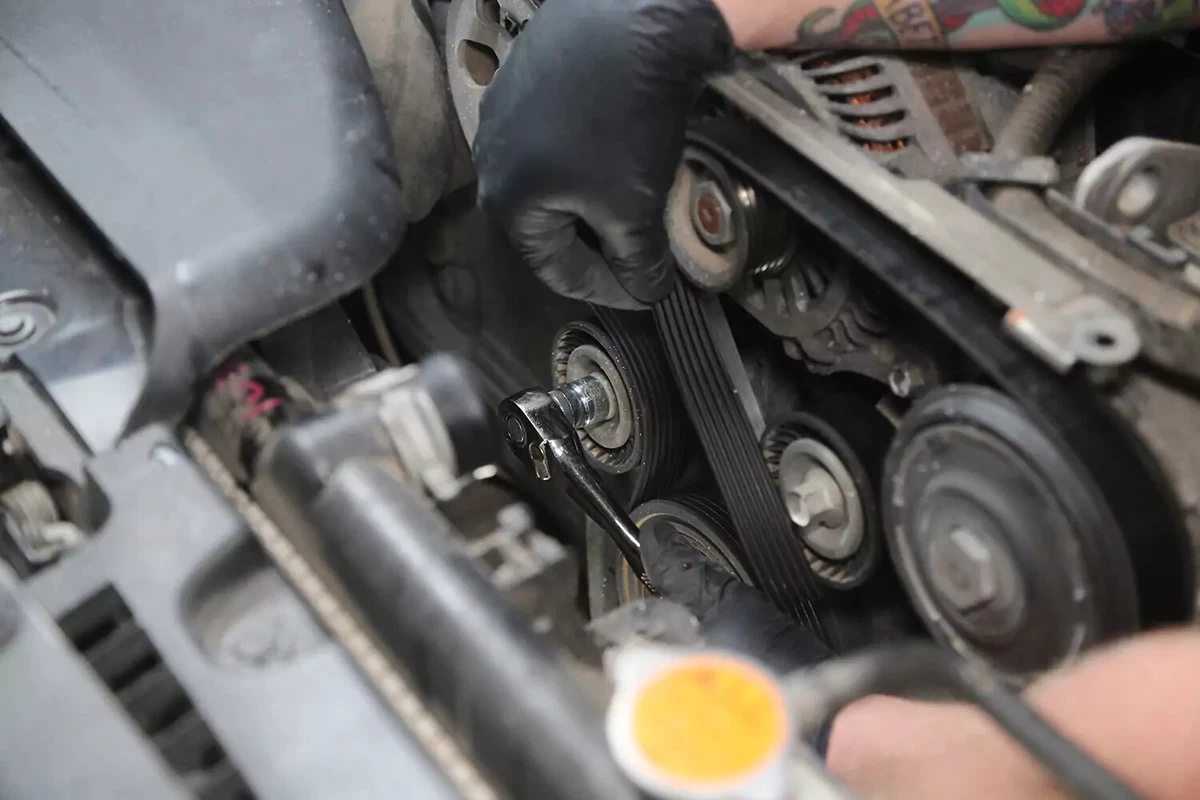
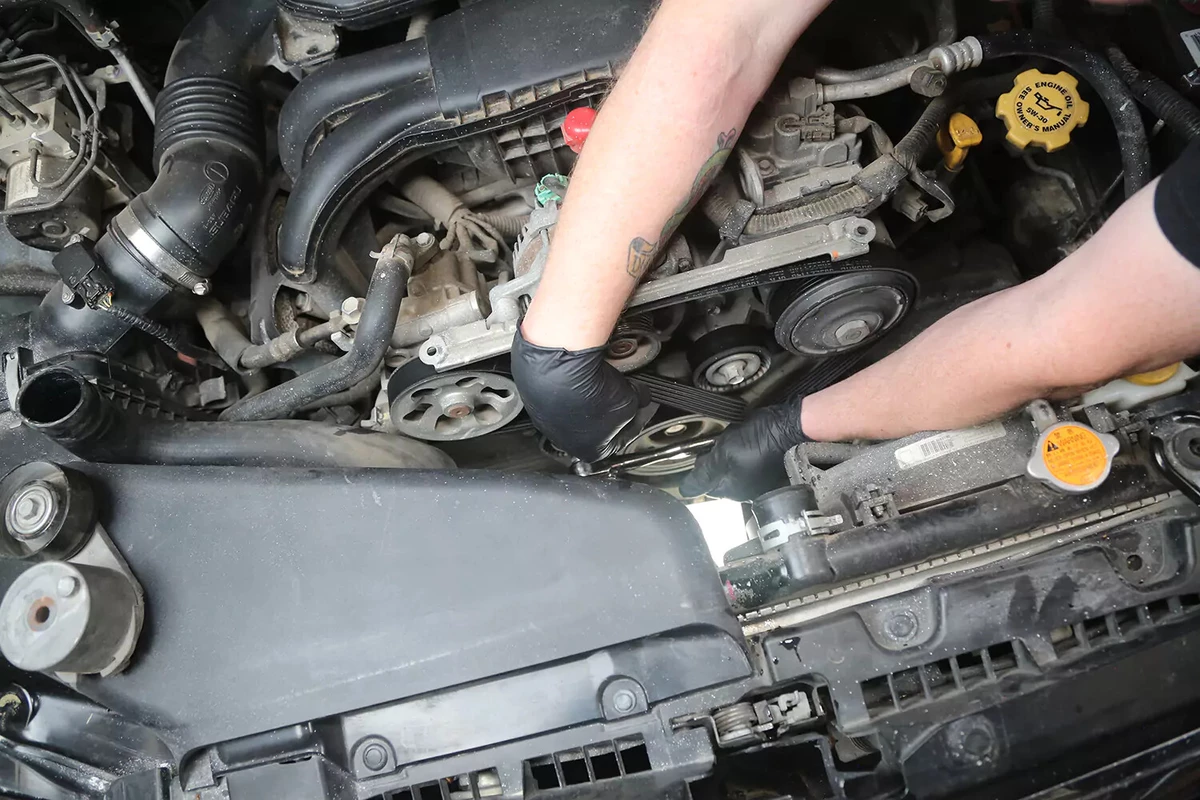
Using the appropriate tool to release the belt tension. Rotate the tensioner away from the belt. In this case, we used a ratchet and socket on the idler pulley hub. A long flex handle is perfect if the idler arm has the matching 3/8-inch square hole.
Hold the tensioner in the released position to remove the belt.
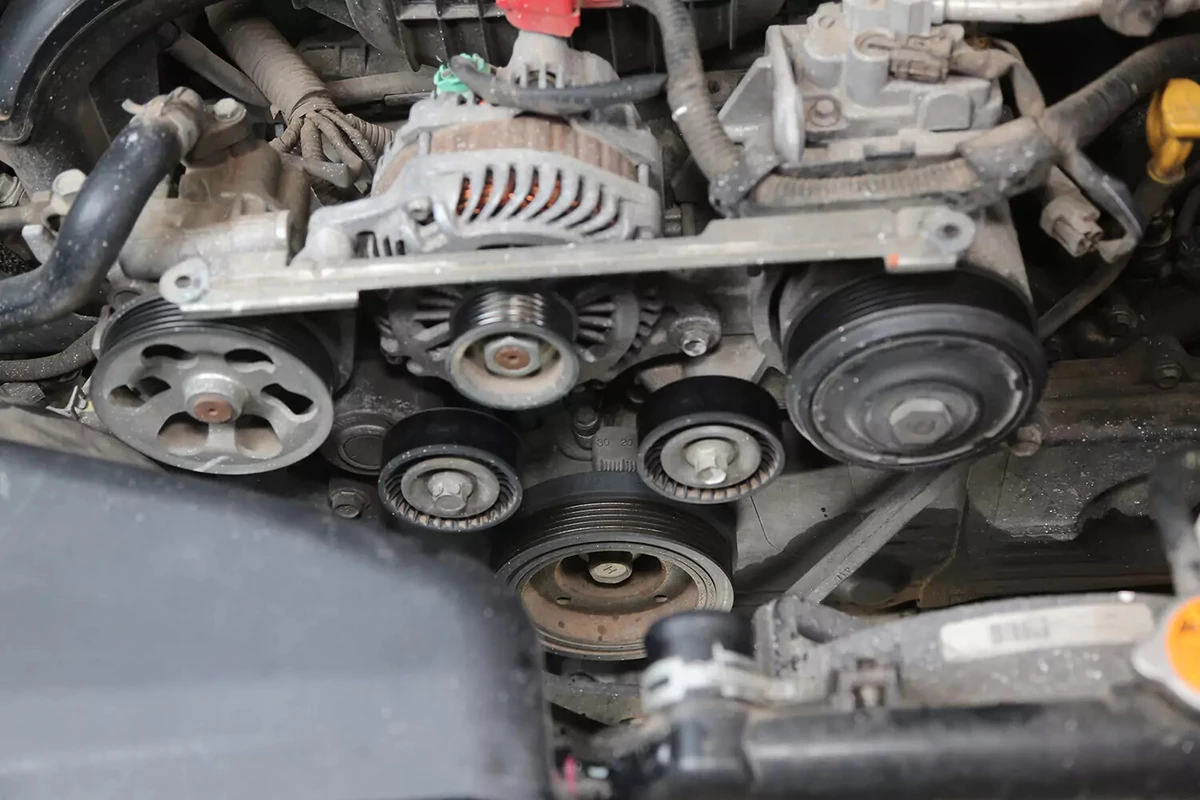
Remove any bits of broken belt or debris on pulleys. Inspect the pulleys for wear, especially the tensioner and idler pulleys, which can wear out before the belt. They should spin easily and quietly by hand.
Consider changing the idler and tensioner pulleys if they are loose (wiggling on the mount) or too tight (harder to spin than other pulleys). These problems can damage the new belt.

Wrap the new belt around each pulley following the original route.
Installing a serpentine belt can be tricky. They might slip off. Be patient and apply tension on the belt to keep it in place.
Leave the belt off of one pulley. A smooth (non-ribbed) pulley is easiest. A pulley that is not the tensioner pulley works best.
It will be easier to slide the belt onto that last pulley if it’s smooth rather than fighting with the grooves on a ribbed pulley.
If you have trouble routing the belt over all those pulleys at once, a small spring clamp or two can help keep the belt in place.
After the belt is routed, use the same tool that you used to release the tension from the tensioner pulley—the one that gave you enough slack to slip the belt over that last pulley. Then, release the tensioner, which will apply tension to the new belt properly.
Move the tensioner as far from the belt as possible—giving you the most room to get the new belt on. Don’t force the belt over the pulleys under tension. That can damage the belt.
The belt should sit between the grooves of each pulley and be fully engaged with the ribs. If not, the belt can walk off the pulleys and get damaged. Ensure all the ribbed pulleys are properly engaged by the ribs on the belt and the belt is centered.
Reinstall any items removed to gain access to the belt. Make a note of your vehicle’s mileage so you know when to replace the new belt.
Start the engine and check that the belt stays in place on the pulleys.
About the author

Share your feedback
This article is meant to provide general guidance only. Automotive maintenance, repair, upgrade, and installation may depend on vehicle-specifics such as make and model. Always consult your owner's manual, repair guide for specific information for your particular vehicle and consider a licensed auto-care professional's help as well, particularly for advance repairs.
Recommended for you
Find answers and inspiration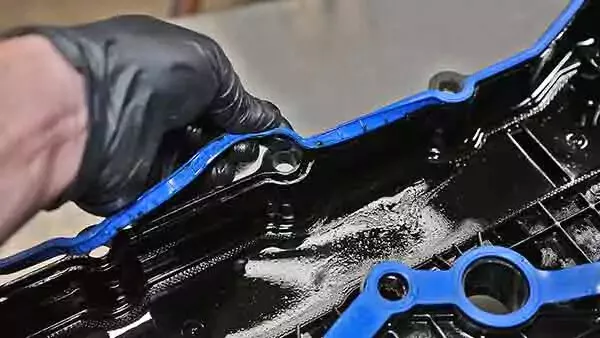
A Quick Guide to Valve Cover Gaskets
6 min read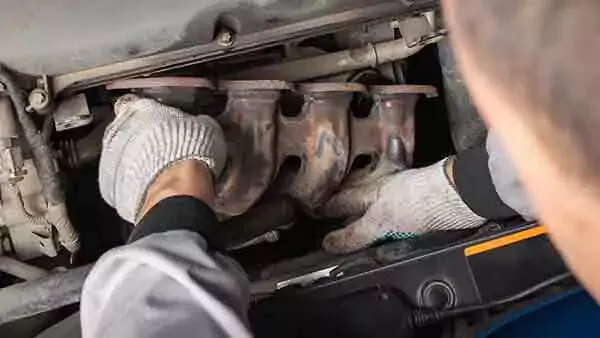
When to Replace Your Exhaust Manifold Gasket
6 min read
How to Replace an Ignition Coil
6 min read
How to Buy the Right EGR Valve and Gasket
6 min read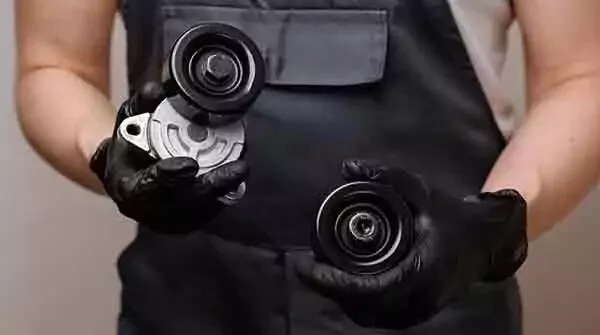
Your Complete Idler Pulley Buying Guide
5 min read
How to Buy the Right Throttle Body
5 min read
Buying the Right Distributor Cap and Rotor
4 min read
How to Replace an Intake Manifold Gasket
7 min read
How to Buy the Right Car Starter
5 min read
How to Replace a Valve Cover Gasket
7 min read
How to Change a Timing Belt
12 min read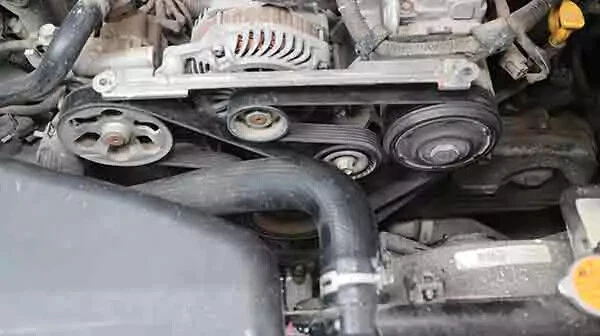
Diagnosing Your Serpentine Belt and Tensioner
6 min read
Changing Your Oil: 5 Things to Know
6 min read
How to Clean Fuel Injectors
8 min read
Automation How to Change a Car Battery
6 min read
How to Replace a Mass Air Flow (MAF) Sensor
7 min read
Distributors 101
6 min read
How to Replace Spark Plugs
7 min read
Everything You Should Know About EGR Valves
5 min read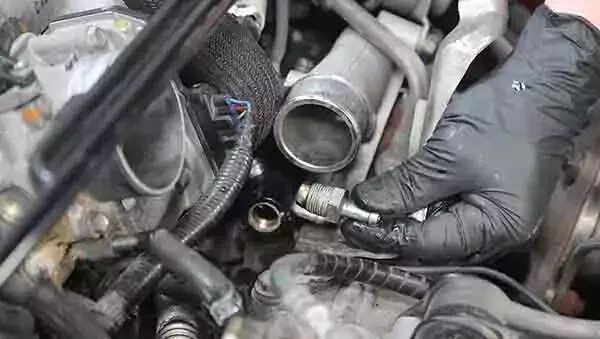
How to Test Your PCV Valve
6 min read
Buying the Best Portable Car Battery Jump Starter
6 min read
An Introduction to Cleaning Fuel Injectors
5 min read
A Deep-Dive Guide to Ignition Wires
7 min read
How to Replace Engine Mounts
4 min read
The Right Tools to Clean Your Fuel Injectors
6 min read
How Do Ignition Coils Work?
5 min read
Spark Plugs 101
7 min read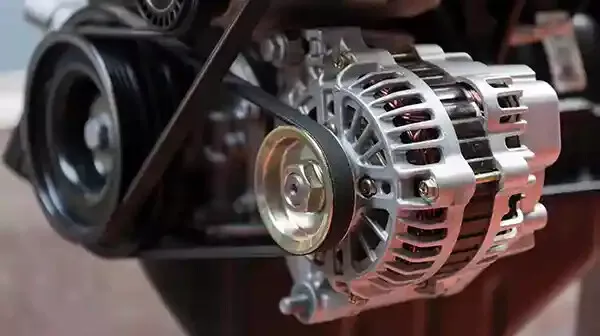
When to Replace Your Drive Belt
6 min read
Fuel Pumps and How They Work
8 min read
What to Know About Your Vehicle's Throttle Body
6 min read
Everything You Need to Know About Fuel Filters
6 min read
How to Buy the Right Ignition Coils
7 min read
How to Buy the Right O2 Sensor
5 min read
How to Replace a Serpentine Belt Tensioner
4 min read
When to Replace Your Engine Air Filter
5 min read
How to Replace an Oxygen Sensor
5 min read
How to Buy the Right Timing Belt and Related Tools
5 min read
How to Buy the Right Car Distributor
6 min read
Timing Belts 101
5 min read
How to Replace an Engine Air Filter
5 min read
How to Buy the Right Exhaust Manifold Gasket
6 min read
How to Choose the Best Spark Plugs
5 min read
How to Replace a Car Starter
7 min read
What You Should Know About O2 Sensors
6 min read
How to Buy the Right Valve Cover Gasket
4 min read
How to Replace a Distributor Cap and Rotor
5 min read
Understanding Your Car's Idler Pulley
4 min read
How to Replace a Fuel Filter
7 min read
How to Replace a PCV Valve
6 min read
Everything You Need to Know About Car Starters
7 min read
How to Replace an Exhaust Gasket
9 min read
Do You Have a Faulty Mass Air Flow Sensor?
4 min read
Ignition Wire Buying Guide
6 min read
All About Your Distributor Cap and Rotor
7 min read
How to Replace a Throttle Body
6 min read
Spotting Intake Manifold Gasket Problems
7 min read
How to Change Oil in a Car
8 min read
How to Buy the Best MAF Sensor
4 min read
How to Replace an EGR Valve
5 min read
How to Change an In-Tank Fuel Pump
9 min read
Explore more projects

How to Repair a Chipped Windshield
1 to 2 hours
Beginner
7 min read

How to Replace Brake Fluid
1 to 2 hours
Beginner
10 min read
How to Replace an Ignition Coil
Less than 30 minutes
Beginner
6 min read

How to Replace a Radiator Hose
Less than 30 minutes
Beginner
5 min read

How to Replace Brake Rotors
1 to 2 hours
Beginner
7 min read
How to Replace a Serpentine Belt Tensioner
Less than 30 minutes
Beginner
4 min read

How to Rotate Your Tires
30 to 60 minutes
Beginner
5 min read

How to Refill Windshield Washer Fluid
Less than 30 minutes
Beginner
4 min read
How to Replace an Oxygen Sensor
30 to 60 minutes
Beginner
5 min read

How To Replace Differential Fluid
Less than 30 minutes
Beginner
8 min read

How to Replace Sway Bar End Links and Bushings
30 to 60 minutes
Beginner
6 min read

How to Replace Transmission Fluid and Filter
1 to 2 hours
Beginner
11 min read

How to Replace a Cabin Air Filter
Less than 30 minutes
Beginner
5 min read

How to Change Disc Brake Pads
30 to 60 minutes
Beginner
8 min read
How to Replace a Valve Cover Gasket
Less than 30 minutes
Beginner
7 min read

How to Change Windshield Wipers
Less than 30 minutes
Beginner
3 min read
How to Replace an Engine Air Filter
Less than 30 minutes
Beginner
5 min read
How to Clean Fuel Injectors
1 to 2 hours
Beginner
8 min read

How to Replace Shock Absorbers
30 to 60 minutes
Beginner
8 min read
How to Change a Car Battery
Less than 30 minutes
Beginner
6 min read
Automation How to Change a Car Battery
Less than 30 minutes
Beginner
6 min read
How to Replace a Mass Air Flow (MAF) Sensor
Less than 30 minutes
Beginner
7 min read

How to Replace a Clutch Master Cylinder
1 to 2 hours
Beginner
11 min read

How to Flush and Change Engine Coolant
30 to 60 minutes
Beginner
6 min read
How to Replace a Distributor Cap and Rotor
30 to 60 minutes
Beginner
5 min read

How to Check Tire Pressure and Change a Tire
Less than 30 minutes
Beginner
9 min read
How to Replace a Fuel Filter
30 to 60 minutes
Beginner
7 min read
How to Replace a PCV Valve
30 to 60 minutes
Beginner
6 min read

How to Replace a Brake Caliper
1 to 2 hours
Beginner
7 min read

How to Replace an Idler Pulley
30 to 60 minutes
Beginner
4 min read

How to Change a Headlight Bulb
Less than 30 minutes
Beginner
6 min read
How to Replace an Exhaust Gasket
1 to 2 hours
Beginner
9 min read
How to Replace a Throttle Body
30 to 60 minutes
Beginner
6 min read
How to Change Oil in a Car
Less than 30 minutes
Beginner
8 min read

How to Replace an Alternator
1 to 2 hours
Beginner
11 min read
How to Replace an EGR Valve
30 to 60 minutes
Beginner
5 min read

How to Jump Start a Car
Less than 30 minutes
Beginner
9 min read