The exhaust gas recirculation (EGR) valve is one of your vehicle’s most essential emissions components. It allows some exhaust gasses to be drawn back through the intake to mix with fresh air to lower combustion chamber temperatures. This reduces oxides of nitrogen (NOx) emissions.
If your check engine light illuminates, use an on-board diagnostics (OBD) scan tool to determine the code. EGR codes range from P0400 to P0408 and from P1403 to P1406.
If you drive with a bad EGR valve, your engine will run poorly. Potential ERG valve problems include reduced power, low fuel economy, rough idle, and hard starts. Your car might experience engine knock or detonation inside the combustion chamber. These conditions could damage the engine.
An EGR valve has a lifespan of about 10 years or 100,000 miles. Cleaning the EGR valve every 50,000 miles will extend its life.
How Long Does It Take to Replace an EGR Valve?
Changing an EGR valve is considered a beginner DIY job that usually takes 30 to 60 minutes. If the nuts and bolts holding your valve in place are rusty, you’ll need to spray them with penetrating oil and let them soak for several hours, prolonging the job.
Tips and Tricks for DIY EGR Valve Replacement
- The biggest issue is when related bolts rust and can’t be easily removed, particularly when the EGR is bolted to the exhaust manifold. That’s the case for most vehicles built before 2000.
- Before attempting to remove rusted bolts, spray the bolts with penetrating oil and let them soak for a few hours. If that doesn’t work, run the engine to operating temp, shut it off, and carefully spray the bolts. The heat will help carry the oils into the threads, and the shock from the cold spray will help break the bond.
- Take care to organize the routing of vacuum lines and EGR wiring. Before you start, take photos for reference.
- EGR valves became electronically controlled starting with vehicles made in the mid-1990s. Vacuum-controlled EGRs ran up until the early 2000s. If you have a vacuum system, take pictures and consider labeling the lines, which can get confusing.
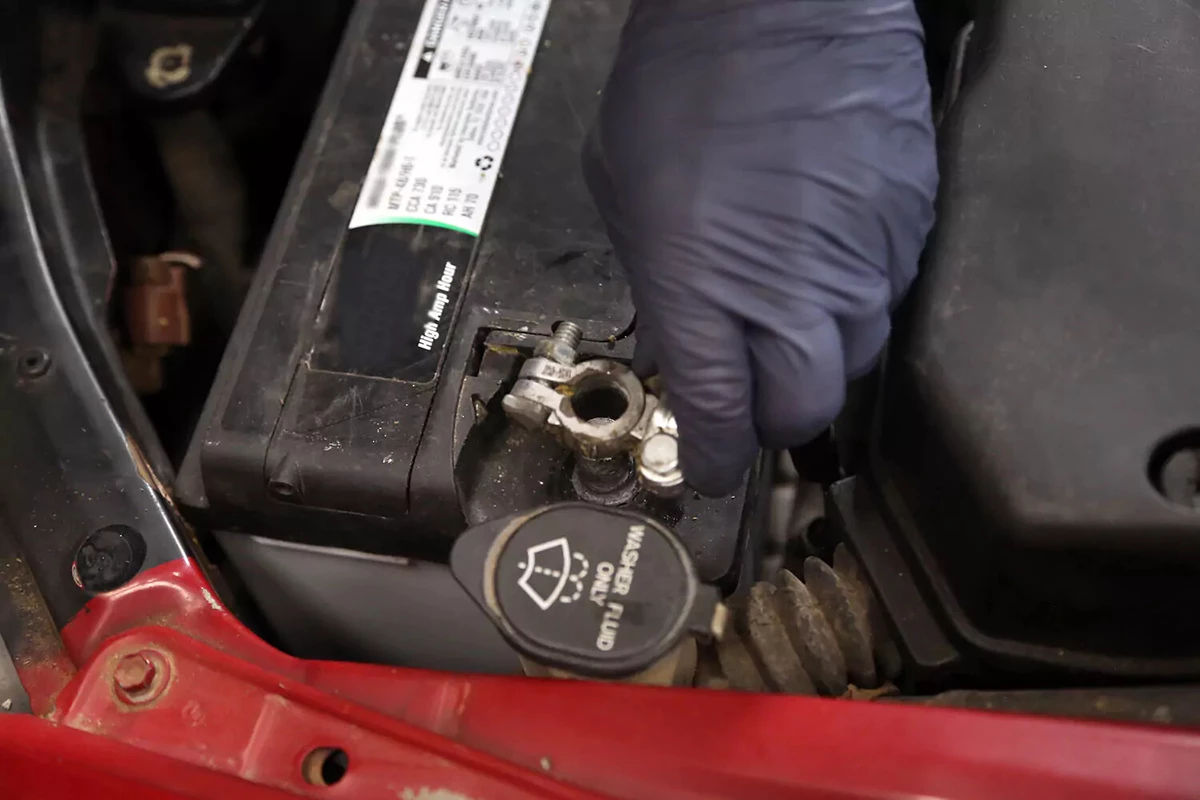
The first step for many auto repair jobs is disconnecting the vehicle’s battery. It’s a simple task. Remove the ground clamp from the battery’s negative post. Plus (+) and minus (-) signs are usually molded into the plastic battery case near the post.
Removing the negative terminal first ensures the vehicle is no longer connected to a live battery. This prevents sparks, electrical shorts, or components (such as fans) from unnecessarily coming on.
Pull the terminal off the battery for a close inspection. If there is corrosion, loose wires, or physical damage, consider replacing the battery terminal or cable.
Move the terminal away from the battery into a position where it can’t accidentally touch the battery post.
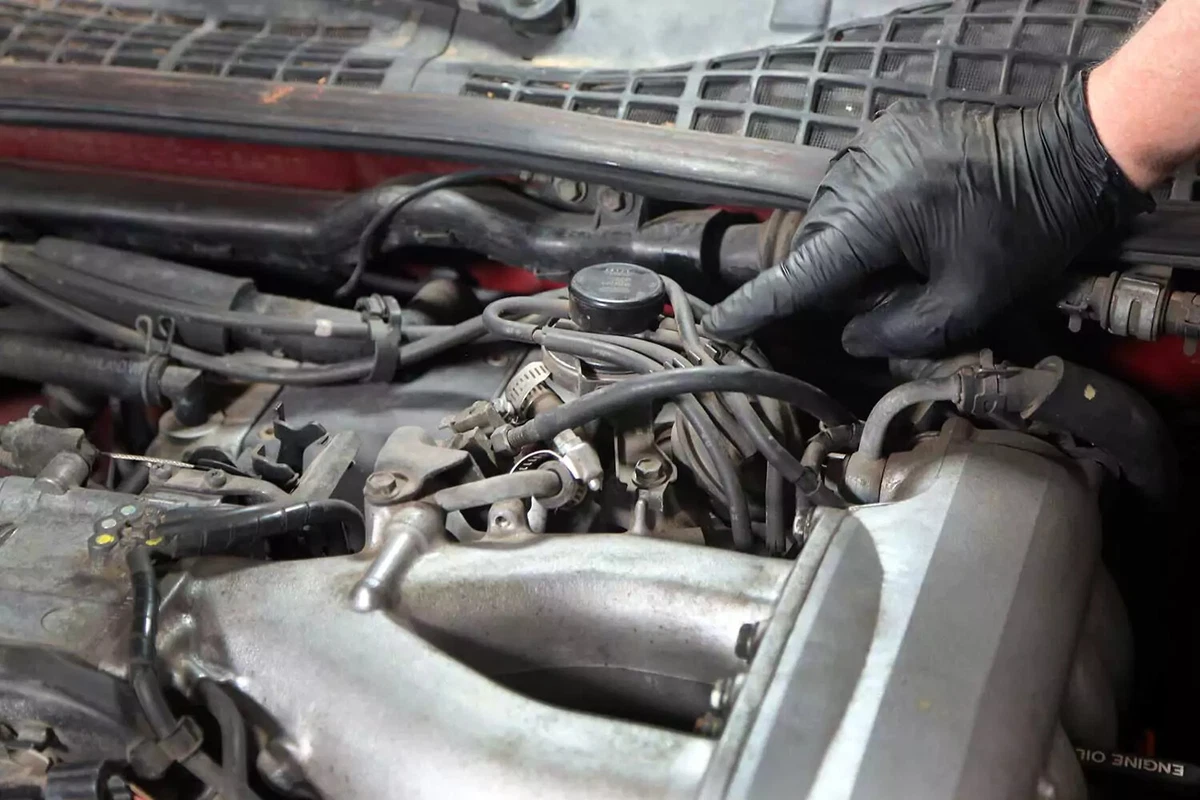
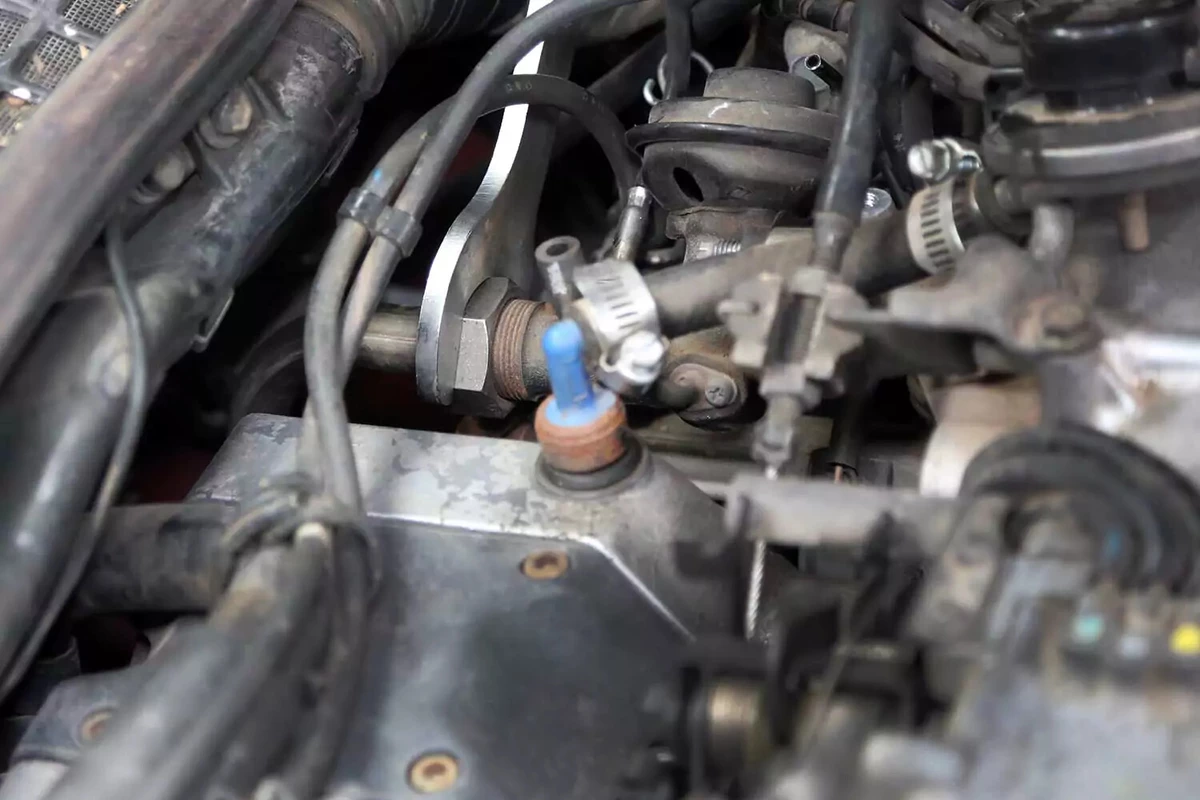
For most modern engines, the EGR valve is located on the intake. Many older vehicles have them on the exhaust manifold. On our demo vehicle, the EGR is bolted to the back of the intake and connected to the exhaust via a metal pipe.
Remove any components blocking the EGR valve. The valve is more difficult to reach on diesel engines because of turbo piping and other diesel features.
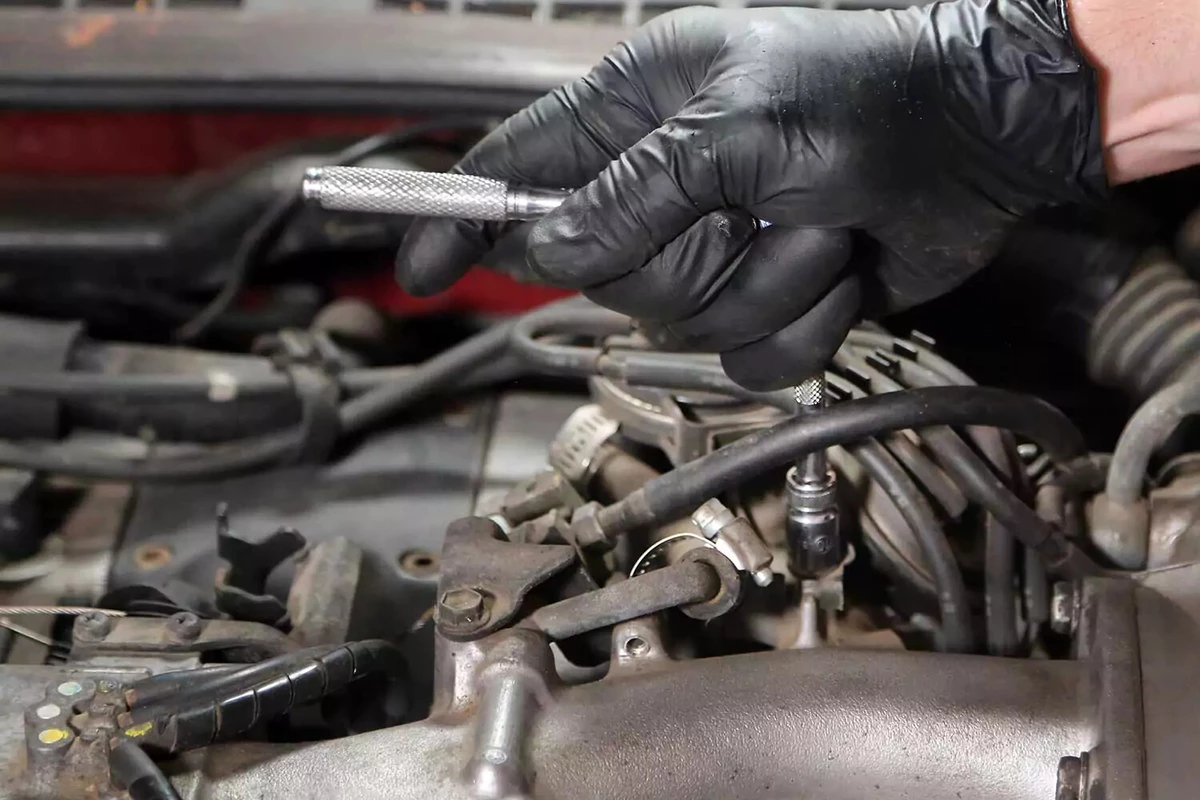
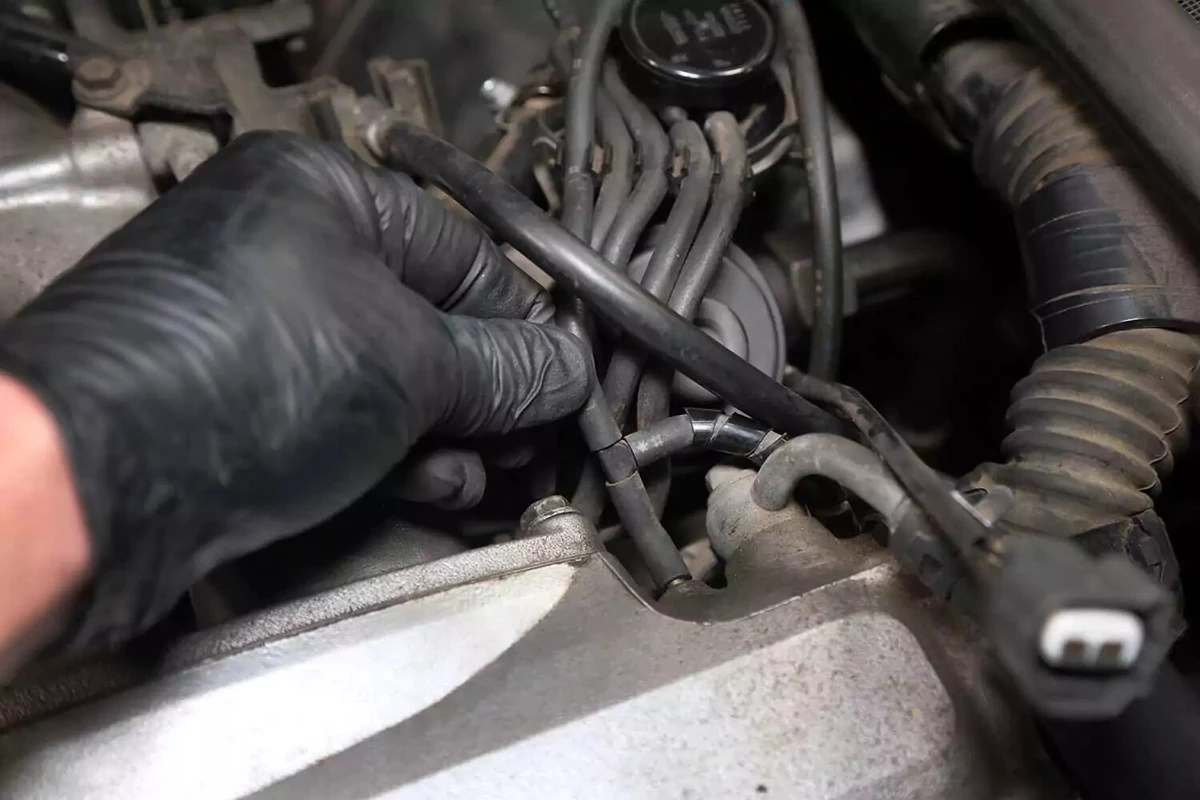
Our demo vehicle has a vacuum manifold above the valve, held in place with a single bolt.
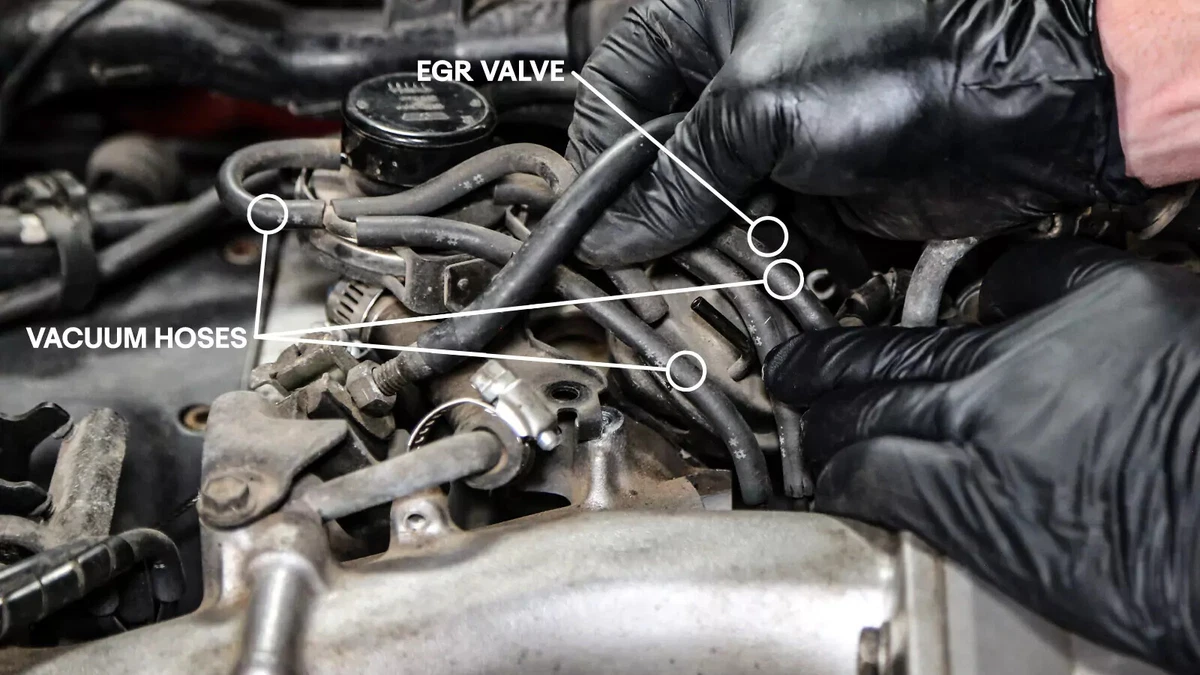
If your system is vacuum-controlled, remove the vacuum lines from the valve. Take notes and photos to remember the location of each port and hose.
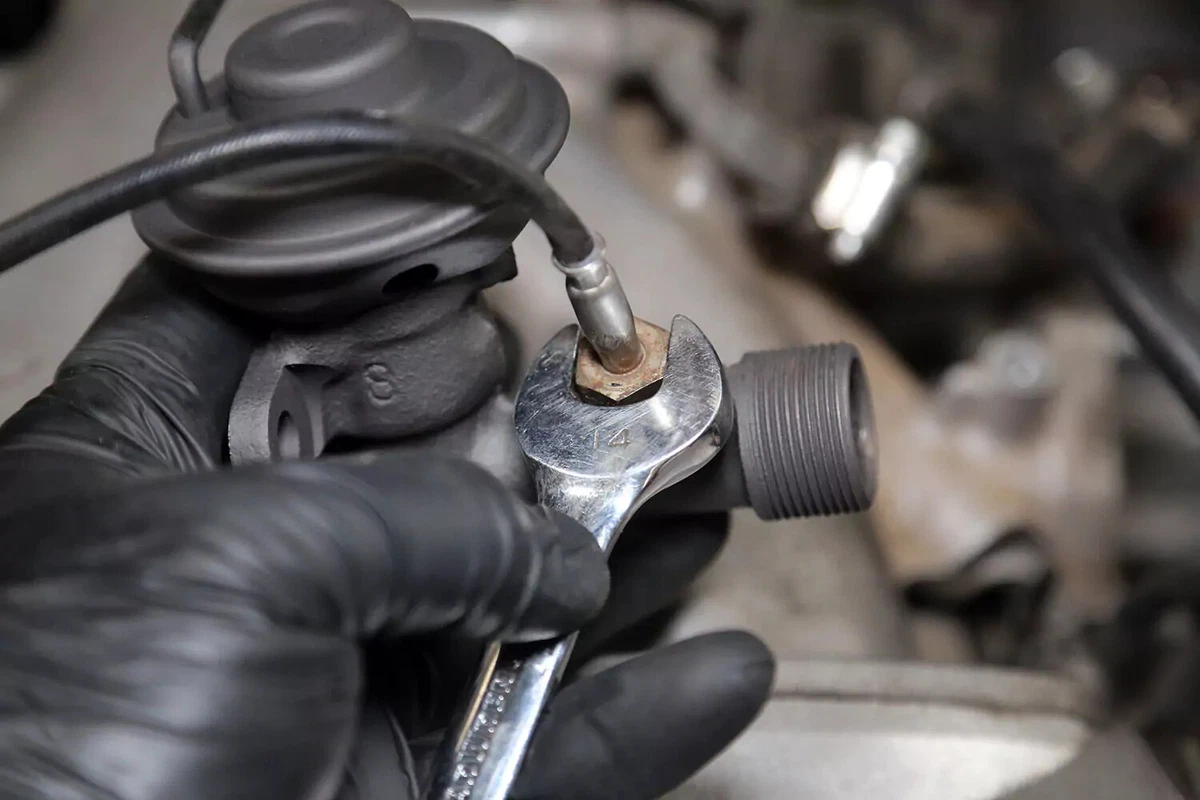
Remove the bolts that hold the valve in place. There are typically two or three bolts or nuts.
If the nuts and bolts are rusty, spray them with penetrating fluid and let them soak for several hours. These bolts get very hot because the valve is flowing hot exhaust gas, which promotes corrosion.

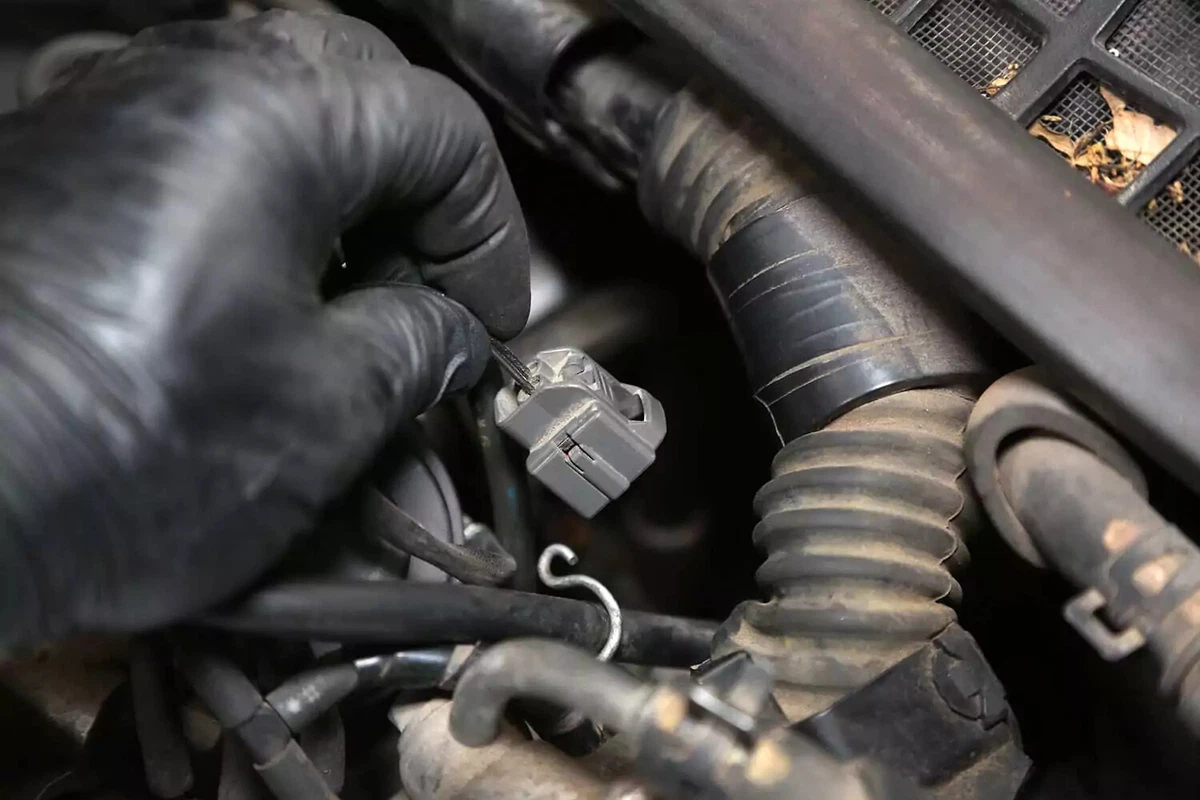
Disconnect the control or sensor wiring plugs. This valve is vacuum-controlled, so the only wiring is for the exhaust temperature sensor.
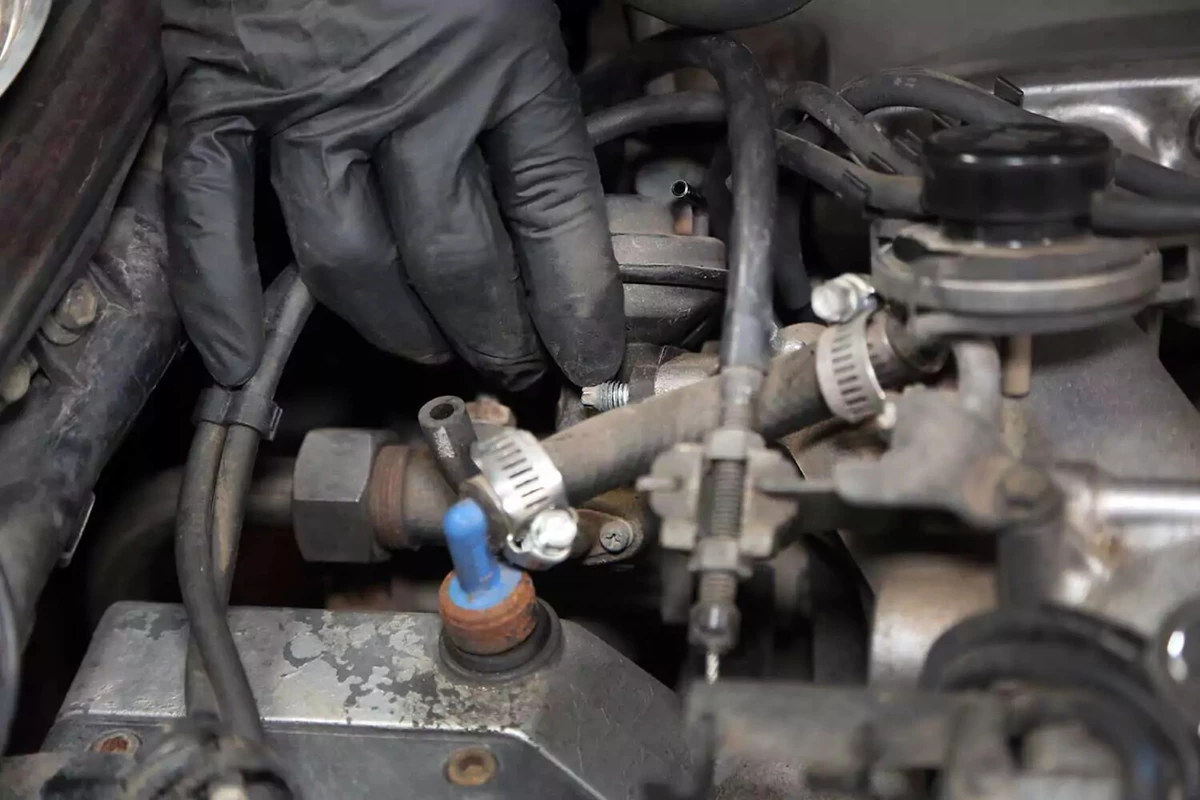
Your valve may have a tube that connects to the exhaust. Our demo car has a pipe fitting, but it’s a flange on other vehicles.
Modern engines typically mount the EGR valve on the cooler intake, so the valve experiences less heat.
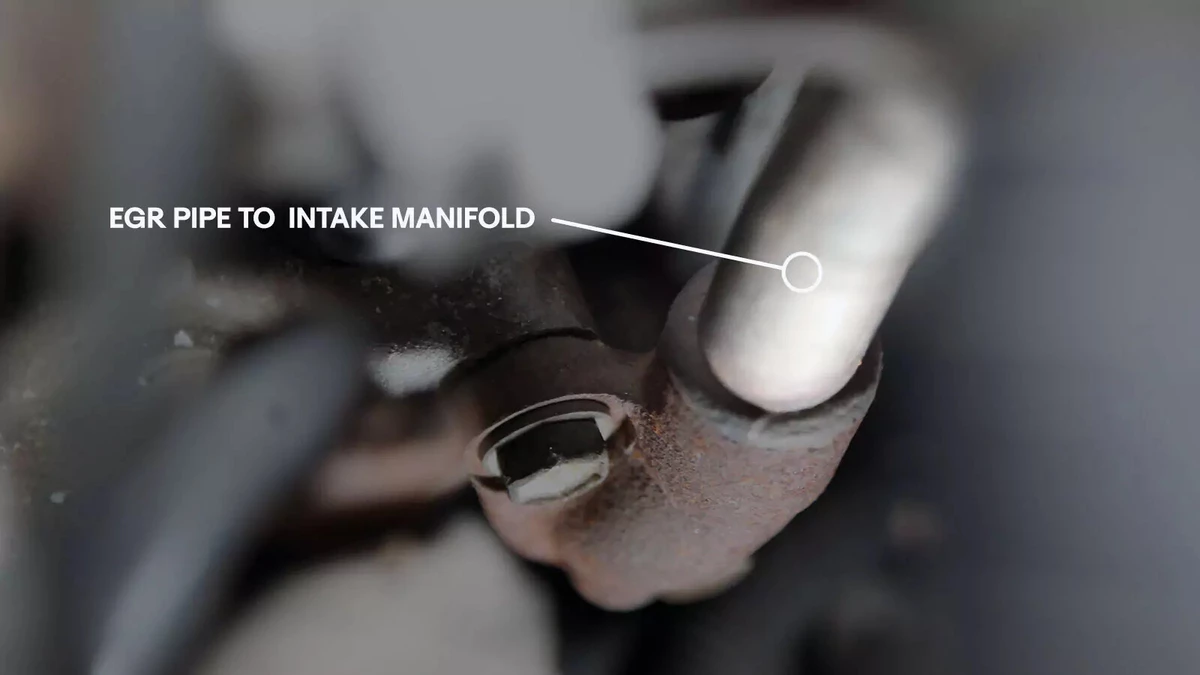
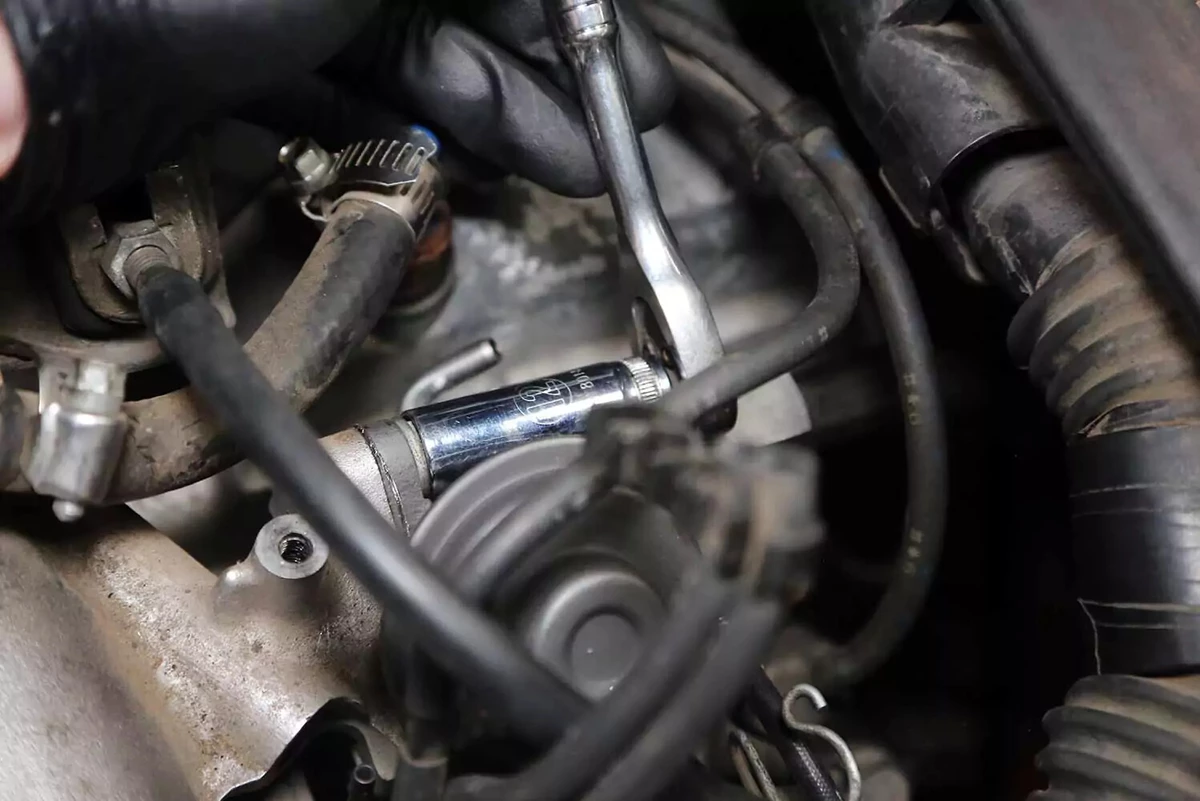
If your engine has a pipe to the exhaust (as our demo vehicle has), it could be flexible or solid.
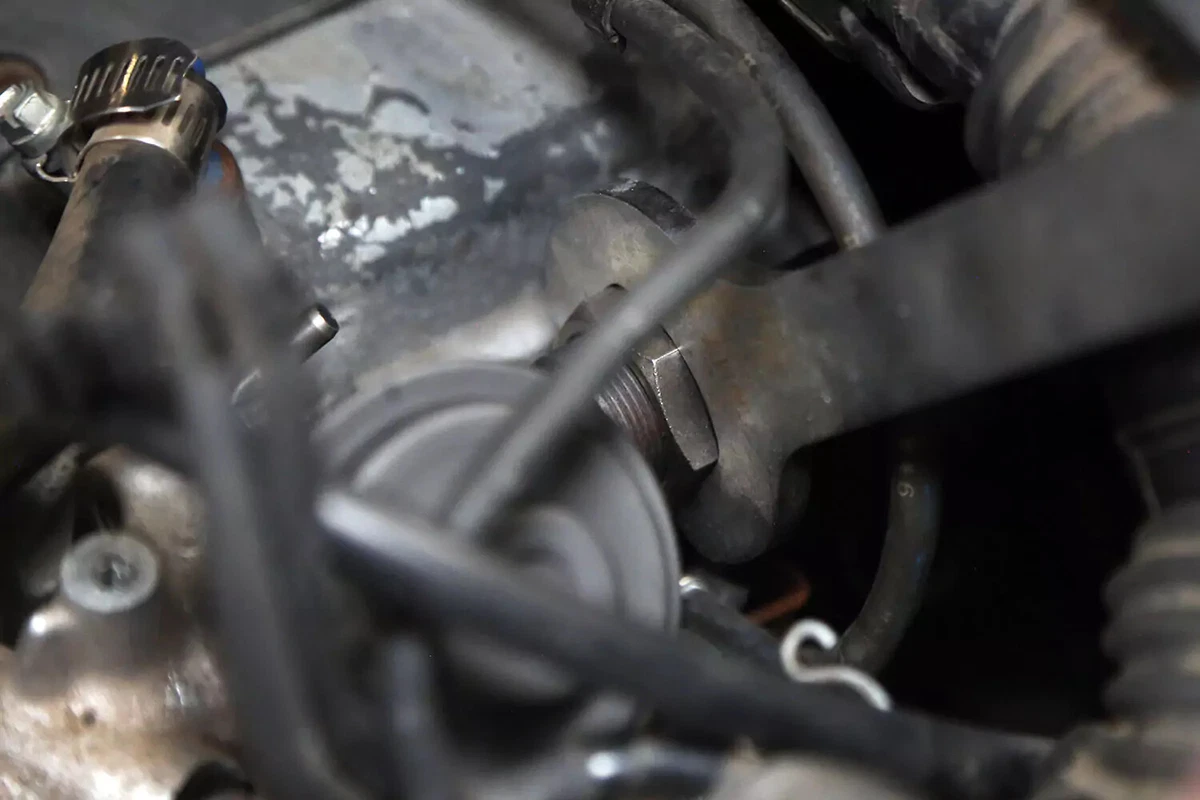
If it is solid, you may need to remove the exhaust manifold connection. The tube on our vehicle was solid, so we had to loosen the bolts to create enough slack in the pipe to pull the valve.
If your replacement EGR valve has no attached pipe, examine the old pipe. It may be corroded or clogged. A clogged pipe will not properly transfer exhaust gasses back into the engine, so it may need to be replaced.

Slide the valve off its mount to remove it.
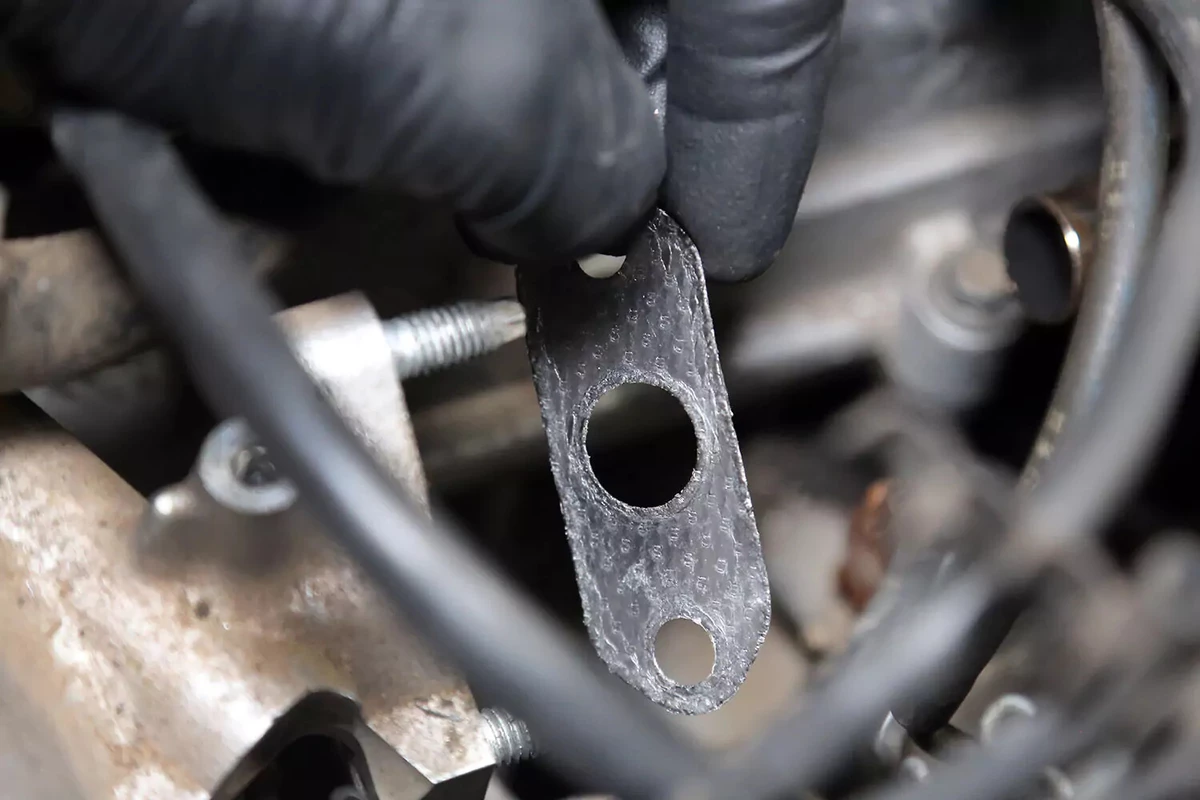
The gasket is critical. It goes between the EGR valve and the manifold. Don’t try to reuse an old EGR recirculation valve gasket. A replacement gasket should be included with your new EGR valve.
Some valves have attached temperature sensors and related mounting hardware. Remove these items from the old valve and transfer them to the new one.
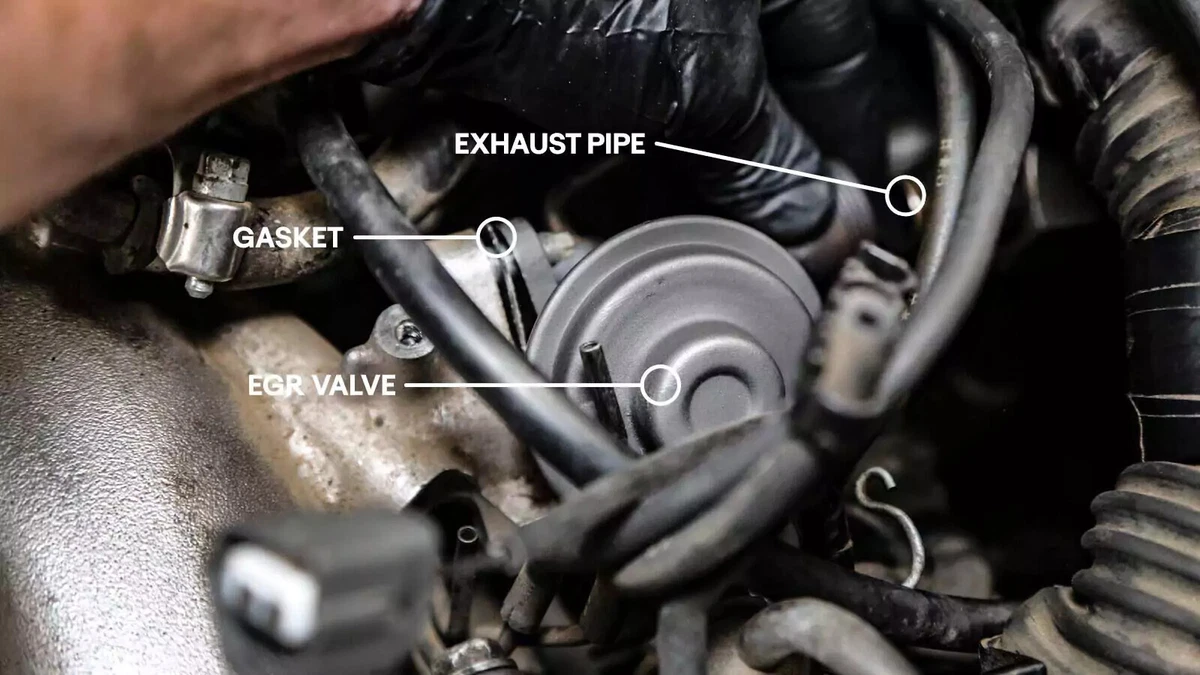
Ensure the new gasket is in place. Place the new valve on the intake or exhaust manifold. Connect the exhaust pipe, if equipped.
Tighten the nuts or bolts securing the valve to the engine. These small bolts can be hand-tightened with a wrench. Check your vehicle’s repair manual for torque specifications.
Reconnect the exhaust pipe, if so equipped. Tighten the connection.

At this point, the EGR valve is installed. Reinstall any components that were removed to gain access to the valve. We replaced the vacuum manifold using the original hardware.
If you removed the vacuum lines, reattach them to their designated port.
If any related hose has cracks or breaks, replace it now.
Connect the EGR valve’s wiring harness plugs. Finally, reconnect the negative battery terminal.
Disconnecting the battery should reset the engine computer, clearing any codes, regardless of what caused them. If the EGR function is still an issue–caused by a blocked pipe, failed wiring, or incorrect commands to the EGR valve—the light will come on again. That might not happen until you drive the vehicle and the engine warms up.
About the author

Share your feedback
This article is meant to provide general guidance only. Automotive maintenance, repair, upgrade, and installation may depend on vehicle-specifics such as make and model. Always consult your owner's manual, repair guide for specific information for your particular vehicle and consider a licensed auto-care professional's help as well, particularly for advance repairs.
Recommended for you
Find answers and inspiration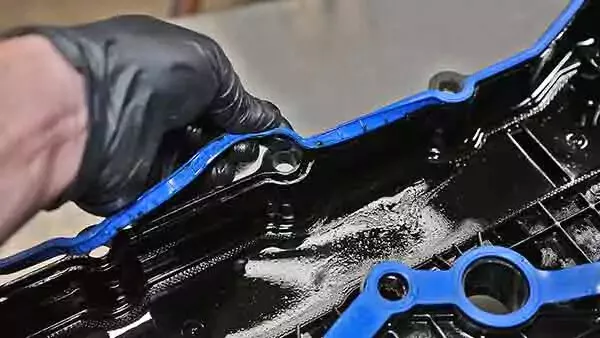
A Quick Guide to Valve Cover Gaskets
6 min read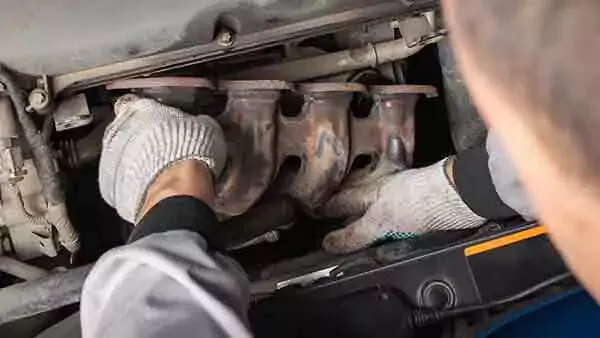
When to Replace Your Exhaust Manifold Gasket
6 min read
How to Replace an Ignition Coil
6 min read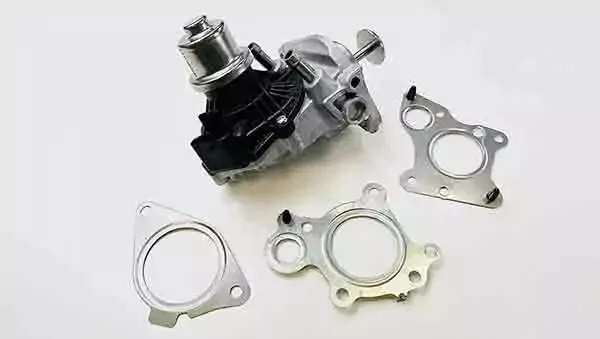
How to Buy the Right EGR Valve and Gasket
6 min read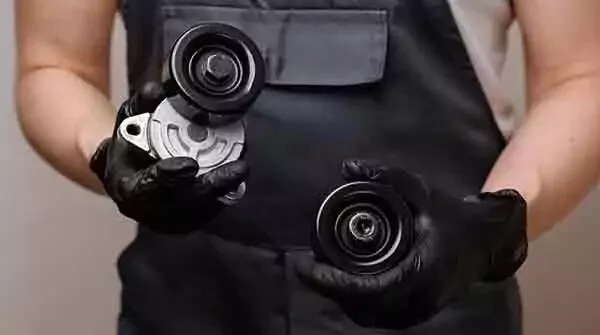
Your Complete Idler Pulley Buying Guide
5 min read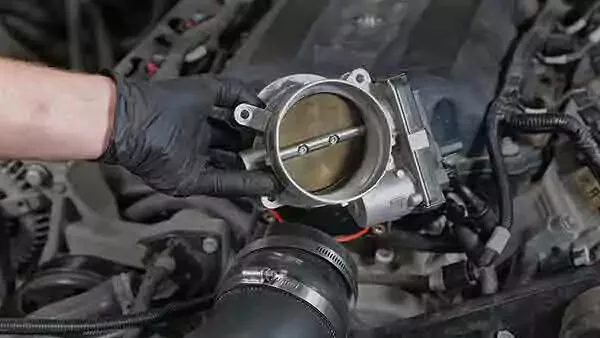
How to Buy the Right Throttle Body
5 min read
Buying the Right Distributor Cap and Rotor
4 min read
How to Replace a Drive Belt
5 min read
How to Replace an Intake Manifold Gasket
7 min read
How to Buy the Right Car Starter
5 min read
How to Replace a Valve Cover Gasket
7 min read
How to Change a Timing Belt
12 min read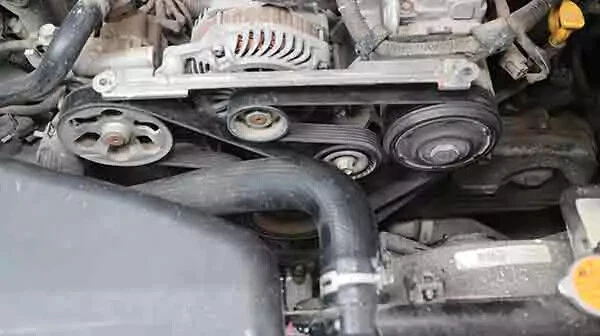
Diagnosing Your Serpentine Belt and Tensioner
6 min read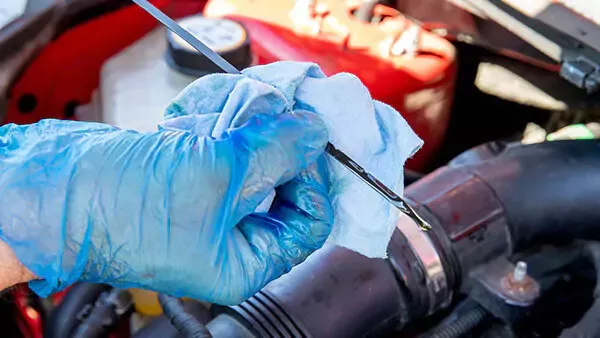
Changing Your Oil: 5 Things to Know
6 min read
How to Clean Fuel Injectors
8 min read
Automation How to Change a Car Battery
6 min read
How to Replace a Mass Air Flow (MAF) Sensor
7 min read
Distributors 101
6 min read
How to Replace Spark Plugs
7 min read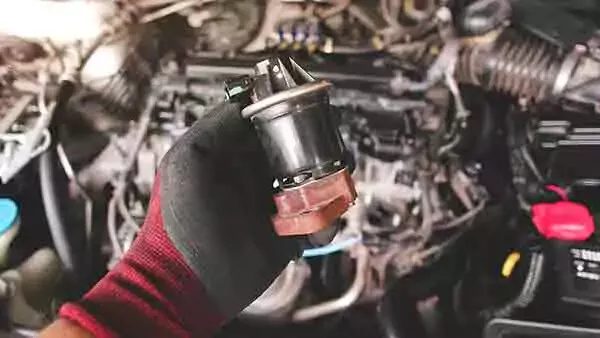
Everything You Should Know About EGR Valves
5 min read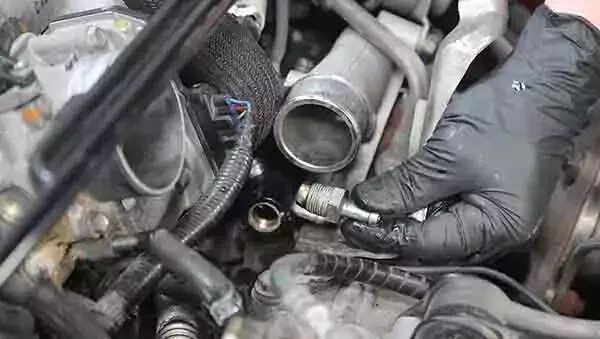
How to Test Your PCV Valve
6 min read
Buying the Best Portable Car Battery Jump Starter
6 min read
An Introduction to Cleaning Fuel Injectors
5 min read
A Deep-Dive Guide to Ignition Wires
7 min read
How to Replace Engine Mounts
4 min read
The Right Tools to Clean Your Fuel Injectors
6 min read
How Do Ignition Coils Work?
5 min read
Spark Plugs 101
7 min read
When to Replace Your Drive Belt
6 min read
Fuel Pumps and How They Work
8 min read
What to Know About Your Vehicle's Throttle Body
6 min read
Everything You Need to Know About Fuel Filters
6 min read
How to Buy the Right Ignition Coils
7 min read
How to Buy the Right O2 Sensor
5 min read
How to Replace a Serpentine Belt Tensioner
4 min read
When to Replace Your Engine Air Filter
5 min read
How to Replace an Oxygen Sensor
5 min read
How to Buy the Right Timing Belt and Related Tools
5 min read
How to Buy the Right Car Distributor
6 min read
Timing Belts 101
5 min read
How to Replace an Engine Air Filter
5 min read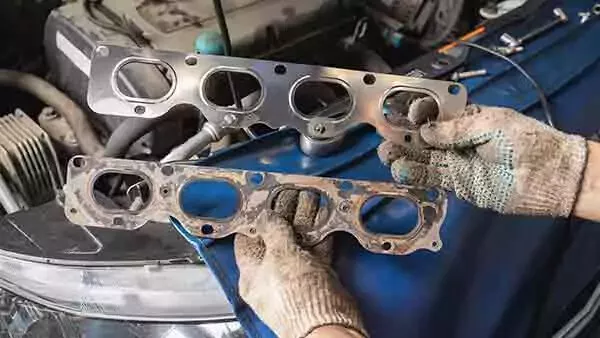
How to Buy the Right Exhaust Manifold Gasket
6 min read
How to Choose the Best Spark Plugs
5 min read
How to Replace a Car Starter
7 min read
What You Should Know About O2 Sensors
6 min read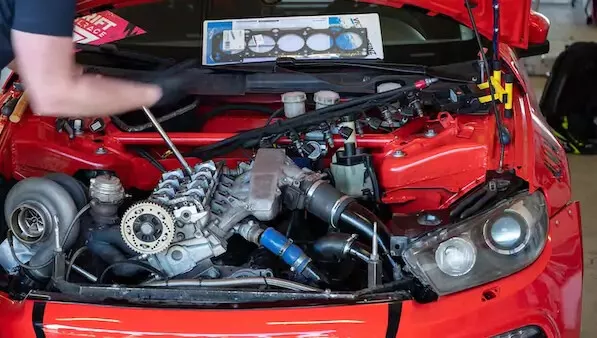
How to Buy the Right Valve Cover Gasket
4 min read
How to Replace a Distributor Cap and Rotor
5 min read
Understanding Your Car's Idler Pulley
4 min read
How to Replace a Fuel Filter
7 min read
How to Replace a PCV Valve
6 min read
Everything You Need to Know About Car Starters
7 min read
How to Replace an Exhaust Gasket
9 min read
Do You Have a Faulty Mass Air Flow Sensor?
4 min read
Ignition Wire Buying Guide
6 min read
All About Your Distributor Cap and Rotor
7 min read
How to Replace a Throttle Body
6 min read
Spotting Intake Manifold Gasket Problems
7 min read
How to Change Oil in a Car
8 min read
How to Buy the Best MAF Sensor
4 min read
How to Change an In-Tank Fuel Pump
9 min read
Explore more projects

How to Repair a Chipped Windshield
1 to 2 hours
Beginner
7 min read

How to Replace Brake Fluid
1 to 2 hours
Beginner
10 min read
How to Replace an Ignition Coil
Less than 30 minutes
Beginner
6 min read

How to Replace a Radiator Hose
Less than 30 minutes
Beginner
5 min read

How to Replace Brake Rotors
1 to 2 hours
Beginner
7 min read
How to Replace a Serpentine Belt Tensioner
Less than 30 minutes
Beginner
4 min read
How to Replace a Drive Belt
Less than 30 minutes
Beginner
5 min read

How to Rotate Your Tires
30 to 60 minutes
Beginner
5 min read

How to Refill Windshield Washer Fluid
Less than 30 minutes
Beginner
4 min read
How to Replace an Oxygen Sensor
30 to 60 minutes
Beginner
5 min read

How To Replace Differential Fluid
Less than 30 minutes
Beginner
8 min read

How to Replace Sway Bar End Links and Bushings
30 to 60 minutes
Beginner
6 min read

How to Replace Transmission Fluid and Filter
1 to 2 hours
Beginner
11 min read

How to Change Disc Brake Pads
30 to 60 minutes
Beginner
8 min read

How to Replace a Cabin Air Filter
Less than 30 minutes
Beginner
5 min read
How to Replace a Valve Cover Gasket
Less than 30 minutes
Beginner
7 min read

How to Change Windshield Wipers
Less than 30 minutes
Beginner
3 min read
How to Replace an Engine Air Filter
Less than 30 minutes
Beginner
5 min read
How to Clean Fuel Injectors
1 to 2 hours
Beginner
8 min read

How to Replace Shock Absorbers
30 to 60 minutes
Beginner
8 min read
How to Change a Car Battery
Less than 30 minutes
Beginner
6 min read
Automation How to Change a Car Battery
Less than 30 minutes
Beginner
6 min read
How to Replace a Mass Air Flow (MAF) Sensor
Less than 30 minutes
Beginner
7 min read

How to Replace a Clutch Master Cylinder
1 to 2 hours
Beginner
11 min read

How to Flush and Change Engine Coolant
30 to 60 minutes
Beginner
6 min read
How to Replace a Distributor Cap and Rotor
30 to 60 minutes
Beginner
5 min read

How to Check Tire Pressure and Change a Tire
Less than 30 minutes
Beginner
9 min read
How to Replace a Fuel Filter
30 to 60 minutes
Beginner
7 min read
How to Replace a PCV Valve
30 to 60 minutes
Beginner
6 min read

How to Replace a Brake Caliper
1 to 2 hours
Beginner
7 min read

How to Replace an Idler Pulley
30 to 60 minutes
Beginner
4 min read

How to Change a Headlight Bulb
Less than 30 minutes
Beginner
6 min read
How to Replace an Exhaust Gasket
1 to 2 hours
Beginner
9 min read
How to Replace a Throttle Body
30 to 60 minutes
Beginner
6 min read
How to Change Oil in a Car
Less than 30 minutes
Beginner
8 min read

How to Replace an Alternator
1 to 2 hours
Beginner
11 min read

How to Jump Start a Car
Less than 30 minutes
Beginner
9 min read