Your vehicle’s engine is secured to the chassis with engine mounts - opens in new window or tab.—flexible motor mounts that absorb vibrations. Over time, the rubber mounts wear out, leaving you with a shaky engine. If a broken motor mount is not addressed, the engine can twist out of the vehicle or bind up the drivetrain, causing major damage. You should replace a broken or worn motor mount as soon as possible.
Most modern engines have three to four mounts. Many older engines only use two. Verify your vehicle’s engine mounting system in your repair manual. If you discover one bad engine mount, inspect all of them.
How Long Does It Take to Replace an Engine Mount?
Changing motor mounts is considered an intermediate do-it-yourself task that usually takes one or two hours. Our demo vehicle uses four mounts, but we replaced only one. In most cases, you do not need to replace all engine mounts at once—only the damaged one.
Tips and Tricks for DIY Engine Mount Replacement
- Some mounts can be replaced without engine support, but others require it. Our example vehicle required an engine hoist (also referred to as a cherry picker) to keep the engine from dropping into the engine bay.
- The forward upper unit—which restrains the engine from rocking—is the mount that most commonly needs replacement. It is often at the top of the engine bay, connecting the top of the engine to the chassis.
- Depending on the vehicle, you may be able to support the engine from underneath with a floor jack, block of wood, or a hoist.

The first step for many auto repair jobs is disconnecting the vehicle’s battery. It’s a simple task. Remove the ground clamp from the battery’s negative post. Plus (+) and minus (-) signs are usually molded into the plastic battery case near the post.
Removing the negative terminal first ensures the vehicle is no longer connected to a live battery. This prevents sparks, electrical shorts, or components (such as fans) from unnecessarily coming on.
Pull the terminal off the battery for a close inspection. If there is corrosion, loose wires, or physical damage, consider replacing the battery terminal or cable.
Move the terminal away from the battery into a position where it can’t accidentally touch the battery post.
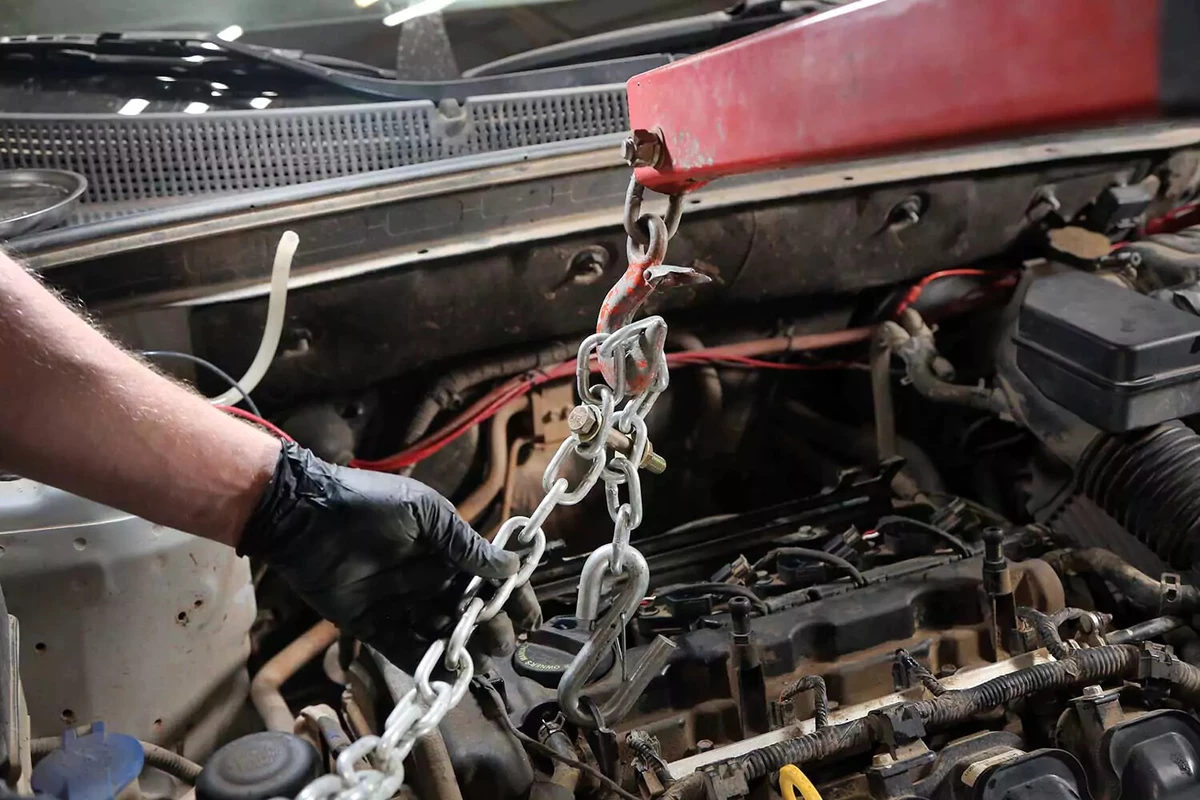
Set up your engine support device. We used an engine hoist chained to the factory engine lifting eyelet. Not all engines have a lifting eyelet, so you may need to remove a bolt to use as the lifting point.
The safest lifting attachment points are main accessory drive bracket bolts that are ⅜-inch or larger (10 mm), exhaust manifold bolts, or bellhousing bolts. Your repair manual should indicate the appropriate lifting points.
Connect the engine to the lifting device. Lift it enough to raise the vehicle slightly on its suspension. This should take all the pressure off the mounting bolts you’re about to remove. You may need to trim the amount of lift as the job progresses.

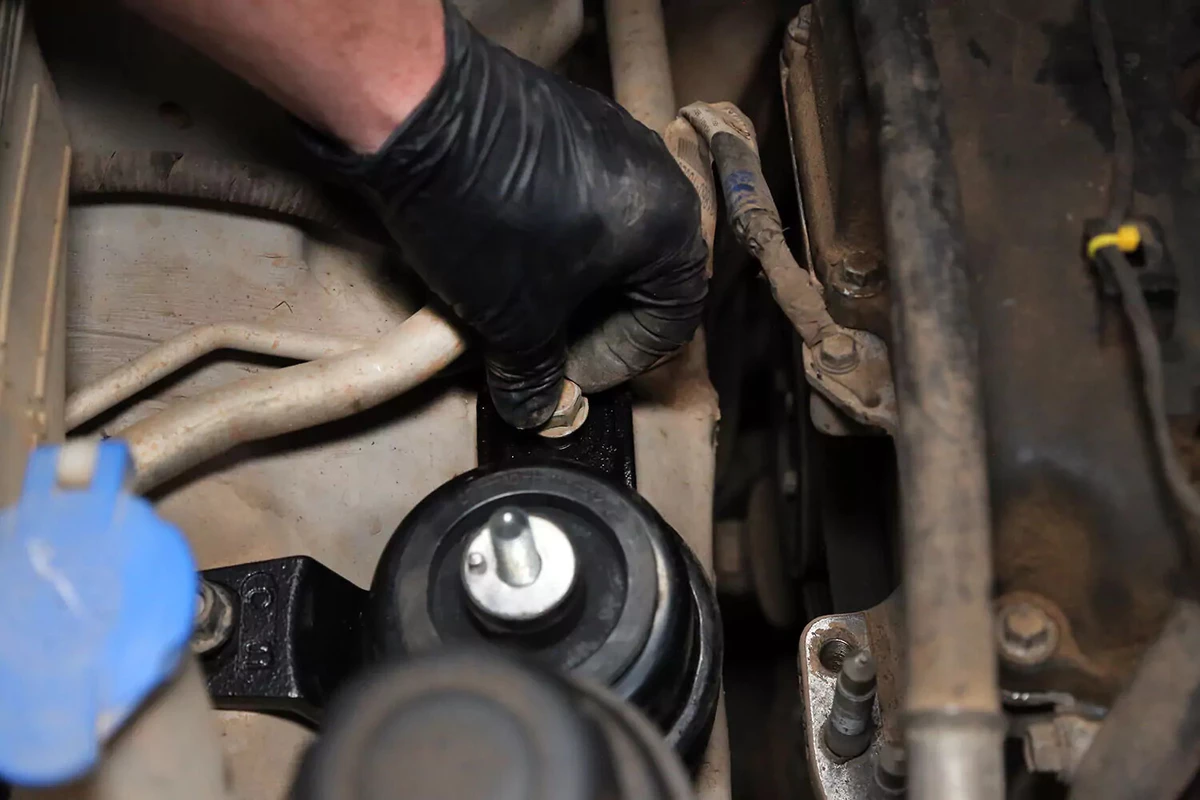
Locate the failed mount and select the correct socket to remove the bolts securing it to the engine.
Our demo vehicle has an intermediate bracket that connects the engine to the motor mount on the chassis.
This is typical motor mount placement for a front-wheel-drive transverse-engine car.
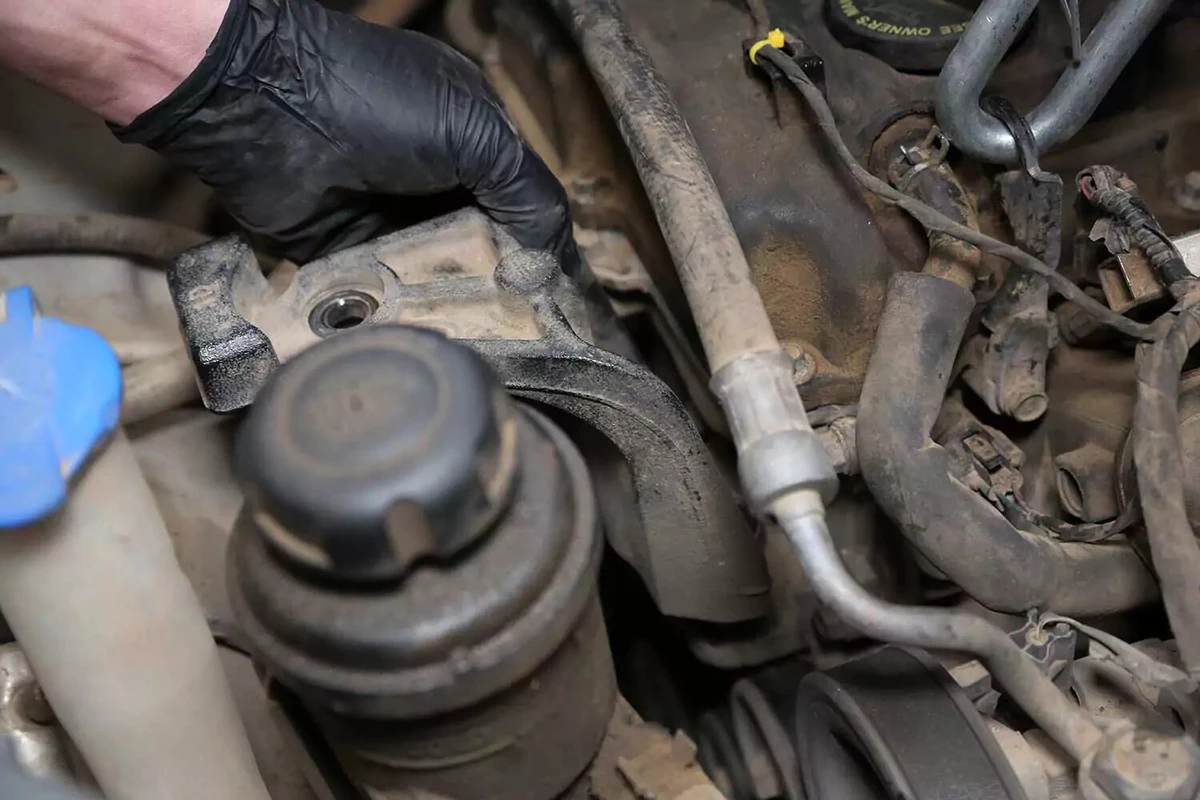
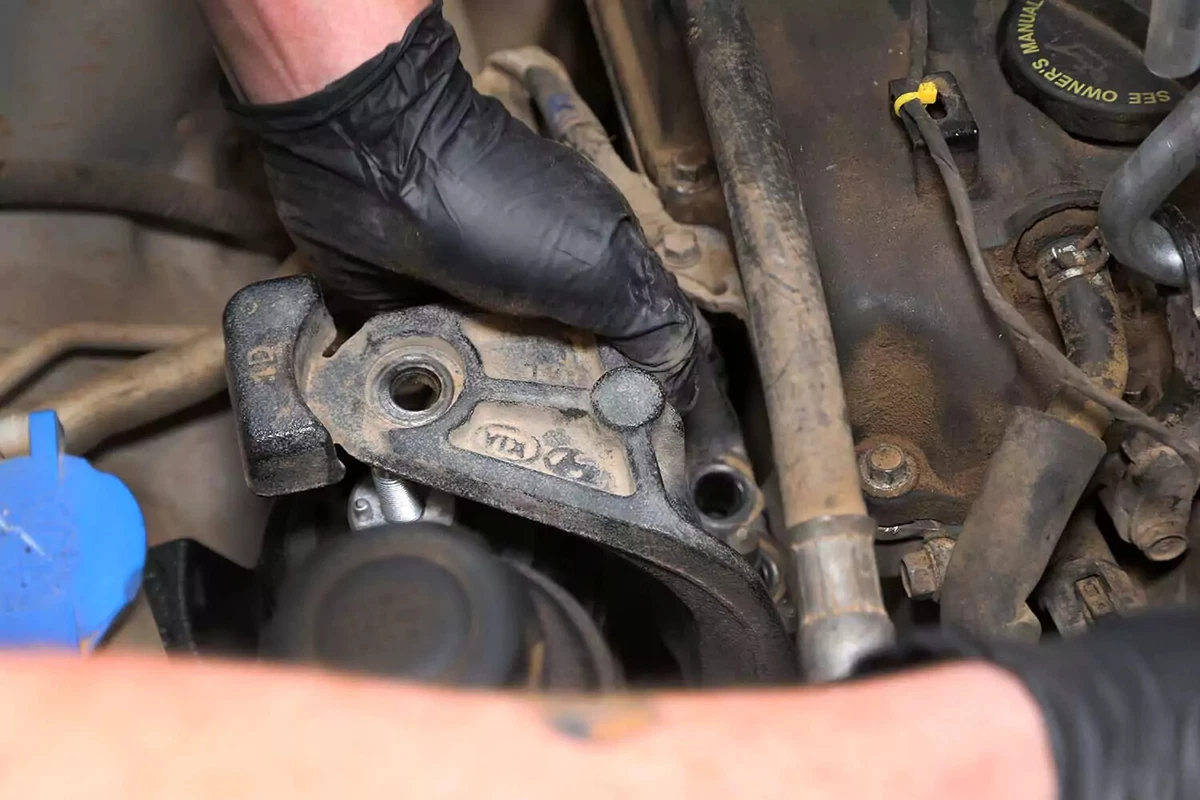
Remove the intermediate bracket from the motor mount and the engine.
Some engines combine the bracket and the mount. Others allow you to remove the mount while the bracket remains on the engine.
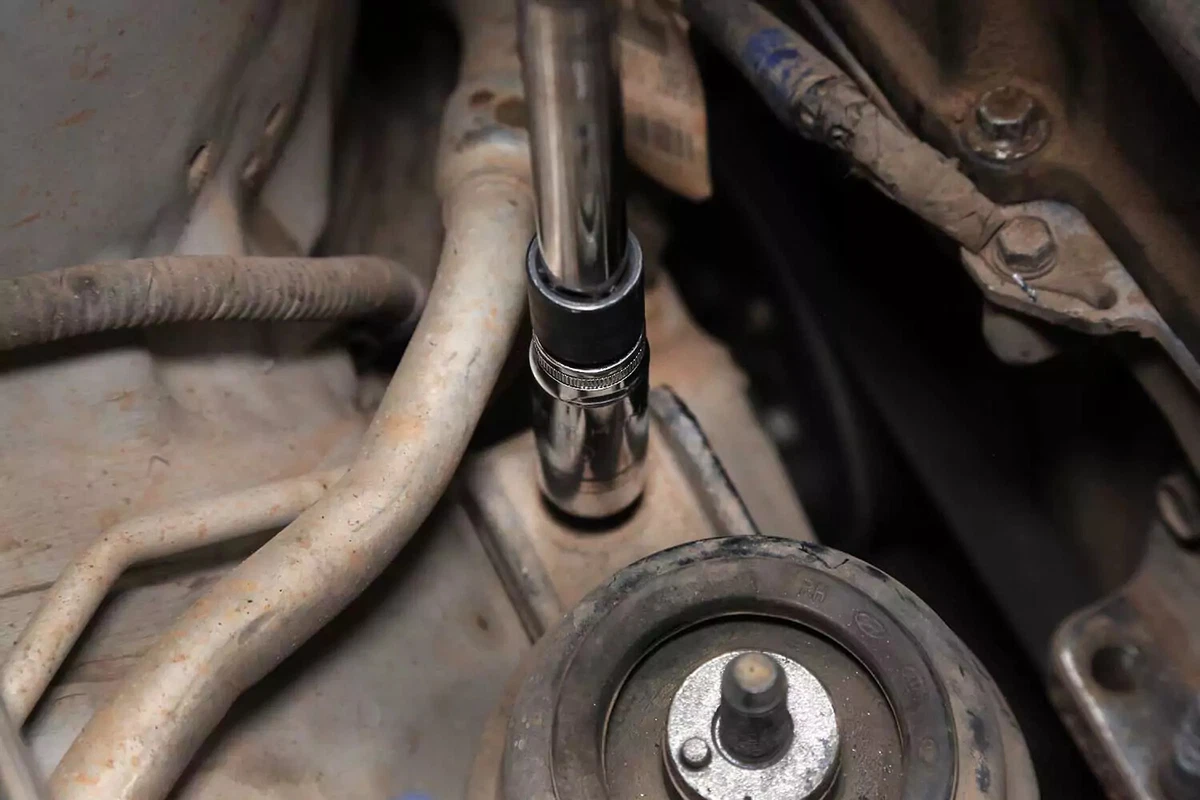
Remove the bolts securing the motor mount to the chassis.
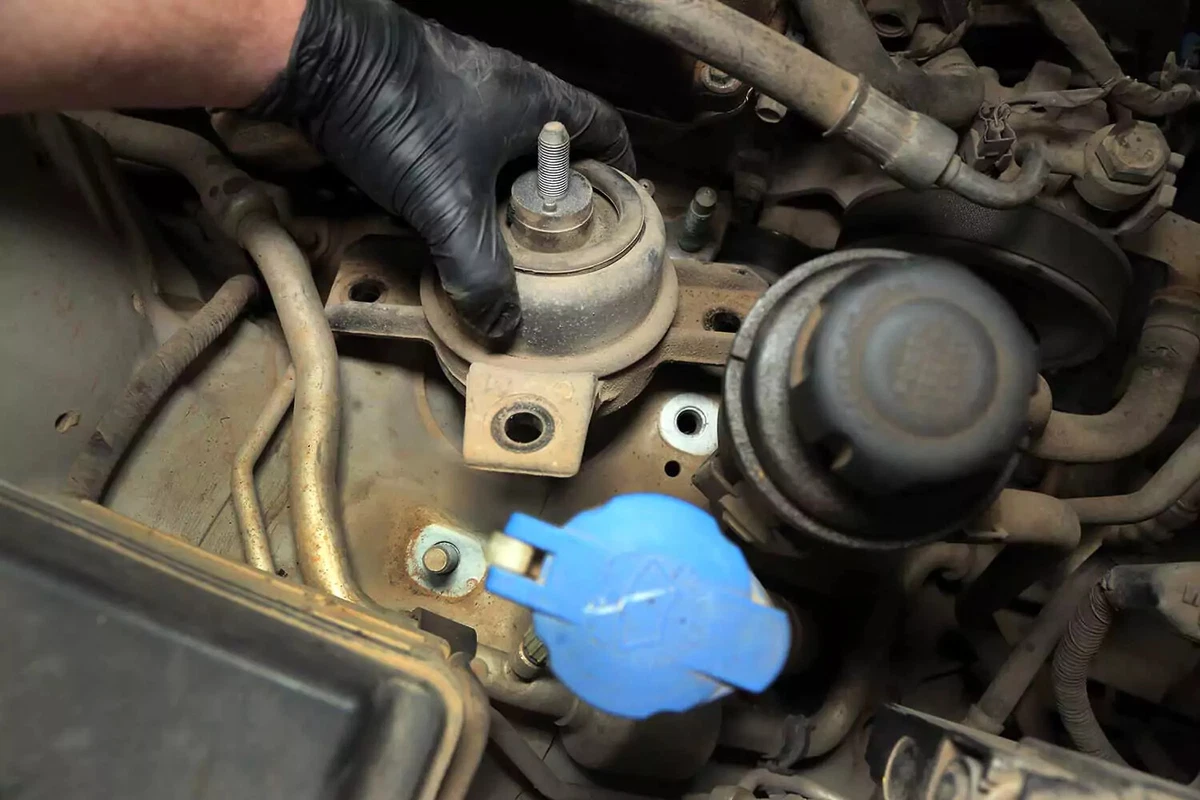
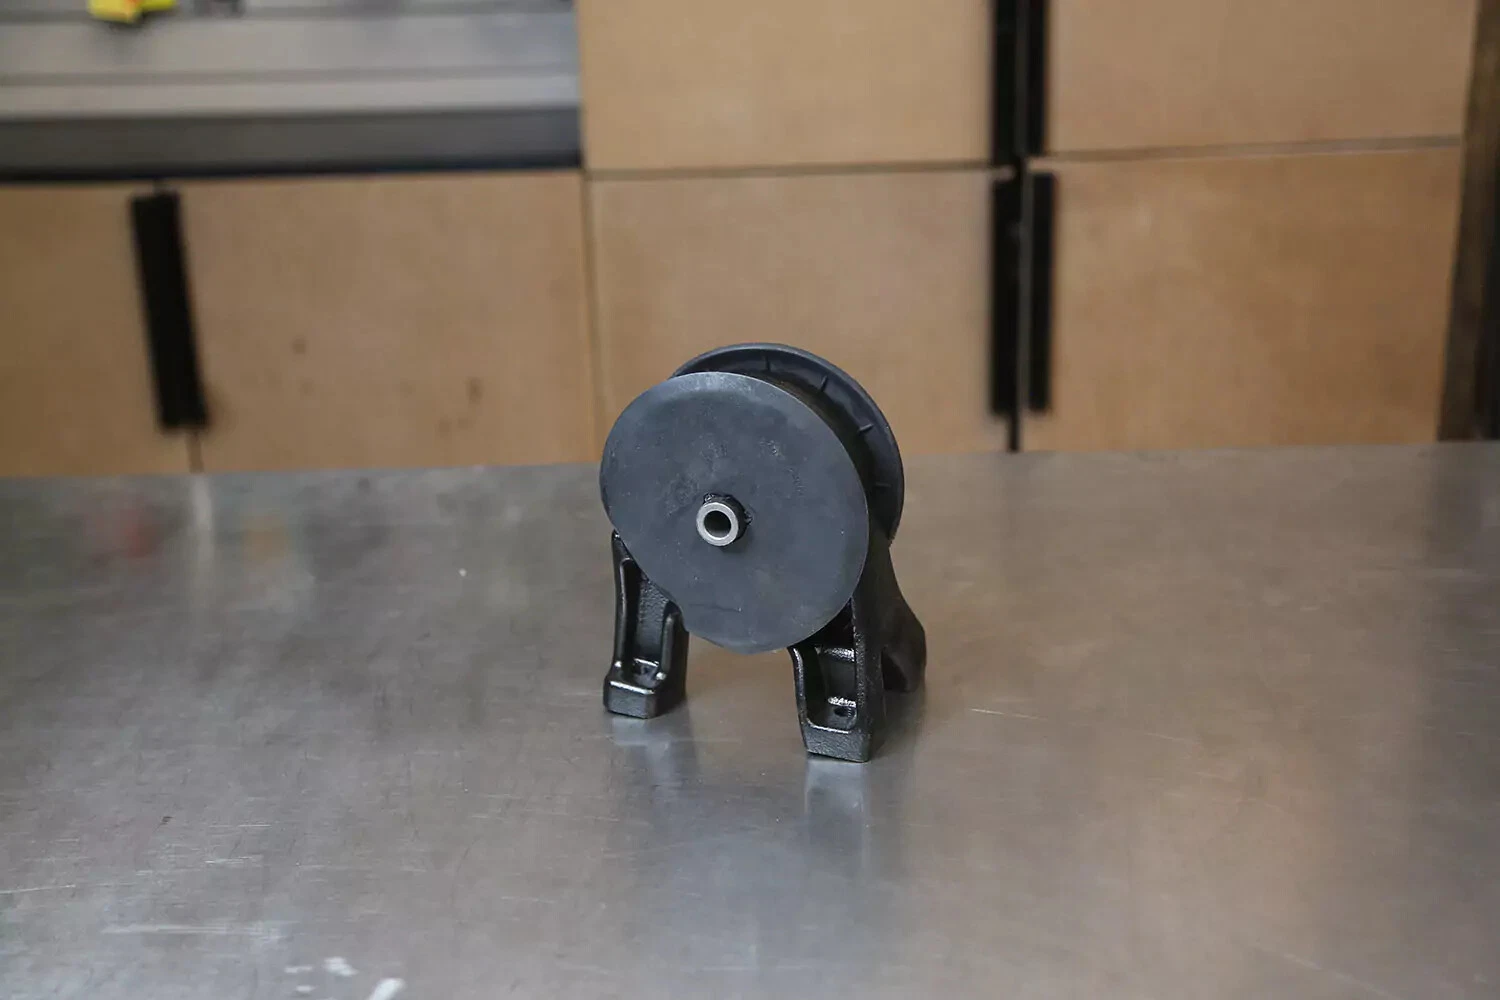
Pull the faulty motor mount out of the vehicle and compare it to the new one. They should look the same and have the same bolt locations.
To install the original hardware, place the new mount into position.
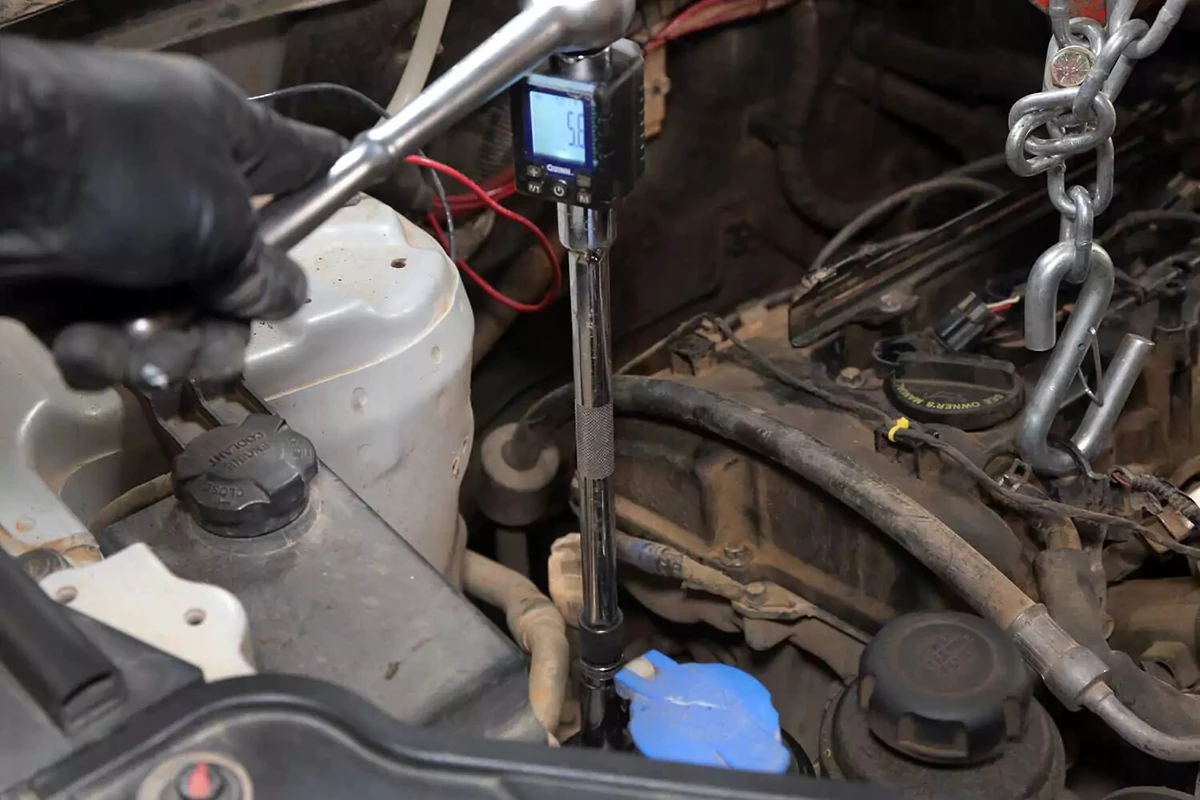
Use a torque wrench or torque gauge adapter to tighten the motor mount bolts. Check your vehicle’s repair manual for the correct torque specs.
Reinstall the intermediate bracket to the engine and motor mount.
The engine will likely have shifted, so adjust the lift mount accordingly. You may also need to use a pry bar to move the engine so it aligns with the bolts.
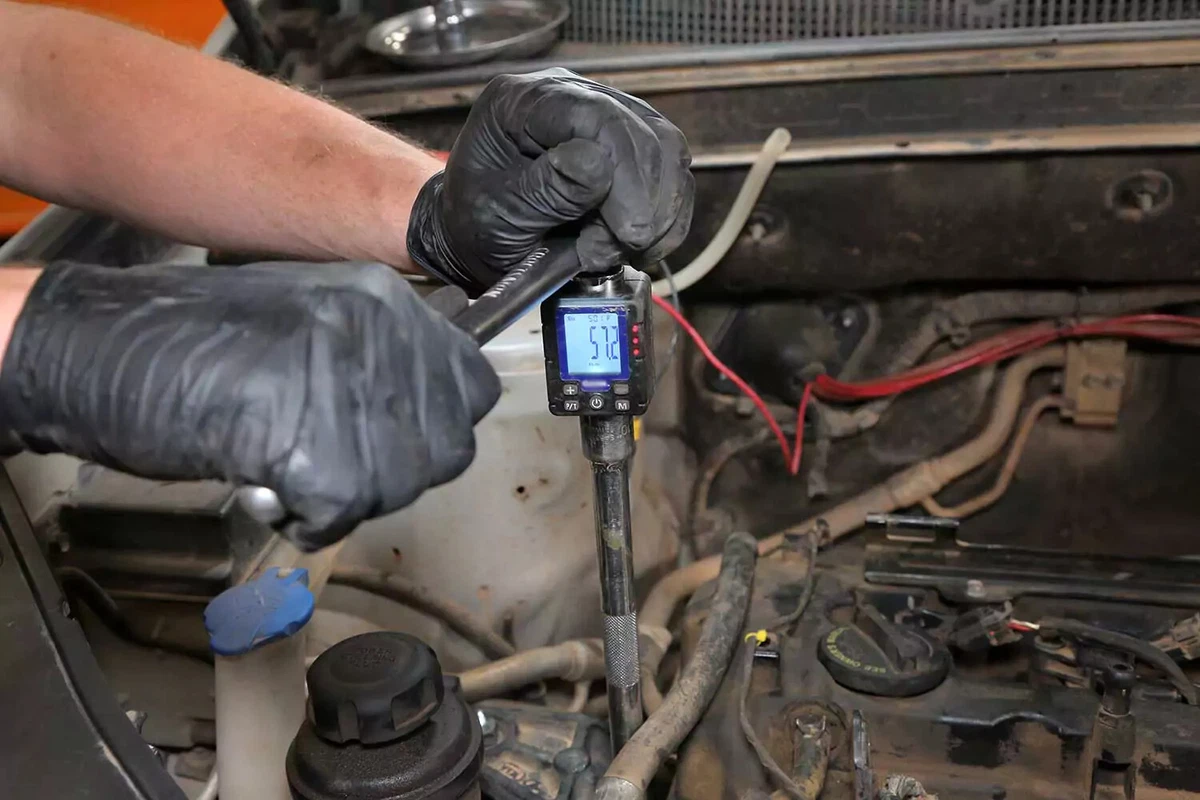
Torque the bolts to the specifications listed in your vehicle’s repair manual. You should do this before removing the engine support. (Match the specifications rather than merely giving it a snug fit.)
After the bolts are torqued, remove the engine support. Replace any components removed to access the motor mount. The vehicle is ready to drive.
About the author

Share your feedback
This article is meant to provide general guidance only. Automotive maintenance, repair, upgrade, and installation may depend on vehicle-specifics such as make and model. Always consult your owner's manual, repair guide for specific information for your particular vehicle and consider a licensed auto-care professional's help as well, particularly for advance repairs.
Recommended for you
Find answers and inspiration
A Quick Guide to Valve Cover Gaskets
6 min read
When to Replace Your Exhaust Manifold Gasket
6 min read
How to Replace an Ignition Coil
6 min read
How to Buy the Right EGR Valve and Gasket
6 min read
Your Complete Idler Pulley Buying Guide
5 min read
How to Buy the Right Throttle Body
5 min read
Buying the Right Distributor Cap and Rotor
4 min read
How to Replace a Drive Belt
5 min read
How to Replace an Intake Manifold Gasket
7 min read
How to Buy the Right Car Starter
5 min read
How to Replace a Valve Cover Gasket
7 min read
How to Change a Timing Belt
12 min read
Diagnosing Your Serpentine Belt and Tensioner
6 min read
Changing Your Oil: 5 Things to Know
6 min read
How to Clean Fuel Injectors
8 min read
Automation How to Change a Car Battery
6 min read
How to Replace a Mass Air Flow (MAF) Sensor
7 min read
Distributors 101
6 min read
How to Replace Spark Plugs
7 min read
Everything You Should Know About EGR Valves
5 min read
How to Test Your PCV Valve
6 min read
Buying the Best Portable Car Battery Jump Starter
6 min read
An Introduction to Cleaning Fuel Injectors
5 min read
A Deep-Dive Guide to Ignition Wires
7 min read
The Right Tools to Clean Your Fuel Injectors
6 min read
How Do Ignition Coils Work?
5 min read
Spark Plugs 101
7 min read
When to Replace Your Drive Belt
6 min read
Fuel Pumps and How They Work
8 min read
What to Know About Your Vehicle's Throttle Body
6 min read
Everything You Need to Know About Fuel Filters
6 min read
How to Buy the Right Ignition Coils
7 min read
How to Buy the Right O2 Sensor
5 min read
How to Replace a Serpentine Belt Tensioner
4 min read
When to Replace Your Engine Air Filter
5 min read
How to Replace an Oxygen Sensor
5 min read
How to Buy the Right Timing Belt and Related Tools
5 min read
How to Buy the Right Car Distributor
6 min read
Timing Belts 101
5 min read
How to Replace an Engine Air Filter
5 min read
How to Buy the Right Exhaust Manifold Gasket
6 min read
How to Choose the Best Spark Plugs
5 min read
How to Replace a Car Starter
7 min read
What You Should Know About O2 Sensors
6 min read
How to Buy the Right Valve Cover Gasket
4 min read
How to Replace a Distributor Cap and Rotor
5 min read
Understanding Your Car's Idler Pulley
4 min read
How to Replace a Fuel Filter
7 min read
How to Replace a PCV Valve
6 min read
Everything You Need to Know About Car Starters
7 min read
How to Replace an Exhaust Gasket
9 min read
Do You Have a Faulty Mass Air Flow Sensor?
4 min read
Ignition Wire Buying Guide
6 min read
All About Your Distributor Cap and Rotor
7 min read
How to Replace a Throttle Body
6 min read
Spotting Intake Manifold Gasket Problems
7 min read
How to Change Oil in a Car
8 min read
How to Buy the Best MAF Sensor
4 min read
How to Replace an EGR Valve
5 min read
How to Change an In-Tank Fuel Pump
9 min read
Explore more projects
How to Change a Thermostat
30 to 60 minutes
Intermediate
7 min read
How to Replace a Car Starter
1 to 2 hours
Intermediate
7 min read
How to Replace Spark Plugs
1 to 2 hours
Intermediate
7 min read
How to Replace a Transmission Mount
1 to 2 hours
Intermediate
7 min read

How to Change a Water Pump
1 to 2 hours
Intermediate
8 min read

How to Change Manual Transmission Fluid
Less than 30 minutes
Intermediate
4 min read
How to Replace an Intake Manifold Gasket
2 to 5 hours
Intermediate
7 min read

How to Replace Wheel Bearings
1 to 2 hours
Intermediate
7 min read

How to Replace Tie Rod Ends
30 to 60 minutes
Intermediate
8 min read
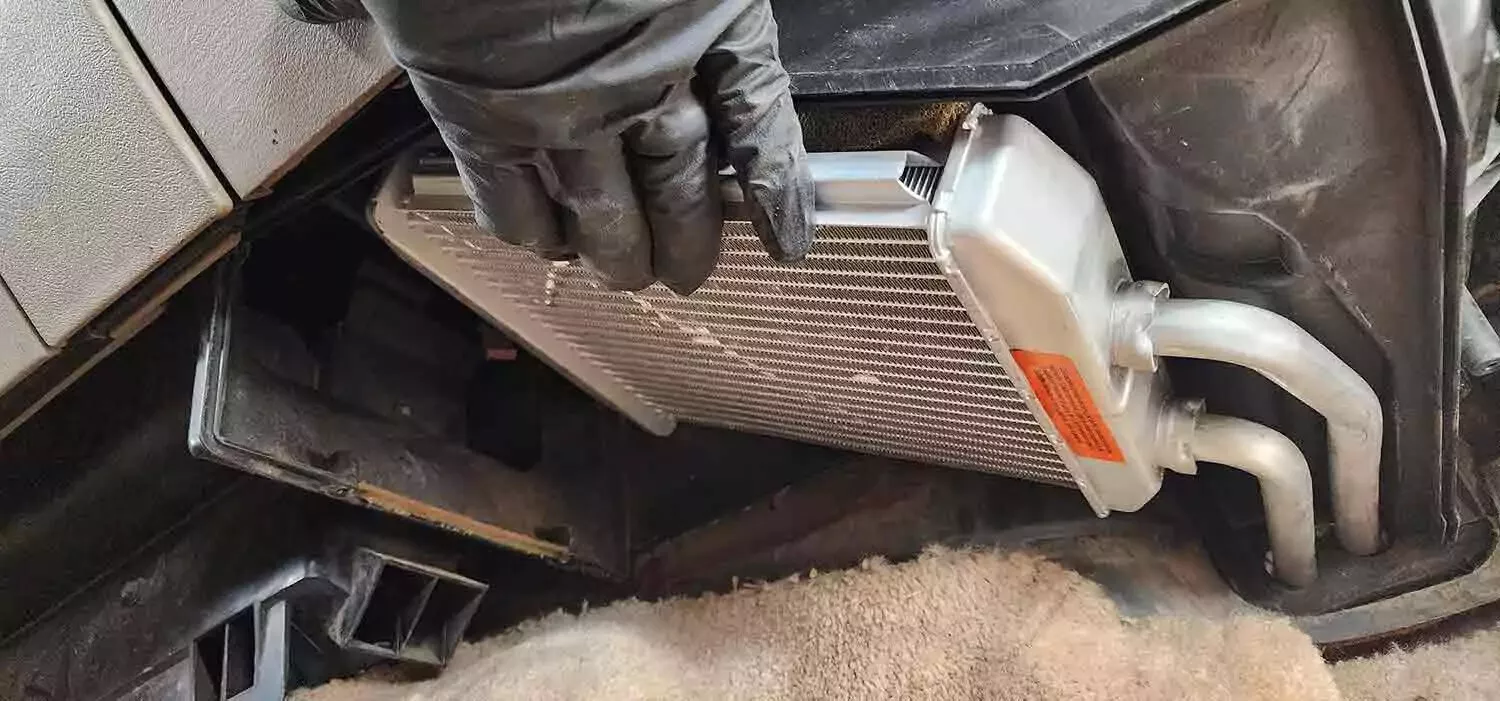
How to Replace a Heater Core
More than 5 hours
Intermediate
12 min read

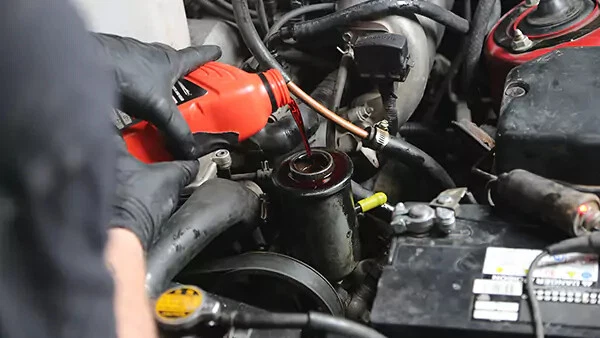
How to Replace a Power Steering Pump
1 to 2 hours
Intermediate
7 min read

How to Replace a Steering Gearbox
2 to 5 hours
Intermediate
8 min read
How to Replace Power Steering Fluid
1 to 2 hours
Intermediate
8 min read

How to Change Automatic Transmission Fluid
Less than 30 minutes
Intermediate
6 min read
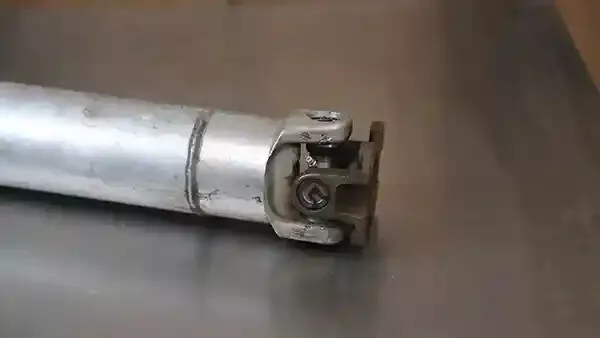
How to Replace a U-Joint
1 to 2 hours
Intermediate
14 min read

How to Replace a Car Radiator
1 to 2 hours
Intermediate
8 min read
How to Change an In-Tank Fuel Pump
2 to 5 hours
Intermediate
9 min read