The key to a functional heater is the radiator under the dash, otherwise known as a heater core. These heat exchangers can go unnoticed until you need them.
The heater core is a radiator, just like the one under the hood. Hot water flows through the pipes, and air is blown across the fins, pulling heat out of the water to warm the air. Most vehicles on the road today use aluminum cores. However, vehicles built in the 1980s or earlier have copper/brass cores. They do the same job and are susceptible to the same failures—mostly corrosion and blockages.
Most modern vehicles use constant circulation through the core. The water content in the coolant leaches minerals from the core through electrolysis, especially if you’ve neglected periodic coolant changes. The tubes are thin, and the welds at each end are susceptible to corrosion. After a few years of this, your heater core can spring a leak. That means your heater won’t work. If you lose enough coolant, the engine will overheat.
Symptoms of a leaky or failing heater core include wet carpet under the dash (typically on the passenger side), coolant under the passenger side firewall, cold air with the heater on and the engine at operating temperature, smell of coolant inside the vehicle, and an overheating engine. If you have these symptoms, you should replace the heater core. Radiator sealants could fix the issue temporarily. But they will come back, sometimes with a spectacular failure that sidelines your vehicle.
The heater core is not typically hard to change, but gaining access to it can be difficult. In many cases, you have to remove the entire dash. Removing and reinstalling the dash can take one to two days. After you get to the heater core, it might only take 15 minutes to replace it.
Tips and Tricks
- Before attempting this job, consult your vehicle’s repair manual regarding removing and replacing the heater core and the entire dashboard.
- While you are removing the dashboard, take pictures so you know how to put it back together.
- When you replace your heater core, also replace heater hoses, which are often brittle. They likely have not been changed.
- Some vehicles require removing the HVAC system under the dash. This means releasing AC refrigerant. You are legally required to collect this gas, which is not safe for the environment. This requires a recovery system, usually at a shop that has a refrigerant recovery system. When you complete the repair, your AC system needs to be recharged.
- To prevent problems with your heater core, flush and change your engine coolant at least every two years. (eBay will soon publish a detailed step-by-step guide about how to flush engine coolant.)
The first step for many auto repair jobs is disconnecting the vehicle’s battery. It’s a simple task. Remove the ground clamp from the battery’s negative post. Plus (+) and minus (-) signs are usually molded into the plastic battery case near the post.
Removing the negative terminal first ensures the vehicle is no longer connected to a live battery. This prevents sparks, electrical shorts, and components (such as fans) from unnecessarily coming on.
Pull the terminal off the battery for a close inspection. If there is corrosion, loose wires, or physical damage, consider replacing the battery terminal or cable.
Move the terminal away from the battery into a position where it can’t accidentally touch the battery post.
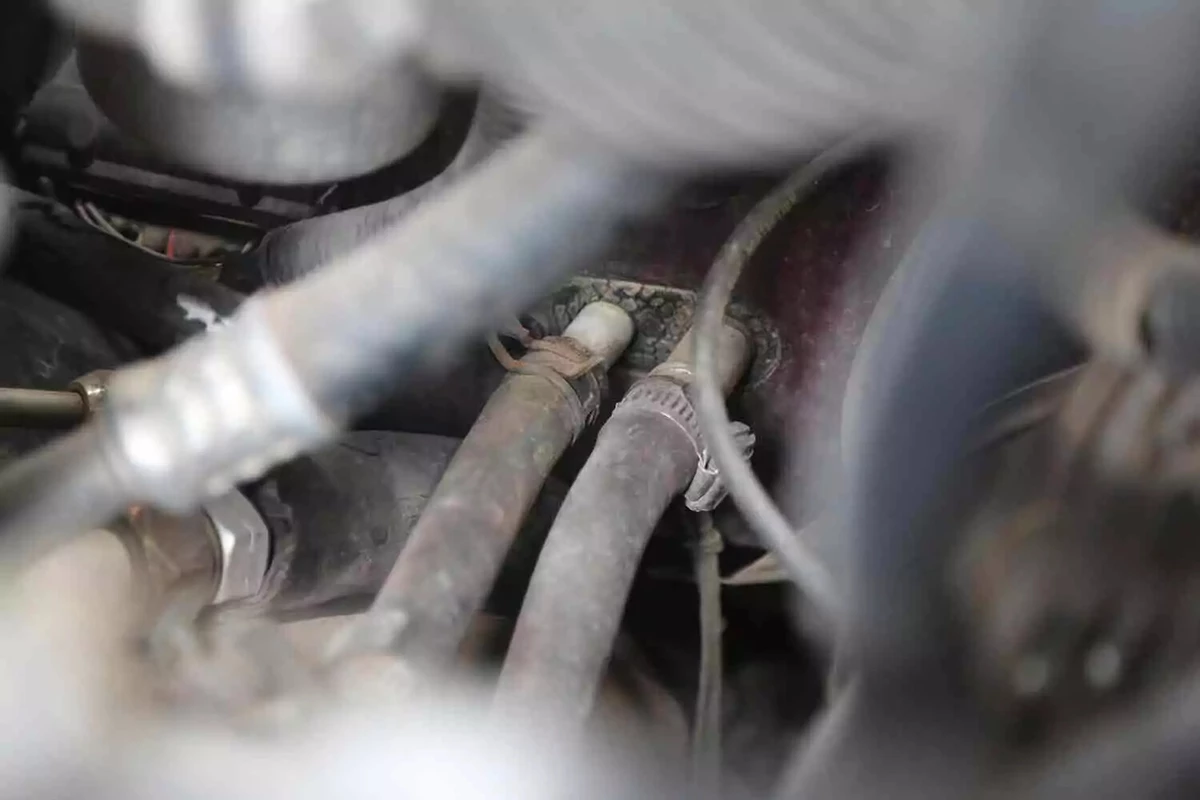
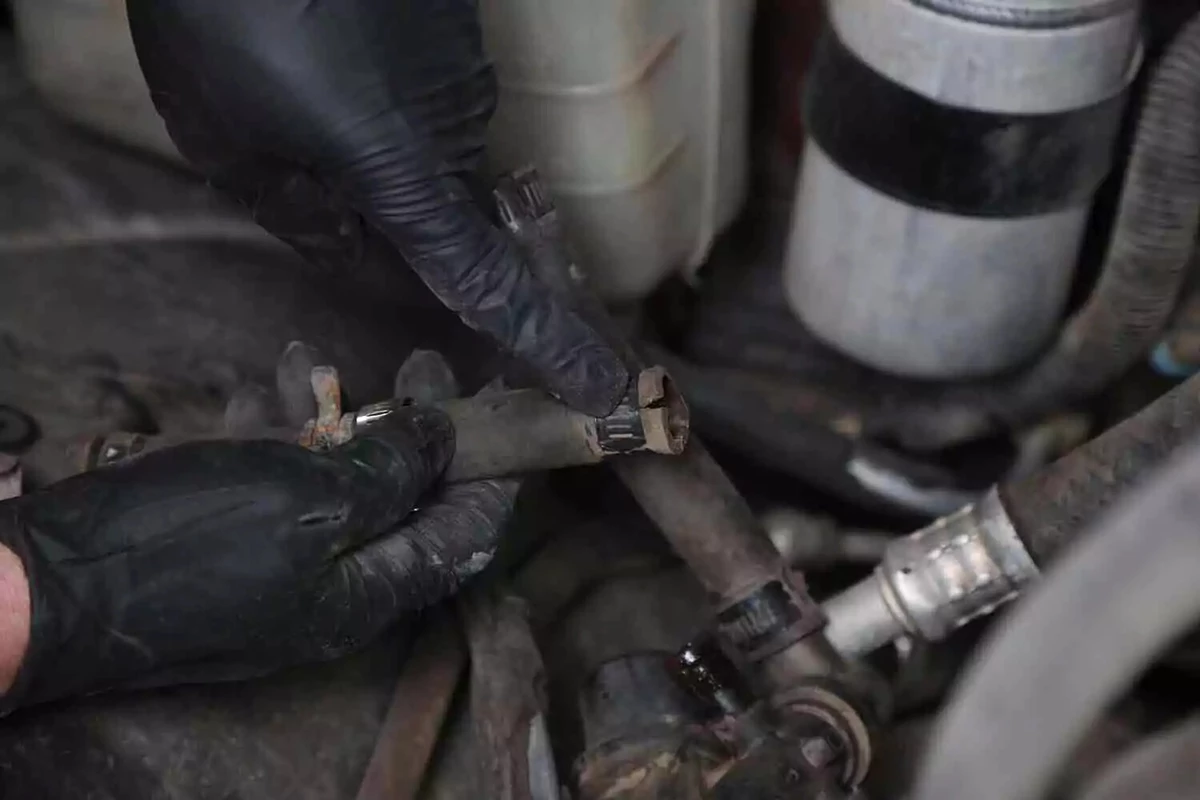
Look along the passenger side of the firewall for heater hoses that connect to the heater core. These are usually connected with hose clamps or spring clamps.
However, instead of hose clamps, the heater hoses might use quick-connects to join them to the heater core. The plastic they’re made of becomes brittle and fragile over time. Use a quick-connect tool to release them. Replace old quick-connects with new ones.
Do not remove the hoses yet. The goal of this step is to determine what needs to be removed to gain access to them.

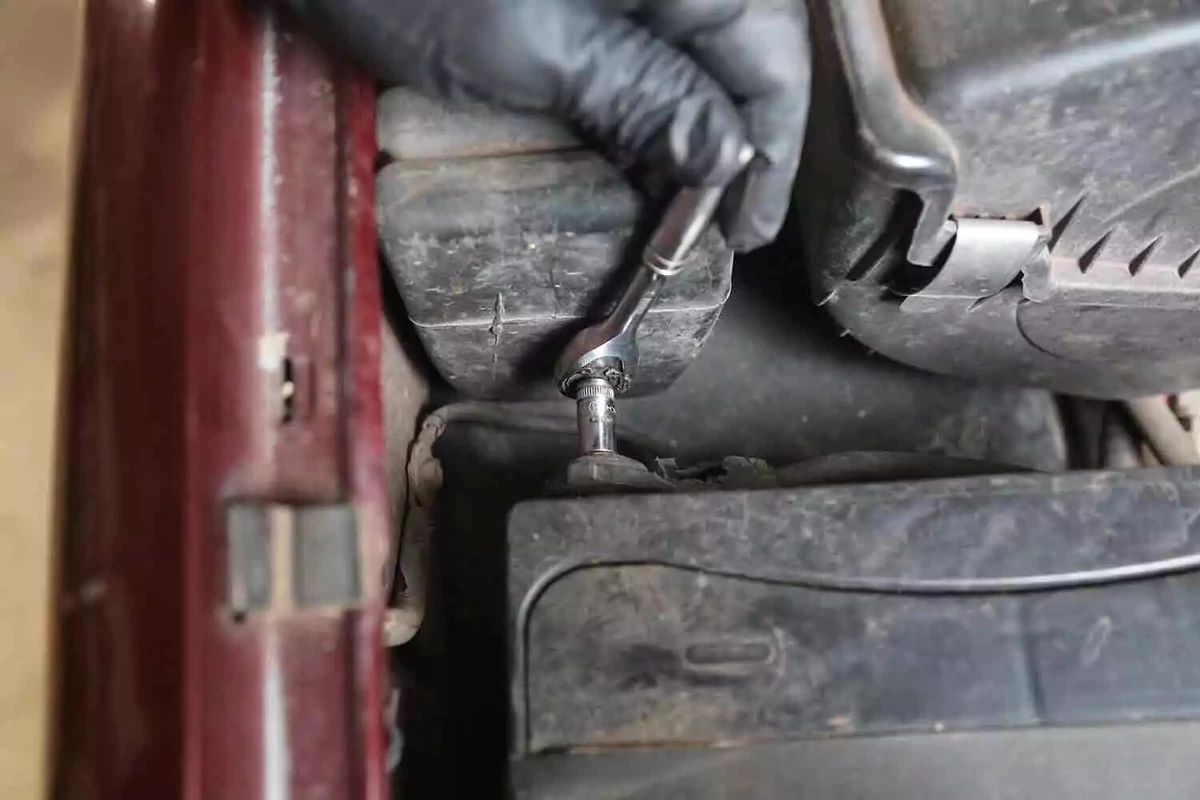
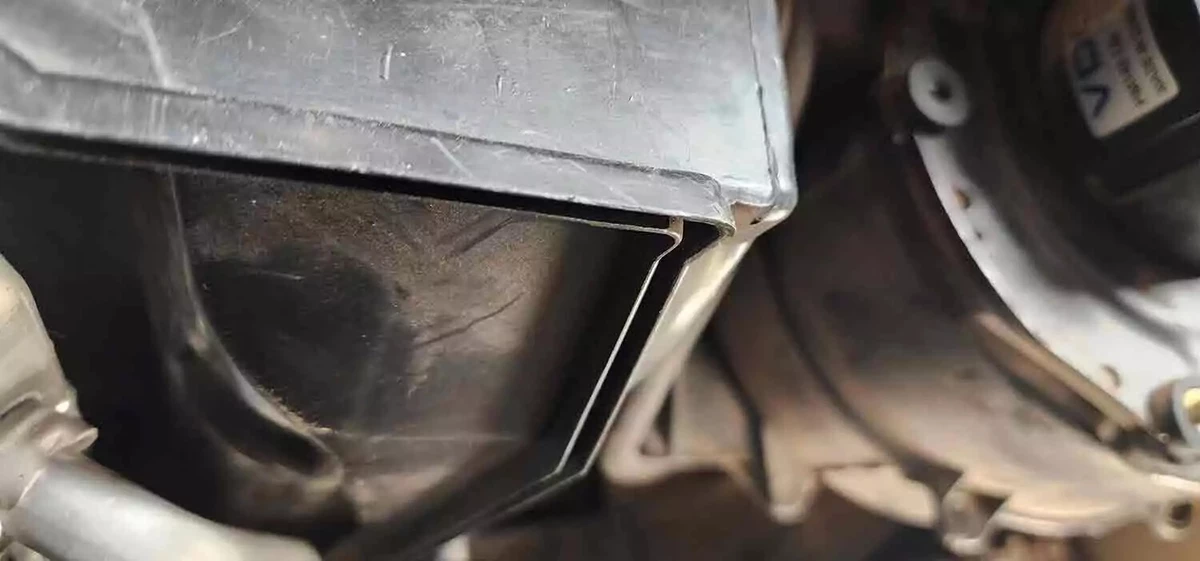
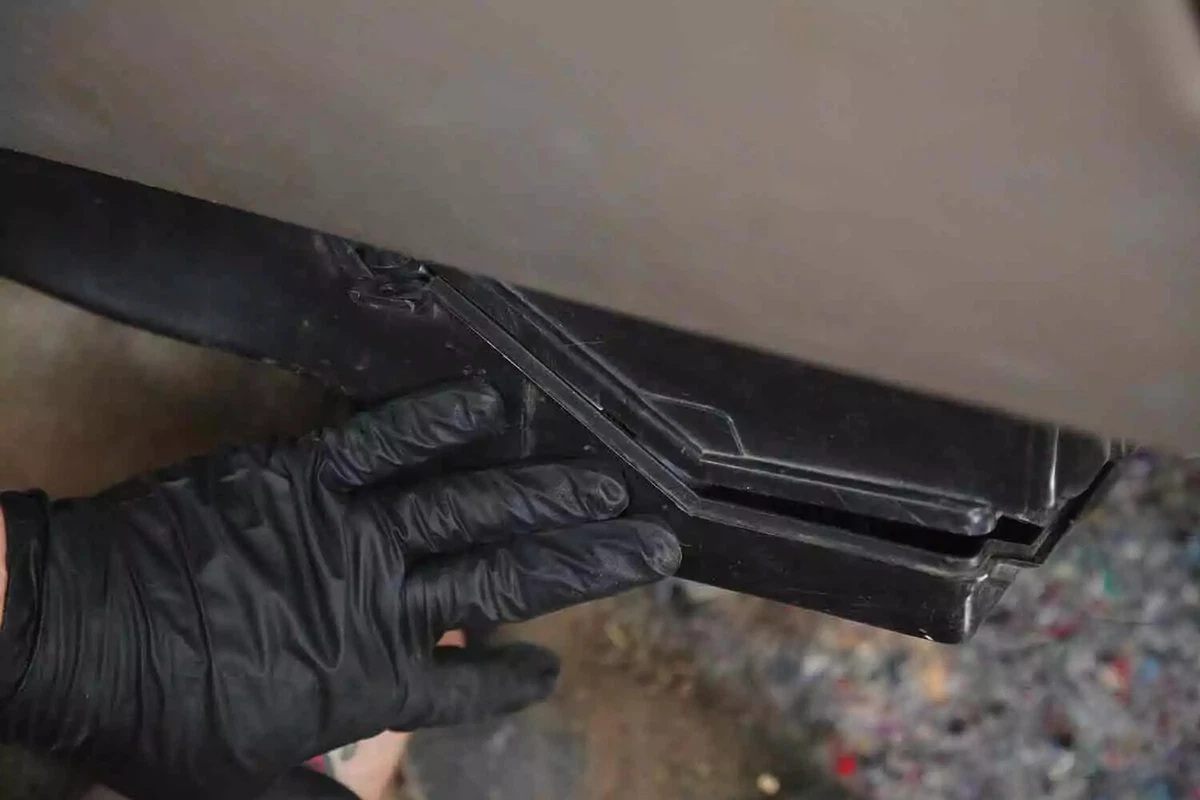
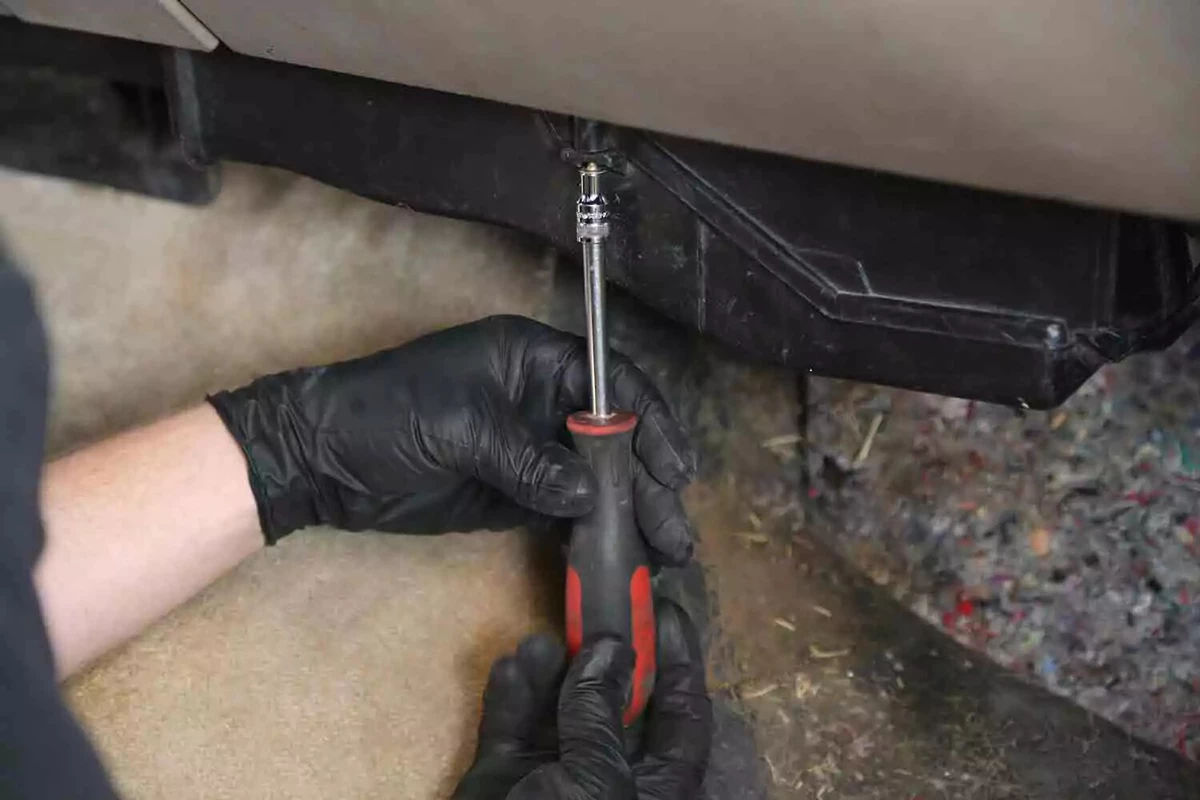
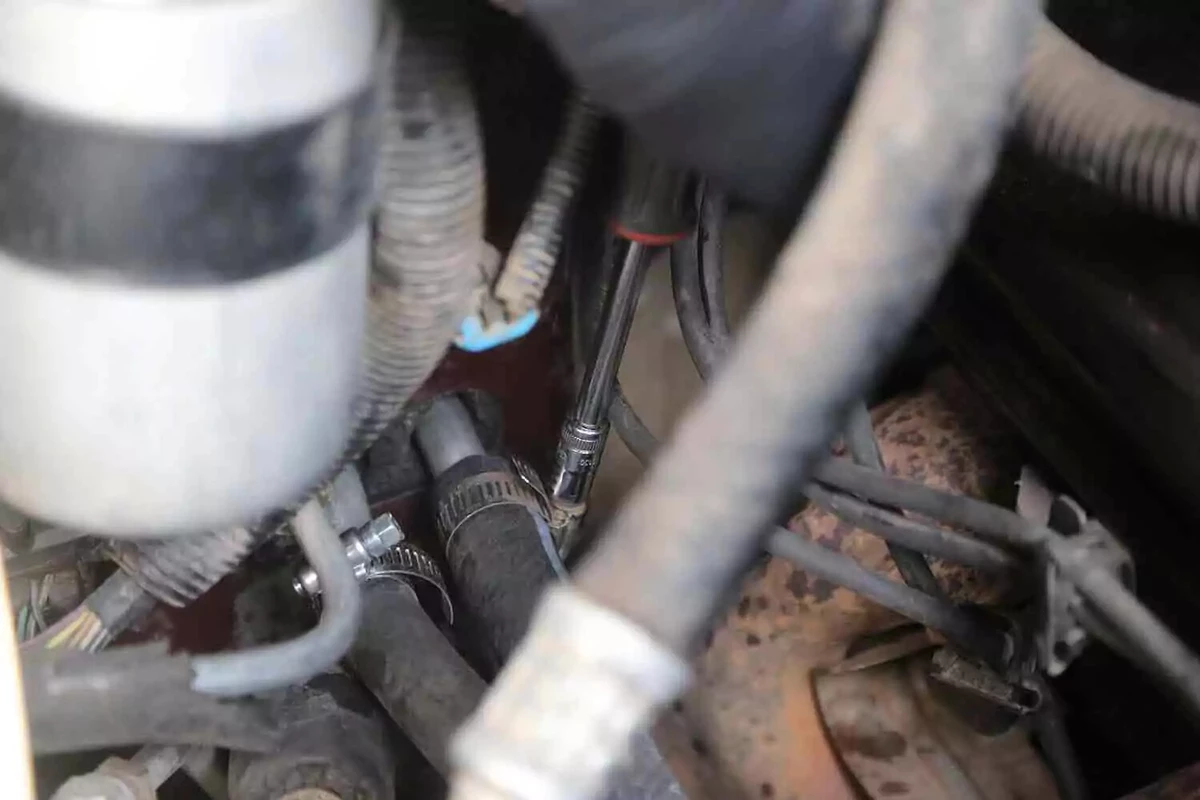
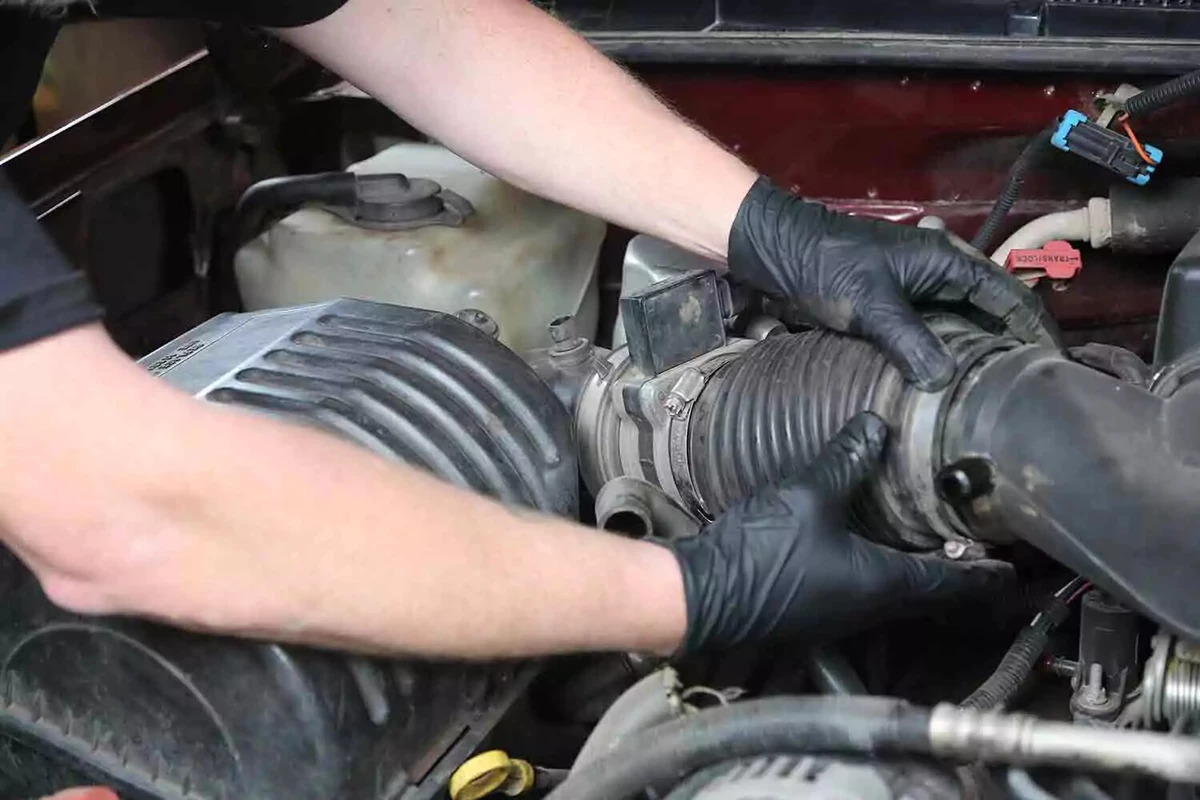
Remove any items in the way of the heater hoses. On our demo vehicle, the air filter box and tube that connects to the throttle body were in the way. They are common obstacles.
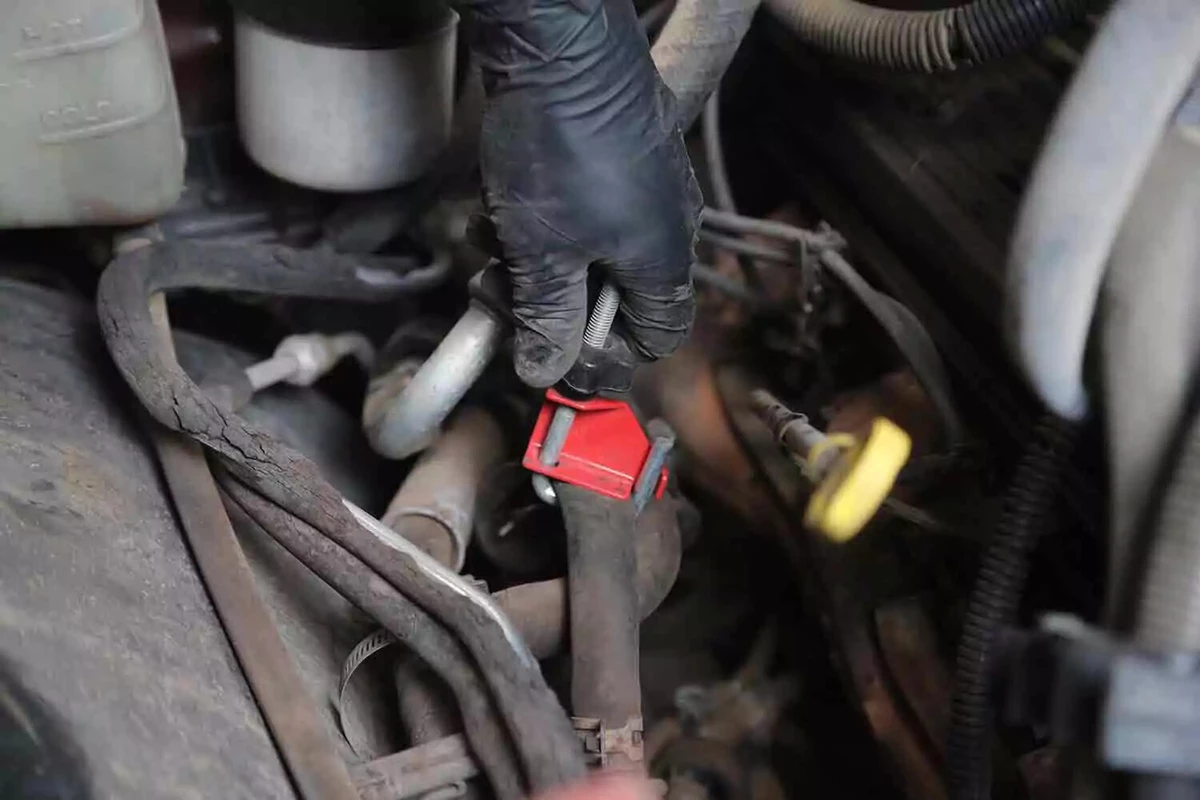
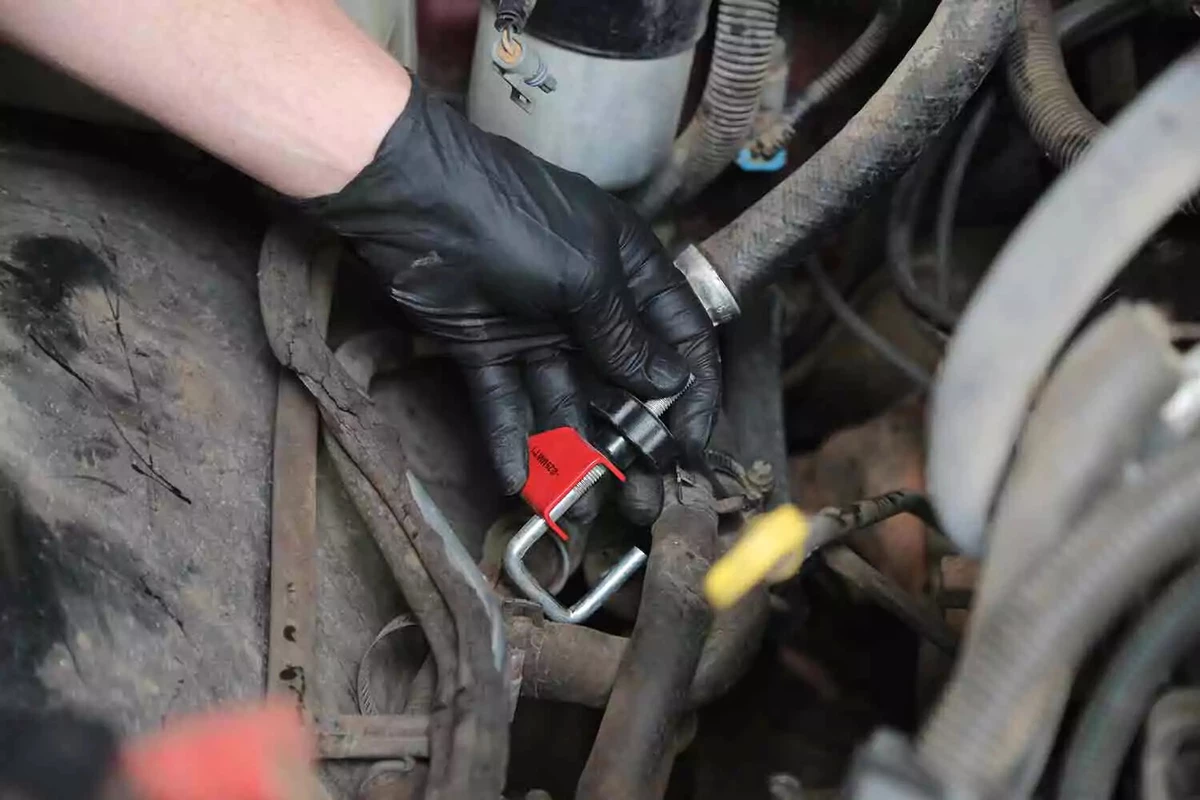
This is an essential but commonly overlooked step. Clamp both hoses so that less coolant drains out of the system when you disconnect the core later.
We used clamps designed to do this without damaging the hose. Other options include locking pliers, C-clamps, or large washers.
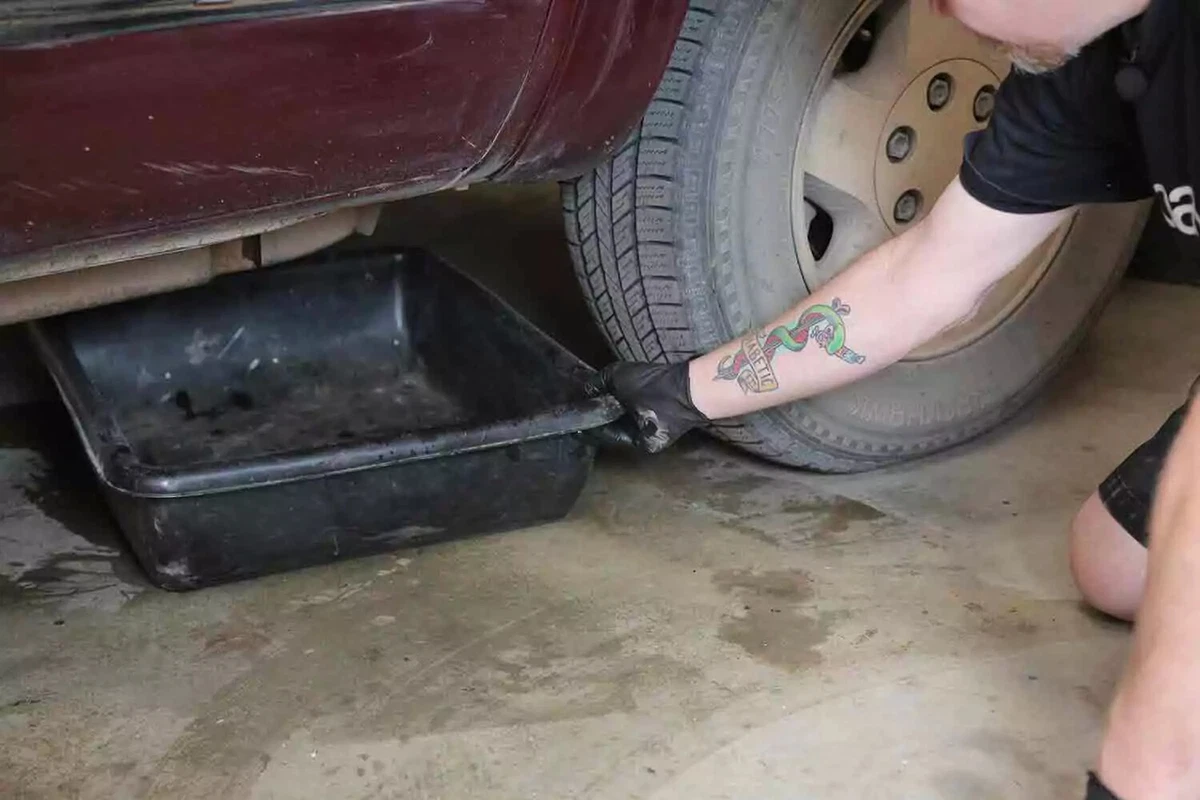
Position a drain under the heater core and hoses so you can catch coolant that falls when you remove the hoses (in the next step).

Loosen the hose clamps. Then, pull the hoses off the heater core pipes.
If the hoses stick to the metal, split them with a razor and peel them off.

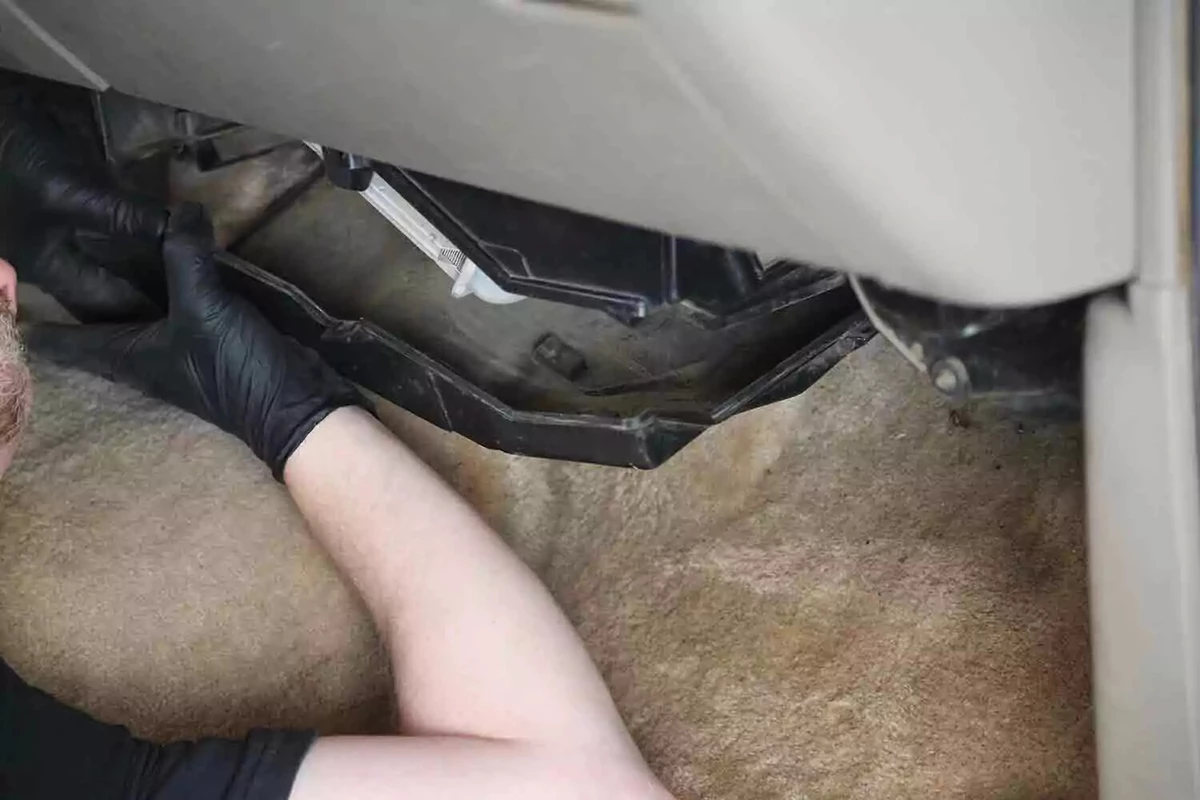
Locate the heater core from inside the vehicle. Removing the front passenger seat can provide more room for this job. (We removed the front passenger seat to help us photograph the process.)
In our demo vehicle, the heater core is located at the bottom of the HVAC system, under the center cover. You might need to remove large sections of the dash. That’s a time-consuming process. You might get away with only removing the glove box. Consult your vehicle’s repair manual for instructions on how to access the heater core.

Our demo vehicle uses hex-head screws. Other vehicles use Torx or Phillips heads.
Many vehicles have hidden fasteners that must come out in order to remove the cover.
Gently pry the cover open. Some vehicles may use fasteners and clips.
On our demo vehicle, we removed the cover and core as a single unit. On other vehicles, you might need to remove the cover before removing the core.
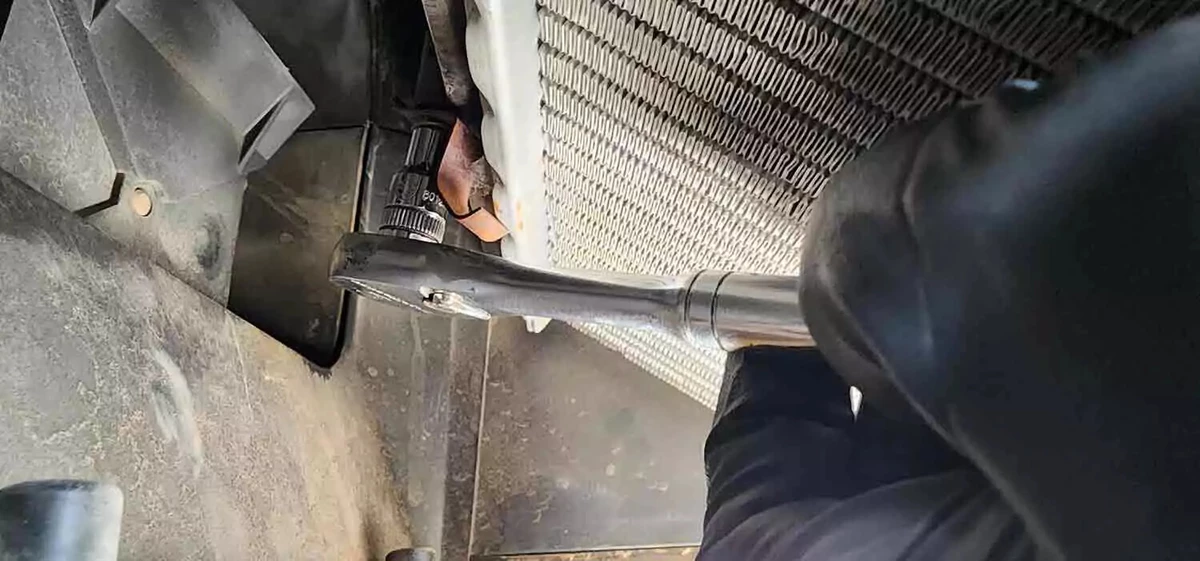
The heater core is typically bolted or clamped in place.
On our demo vehicle, we removed one spring clip and a single bolt to release the core.
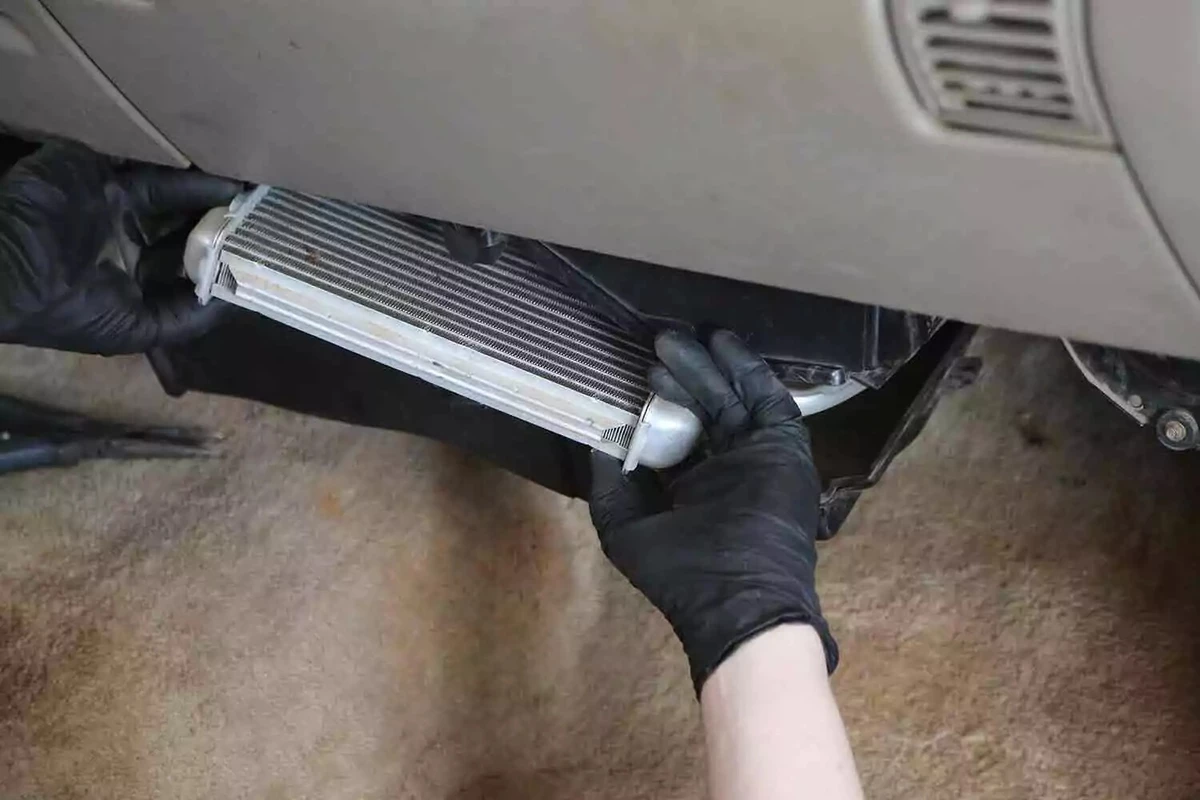
Slide the heater core out of the HVAC box and firewall.

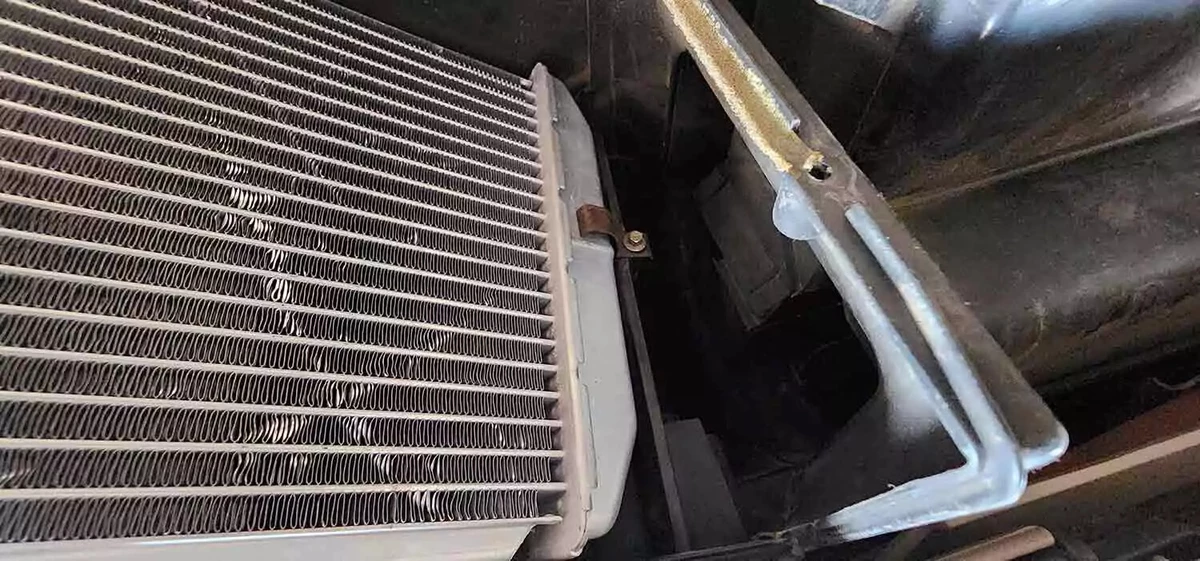
Use a shop vacuum to remove the dirt and debris from the HVAC box. We also recommend spraying HVAC disinfectant spray inside the case to kill bacteria or mold.
Take note of where the heater core lines go through the firewall. Some vehicles have separate seals or gaskets that need to be replaced.
You could fabricate those seals with a small sheet of foam rubber and a pair of scissors. Regardless, don’t leave a way for air from the engine bay to enter the car interior.

Place old and new cores next to each other. Ensure that they match.
Note that the new core (right) has slightly larger tanks. This makes the spring clamps hard to fit. Also, the pipes are not exactly the same shape. This needs to be adjusted.

Slide the new core into position. Ensure that the lines go through the firewall and that there’s a solid seal around the core to the box.
Reinstall the core. The mount should lock onto the core at the tank edge. On our demo vehicle, we didn’t get a firm lock because the tank was slightly larger than the original tank.
We used a piece of hard rubber to protect the tank from rubbing on the clip (not shown). This is not typical. Most replacement cores are exactly the same size as the original.
Inspect the seals and the cover’s locking tabs. Our demo vehicle has a groove for locking the cover. The cover should seal fully.
Replace the seal if there are tears in the rubber or foam.
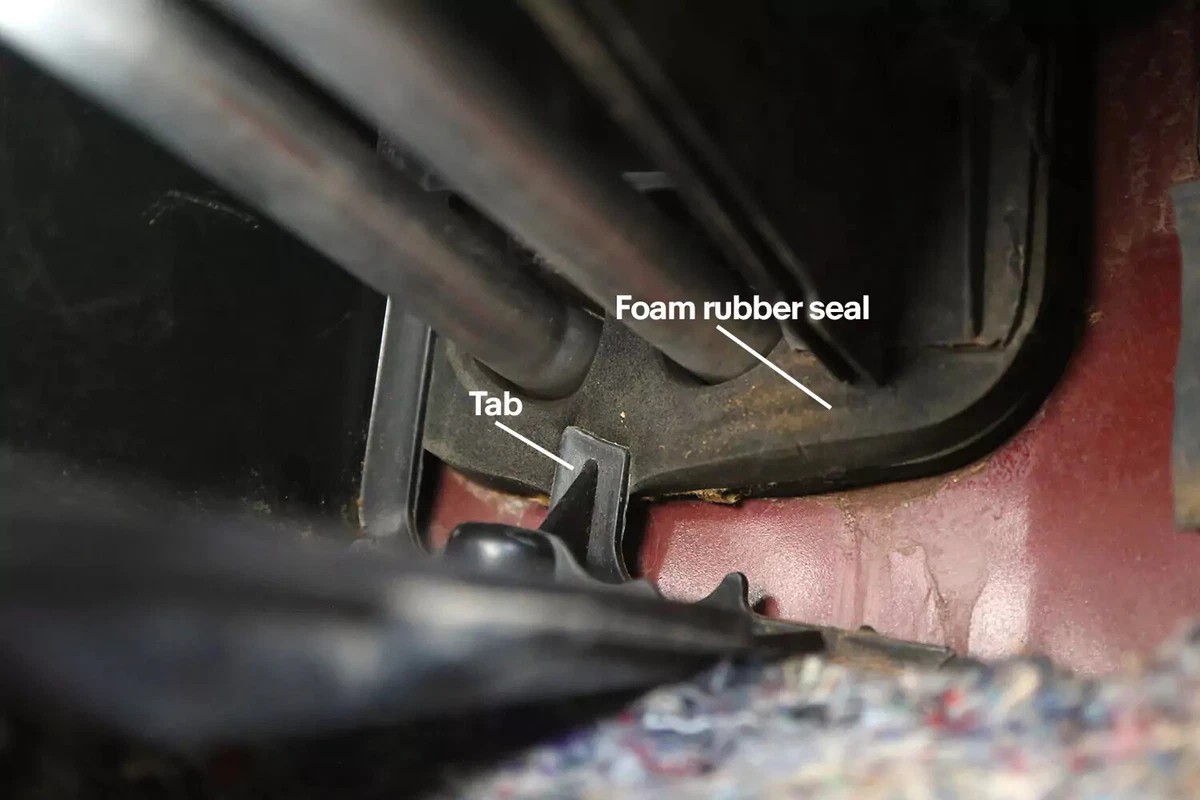
When reinstalling the heater core’s cover, examine the seal around the pipes to the firewall. The tab could prevent the box from seating properly, which could cause an air leak.
Replace the cover. Ensure that the seal and positioning tabs are correctly installed.
Reinstall and tighten the fasteners to the cover. These should be hand-tight. Overtightening them can break the plastic or strip the threads.
Reinstall other removed components.

Most vehicles do not require special hoses for the heater.
If your vehicle has typical hoses (as shown here), cut a length of hose to match. The most common hose sizes for heater lines are ¾ inch and ⅝ inch. You might need two different hose sizes.
Purchase push-connect fittings or molded hoses if your vehicle uses them. We recommend against re-using old plastic fittings, which are fragile.
Place the new hose next to the old one. Cut to match.
This hose on the heater valve is split. If this hose fails, which could happen anytime, the vehicle will overheat. The risk from the split hose is why we recommend replacing all hoses when you replace the heater core.
Replace all the hoses connecting the core to the engine and radiator.

Push the new hoses onto the heater core. Use a lubricant to help the new rubber slide over the new core’s pipe. We recommend using hand cleaner gel or dish soap. Don’t use oil, which will deteriorate the rubber.
Install and tighten the clamps onto the heater core pipes. We recommend positioning the clamps in the most accessible way for future use. Roadside repairs with limited tools are more difficult when you can’t reach the clamps with a screwdriver.
Remove the shutoff clamps (if used earlier) to allow coolant to flow. We recommend flushing the system and changing the coolant at this point.
Reinstall the components that you removed to gain access to the heater hoses.
Reconnect the battery negative terminal.

Start the engine. Set the heater to maximum heat.
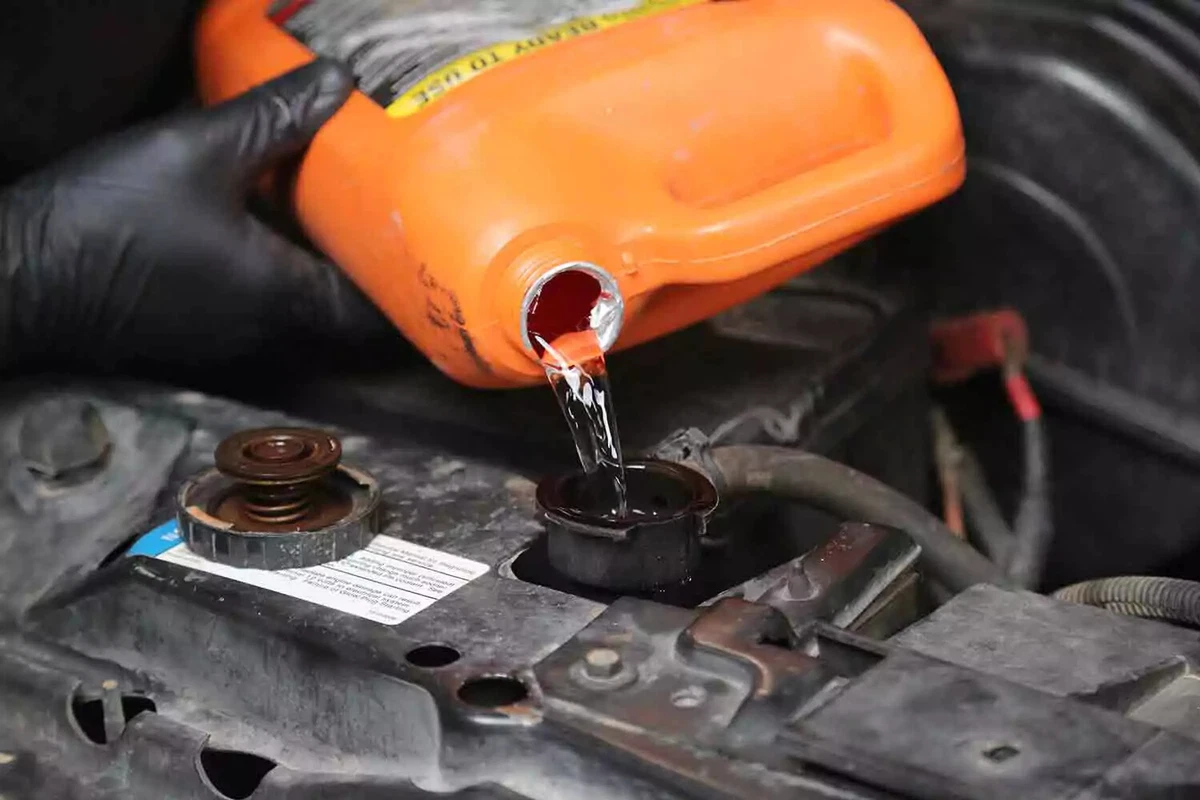
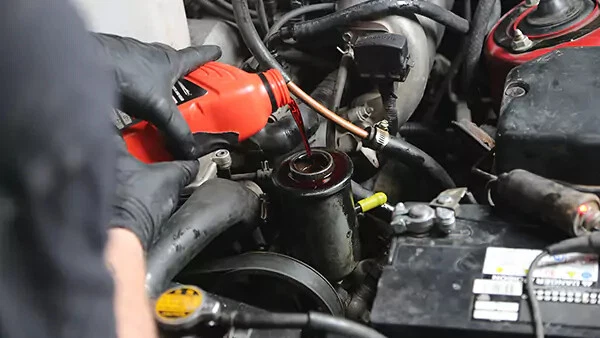
Finally, fill the new radiator with a 50/50 mix of coolant and distilled water. It is easier to buy pre-mixed coolant. Avoid using tap water, which has minerals that can cause sediment to build up and corrode your cooling system and engine.
At this stage, your radiator will only take so much coolant. In other words, the cooling system won’t fill up until the engine reaches its normal operating temperature (usually 180 to 205 degrees Fahrenheit) and the thermostat is hot enough to open.
To properly fill the radiator, follow these steps:
- Start the engine and let it idle for a few minutes until the system reaches its operating temperature.
- Once the engine is warmed up to the point where the thermostat opens, the coolant will start to move, and the level will drop. Also, the upper hose will get hot.
- Continue adding the coolant-water mix until it is once again at the top.
- Turn the heater all the way up so the heater core fills with fresh coolant as well.
- Replace the radiator cap and fill the expansion or recovery tank to the hot fill line on the reservoir's side. Turn off the engine and allow it to cool for at least an hour.
- Check the fluid level again. It will probably be low. Top it off another time. Do this for the next couple of days (after driving the vehicle) until the system is full. Never open a hot radiator. That’s dangerous.
- You might need to remove the remaining air from the system by burping your radiator. This typically requires running the car with the radiator pressure cap off for several cycles, allowing the air to escape. Consult your repair manual for details.
About the author

Share your feedback
This article is meant to provide general guidance only. Automotive maintenance, repair, upgrade, and installation may depend on vehicle-specifics such as make and model. Always consult your owner's manual, repair guide for specific information for your particular vehicle and consider a licensed auto-care professional's help as well, particularly for advance repairs.
Recommended for you
Find answers and inspiration
How to Change a Thermostat
7 min read
How to Replace a Radiator Hose
5 min read
How to Flush and Change Engine Coolant
6 min read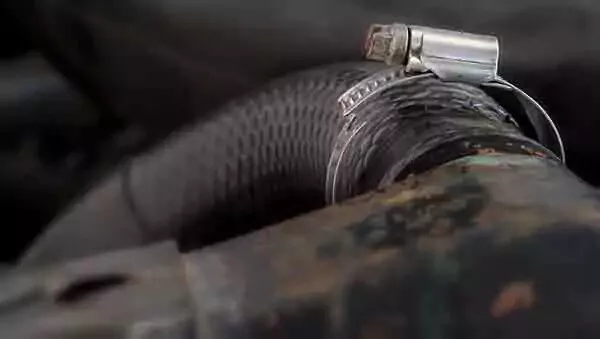
Everything You Need to Know About Radiator Hoses
6 min read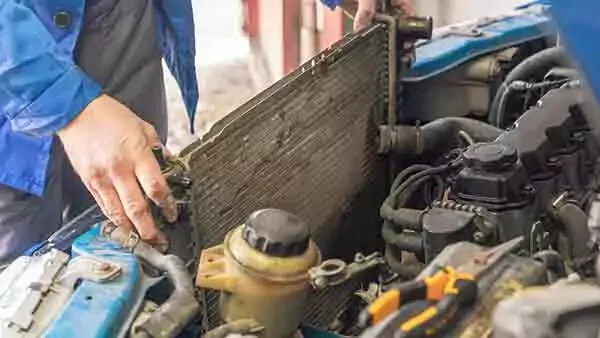
What You Should Know About Your Car Radiator
6 min read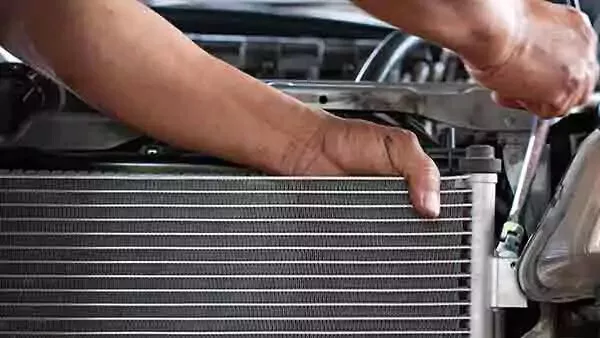
How to Find the Right Radiator For Your Vehicle
6 min read
A Quick Guide to Your Car's Water Pump
6 min read
How to Change a Water Pump
8 min read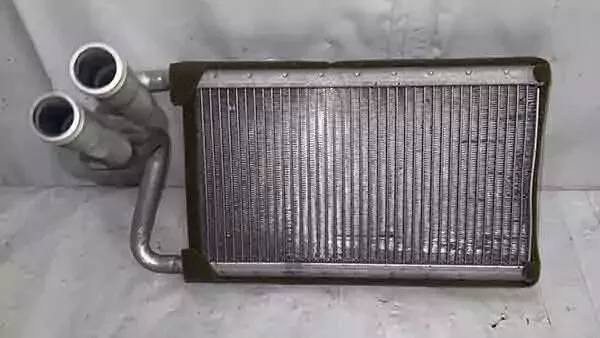
How to Buy the Right Heater Core
5 min read
How to Choose a Thermostat for Your Vehicle
5 min read
Diagnosing a Bad Heater Core
5 min read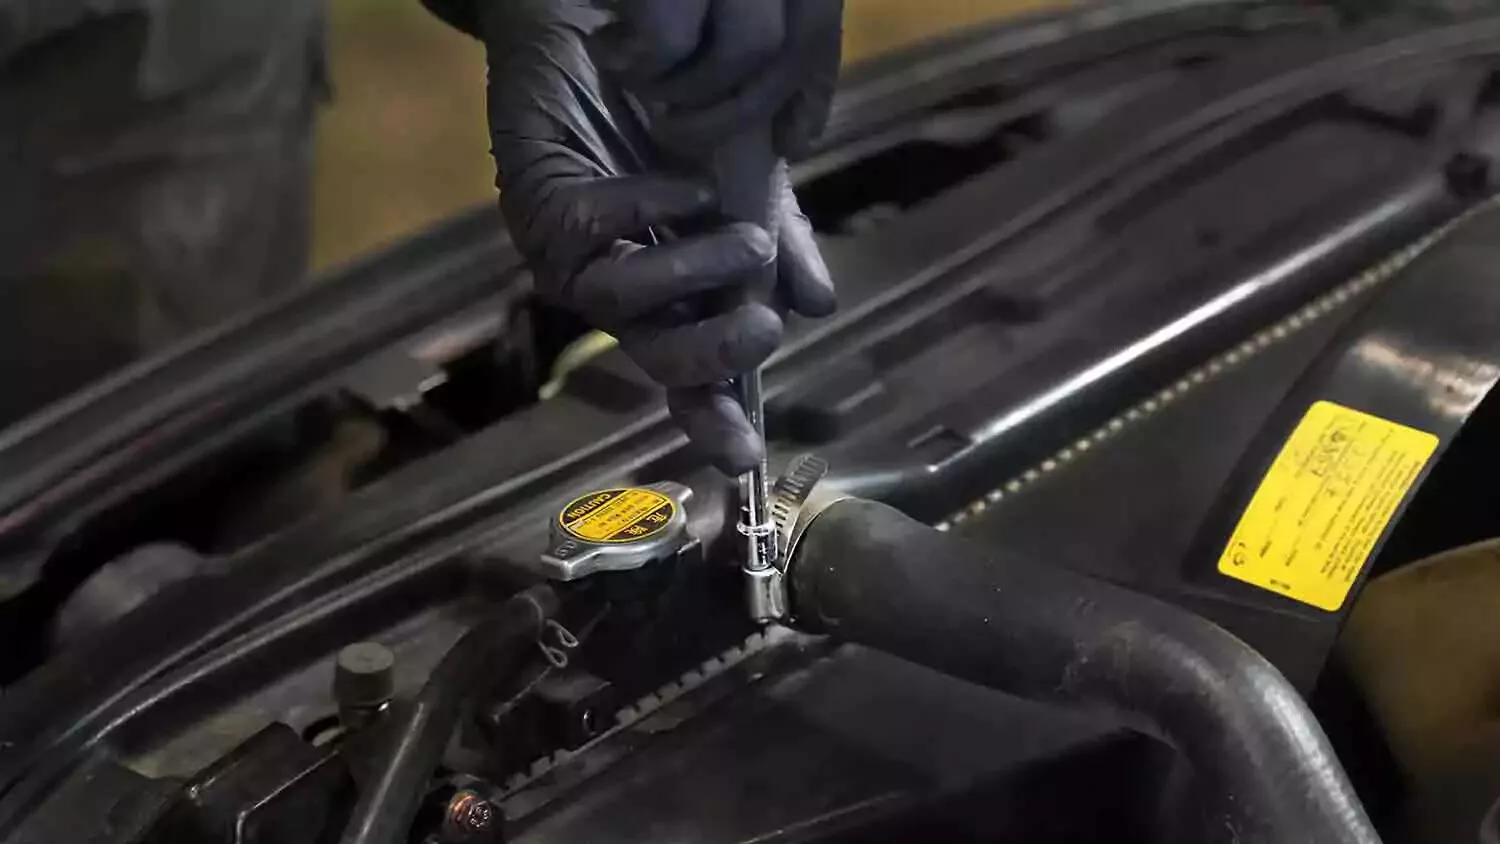
What to Consider When Buying a Radiator Hose
5 min read
Buying the Right Water Pump for Your Car
5 min read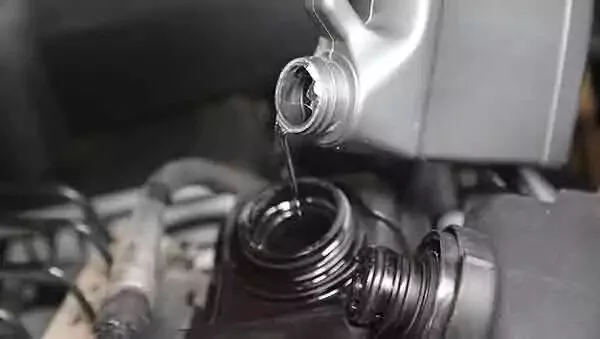
Selecting the Right Coolant for the Next Flush
5 min read
The Essentials of Engine Coolant
5 min read
Everything You Need to Know About Car Thermostats
6 min read
How to Replace a Car Radiator
8 min read
Explore more projects
How to Change a Thermostat
30 to 60 minutes
Intermediate
7 min read

How to Replace a Car Starter
1 to 2 hours
Intermediate
7 min read

How to Replace Spark Plugs
1 to 2 hours
Intermediate
7 min read
How to Replace a Transmission Mount
1 to 2 hours
Intermediate
7 min read

How to Replace Engine Mounts
1 to 2 hours
Intermediate
4 min read
How to Change a Water Pump
1 to 2 hours
Intermediate
8 min read

How to Change Manual Transmission Fluid
Less than 30 minutes
Intermediate
4 min read

How to Replace an Intake Manifold Gasket
2 to 5 hours
Intermediate
7 min read

How to Replace Wheel Bearings
1 to 2 hours
Intermediate
7 min read

How to Replace Tie Rod Ends
30 to 60 minutes
Intermediate
8 min read

How to Replace a Power Steering Pump
1 to 2 hours
Intermediate
7 min read

How to Replace a Steering Gearbox
2 to 5 hours
Intermediate
8 min read
How to Replace Power Steering Fluid
1 to 2 hours
Intermediate
8 min read

How to Change Automatic Transmission Fluid
Less than 30 minutes
Intermediate
6 min read
How to Replace a U-Joint
1 to 2 hours
Intermediate
14 min read
How to Replace a Car Radiator
1 to 2 hours
Intermediate
8 min read

How to Change an In-Tank Fuel Pump
2 to 5 hours
Intermediate
9 min read