Most vehicle manufacturers switched from V-belt accessory drives to serpentine drives in the early 1990s.
- A V-belt drive uses as many as five to six belts to connect each accessory to the crank pulley.
- A serpentine system has one long belt that connects all or most of the accessories to the crank pulley.
V-belts work well but are complicated to service. The serpentine system is easier and uses an automatic tensioner, which eliminates the need to adjust the tension on each belt.
In addition to the accessory pulleys and tensioner, many engines also have one or two idler pulleys. These are used to redirect the belt’s routing around objects or to ensure enough of the belt is wrapping the accessory pulley for it to function.
How long does it take to replace an idler pulley?
Like many other parts, the idler pulley will eventually fail if used beyond its intended service life. Replacing your vehicle’s idler pulley is a quick, beginner DIY job on most vehicles. It usually takes 30 to 60 minutes. See our idler pulley buying guide - opens in new window or tab..
Tips and Tricks for DIY Idler Pulley Replacement
- The most common sign of a failing belt or pulley is an unpleasant sound. As the bearings inside the idler pulley wear out, they groan and squeal.
- You can test engine pulleys by spraying the bearing side with penetrating fluid. If the squealing briefly stops, you found the cause.
- When you replace the idler pulley, you should also replace the tensioner and serpentine belt.
- New tensioner arms include a new idler pulley. But your engine may also use a second idler pulley. If so, consider changing them both.
- This job involves removing the serpentine belt. The specific belt routing is usually noted on the hood or the radiator support cover. Before removing the belt, take a photograph of the belt routing for reference.
- If your vehicle doesn’t have a spring-loaded tensioner, you can release the belt tension with the adjuster on the alternator bracket.
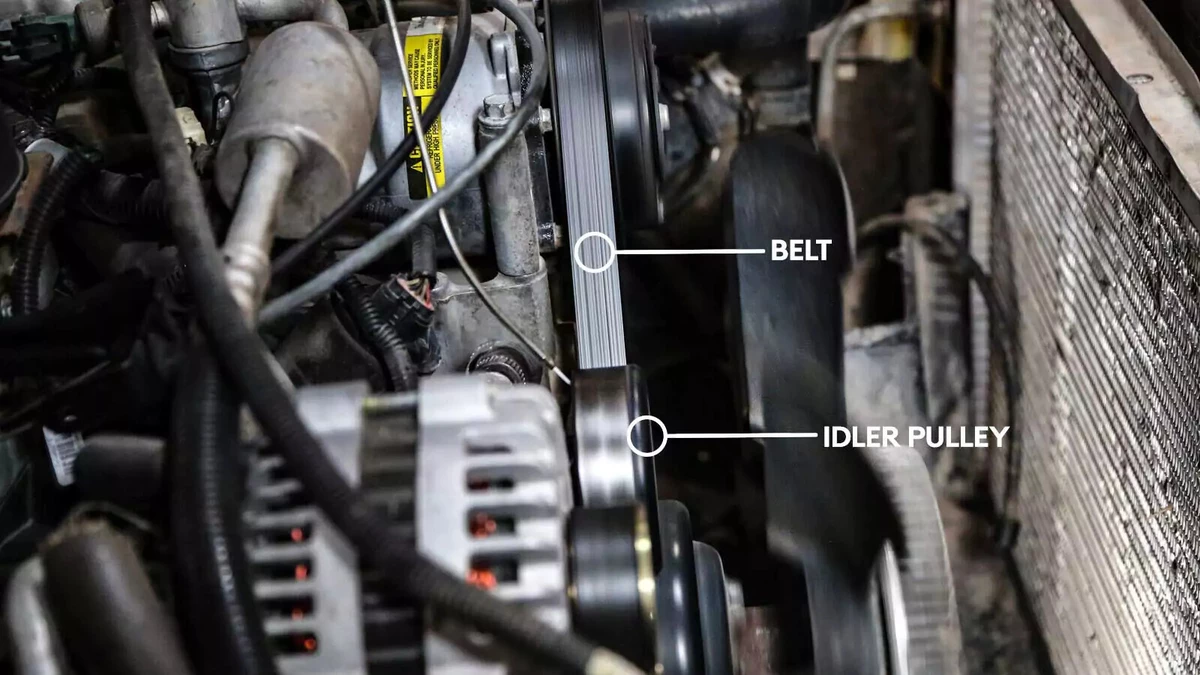
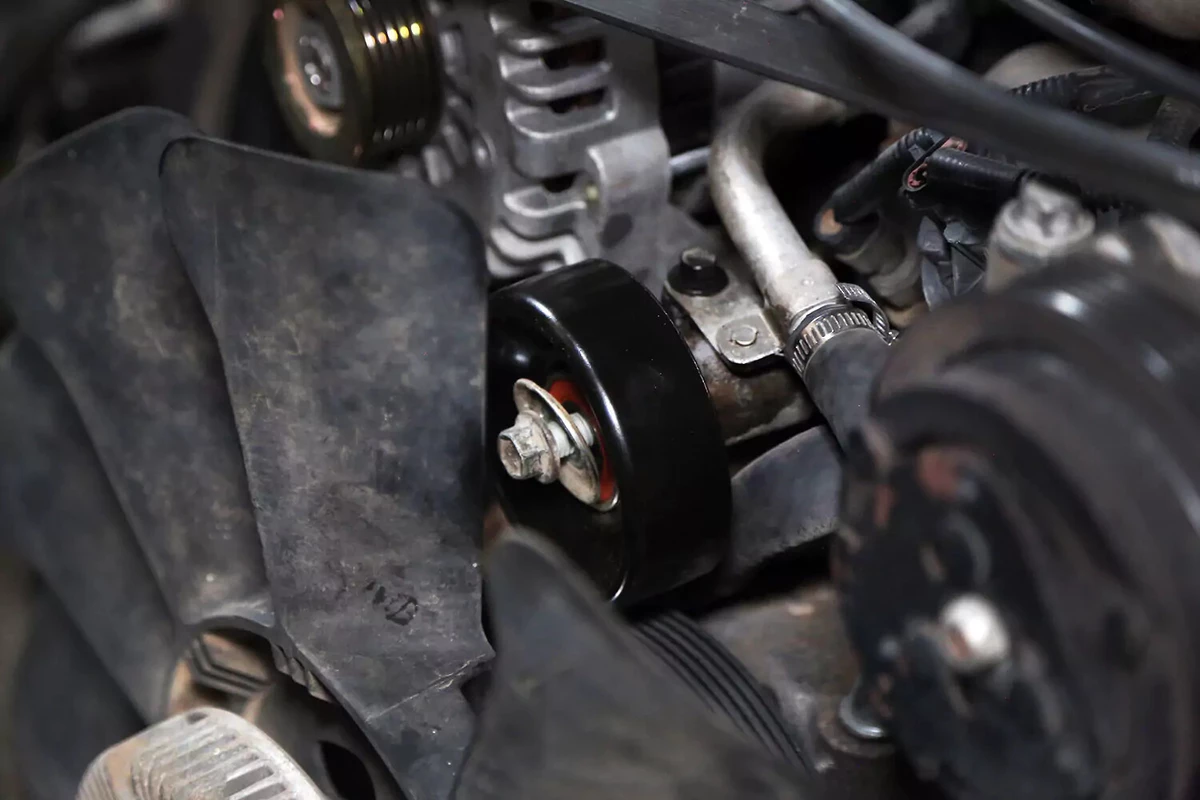
The idler pulley is not connected to an accessory. Its location can be anywhere on the accessory drive. On our demo vehicle, the idler is at the top of the serpentine belt system, just above the water pump.
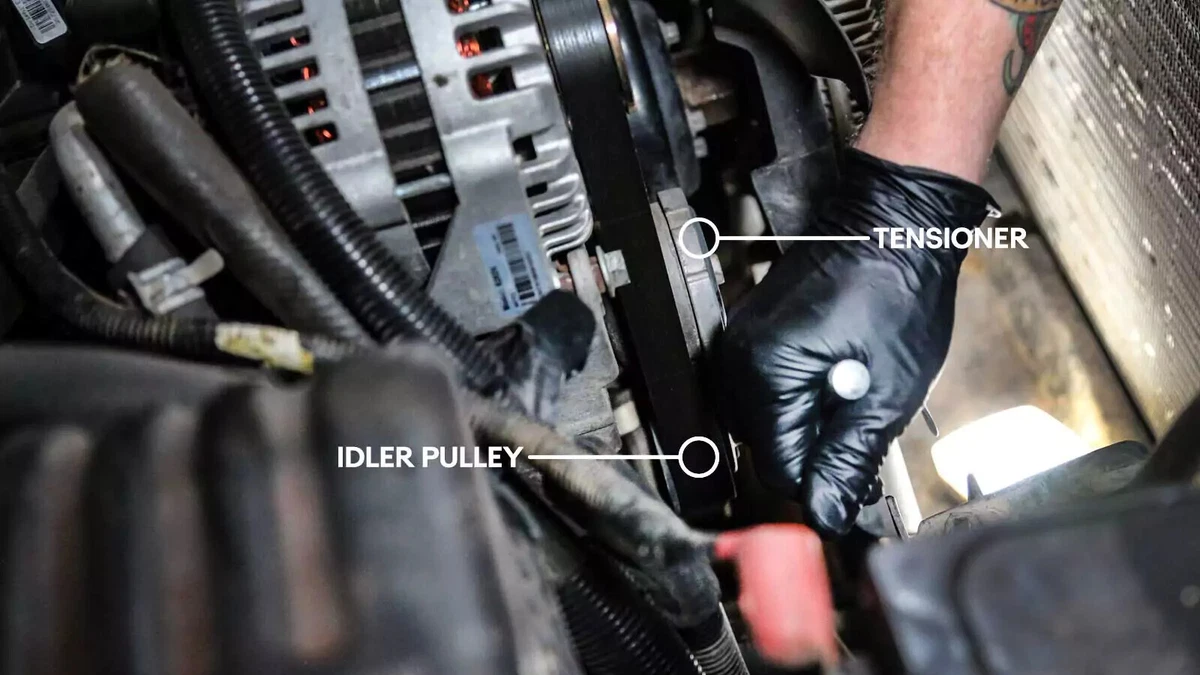
Using a breaker bar or socket and wrench, release the tension on the belt tensioner assembly. Some tensioners use a ½-inch or ⅜-inch square drive, which fits a ratchet or breaker bar without needing a socket. Others require using the bolt on the pulley.
Some vehicles use a Torx-head for the tensioner, which requires a special Torx socket.
If there is no obvious attachment point, check your owner’s manual.
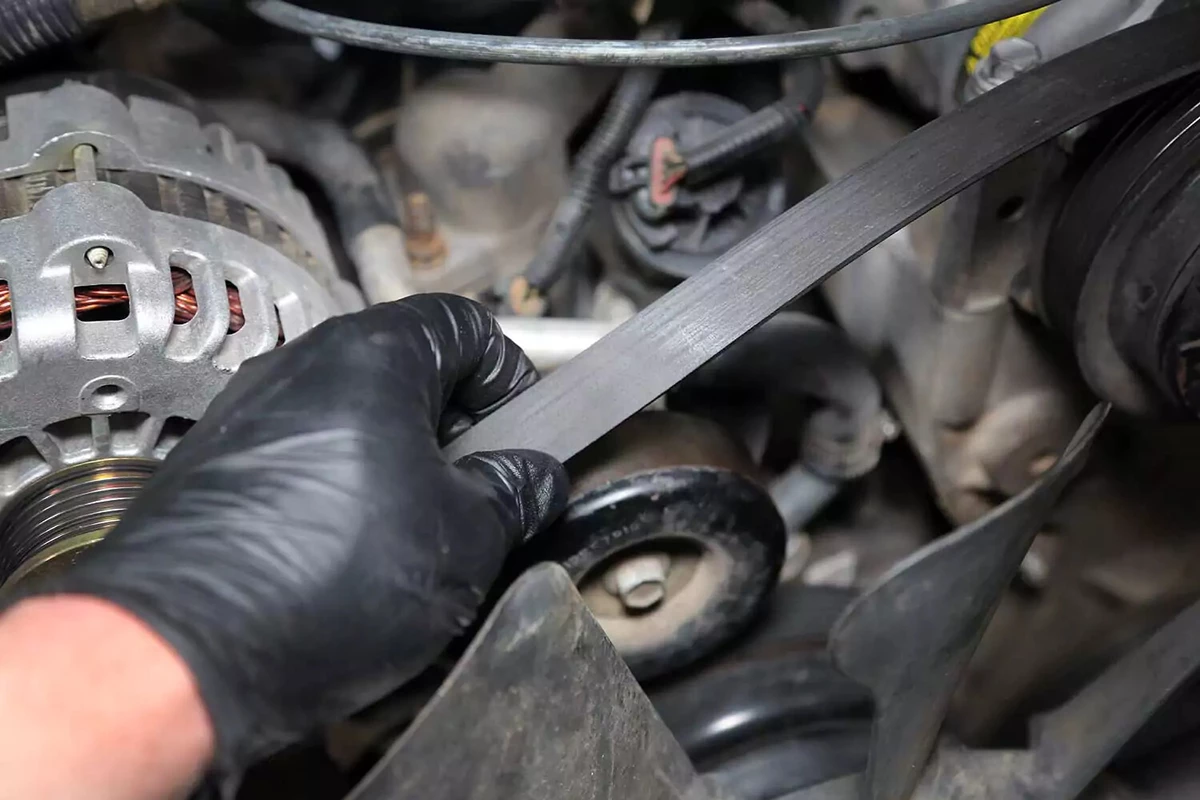
While holding the tensioner to allow some slack for the belt, slip it off the idler pulley. If you're replacing the belt, remove it now.
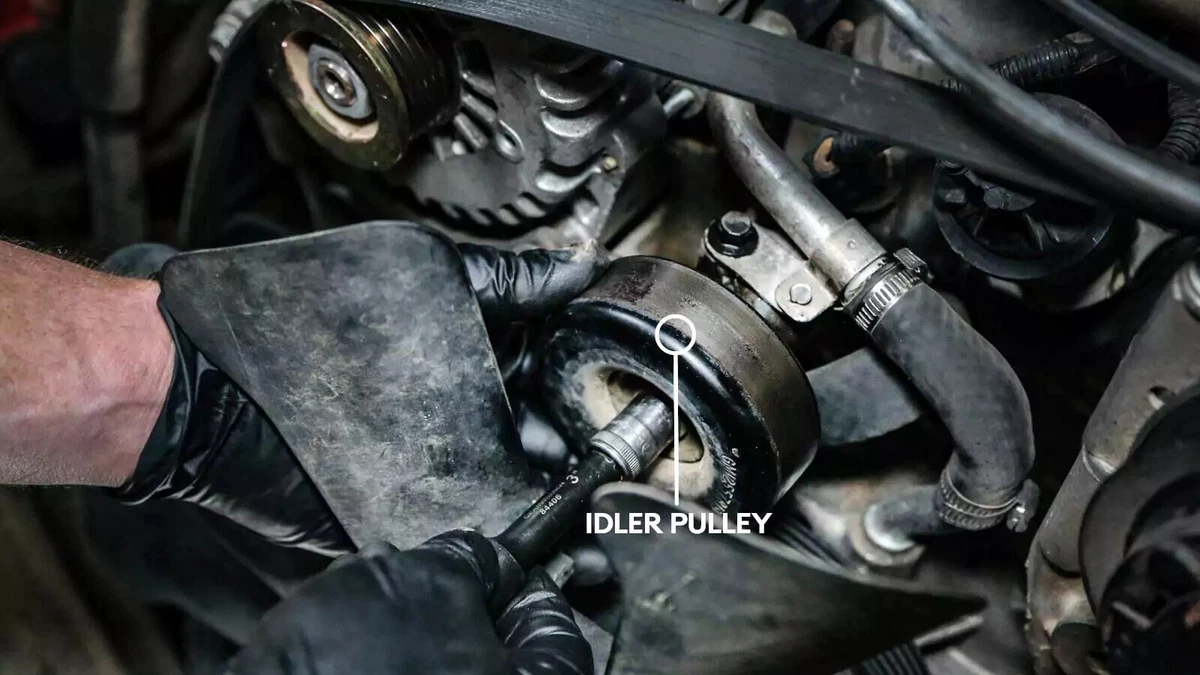
Most idler pulleys connect to the engine with a single bolt through the center of the pulley.
Some engines have a separate mount assembly that is replaced with the pulley. Our demo car doesn’t use one.
Remove the mounting bolt. Slide the pulley off the engine.

On our demo vehicle, a keeper ring holds the idler pulley bolt onto the pulley. Bolt keepers are difficult to remove intact.
Lift one edge with a pick. If it doesn’t come off easily, snip the ring with a pair of wire cutters.
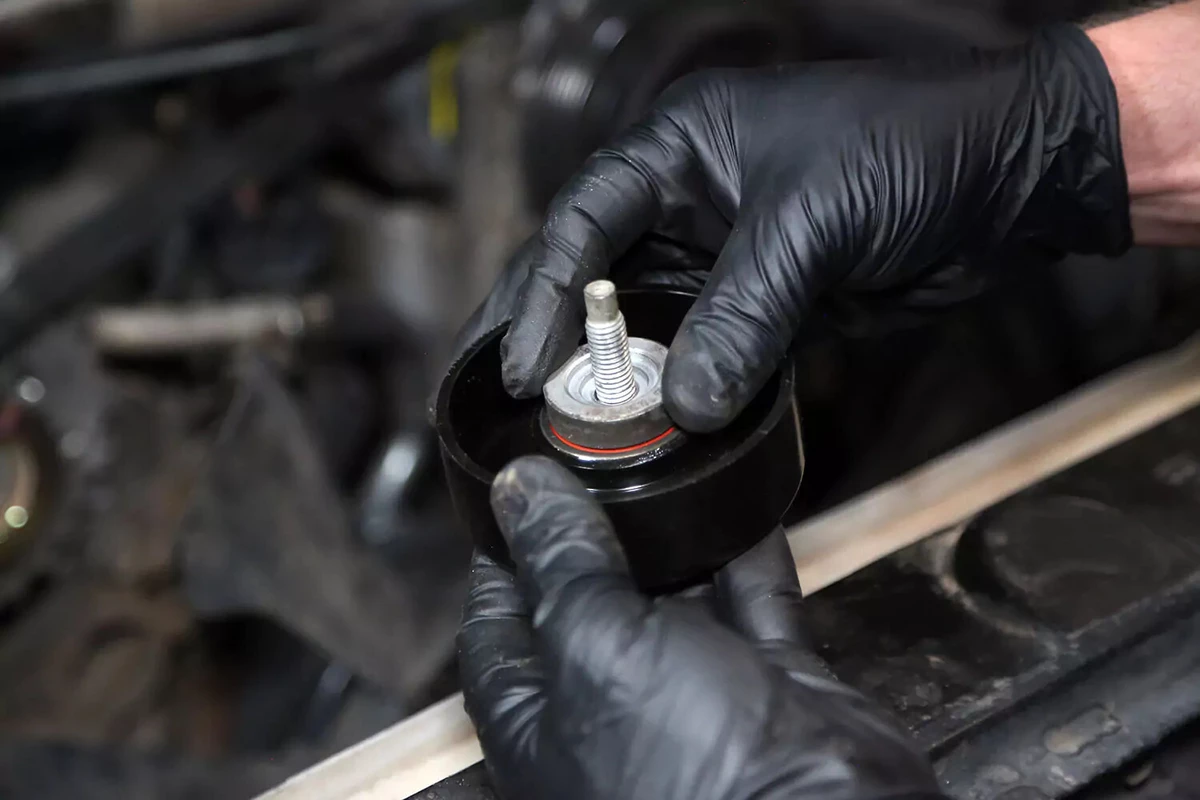
Depending on your engine, you may need to reuse pieces from the original pulley. On our demo vehicle, we reused the bolt and a small spacer on the back of the pulley bearing. The keeper ring is there to hold the assembly together during installation at the assembly plant. You don’t need to reinstall the keeper.
Assemble the new pulley with any spacers or washers that were on the original.
Install the new pulley assembly to the engine, reversing the steps you took to remove it.
Do not forget any washers or spacers. They are required to position the pulley correctly and to keep it in place.
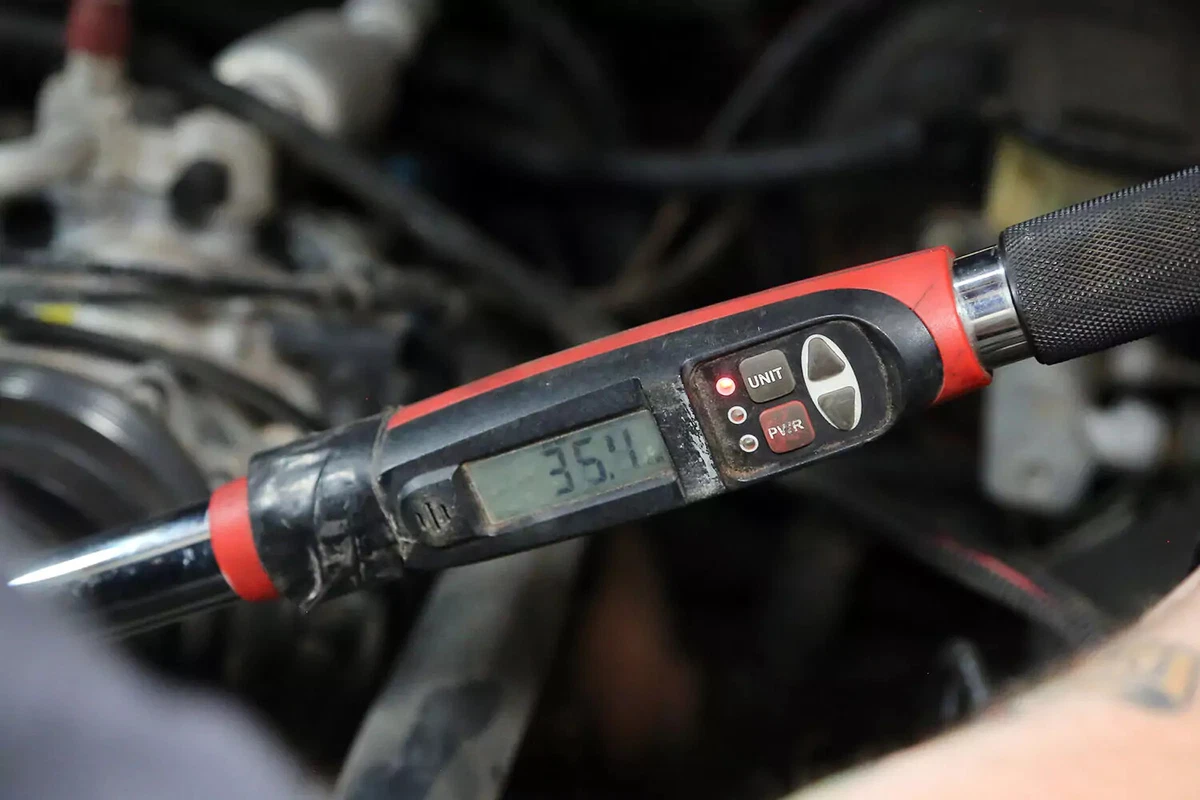
Use a torque wrench or torque gauge adapter to tighten the bolt to the correct specification. See your vehicle’s repair manual for details.
Do not overtighten. In most cases, the pulley is bolted to an aluminum mount, which can be easily stripped. Our demo vehicle required 35 pound-feet of torque.

Reinstall the belt with the correct routing. Release the tension on the belt to slip it over the pulley the way you did when you removed the belt.
Make a note of the mileage reading. Replace the idler pulley every time you replace the belt. Serpentine belts last about 50,000 to 100,000 miles.
About the author

Share your feedback
This article is meant to provide general guidance only. Automotive maintenance, repair, upgrade, and installation may depend on vehicle-specifics such as make and model. Always consult your owner's manual, repair guide for specific information for your particular vehicle and consider a licensed auto-care professional's help as well, particularly for advance repairs.
Recommended for you
Find answers and inspiration
Types of U-Joints and When They Go Bad
6 min read
How to Buy the Right Differential Fluid
4 min read
An Intro to Replacing Clutch Fluid
5 min read
How to Change Manual Transmission Fluid
4 min read
Picking the Right Manual Transmission Fluid
4 min read
How to Replace Wheel Bearings
7 min read
How To Replace Differential Fluid
8 min read
Choosing the Right Clutch Fluid
6 min read
Buying the Right Transmission Fluid and Filter
4 min read
Buying the Right CV Axle
6 min read
How to Replace Transmission Fluid and Filter
11 min read
How to Change Automatic Transmission Fluid
6 min read
What to Know About Changing Transmission Fluid
6 min read
How to Replace a U-Joint
14 min read
Choosing the Best Clutch Master Cylinder
4 min read
How to Buy the Right Transmission Fluid
5 min read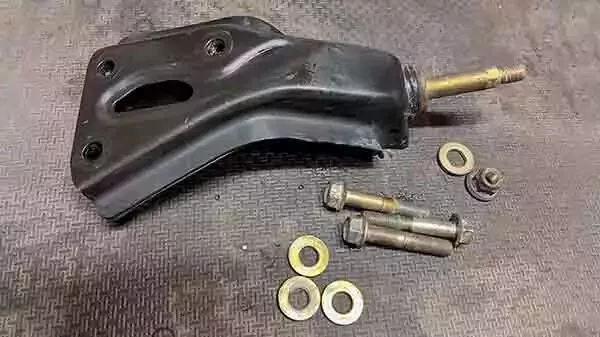
Buying the Right Transmission Mounts
4 min read
A Quick Guide to Your Clutch Master Cylinder
5 min read
How to Replace a Clutch Master Cylinder
11 min read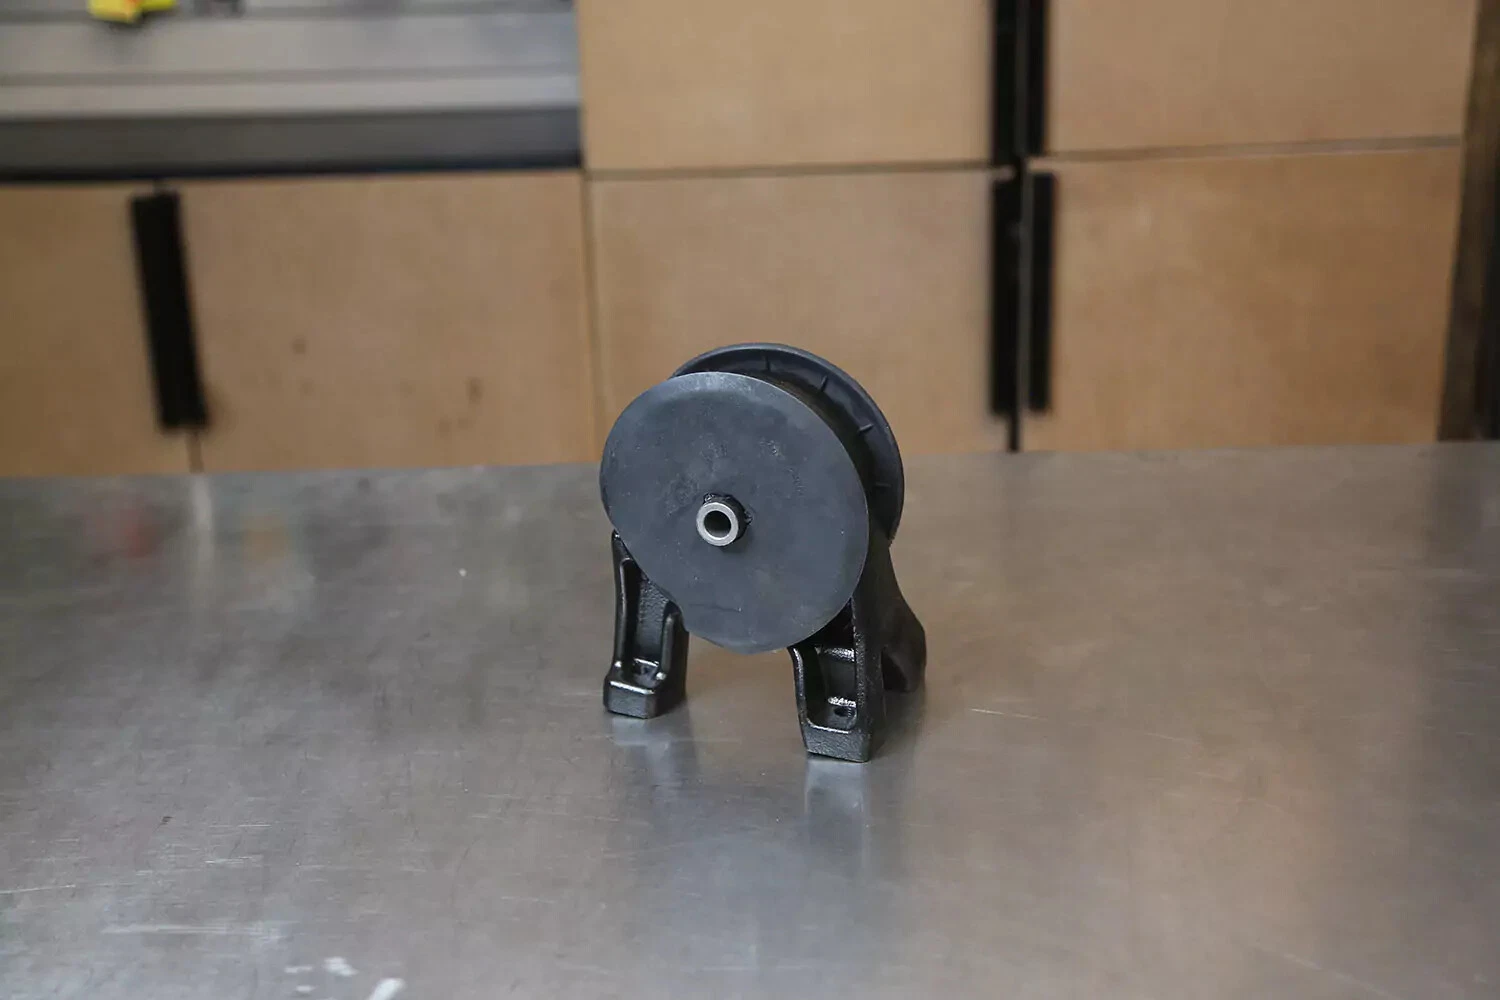
How to Replace a Transmission Mount
7 min read
Replacing Your Transmission Fluid and Filter
5 min read
Selecting the Right Transfer Case Fluid
4 min read
What Your Differential Fluid Is Telling You
5 min read
How to Replace a CV Axle
7 min read
Everything You Need to Know About Wheel Bearings
7 min read
What You Need To Know About Transfer Case Fluid
4 min read
Understanding the Purpose of Transmission Mounts
5 min read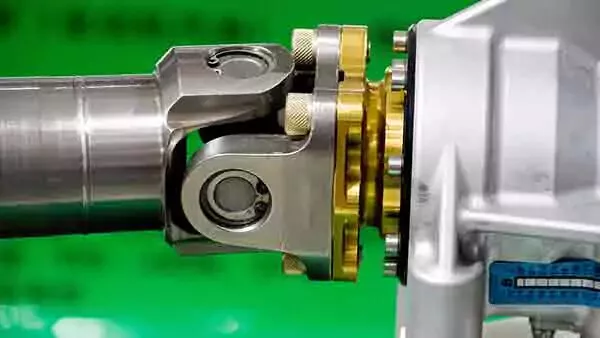
U-Joint Buying Guide
4 min read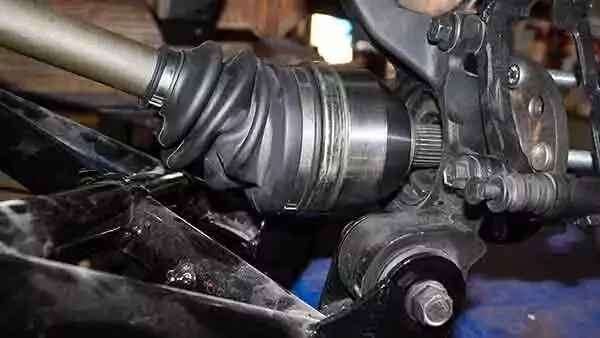
An Introduction to CV Axles and Joints
5 min read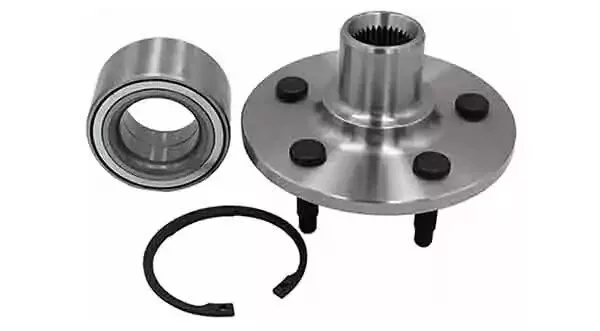
How to Buy the Right Replacement Wheel Bearings
6 min read
How to Replace Ball Joints
12 min read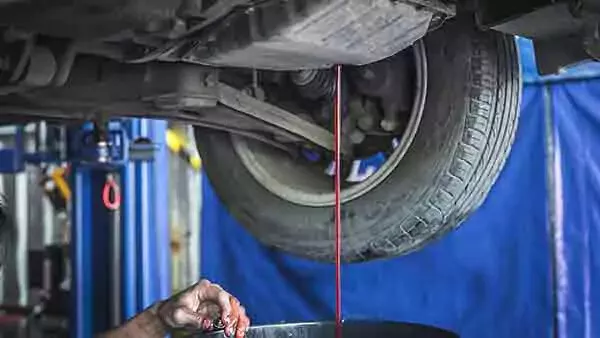
An Intro to Replacing Manual Transmission Fluid
4 min read
Explore more projects

How to Repair a Chipped Windshield
1 to 2 hours
Beginner
7 min read

How to Replace Brake Fluid
1 to 2 hours
Beginner
10 min read

How to Replace an Ignition Coil
Less than 30 minutes
Beginner
6 min read

How to Replace a Radiator Hose
Less than 30 minutes
Beginner
5 min read

How to Replace Brake Rotors
1 to 2 hours
Beginner
7 min read

How to Replace a Serpentine Belt Tensioner
Less than 30 minutes
Beginner
4 min read

How to Rotate Your Tires
30 to 60 minutes
Beginner
5 min read

How to Replace a Drive Belt
Less than 30 minutes
Beginner
5 min read

How to Refill Windshield Washer Fluid
Less than 30 minutes
Beginner
4 min read

How to Replace an Oxygen Sensor
30 to 60 minutes
Beginner
5 min read
How To Replace Differential Fluid
Less than 30 minutes
Beginner
8 min read

How to Replace Sway Bar End Links and Bushings
30 to 60 minutes
Beginner
6 min read
How to Replace Transmission Fluid and Filter
1 to 2 hours
Beginner
11 min read

How to Change Disc Brake Pads
30 to 60 minutes
Beginner
8 min read

How to Replace a Valve Cover Gasket
Less than 30 minutes
Beginner
7 min read

How to Replace a Cabin Air Filter
Less than 30 minutes
Beginner
5 min read

How to Change Windshield Wipers
Less than 30 minutes
Beginner
3 min read

How to Replace an Engine Air Filter
Less than 30 minutes
Beginner
5 min read

How to Replace Shock Absorbers
30 to 60 minutes
Beginner
8 min read

How to Clean Fuel Injectors
1 to 2 hours
Beginner
8 min read

How to Change a Car Battery
Less than 30 minutes
Beginner
6 min read
Automation How to Change a Car Battery
Less than 30 minutes
Beginner
6 min read

How to Replace a Mass Air Flow (MAF) Sensor
Less than 30 minutes
Beginner
7 min read
How to Replace a Clutch Master Cylinder
1 to 2 hours
Beginner
11 min read

How to Flush and Change Engine Coolant
30 to 60 minutes
Beginner
6 min read

How to Replace a Distributor Cap and Rotor
30 to 60 minutes
Beginner
5 min read

How to Check Tire Pressure and Change a Tire
Less than 30 minutes
Beginner
9 min read

How to Replace a Fuel Filter
30 to 60 minutes
Beginner
7 min read

How to Replace a PCV Valve
30 to 60 minutes
Beginner
6 min read

How to Replace a Brake Caliper
1 to 2 hours
Beginner
7 min read

How to Change a Headlight Bulb
Less than 30 minutes
Beginner
6 min read

How to Replace an Exhaust Gasket
1 to 2 hours
Beginner
9 min read

How to Replace a Throttle Body
30 to 60 minutes
Beginner
6 min read

How to Change Oil in a Car
Less than 30 minutes
Beginner
8 min read

How to Jump Start a Car
Less than 30 minutes
Beginner
9 min read

How to Replace an Alternator
1 to 2 hours
Beginner
11 min read

How to Replace an EGR Valve
30 to 60 minutes
Beginner
5 min read