Your engine needs three things: fuel, air, and spark. If any one of those is compromised, your engine will not run well, if at all. The spark (necessary for combustion) is delivered by ignition wires, also called spark plug wires or spark plug cables. This DIY guide shows you how to change ignition wires.
Your engine has one ignition (or spark plug) wire per cylinder. These wires send a high-voltage spark from a distributor or a coil pack. Some vehicles use coil-on-plug technology, where the ignition coil is mounted directly to the spark plug. This guide is for vehicles with distributors or coil packs.
How long does it take to replace ignition wires?
Changing spark plug wires, or ignition wires, is an intermediate DIY job that usually takes 30 to 60 minutes.
We recommend changing the spark plugs, distributor cap, and rotor (if equipped) when replacing ignition wires. This is commonly referred to as a tune-up and should be performed every 60,000 to 100,000 miles, per your owner’s manual.
Tips and tricks for DIY ignition wire replacement
- Coil packs triggered by engine control modules have been in use since the mid-1990s. Some V-type engines have two coil packs, one for each bank of cylinders. Others use individual coils, one for each cylinder. Spark plug wires for individual coils are easier to change because they are short and close to the spark plugs.
- For engines with a distributor, be careful not to mix up the firing order. If you inadvertently swap one or more spark plug wire positions, the engine will run poorly or not at all. Install one plug wire at a time. You can trace each wire to the cap or spark plug.
- The hardest part of this job is reaching the rear plug wires. Some vehicles, particularly V-8s and horizontally opposed engines, have cylinders that are difficult to reach. It takes patience to reach those wires.

The first step for many auto repair jobs is disconnecting the vehicle’s battery. It’s a simple task. Remove the ground clamp from the battery’s negative post. Plus (+) and minus (-) signs are usually molded into the plastic battery case near the post.
Removing the negative terminal first ensures the vehicle is no longer connected to a live battery. This prevents sparks, electrical shorts, or components (such as radiator fans) from unexpectedly coming on.
Pull the terminal off the battery for a close inspection. If there is corrosion, loose wires, or physical damage, consider replacing the battery terminal or cable.
Move the terminal away from the battery into a position where it can’t accidentally touch the battery post.

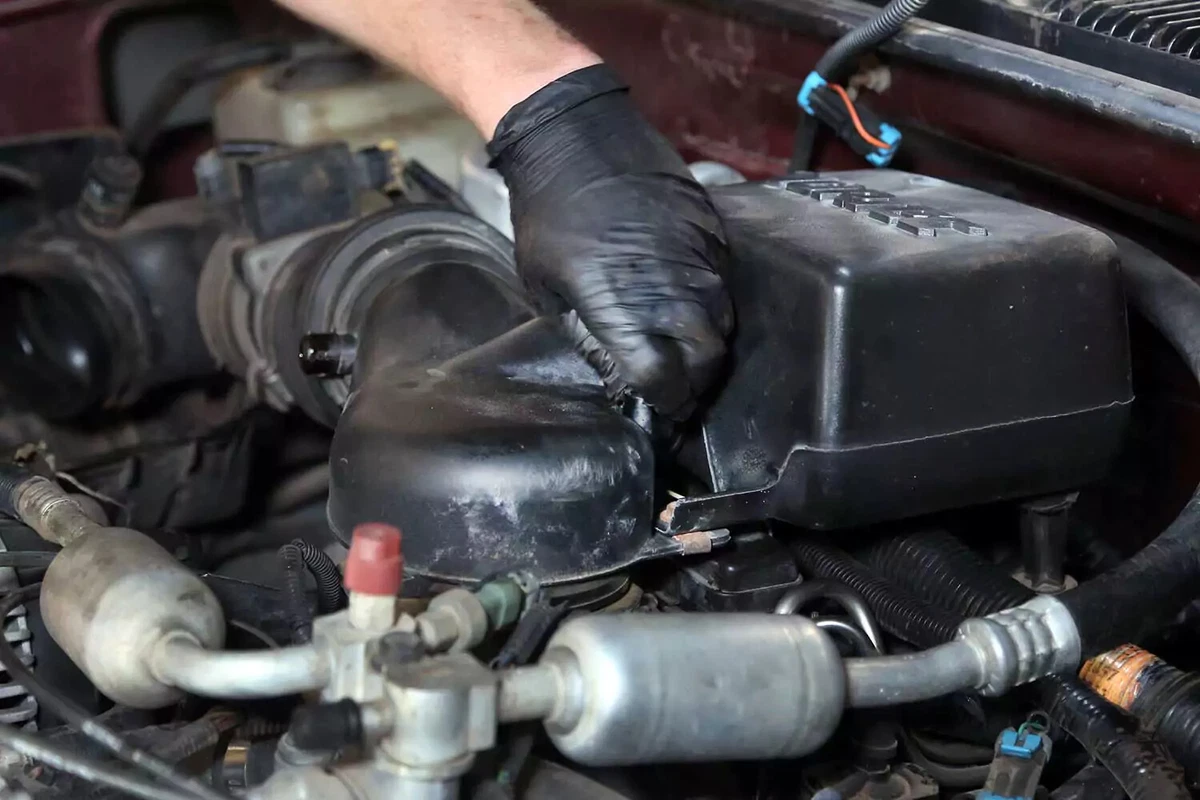
If your engine has a rear-mounted distributor, you will need to remove the air cleaner from the engine. Place it aside while working on this job. There may be other things in the way.
If you have individual coils, skip this step.
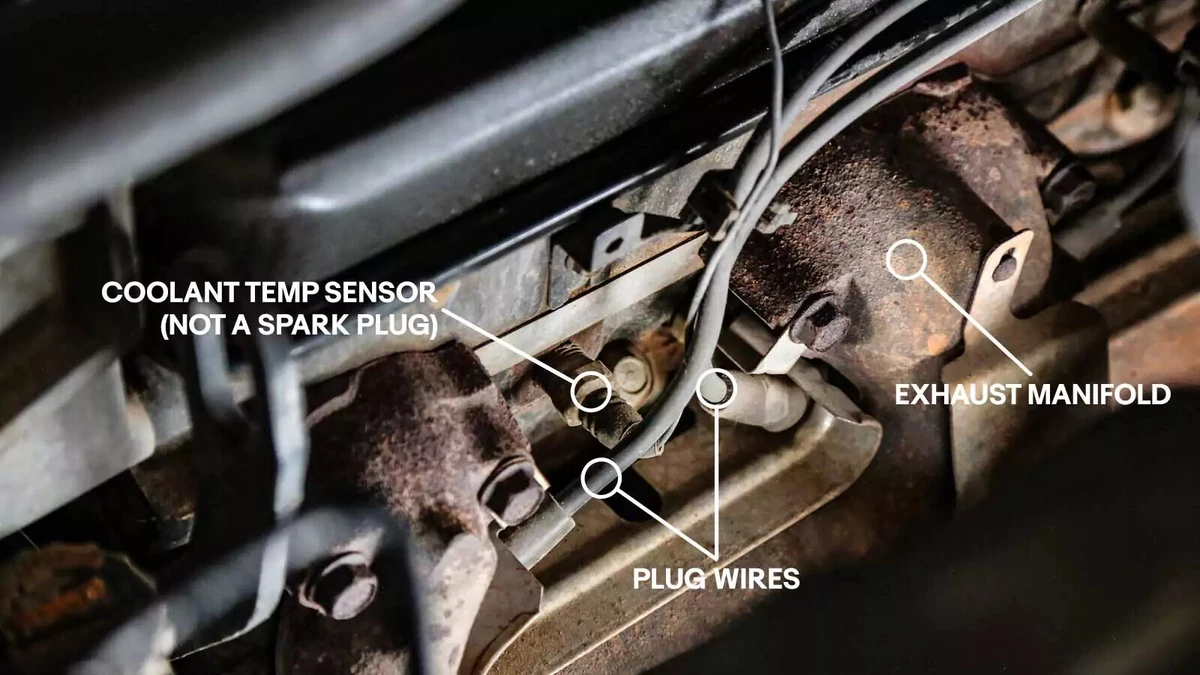
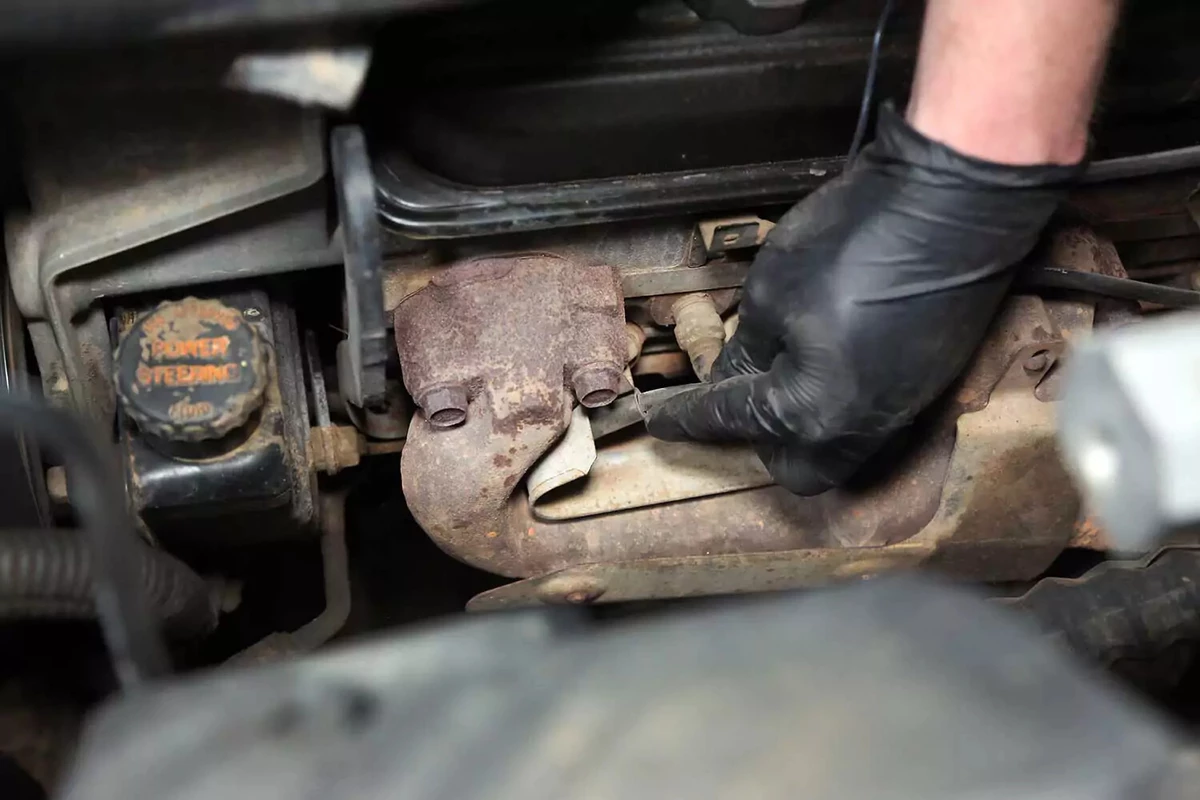
Locate the plug wires. They are typically outside the cylinder heads, between the exhaust manifold runners.
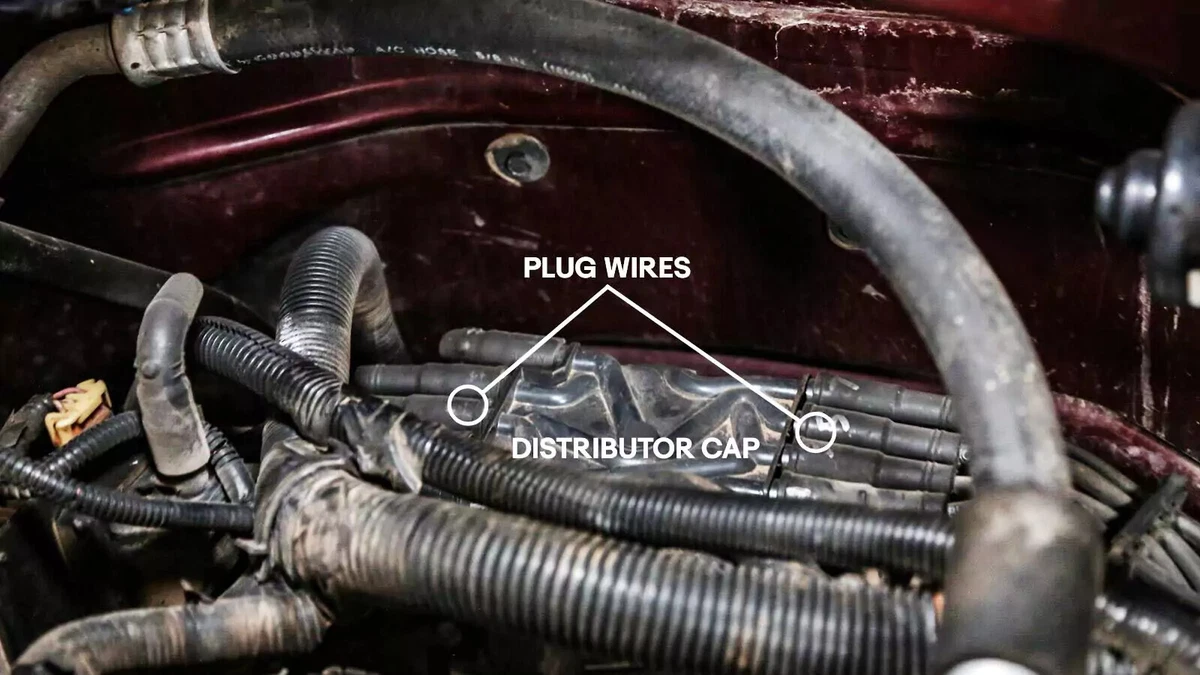
For most engines, the distributors are in the center of the engine. For some engines, you might find the distributor on the side. Our demo vehicle’s engine has the distributor at the back against the firewall. These are the most difficult to reach.
The cap on this engine is a crab cap, which has a lower profile than a top-post cap. The plug wires are attached to the side of the cap.
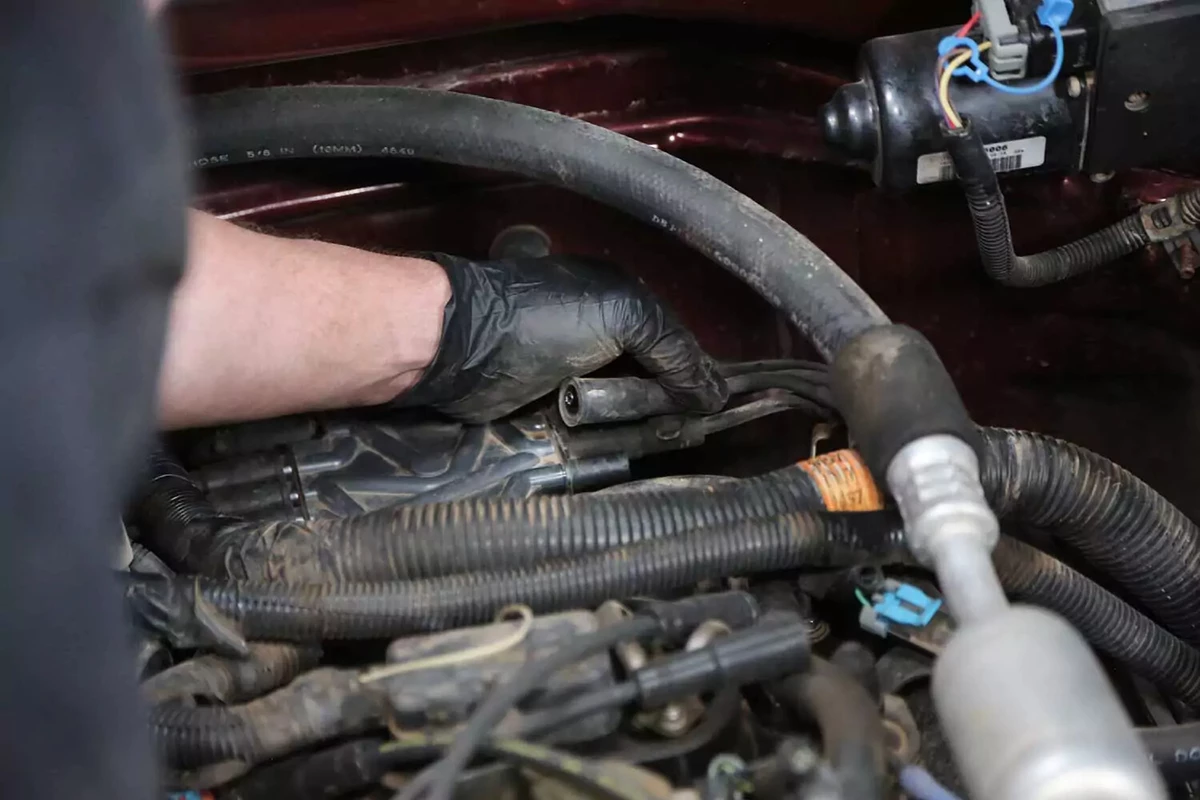
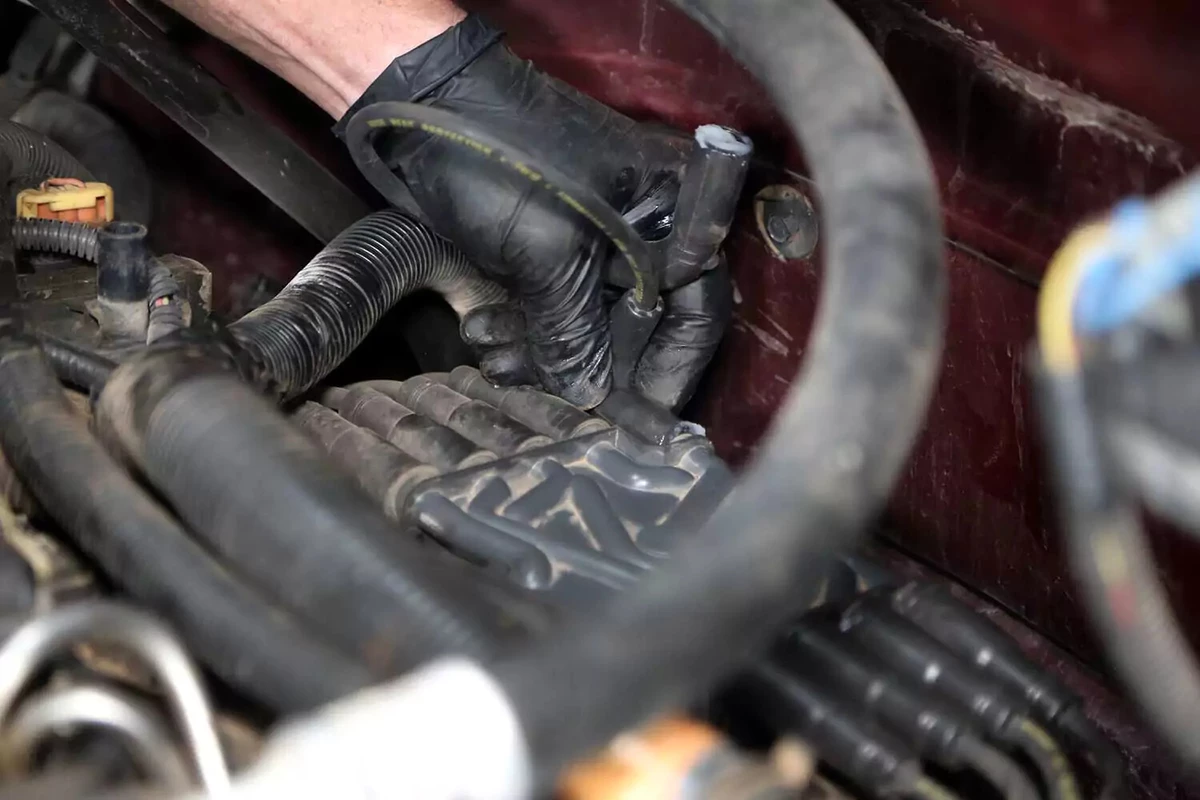
Remove one spark plug wire (ignition wire) at a time from the cap. (To avoid confusion, don’t remove all the wires at once.)
The wires are often stuck to the terminals. Twist and wiggle the wire boots to break them free. Alternatively, use a small flat-blade screwdriver to loosen the seal between the wire boot and the cap.
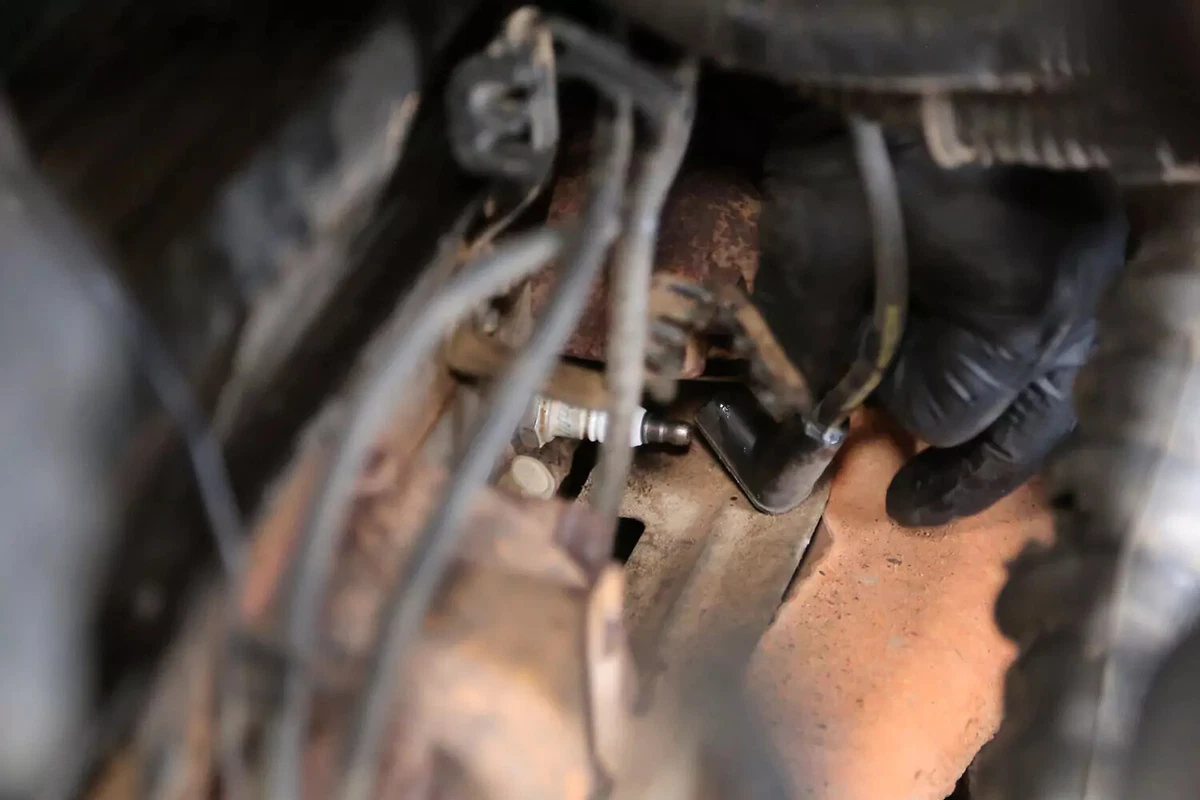
Trace the wire to the spark plug and remove it. The wire will likely be stuck on the plug and require some effort to remove.
If your engine uses wire separators, remove each wire from its separator as you go.
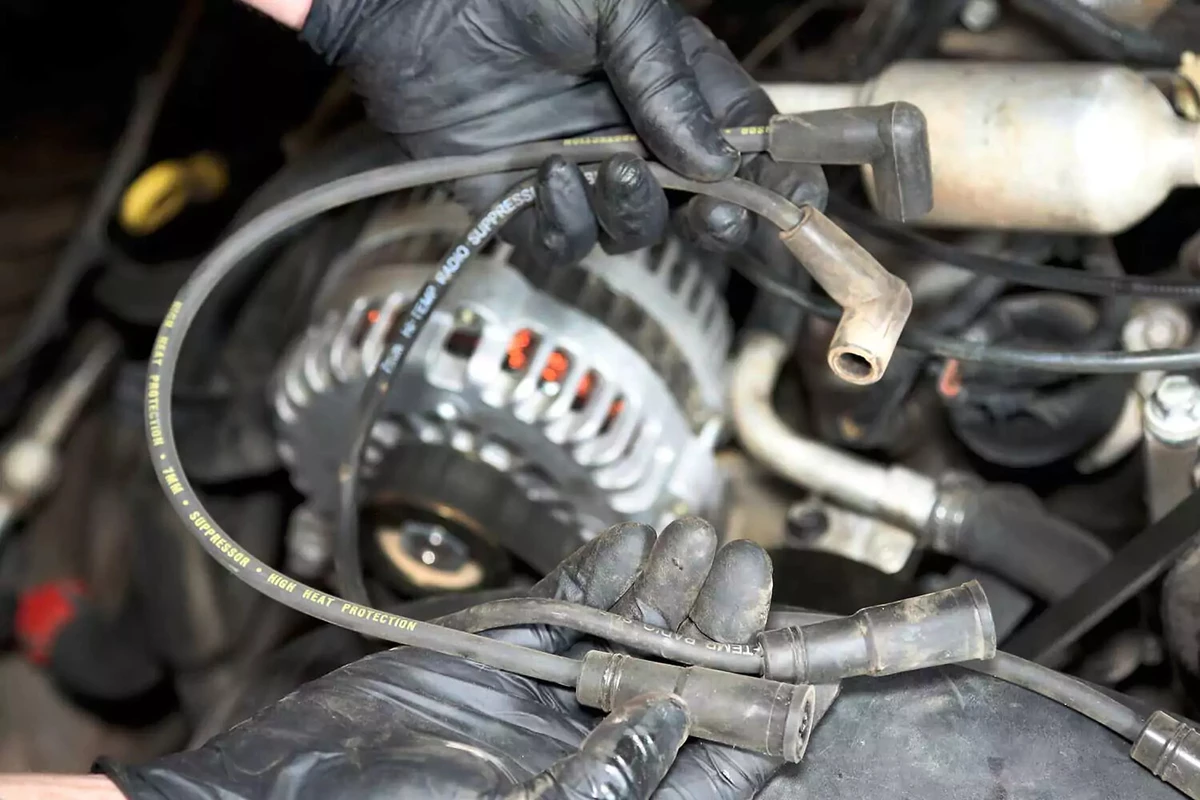
Engines with distributors have plug wires of differing lengths. Compare the old wire to each new wire and select the closest matching length. If you use the wrong wire, you can end up with one or more that are too short to reach their corresponding plug.
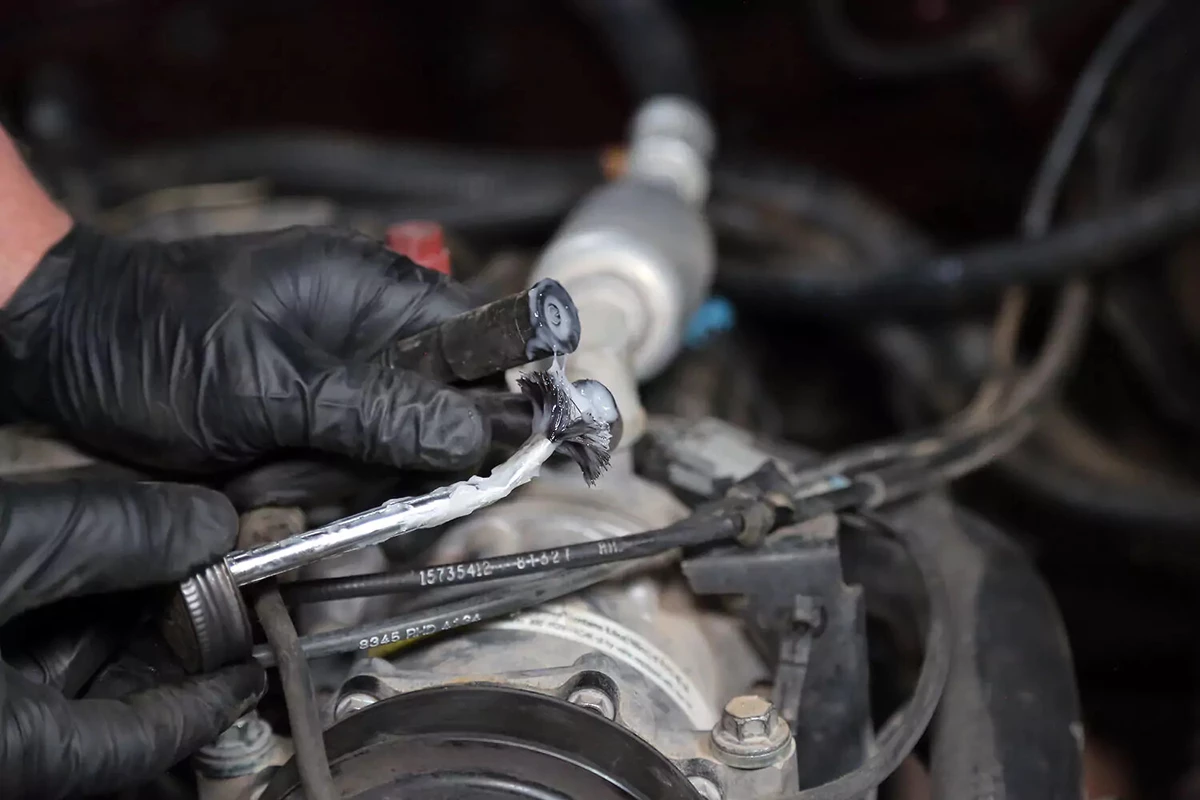
It's a good idea to coat the insides of both wire boots with dielectric grease. This prevents corrosion and keeps the boots from sticking to the plug and terminal.
Connect the new plug wire to the correct spark plug. Route the wire to the coil or distributor.
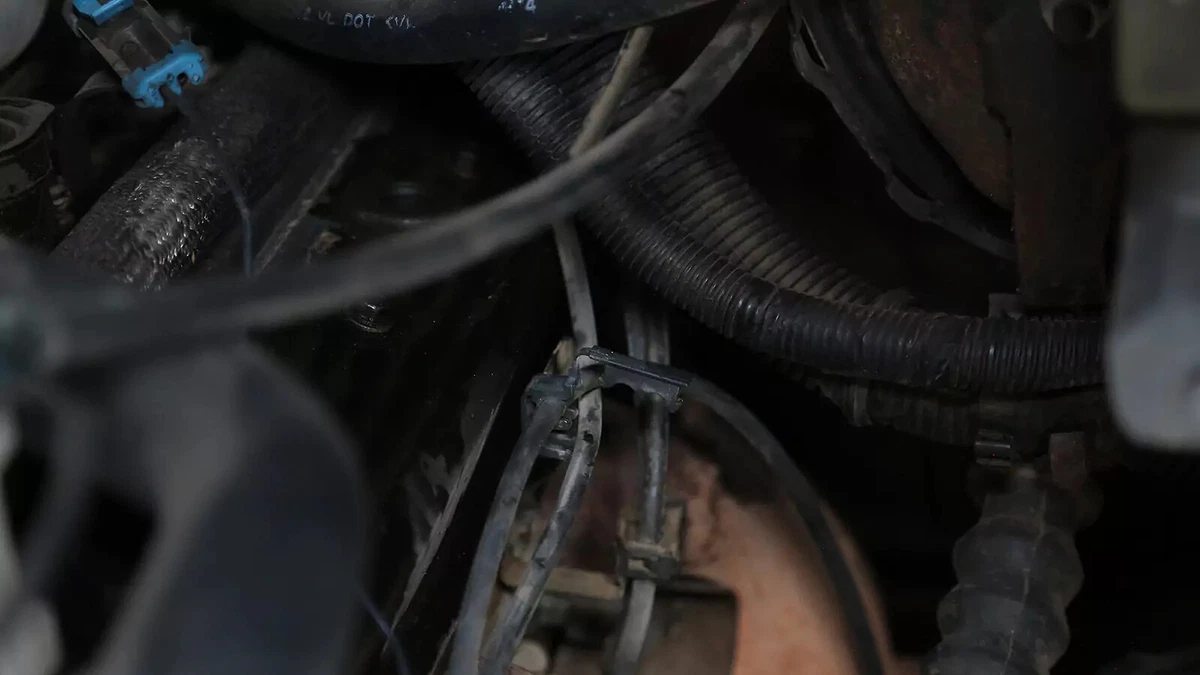
If your engine has wire separators, snap the wire into each separator in its original routing. The separators are usually only found on engines with distributors or multi-plug coil packs.
The wire separators used on our demo engine are tricky to open. We used a small screwdriver to release the tab. Most separators don’t have locking covers.

Connect the boot on the other end of the plug wire to the distributor or coil pack. Make sure it snaps in place on the terminal. You should feel and hear it click when it locks in. The boot should not be loose or pull off easily.
Repeat these steps for the remaining plug wires, one at a time.
If your engine has a distributor, a separate wire will go to the ignition coil. If you purchase a set of plug wires, it should include that ignition coil wire. It will be shorter and may have different end connectors.
Because this wire carries the spark for all the cylinders, replace it at the same time. Remove the old wire, apply dielectric grease to the new wire, and install it carefully.

The coil that supplies the spark voltage to the distributor is usually next to it. If you can’t find a separate coil, it may be integrated into the distributor.
After all the plug wires are in place, reinstall any obstacles you removed to gain access.
Start the engine and make sure it is running smoothly. If not, check your engine’s firing order and correct it as necessary.
About the author

Share your feedback
This article is meant to provide general guidance only. Automotive maintenance, repair, upgrade, and installation may depend on vehicle-specifics such as make and model. Always consult your owner's manual, repair guide for specific information for your particular vehicle and consider a licensed auto-care professional's help as well, particularly for advance repairs.