Your vehicle’s mass air flow (MAF) sensor is a critical component. It provides vital signals to engine control systems about incoming air.
The sensor’s output provides constant, instantaneous data to the vehicle’s engine management system about how much air is entering the throttle body. That’s how the computer knows precisely how much fuel to provide.
If the MAF sensor is dirty or failing, your vehicle could stall, surge, or not start. Most MAF-related issues will trigger your check engine light. Error code P0101 indicates an issue with your mass airflow sensor (MAF), but other codes might also appear. When your vehicle displays an error code, use an OBDII scan tool to verify the code and its cause.
In some cases, an MAF sensor can be cleaned instead of replaced. However, replacing an MAF sensor is a simple task. It only takes a few minutes.
Tips and Tricks for DIY MAF Sensor Replacement
- Do not attempt this project with the key in the ignition. If you have a push-button starter, don’t do this job with the key nearby.
- Make sure the duct between the sensor and the throttle body isn’t leaking, which can cause a number of driveability issues and codes.
- The dirt coating the MAF sensor (and making it fail) could have come from your air filter not being clean or properly seated. Consider replacing the air filter when you clean or replace your MAF sensor.
- The MAF sensor is self-cleaning. Periodically, after engine shutdown, the wires in the sensor are brought to a very high temperature to burn off any contaminants. Eventually, this regime fails, and the gunk coating the wire insulates it from the air passing into the engine, requiring cleaning or replacement.
More Info

The first step for many auto repair jobs is disconnecting the vehicle’s battery. It’s a simple task. Remove the ground clamp from the battery’s negative post. Plus (+) and minus (-) signs are usually molded into the plastic battery case near the post.
Removing the negative terminal first ensures the vehicle is no longer connected to a live battery. This prevents sparks, electrical shorts, or components (such as fans) from unnecessarily coming on.
Pull the terminal off the battery for a close inspection. If there is corrosion, loose wires, or physical damage, consider replacing the battery terminal or cable.
Move the terminal away from the battery into a position where it can’t accidentally touch the battery post.
Raise your vehicle’s hood. On most vehicles, the MAF sensor is between the air filter and the engine’s throttle body. It might be hidden under an engine cover. Some MAF sensors come in a cartridge installed in line with the air intake tube.
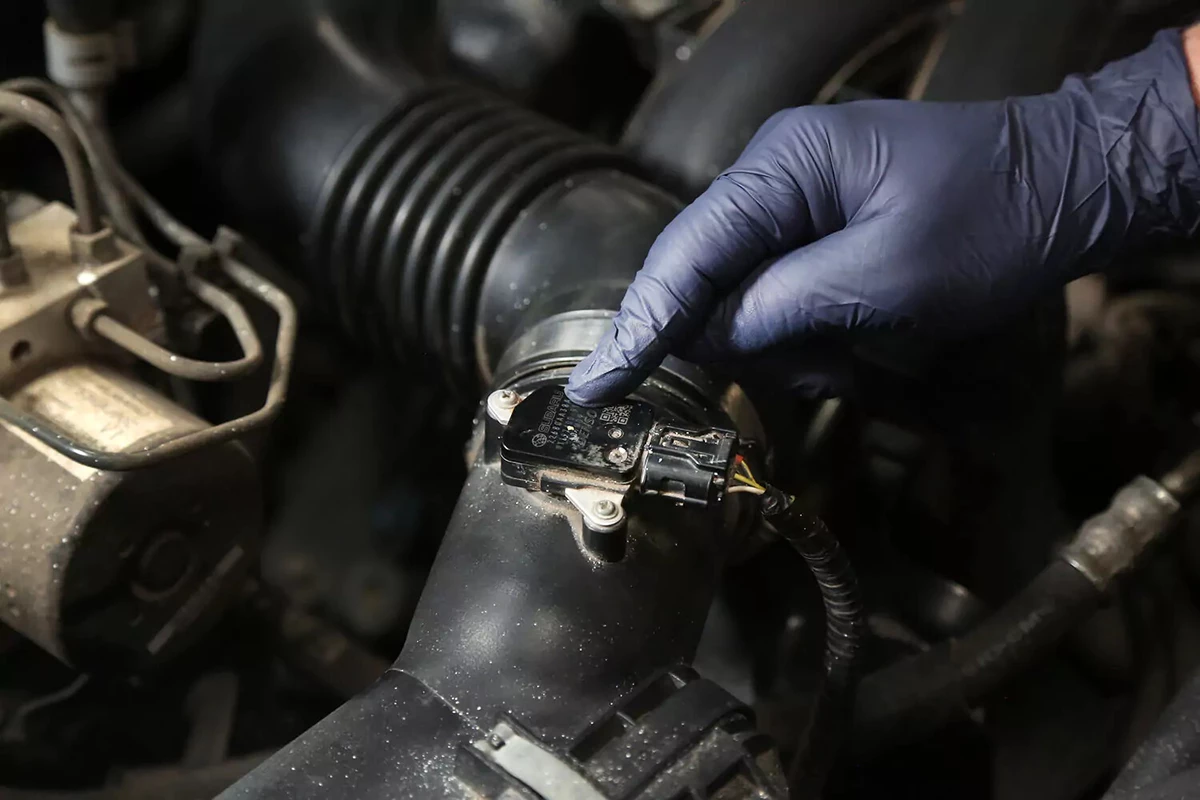
Most modern vehicles use a sensor pack located in a section of hard plastic tubing. In our demo vehicle, the MAF is a small black square with two silver wing mounts and a five-pin plug.
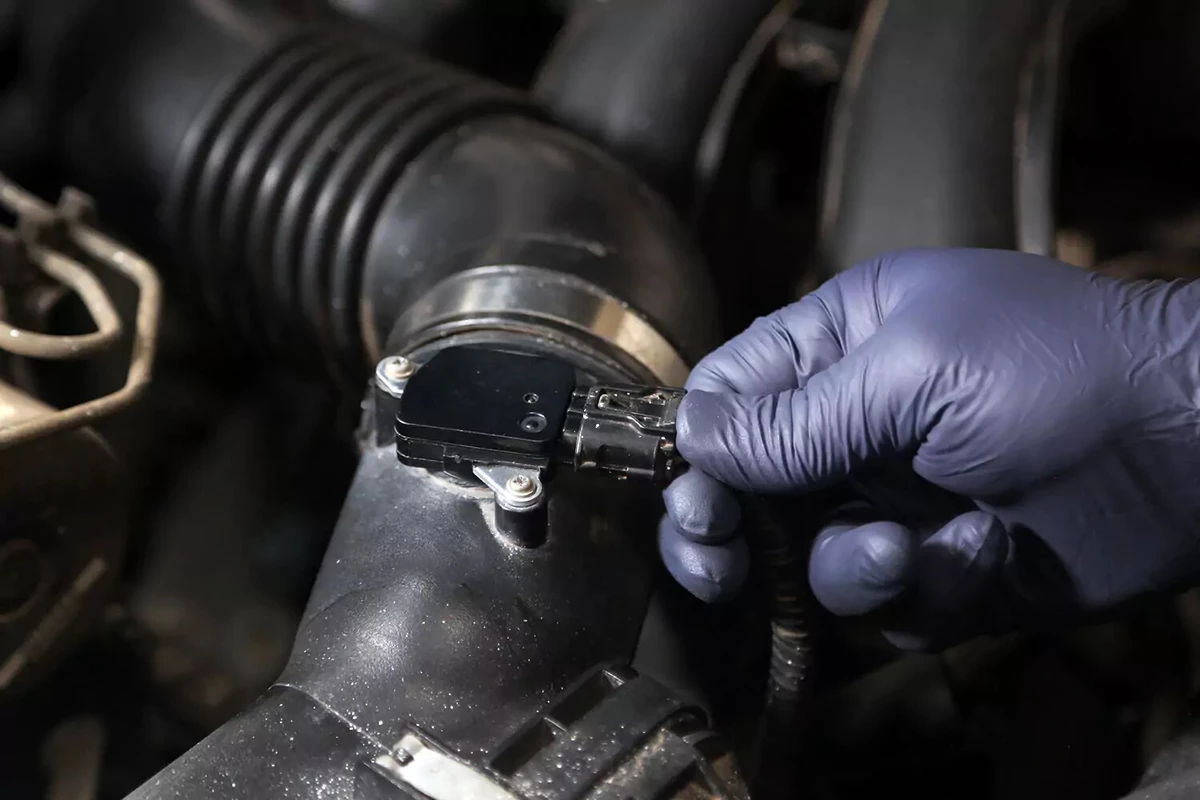
Press the wiring plug release lever to gently remove the plug from the sensor. Some vehicles have a locking tab to prevent the plug from coming off due to vibration. If so, unlock the tab.

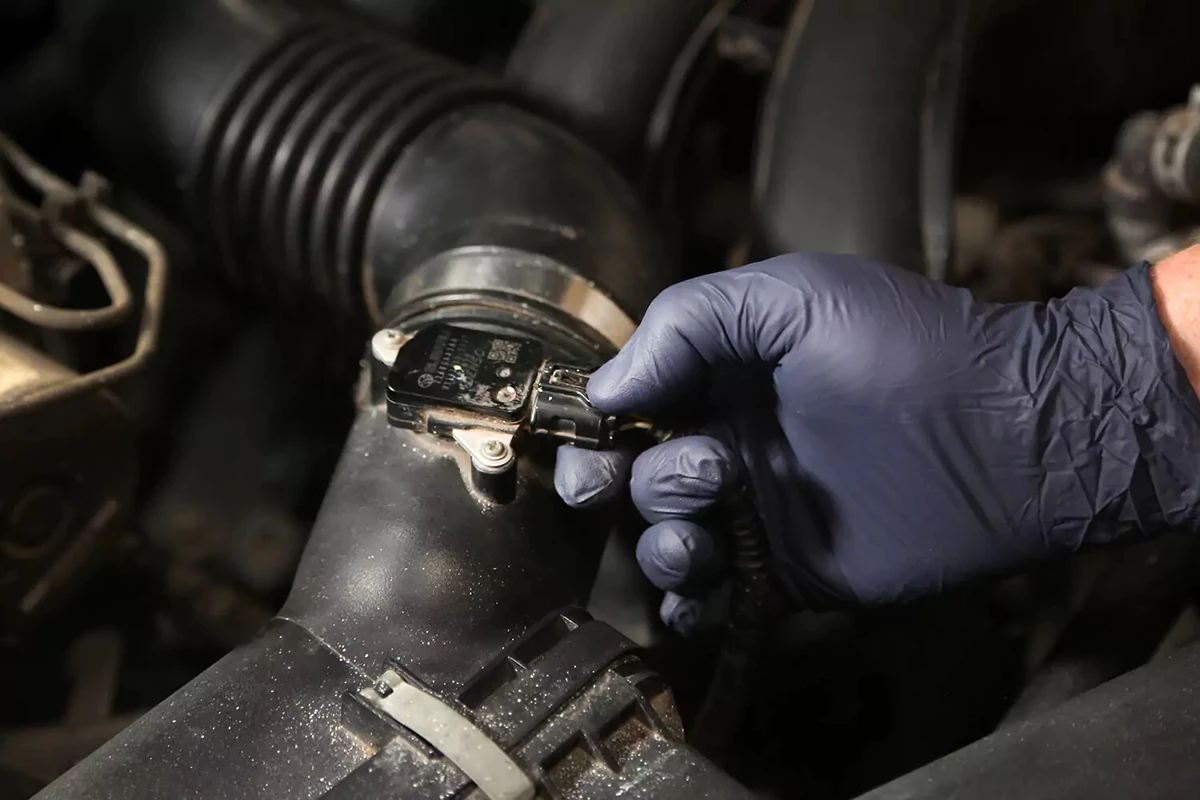
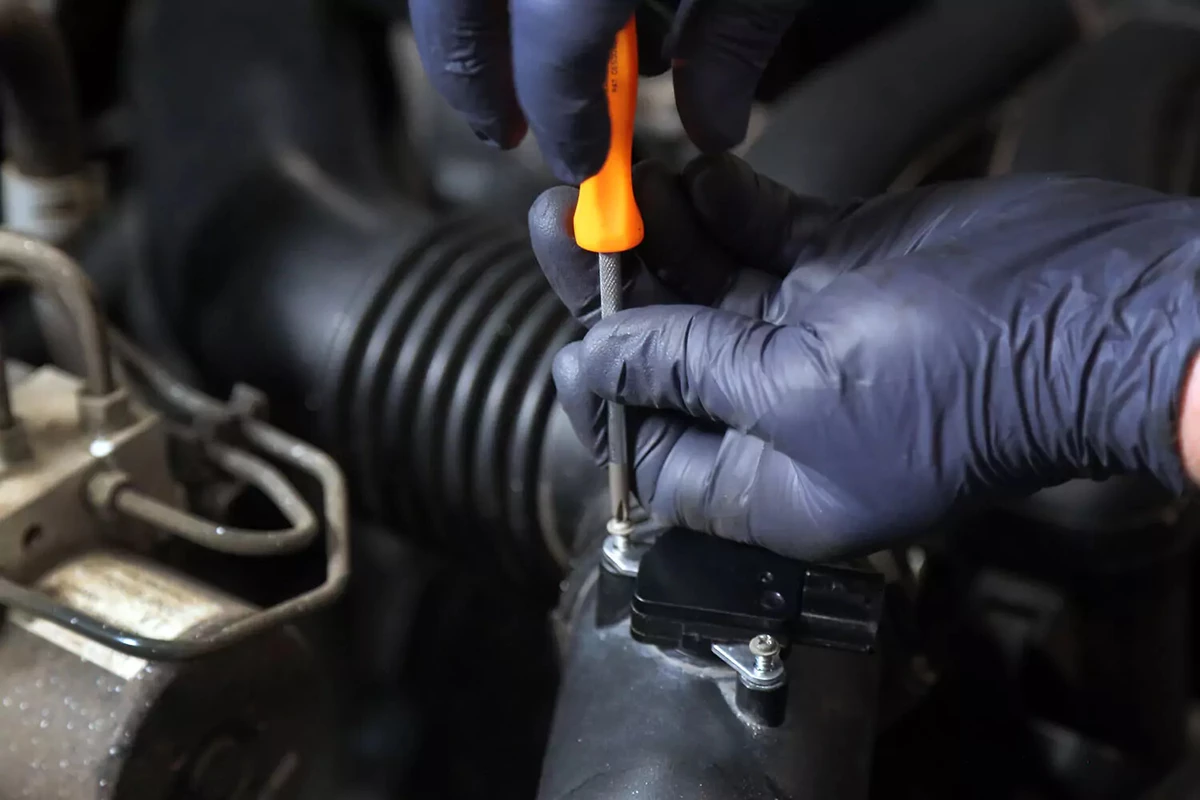
Most vehicles use a Phillips, Torx, or Allen head screw to hold the MAF sensor in place. If you have a cartridge-style MAF sensor, two hose clamps will secure it.
Use a driver that fits the correct fastener type to remove the fastener holding the MAF sensor to the mount.
Some sensors come with new hardware. If not, reuse the old fasteners.
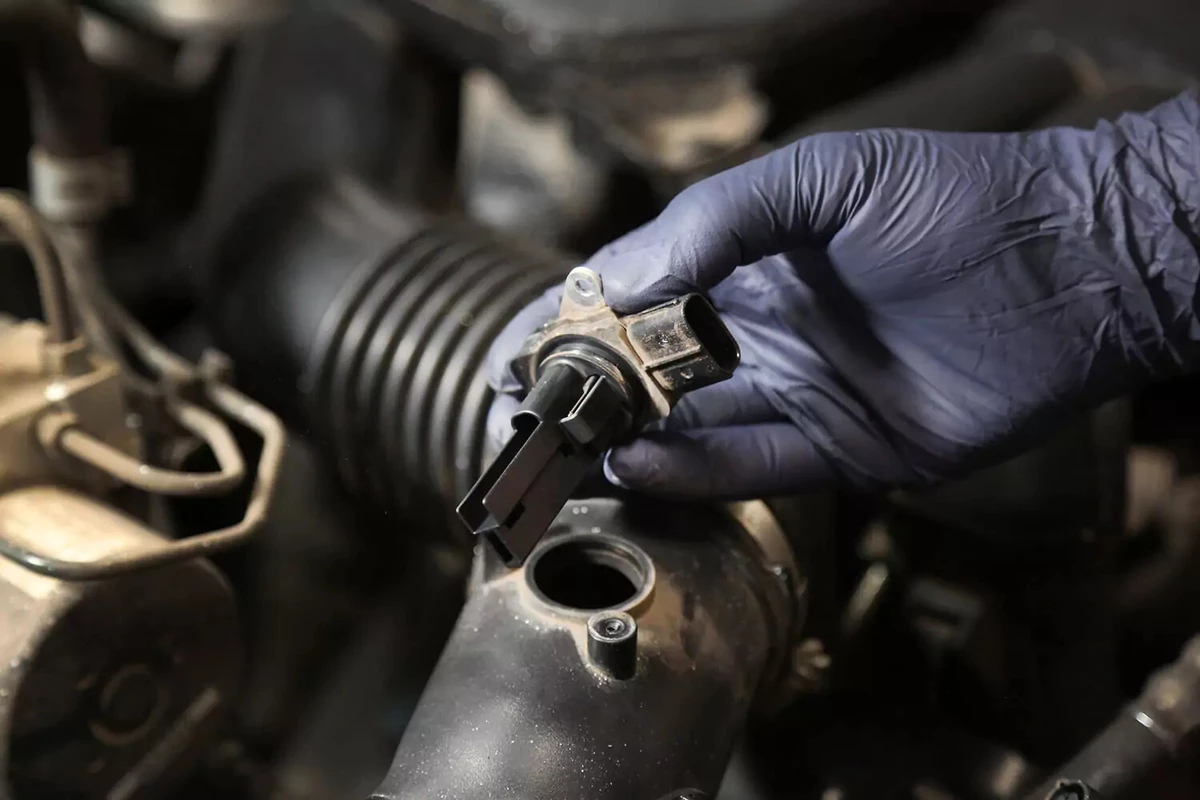
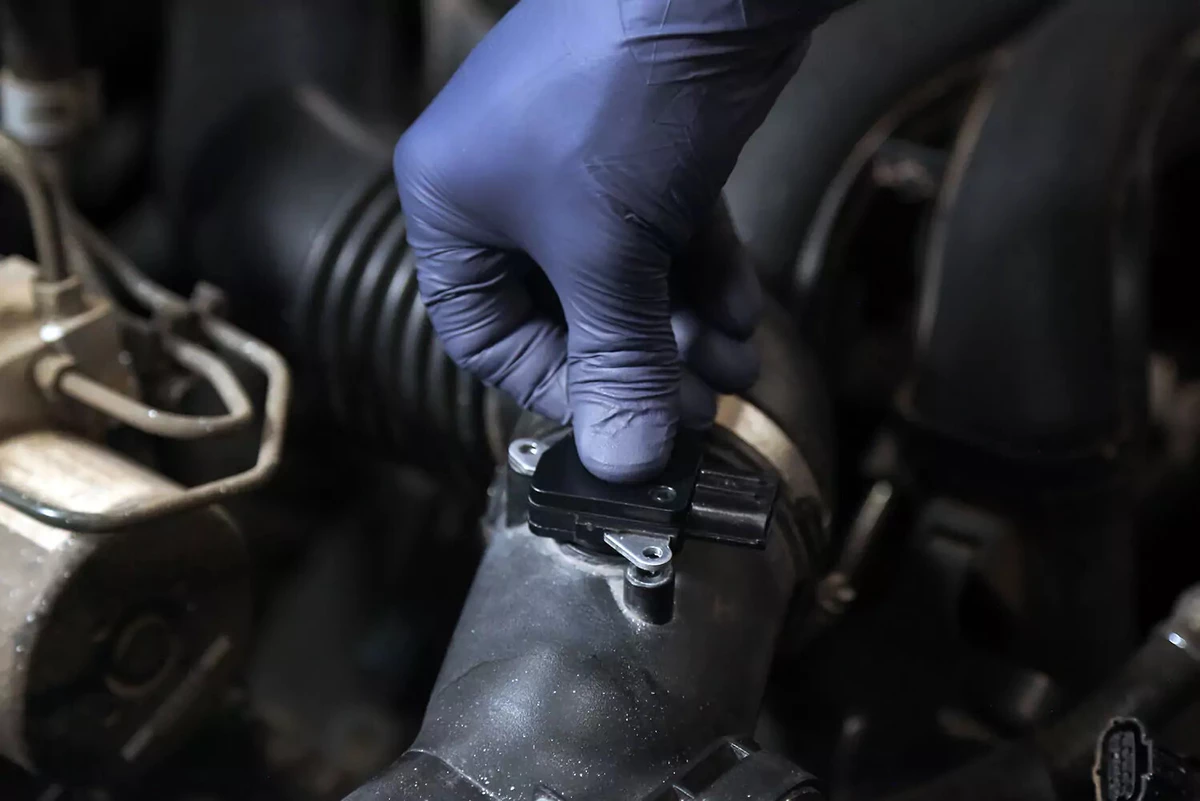
Gently lift the MAF sensor to remove it from the mount. There could be an O-ring seal, although many do not have a gasket or seal.
Note the sensor’s direction. This is critical. Air must flow over the sensor in the intended direction. If it’s installed backward, the ECM will not get the right signals, and your engine will run poorly.
Try Cleaning Current MAF Sensor Before Replacing
This article focuses on replacing the mass air flow sensor, but we suggest trying to clean the current sensor before installing a new one. MAF sensors get dirty and only need occasional cleaning to stay in top shape for many miles. There is no predetermined change interval for MAF sensors. They only need attention when they fail. Periodic cleaning can prevent failure and even bring a failing MAF back to life without requiring replacement.
Always Use Proper MAF Cleaner
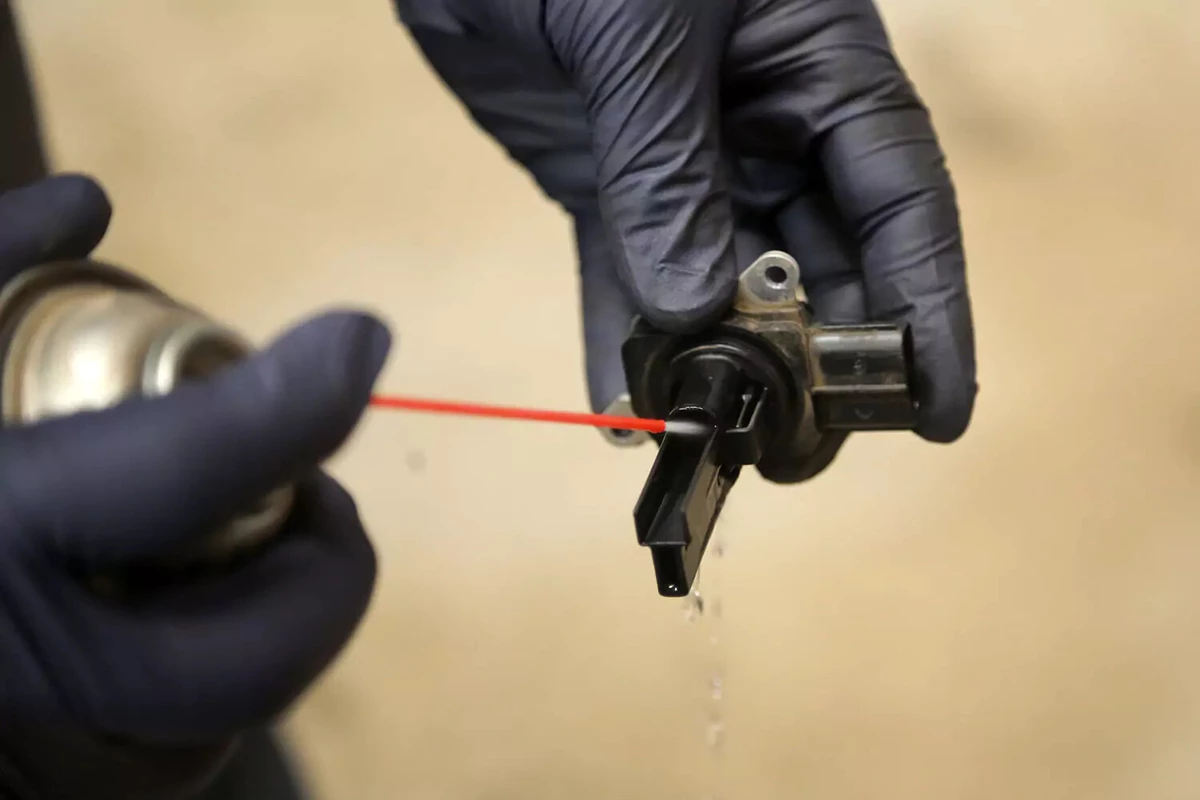
It’s critical to only use a dedicated aerosol MAF cleaner—not a carb or brake cleaner. Any other cleaning solution will damage the sensitive wires or melt the housing. Never use anything like a Q-tip or a rag to clean the sensor, which is extremely fragile. Be careful not to touch the wire or grid with the straw from the aerosol can. Use the cleaner spray generously to soften and dislodge contaminants from the sensor’s wires.
MAF cleaner is also safe for cleaning electronics, cables, and charging ports.
This step isn’t required, but it’s a good idea. Use MAF sensor cleaner to remove debris from the sensor mount. The cleaner is safe for plastics and electronics.
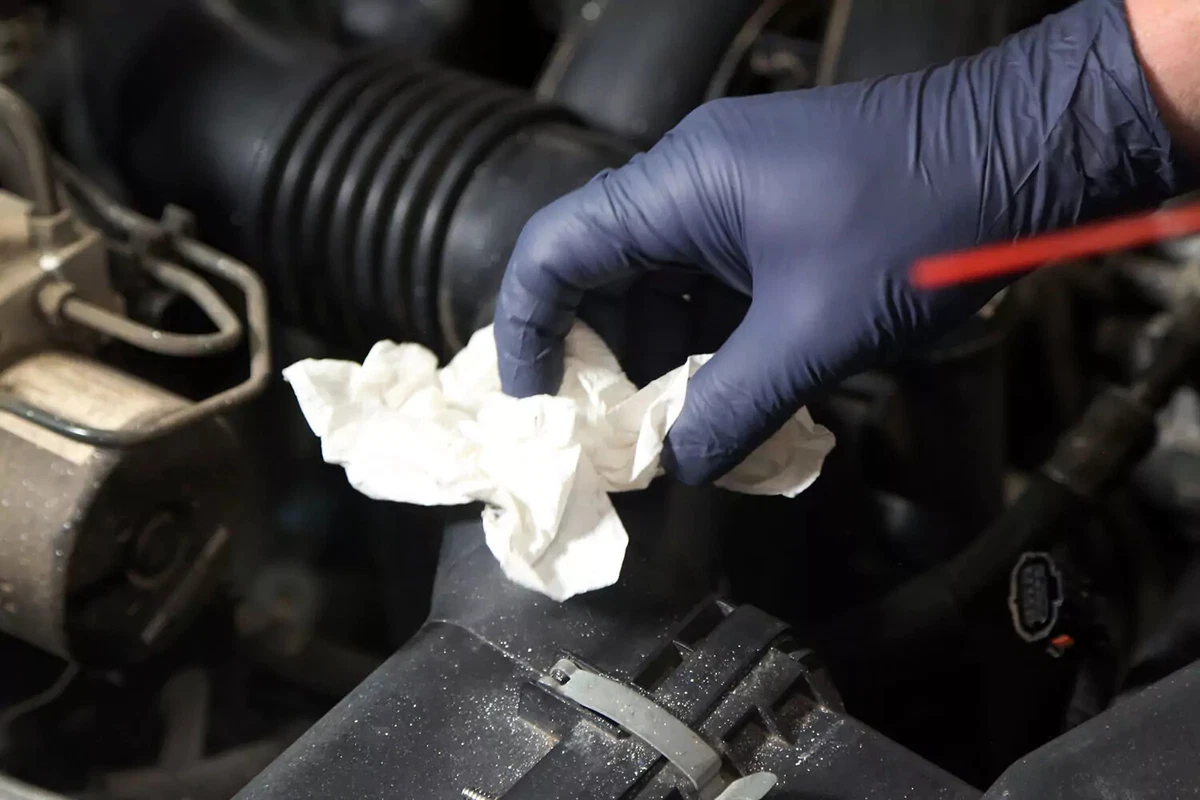
Use a clean towel to wipe away any dirt, grease, or other debris from the MAF mount. This ensures that the new sensor will seal.

Check the fitment and orientation of the new MAF sensor by comparing it with the old sensor. Most (but not all) MAF sensors can’t be installed backward, but some can. If you make that mistake, your engine won’t run correctly.
Don’t use sealer on the sensor mount.
It’s a good idea to clean the entire air duct—from the sensor to the air filter.
Gently seat the new (or freshly cleaned) sensor into the mount. Ensure that it is flush and sealed.
If your vehicle uses an inline cartridge MAF sensor, install the new cartridge into the air intake tubes and tighten the hose clamps.
Use the original or replacement fasteners to secure the new MAF sensor to the mount.
Thread them in and tighten them down carefully. Do not over-tighten, which can damage the mount.
Reinstall the wiring harness by plugging the terminal into the new sensor until it clicks. Does your plug have a safety lock? If so, slide it to engage the lock.
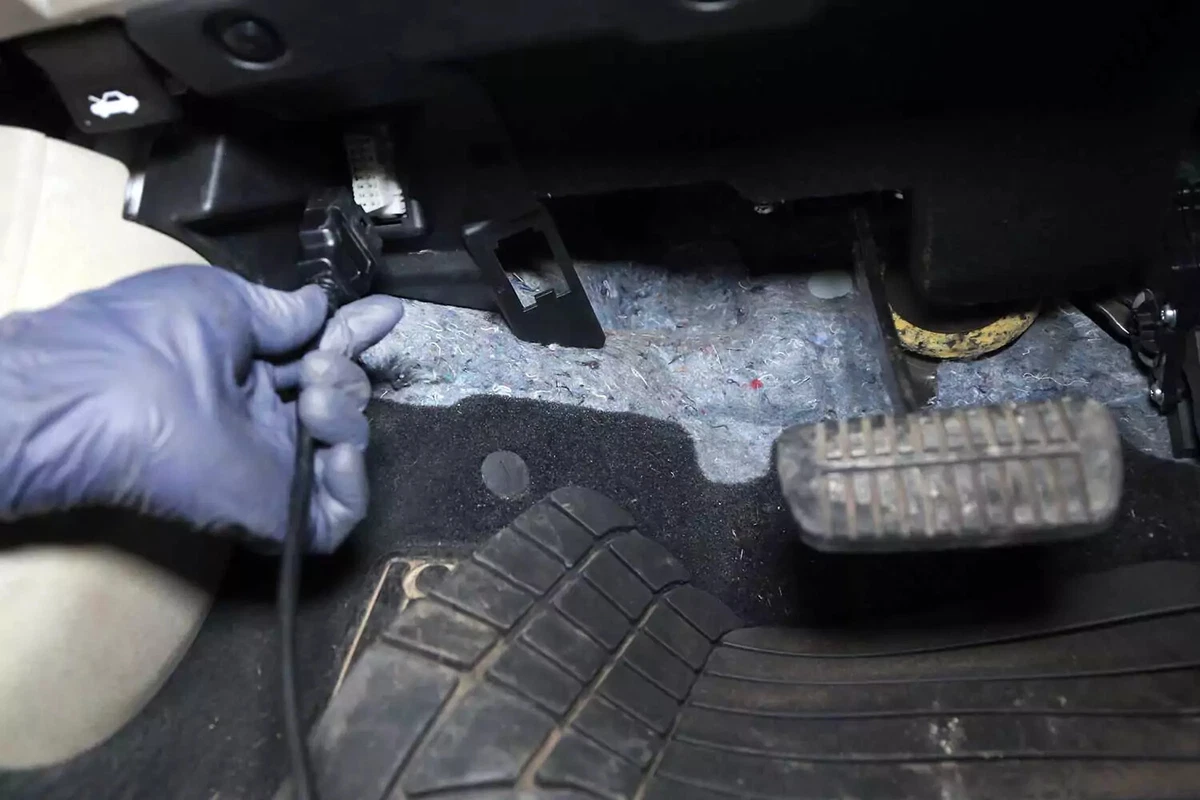
After reconnecting your battery’s negative terminal, locate your vehicle’s onboard diagnostic port, commonly called the OBDII port. On most cars and trucks, the port is under the dash on the driver’s side. Sometimes, it’s hidden behind an access panel or trim plate. If you can’t find it, check your owner’s manual for the location.
All OBDII ports have the same design—a 16-pin trapezoidal female plug. They also have a similar location under the dashboard near the steering column.
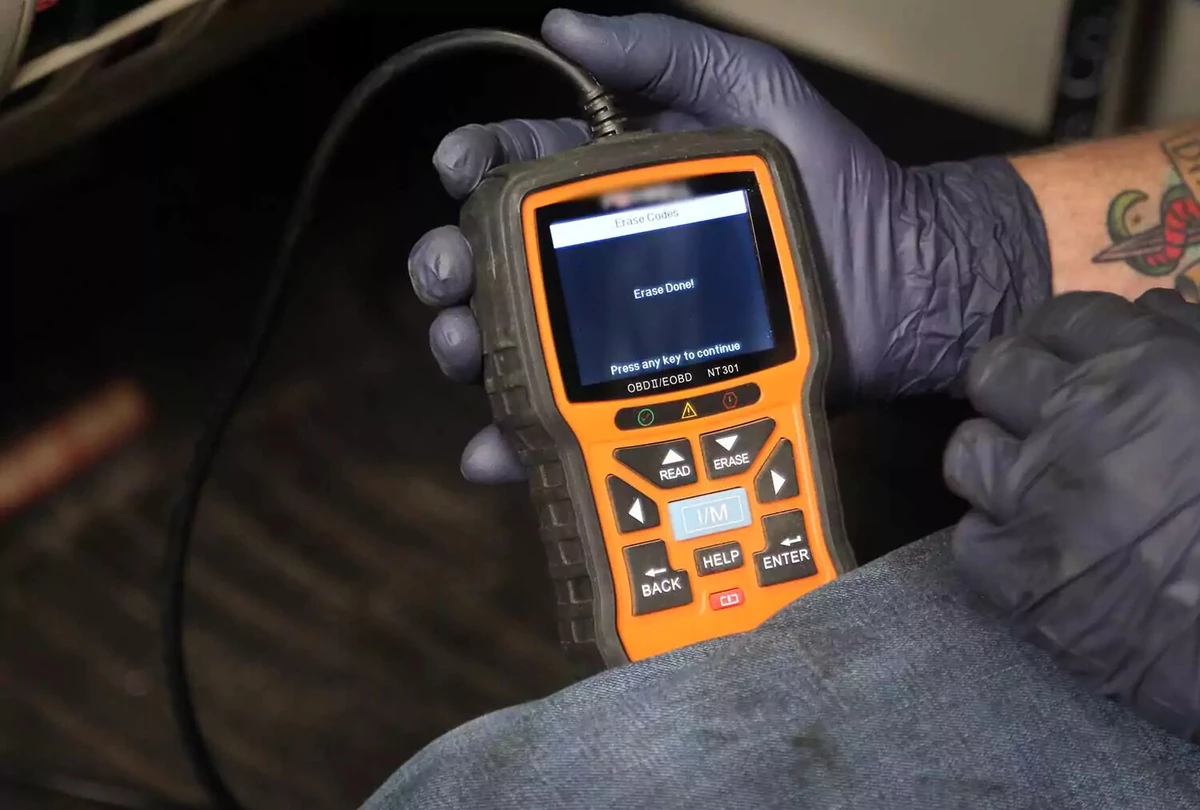
Use an OBDII scanner to clear active engine codes. Verify whether these codes relate to the mass air flow sensor or other potential issues. Use the scanner’s erase function to clear the codes.
Some vehicles require a new MAF sensor to be paired or “learned” to the vehicle. Verify the need for “learning” in your vehicle’s repair manual. Most vehicles only need the codes cleared, and the new sensor is ready to go.
If you don’t have a scan tool, MAF codes should reset after a few drives. Disconnecting the battery ground for 30 seconds or so could also reset the codes.
About the author

Share your feedback
This article is meant to provide general guidance only. Automotive maintenance, repair, upgrade, and installation may depend on vehicle-specifics such as make and model. Always consult your owner's manual, repair guide for specific information for your particular vehicle and consider a licensed auto-care professional's help as well, particularly for advance repairs.
Recommended for you
Find answers and inspiration
A Quick Guide to Valve Cover Gaskets
6 min read
When to Replace Your Exhaust Manifold Gasket
6 min read
How to Replace an Ignition Coil
6 min read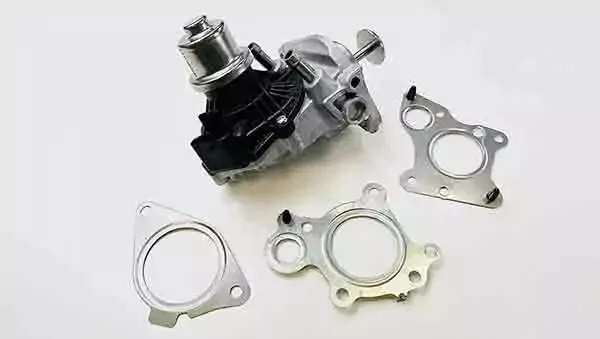
How to Buy the Right EGR Valve and Gasket
6 min read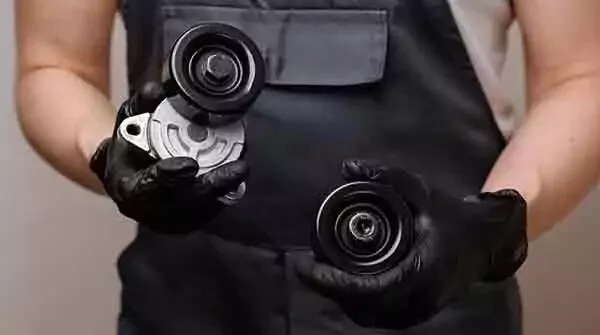
Your Complete Idler Pulley Buying Guide
5 min read
Buying the Right Distributor Cap and Rotor
4 min read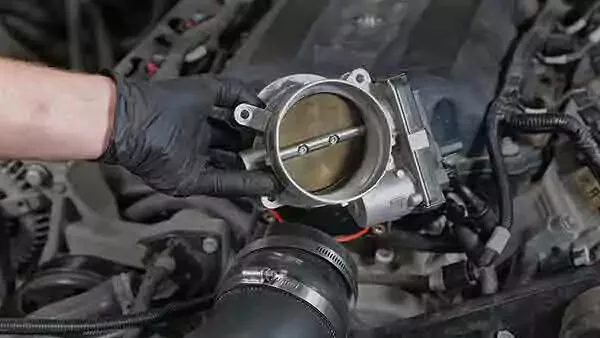
How to Buy the Right Throttle Body
5 min read
How to Replace a Drive Belt
5 min read
How to Replace an Intake Manifold Gasket
7 min read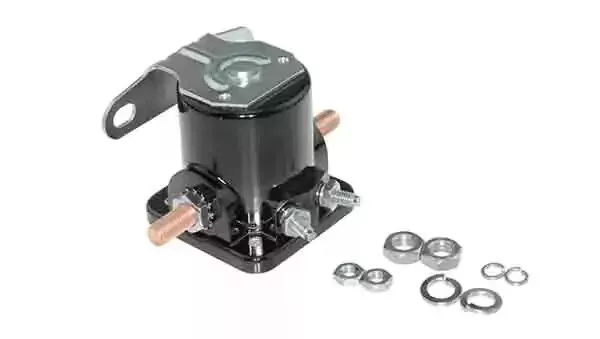
How to Buy the Right Car Starter
5 min read
How to Replace a Valve Cover Gasket
7 min read
How to Change a Timing Belt
12 min read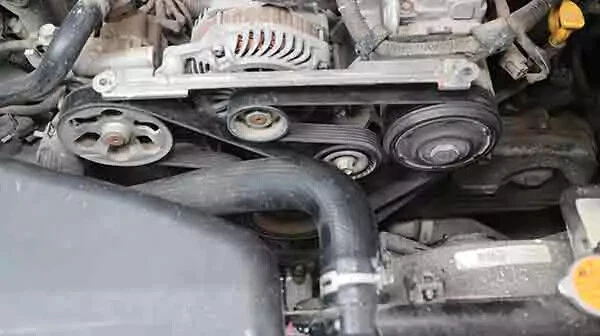
Diagnosing Your Serpentine Belt and Tensioner
6 min read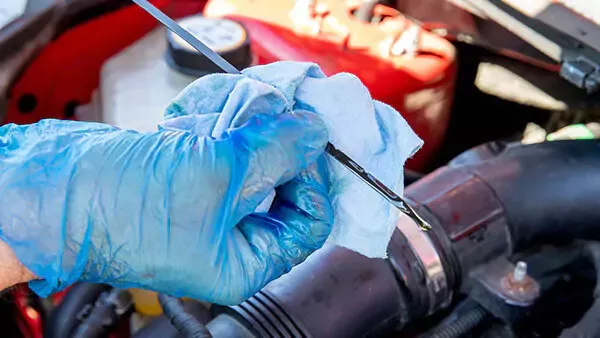
Changing Your Oil: 5 Things to Know
6 min read
How to Clean Fuel Injectors
8 min read
Automation How to Change a Car Battery
6 min read
Distributors 101
6 min read
How to Replace Spark Plugs
7 min read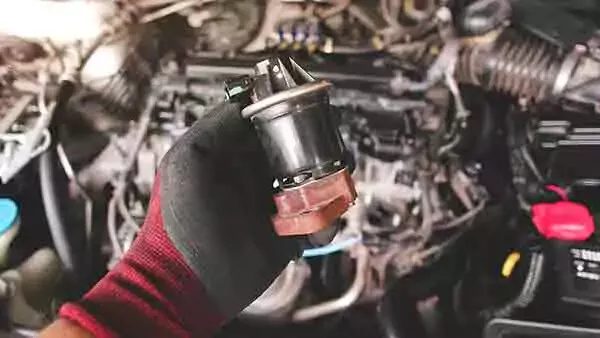
Everything You Should Know About EGR Valves
5 min read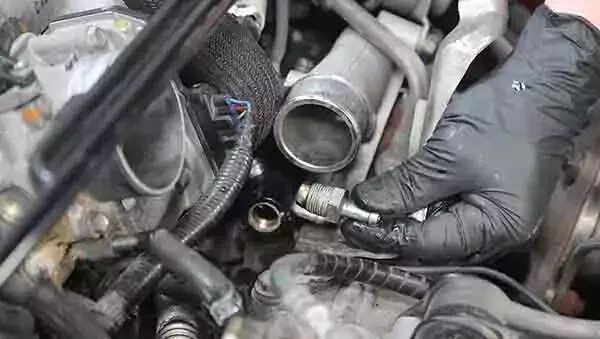
How to Test Your PCV Valve
6 min read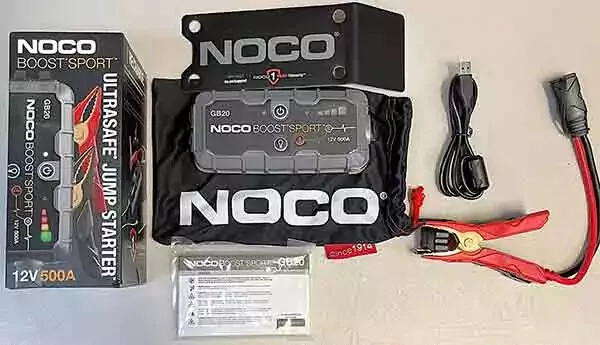
Buying the Best Portable Car Battery Jump Starter
6 min read
An Introduction to Cleaning Fuel Injectors
5 min read
A Deep-Dive Guide to Ignition Wires
7 min read
How to Replace Engine Mounts
4 min read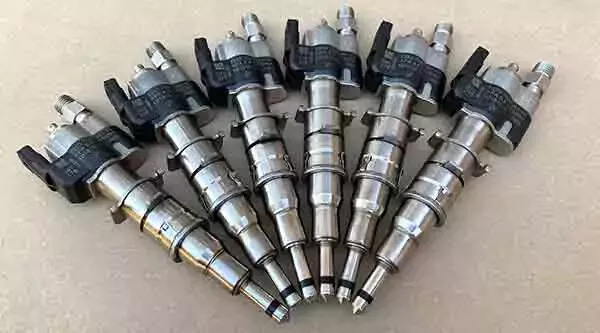
The Right Tools to Clean Your Fuel Injectors
6 min read
How Do Ignition Coils Work?
5 min read
Spark Plugs 101
7 min read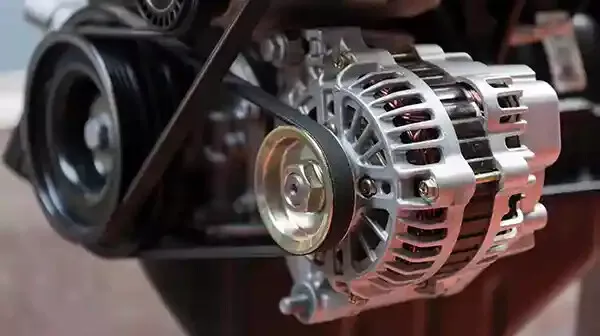
When to Replace Your Drive Belt
6 min read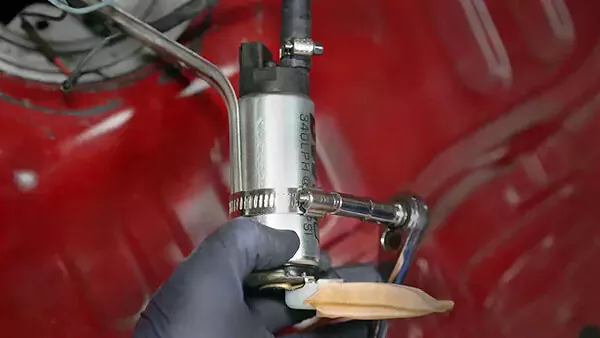
Fuel Pumps and How They Work
8 min read
What to Know About Your Vehicle's Throttle Body
6 min read
Everything You Need to Know About Fuel Filters
6 min read
How to Buy the Right Ignition Coils
7 min read
How to Buy the Right O2 Sensor
5 min read
How to Replace a Serpentine Belt Tensioner
4 min read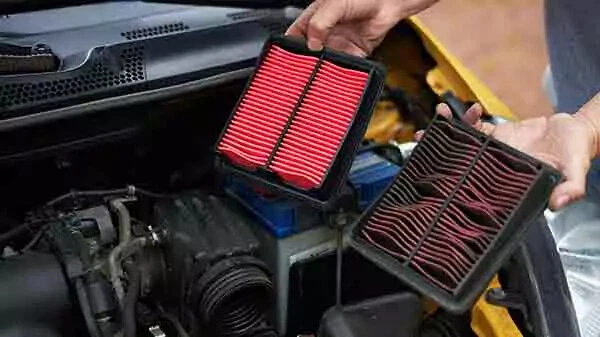
When to Replace Your Engine Air Filter
5 min read
How to Replace an Oxygen Sensor
5 min read
How to Buy the Right Timing Belt and Related Tools
5 min read
How to Buy the Right Car Distributor
6 min read
Timing Belts 101
5 min read
How to Replace an Engine Air Filter
5 min read
How to Buy the Right Exhaust Manifold Gasket
6 min read
How to Choose the Best Spark Plugs
5 min read
How to Replace a Car Starter
7 min read
What You Should Know About O2 Sensors
6 min read
How to Buy the Right Valve Cover Gasket
4 min read
How to Replace a Distributor Cap and Rotor
5 min read
Understanding Your Car's Idler Pulley
4 min read
How to Replace a Fuel Filter
7 min read
How to Replace a PCV Valve
6 min read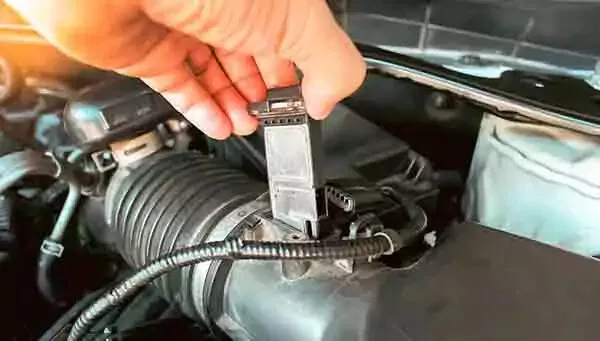
Do You Have a Faulty Mass Air Flow Sensor?
4 min read
Everything You Need to Know About Car Starters
7 min read
How to Replace an Exhaust Gasket
9 min read
Ignition Wire Buying Guide
6 min read
All About Your Distributor Cap and Rotor
7 min read
How to Replace a Throttle Body
6 min read
Spotting Intake Manifold Gasket Problems
7 min read
How to Change Oil in a Car
8 min read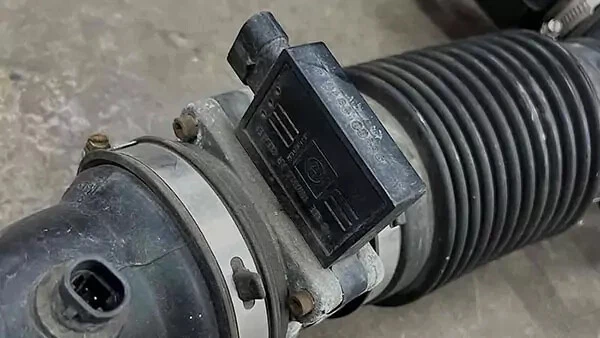
How to Buy the Best MAF Sensor
4 min read
How to Replace an EGR Valve
5 min read
How to Change an In-Tank Fuel Pump
9 min read
Explore more projects

How to Repair a Chipped Windshield
1 to 2 hours
Beginner
7 min read

How to Replace Brake Fluid
1 to 2 hours
Beginner
10 min read
How to Replace an Ignition Coil
Less than 30 minutes
Beginner
6 min read

How to Replace a Radiator Hose
Less than 30 minutes
Beginner
5 min read

How to Replace Brake Rotors
1 to 2 hours
Beginner
7 min read
How to Replace a Serpentine Belt Tensioner
Less than 30 minutes
Beginner
4 min read
How to Replace a Drive Belt
Less than 30 minutes
Beginner
5 min read

How to Rotate Your Tires
30 to 60 minutes
Beginner
5 min read

How to Refill Windshield Washer Fluid
Less than 30 minutes
Beginner
4 min read
How to Replace an Oxygen Sensor
30 to 60 minutes
Beginner
5 min read

How To Replace Differential Fluid
Less than 30 minutes
Beginner
8 min read

How to Replace Sway Bar End Links and Bushings
30 to 60 minutes
Beginner
6 min read

How to Replace Transmission Fluid and Filter
1 to 2 hours
Beginner
11 min read

How to Change Disc Brake Pads
30 to 60 minutes
Beginner
8 min read

How to Replace a Cabin Air Filter
Less than 30 minutes
Beginner
5 min read
How to Replace a Valve Cover Gasket
Less than 30 minutes
Beginner
7 min read

How to Change Windshield Wipers
Less than 30 minutes
Beginner
3 min read
How to Replace an Engine Air Filter
Less than 30 minutes
Beginner
5 min read
How to Clean Fuel Injectors
1 to 2 hours
Beginner
8 min read

How to Replace Shock Absorbers
30 to 60 minutes
Beginner
8 min read
How to Change a Car Battery
Less than 30 minutes
Beginner
6 min read
Automation How to Change a Car Battery
Less than 30 minutes
Beginner
6 min read

How to Replace a Clutch Master Cylinder
1 to 2 hours
Beginner
11 min read

How to Flush and Change Engine Coolant
30 to 60 minutes
Beginner
6 min read
How to Replace a Distributor Cap and Rotor
30 to 60 minutes
Beginner
5 min read

How to Check Tire Pressure and Change a Tire
Less than 30 minutes
Beginner
9 min read
How to Replace a Fuel Filter
30 to 60 minutes
Beginner
7 min read
How to Replace a PCV Valve
30 to 60 minutes
Beginner
6 min read

How to Replace a Brake Caliper
1 to 2 hours
Beginner
7 min read

How to Replace an Idler Pulley
30 to 60 minutes
Beginner
4 min read

How to Change a Headlight Bulb
Less than 30 minutes
Beginner
6 min read
How to Replace an Exhaust Gasket
1 to 2 hours
Beginner
9 min read
How to Replace a Throttle Body
30 to 60 minutes
Beginner
6 min read
How to Change Oil in a Car
Less than 30 minutes
Beginner
8 min read

How to Replace an Alternator
1 to 2 hours
Beginner
11 min read
How to Replace an EGR Valve
30 to 60 minutes
Beginner
5 min read

How to Jump Start a Car
Less than 30 minutes
Beginner
9 min read