Fuel-injected engines have numerous sensors to monitor engine inputs and outputs. O2 (oxygen) sensors are the most important ones for engine output.
Your mass air flow (MAF) sensor measures the density, temperature, and volume of air entering the engine. After the burned air/fuel mixture exits the engine, a series of O2 sensors detect the ratio of oxygen to unburned fuel exiting your exhaust system. Your vehicle’s engine management system uses this information to adjust the spark timing and amount of fuel to maximize efficiency.
What Happens When an Oxygen Sensor Fails?
When O2 sensors fail, the engine control system lacks essential information. So, it typically loads more fuel to ensure the engine is safe. This affects performance, fuel economy, and emission controls.
If your O2 sensor isn’t working properly, your engine control system will probably illuminate a check engine light. - opens in new window or tab. There are a dozen or more engine fault codes that could point to a faulty O2 sensor or related problems. The first task is to confirm what caused the fault codes and if they require replacing O2 sensors. Fortunately, the process to replace an O2 sensor is straightforward.
How Long Does It Take to Replace an Oxygen Sensor?
Changing an oxygen sensor is a beginner DIY job. Once you get started, the work itself should take 30 to 60 minutes if your sensors are easy to reach and remove. But you need to allow your vehicle to cool for at least one hour before starting. Otherwise, you face the risk of burns from heat retained by the exhaust system. You may also need to interrupt work if your sensor is too corroded to unscrew easily from the exhaust pipe. Spray with penetrating oil, wait a few hours, and try again.
Tips and Tricks for DIY Oxygen Sensor Replacement
- Your vehicle has one to six O2 sensors. Trouble codes pinpoint a potential faulty sensor. by calling out the bank and whether the sensor is upstream or downstream of the catalytic converter.
- Inline engines have only one bank, while V-engines have two. Bank 1 houses cylinder 1, which is the cylinder closest to the crankshaft pulley (the front of the engine). That’s true even if the engine is mounted transversely.
- Oxygen sensors are temperamental. A small amount of water—from condensation or driving through water—can make an O2 sensor fail.
- Double-check that the problem is really a bad oxygen sensor. Other issues—such as intake air leaks, bad catalytic converters, or intermittent misfires—can trigger similar codes.
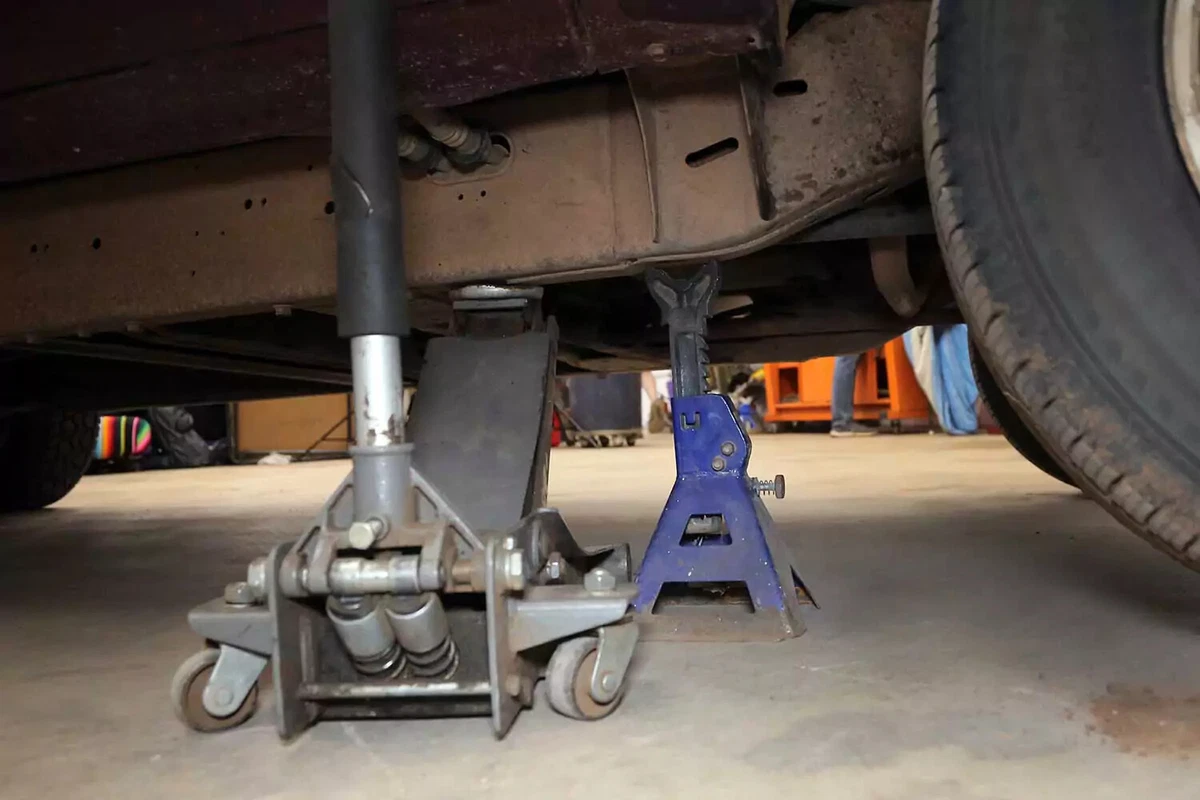
This project requires working safely under the vehicle. You will need a floor jack, and jack stands, ramps, or wheel cribs to support the vehicle.
Locate the factory jacking points just behind the front wheels or just in front of the rear wheels. The jacking point is a metal section with two V notches about two inches apart. Check your owner’s manual to confirm the lift location.
Never use jack stands on dirt, gravel, or asphalt. If you do not have access to a concrete work surface, use wheel cribs, solid-base ramps, or wide-base wood supports to support the vehicle. Never use cinder blocks or bricks as supports.
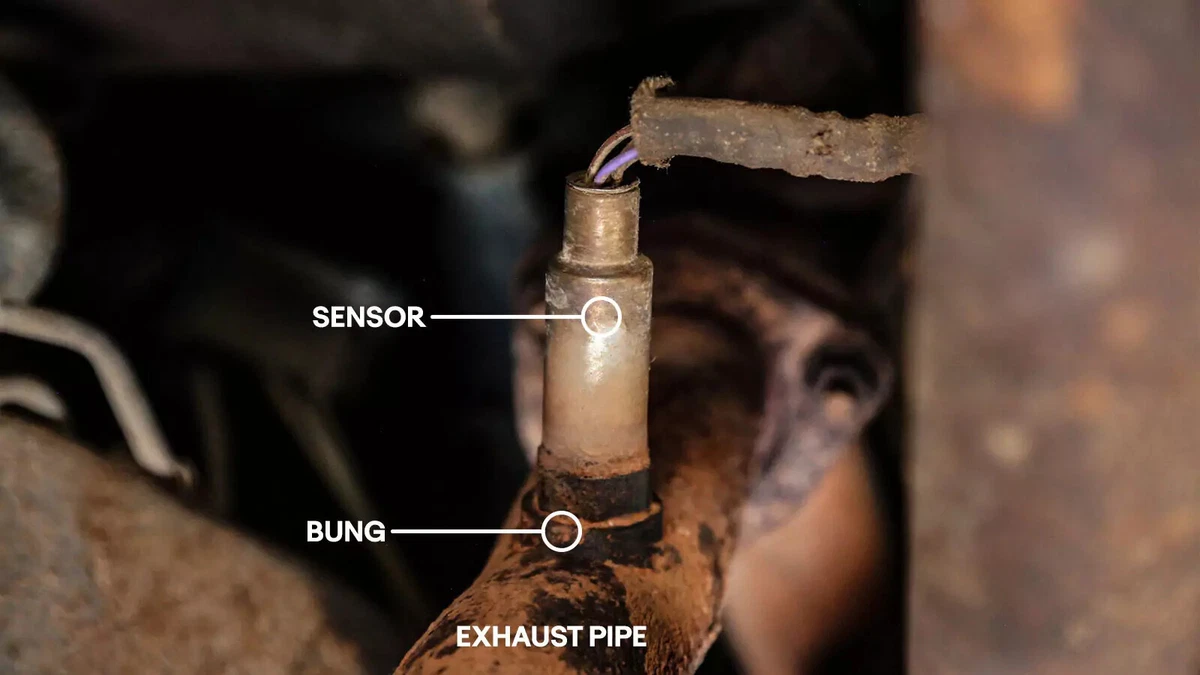
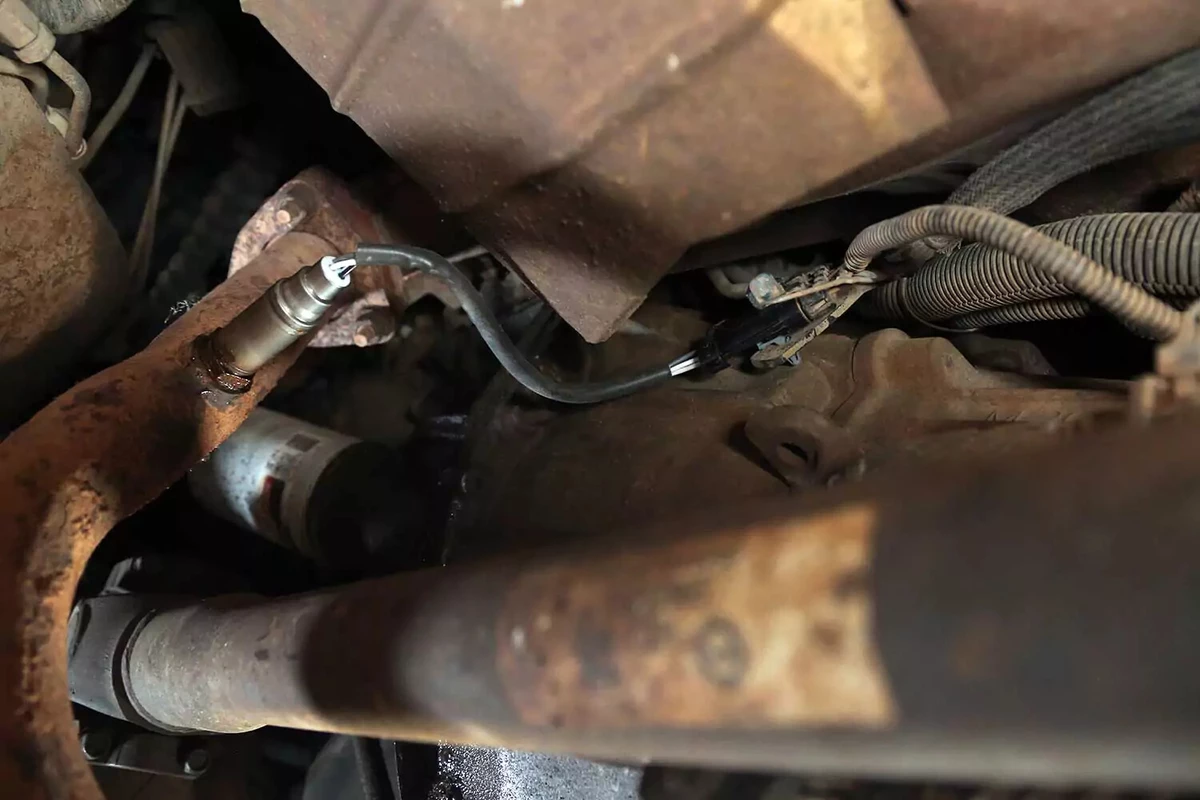
After diagnosing the engine fault codes, locate the sensor in question. The trouble code in our demo vehicle was P0130: “Bank 1, Sensor 1.”
That indicates the problematic sensor is on the left side of the vehicle after the exhaust manifold but before the catalytic converter. The location on your vehicle may be different.
Sensor 2 would be downstream of the converter.

We used a clip-remover tool, sometimes called a “clip popper,” to release the wiring on the sensor’s plug. Otherwise, you can break or cut the clip.
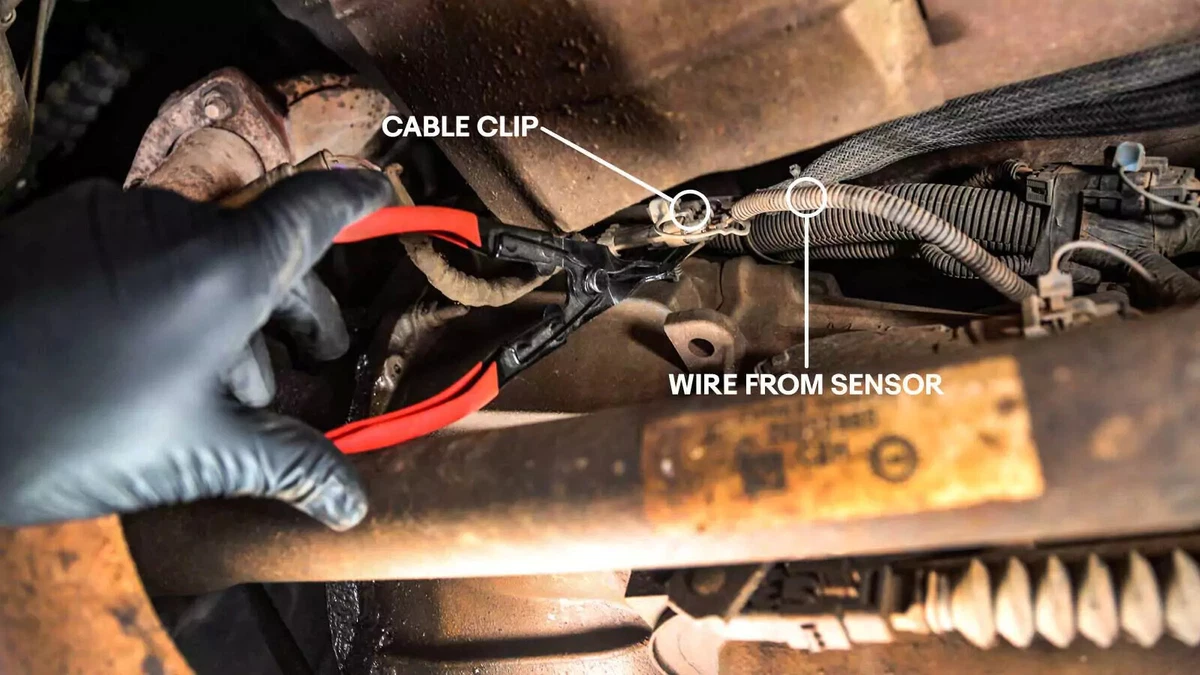
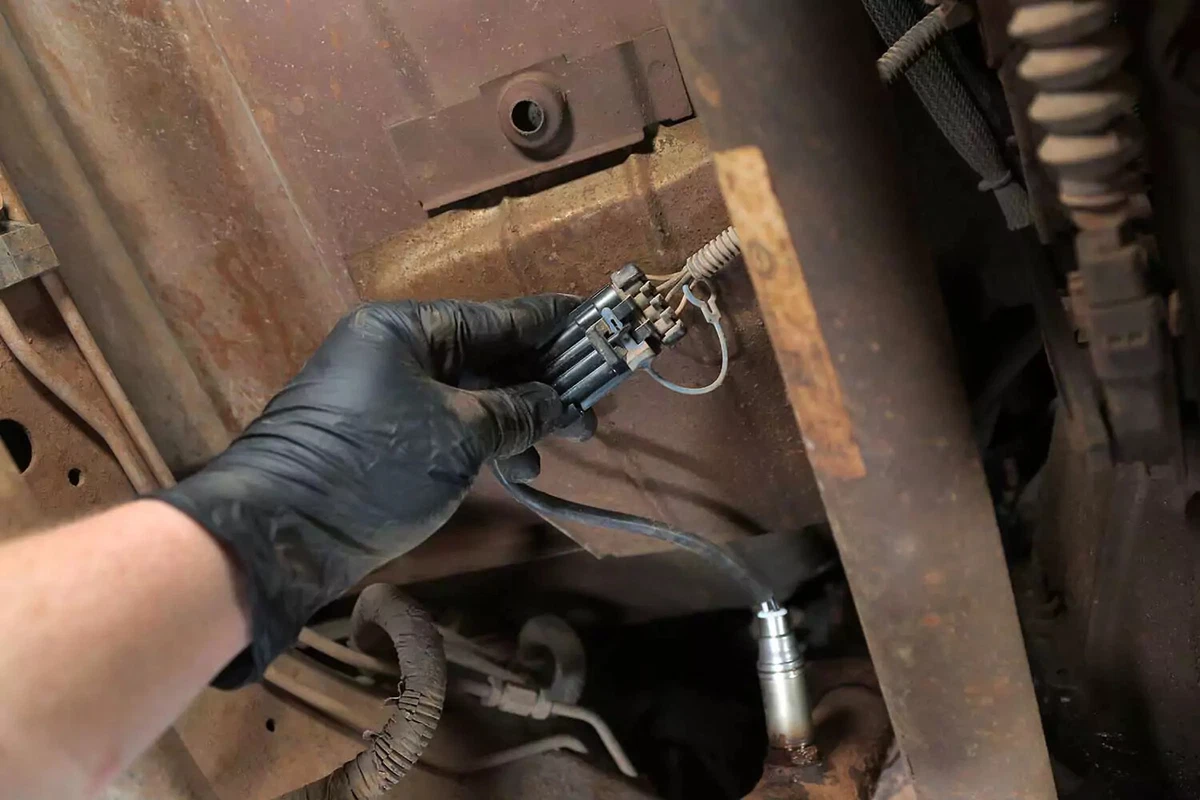
The sensor’s plug is clipped into the vehicle. In most cases, a small plastic clip is used, but some vehicles use a screw or bolt.
As indicated in the previous step, we used a clip-remover tool. You can also use wire cutters or a utility knife.

Disconnect the plug from the vehicle harness. The plug on our demo vehicle has a pin, but others use locking clips. Always unlock the plug before separating it.

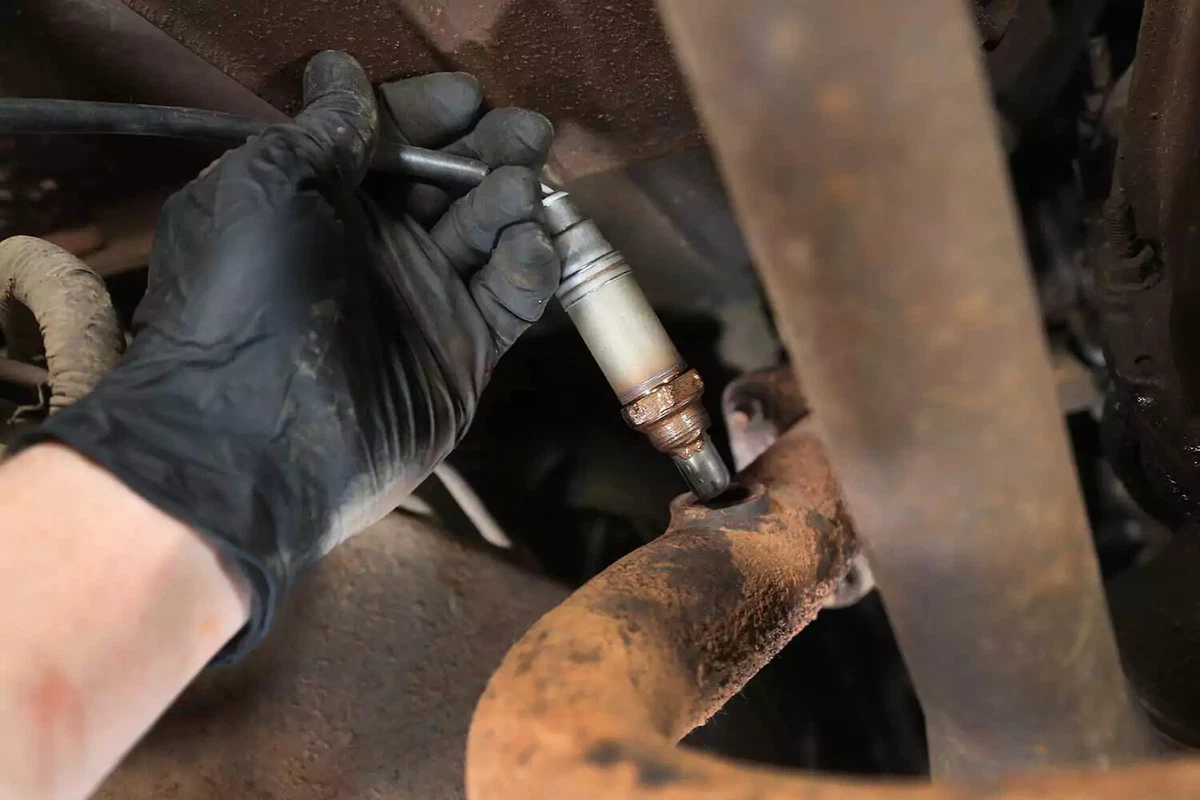
Unscrew and remove the sensor.
O2 sensors are exposed to high temperatures, so they can corrode and get stuck. It often takes substantial effort to break the sensor loose from the exhaust pipe’s threaded bung. To free up the threads, spray the bung and sensor with penetrating fluid.
O2 sensors are sometimes difficult to reach and remove with standard tools. Dedicated O2 sensor sockets are available, which ensure the hex is not damaged. Most of the time, a box-end or line wrench works just as well. We used an open-end wrench on our demo vehicle without any issues.
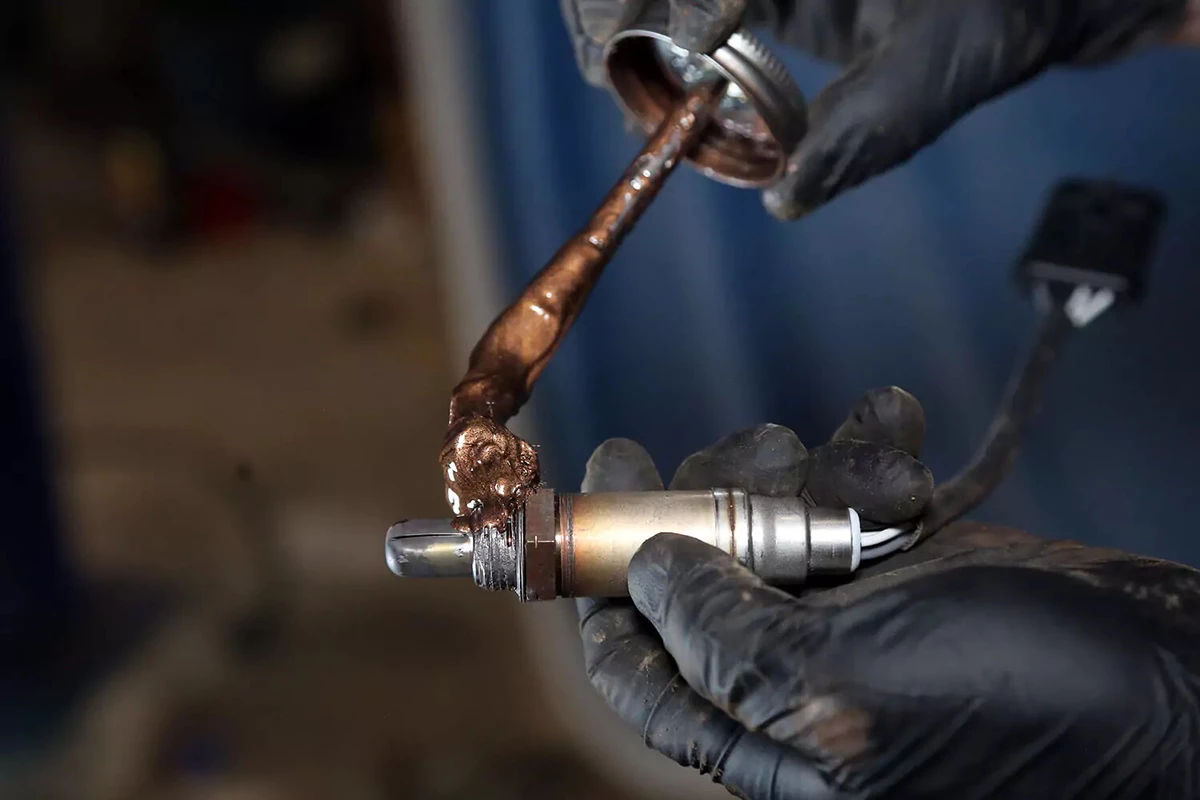
New O2 sensors typically come with a small amount of anti-seize compound on the threads. We recommend adding a liberal coating of high-temperature anti-seize to the threads only.
Keep the new sensor’s tip clean of anti-seize, oil, fingerprints, and dirt.
Slide the new oxygen sensor carefully into the exhaust bung and thread it in by hand.
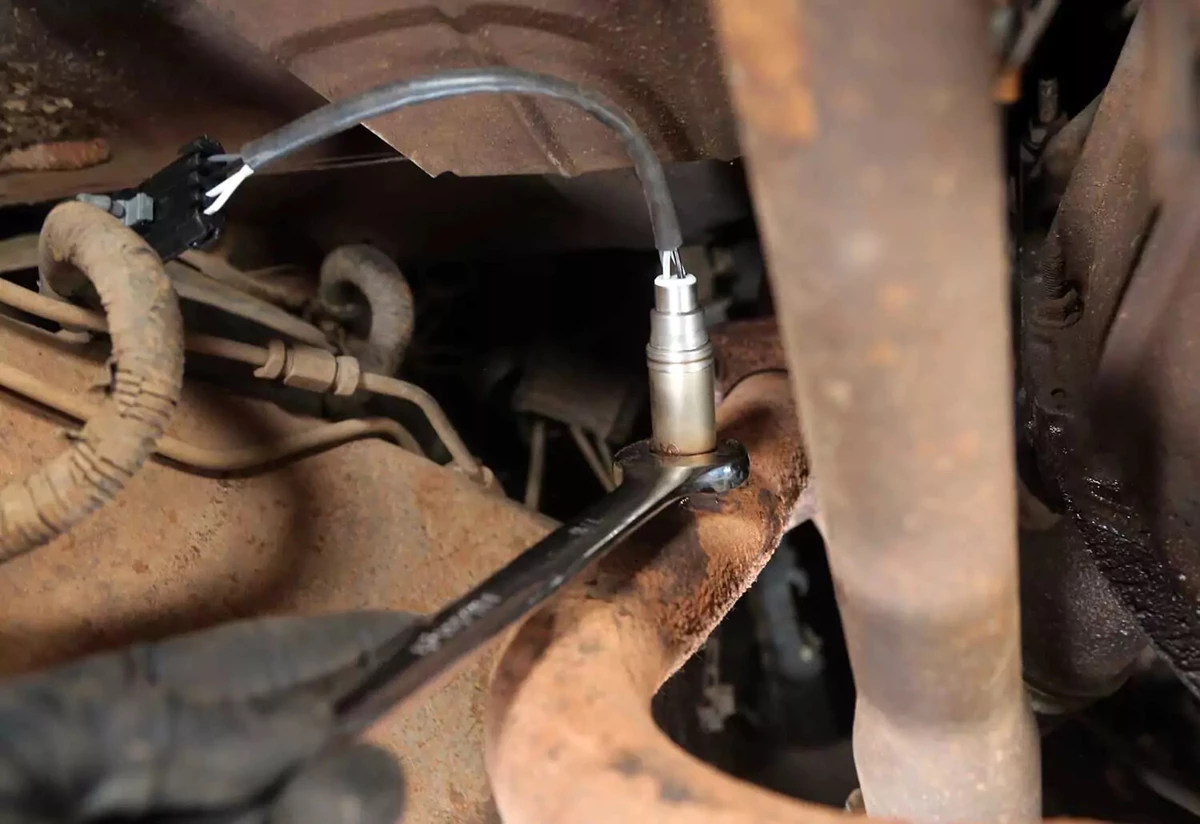
Tighten the sensor in the bung. Thread it in finger tight and then add three-quarters of a turn.
Route the wire away from anything hot or moving. Plug the sensor wiring into the harness.
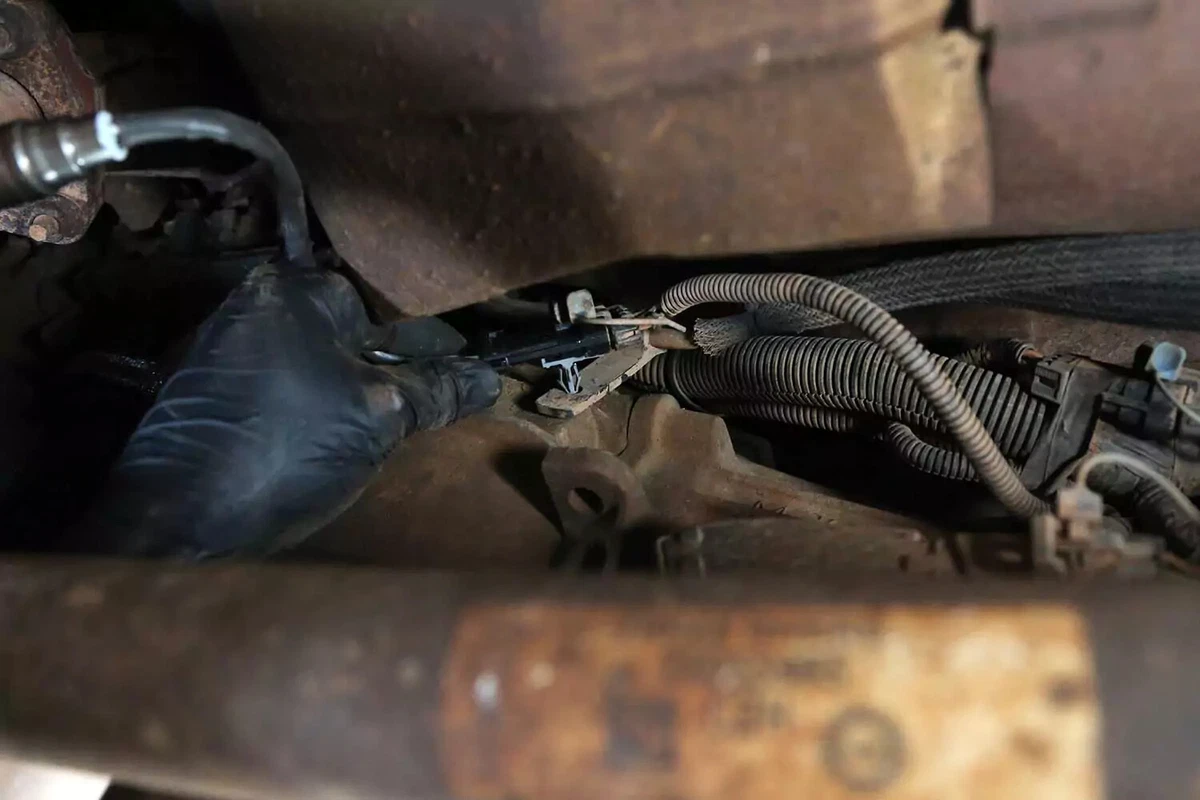
Using the original mount, secure the plug by clipping it into the mount—or use a zip tie. Regardless, ensure the wiring won’t make contact with the hot exhaust system.
The goal is to prevent damaging the sensor wires by contacting the driveshaft or the exhaust. A couple of zip ties will get the job done.
About the author

Share your feedback
This article is meant to provide general guidance only. Automotive maintenance, repair, upgrade, and installation may depend on vehicle-specifics such as make and model. Always consult your owner's manual, repair guide for specific information for your particular vehicle and consider a licensed auto-care professional's help as well, particularly for advance repairs.
Recommended for you
Find answers and inspiration
A Quick Guide to Valve Cover Gaskets
6 min read
When to Replace Your Exhaust Manifold Gasket
6 min read
How to Replace an Ignition Coil
6 min read
How to Buy the Right EGR Valve and Gasket
6 min read
Your Complete Idler Pulley Buying Guide
5 min read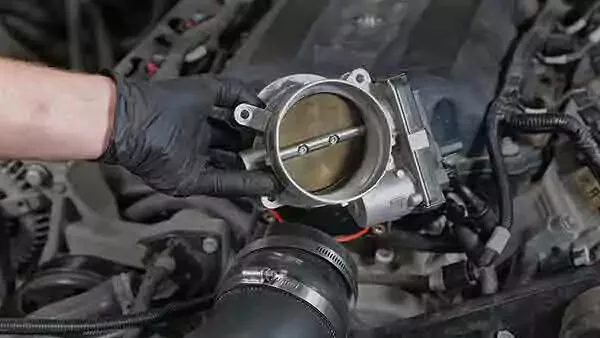
How to Buy the Right Throttle Body
5 min read
Buying the Right Distributor Cap and Rotor
4 min read
How to Replace a Drive Belt
5 min read
How to Replace an Intake Manifold Gasket
7 min read
How to Buy the Right Car Starter
5 min read
How to Replace a Valve Cover Gasket
7 min read
How to Change a Timing Belt
12 min read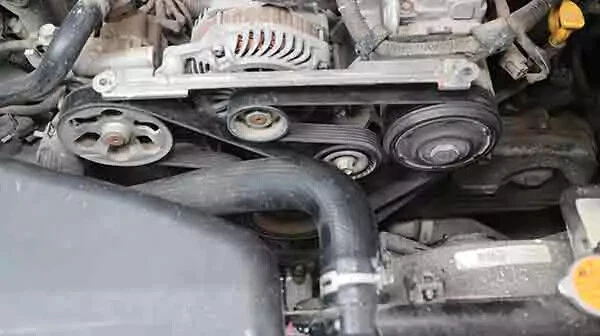
Diagnosing Your Serpentine Belt and Tensioner
6 min read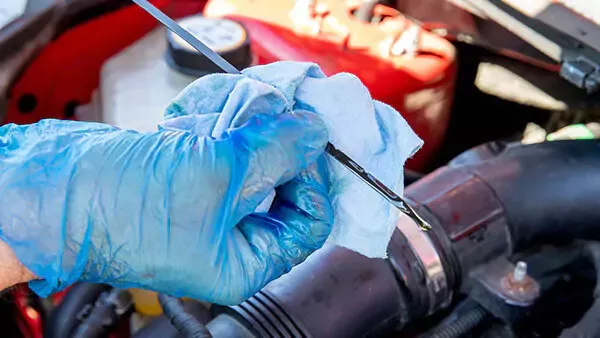
Changing Your Oil: 5 Things to Know
6 min read
How to Clean Fuel Injectors
8 min read
Automation How to Change a Car Battery
6 min read
How to Replace a Mass Air Flow (MAF) Sensor
7 min read
Distributors 101
6 min read
How to Replace Spark Plugs
7 min read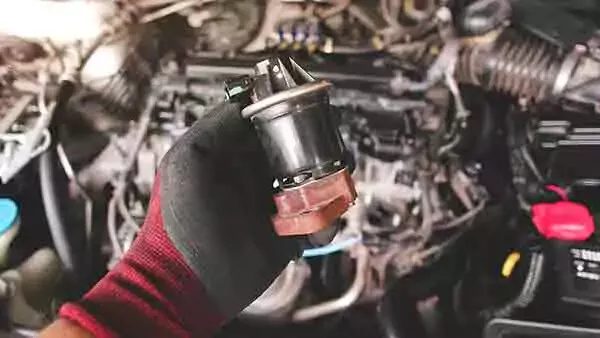
Everything You Should Know About EGR Valves
5 min read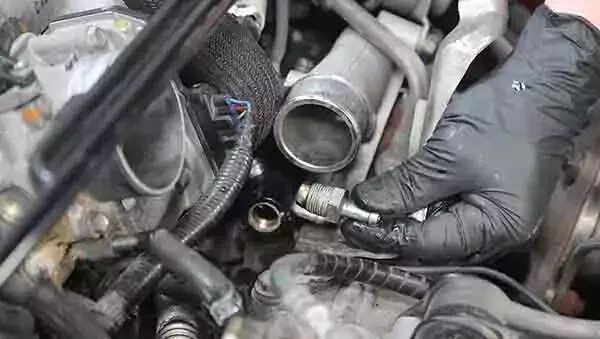
How to Test Your PCV Valve
6 min read
Buying the Best Portable Car Battery Jump Starter
6 min read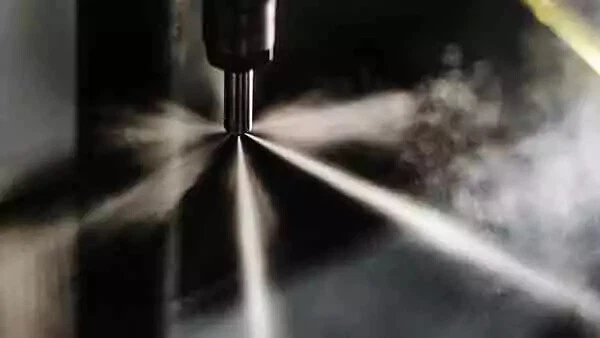
An Introduction to Cleaning Fuel Injectors
5 min read
A Deep-Dive Guide to Ignition Wires
7 min read
How to Replace Engine Mounts
4 min read
The Right Tools to Clean Your Fuel Injectors
6 min read
How Do Ignition Coils Work?
5 min read
Spark Plugs 101
7 min read
When to Replace Your Drive Belt
6 min read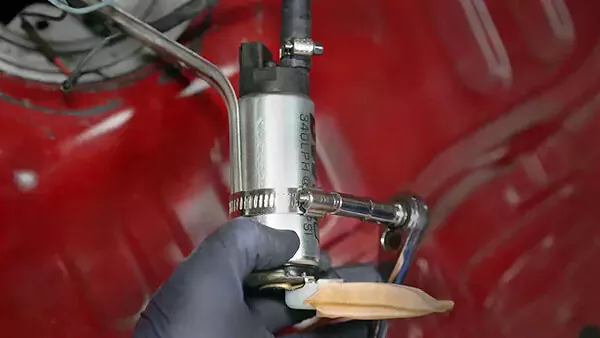
Fuel Pumps and How They Work
8 min read
What to Know About Your Vehicle's Throttle Body
6 min read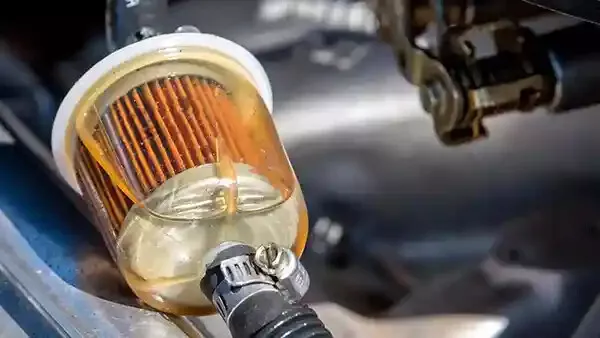
Everything You Need to Know About Fuel Filters
6 min read
How to Buy the Right Ignition Coils
7 min read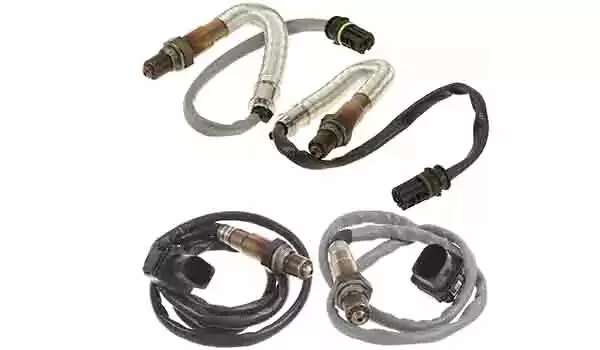
How to Buy the Right O2 Sensor
5 min read
How to Replace a Serpentine Belt Tensioner
4 min read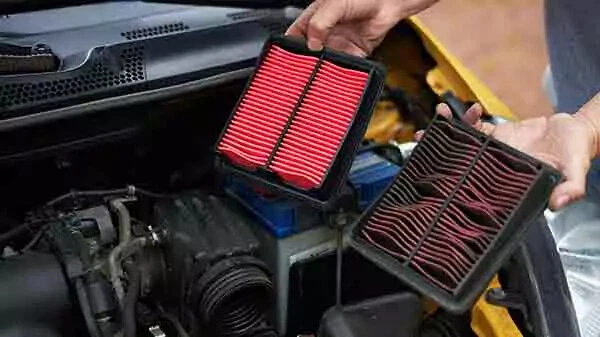
When to Replace Your Engine Air Filter
5 min read
How to Buy the Right Timing Belt and Related Tools
5 min read
How to Buy the Right Car Distributor
6 min read
Timing Belts 101
5 min read
How to Replace an Engine Air Filter
5 min read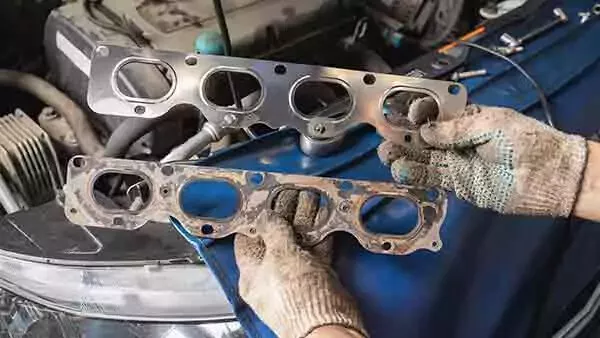
How to Buy the Right Exhaust Manifold Gasket
6 min read
How to Choose the Best Spark Plugs
5 min read
How to Replace a Car Starter
7 min read
What You Should Know About O2 Sensors
6 min read
How to Buy the Right Valve Cover Gasket
4 min read
How to Replace a Distributor Cap and Rotor
5 min read
Understanding Your Car's Idler Pulley
4 min read
How to Replace a Fuel Filter
7 min read
How to Replace a PCV Valve
6 min read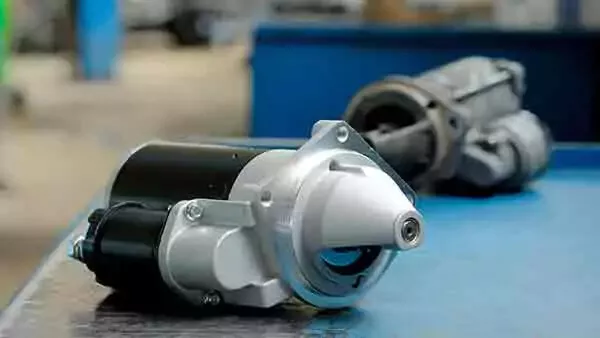
Everything You Need to Know About Car Starters
7 min read
How to Replace an Exhaust Gasket
9 min read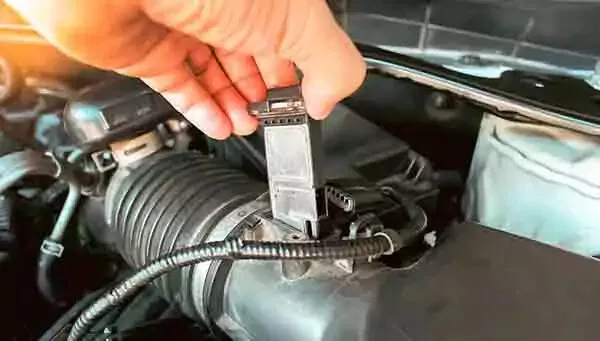
Do You Have a Faulty Mass Air Flow Sensor?
4 min read
Ignition Wire Buying Guide
6 min read
All About Your Distributor Cap and Rotor
7 min read
How to Replace a Throttle Body
6 min read
Spotting Intake Manifold Gasket Problems
7 min read
How to Change Oil in a Car
8 min read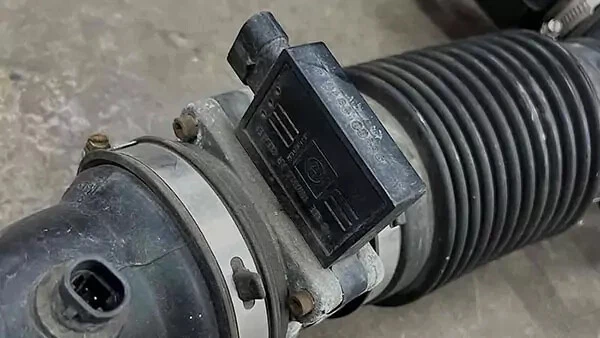
How to Buy the Best MAF Sensor
4 min read
How to Replace an EGR Valve
5 min read
How to Change an In-Tank Fuel Pump
9 min read
Explore more projects

How to Repair a Chipped Windshield
1 to 2 hours
Beginner
7 min read

How to Replace Brake Fluid
1 to 2 hours
Beginner
10 min read
How to Replace an Ignition Coil
Less than 30 minutes
Beginner
6 min read

How to Replace a Radiator Hose
Less than 30 minutes
Beginner
5 min read

How to Replace Brake Rotors
1 to 2 hours
Beginner
7 min read
How to Replace a Serpentine Belt Tensioner
Less than 30 minutes
Beginner
4 min read
How to Replace a Drive Belt
Less than 30 minutes
Beginner
5 min read

How to Rotate Your Tires
30 to 60 minutes
Beginner
5 min read

How to Refill Windshield Washer Fluid
Less than 30 minutes
Beginner
4 min read

How To Replace Differential Fluid
Less than 30 minutes
Beginner
8 min read

How to Replace Sway Bar End Links and Bushings
30 to 60 minutes
Beginner
6 min read

How to Replace Transmission Fluid and Filter
1 to 2 hours
Beginner
11 min read

How to Change Disc Brake Pads
30 to 60 minutes
Beginner
8 min read

How to Replace a Cabin Air Filter
Less than 30 minutes
Beginner
5 min read
How to Replace a Valve Cover Gasket
Less than 30 minutes
Beginner
7 min read

How to Change Windshield Wipers
Less than 30 minutes
Beginner
3 min read
How to Replace an Engine Air Filter
Less than 30 minutes
Beginner
5 min read
How to Clean Fuel Injectors
1 to 2 hours
Beginner
8 min read

How to Replace Shock Absorbers
30 to 60 minutes
Beginner
8 min read
How to Change a Car Battery
Less than 30 minutes
Beginner
6 min read
Automation How to Change a Car Battery
Less than 30 minutes
Beginner
6 min read
How to Replace a Mass Air Flow (MAF) Sensor
Less than 30 minutes
Beginner
7 min read

How to Replace a Clutch Master Cylinder
1 to 2 hours
Beginner
11 min read

How to Flush and Change Engine Coolant
30 to 60 minutes
Beginner
6 min read
How to Replace a Distributor Cap and Rotor
30 to 60 minutes
Beginner
5 min read

How to Check Tire Pressure and Change a Tire
Less than 30 minutes
Beginner
9 min read
How to Replace a Fuel Filter
30 to 60 minutes
Beginner
7 min read
How to Replace a PCV Valve
30 to 60 minutes
Beginner
6 min read

How to Replace a Brake Caliper
1 to 2 hours
Beginner
7 min read

How to Replace an Idler Pulley
30 to 60 minutes
Beginner
4 min read

How to Change a Headlight Bulb
Less than 30 minutes
Beginner
6 min read
How to Replace an Exhaust Gasket
1 to 2 hours
Beginner
9 min read
How to Replace a Throttle Body
30 to 60 minutes
Beginner
6 min read
How to Change Oil in a Car
Less than 30 minutes
Beginner
8 min read

How to Replace an Alternator
1 to 2 hours
Beginner
11 min read
How to Replace an EGR Valve
30 to 60 minutes
Beginner
5 min read

How to Jump Start a Car
Less than 30 minutes
Beginner
9 min read