Radiator hoses wear out over time. These rubber hoses are exposed to high heat and cooling that breaks down the material. If a radiator hose tears or splits, your engine will overheat.
You should replace your radiator hose about every five years. If your vehicle is older than five years, consider replacing your radiator hose before a radiator leak arises. You can usually replace one hose in less than 30 minutes.
Before Replacing Your Radiator Hose
For your safety, let the vehicle cool completely off before starting this project. The radiator is pressurized when the cooling system is hot.
If you open the radiator system while your vehicle is hot, scalding water and steam could gush out. After the vehicle is cool, slowly open the radiator cap slightly to ensure there is no pressure.
Tips and Tricks for DIY Radiator Hose Replacement
- Use a drain pan under the vehicle to catch any coolant that spills during this job.
- Automotive coolant is toxic. Dispose of coolant properly. - opens in new window or tab.

You don’t need a large pan, but changing a lower radiator hose will result in a total cooling system drain. It could be several gallons, so plan accordingly.
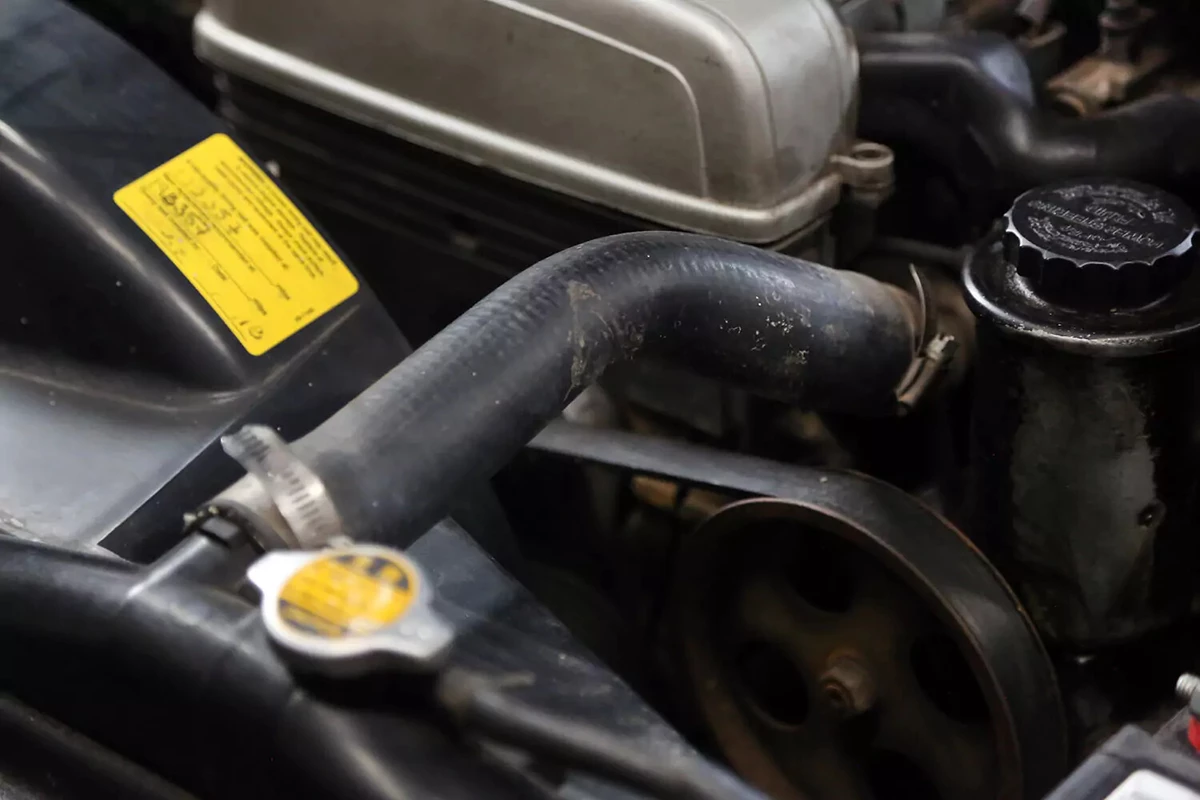
Your radiator has two large hoses: upper and lower. We are changing this upper hose, which is easy to locate at the top of the engine. The lower hose, which is often at the bottom of the radiator covered by a shroud and cooling fans, can be more difficult to reach.
There are several types of radiator hose clamps. Most are like this worm-gear clamp.
Spring hose clamp pliers are helpful for working with large spring clamps used on some vehicles. We suggest replacing those with worm-drive clamps.
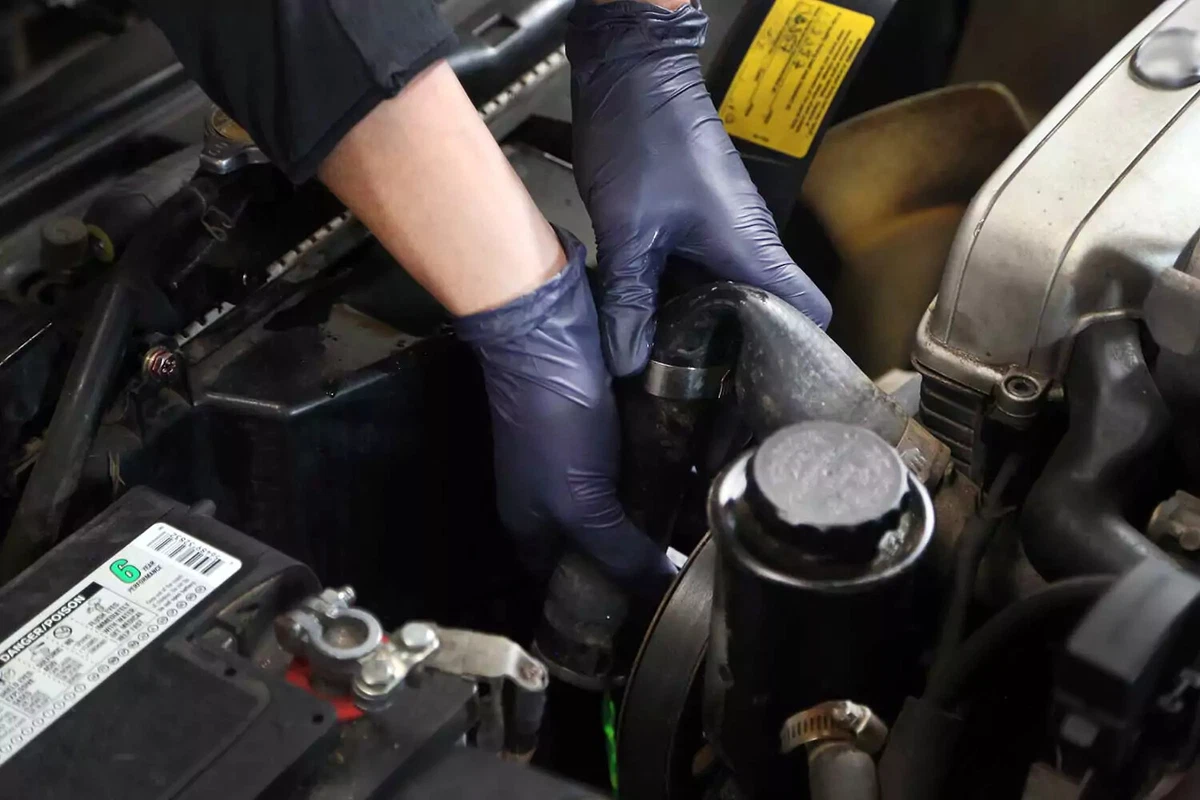
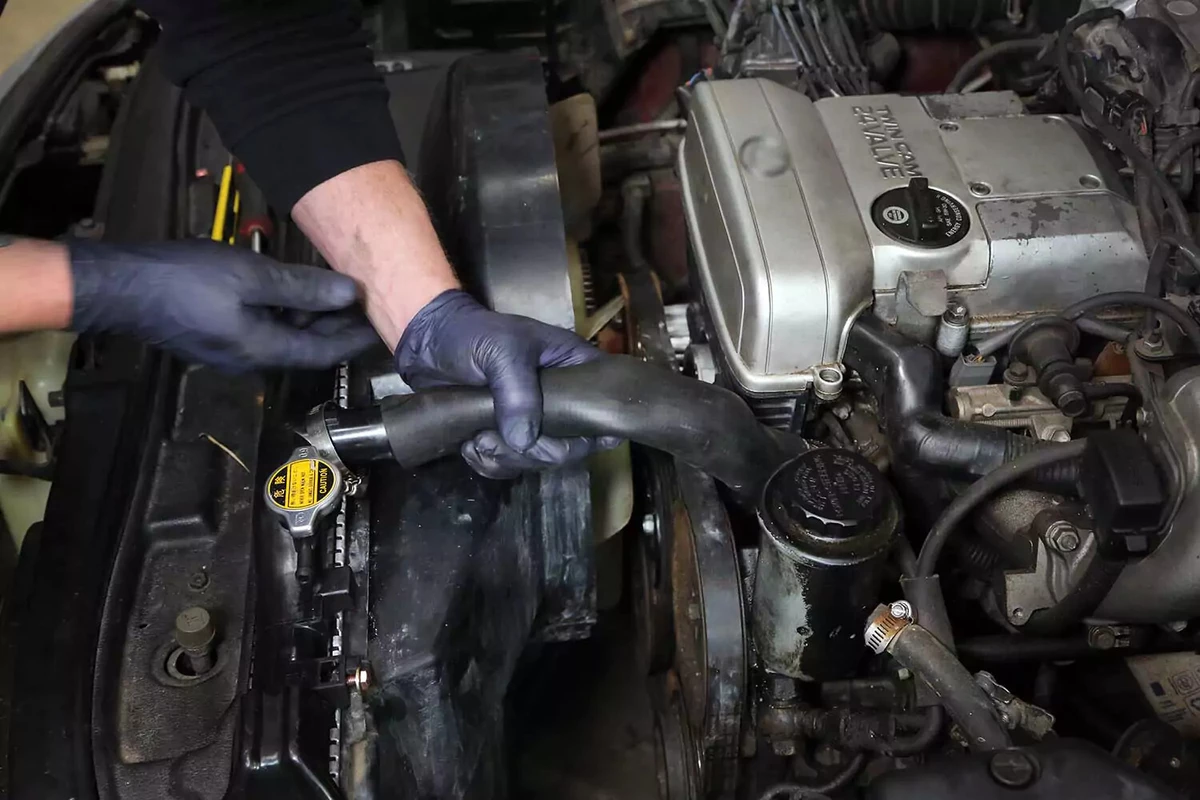
Grab the radiator hose and twist it as you pull it off the radiator neck. You will lose some coolant in this process. Try to direct the coolant flow toward the drain pan.
Is the hose stuck? If so, use a sharp utility knife to slice it open. But don’t cut so deeply that you scratch the water neck, which may cause a leak.
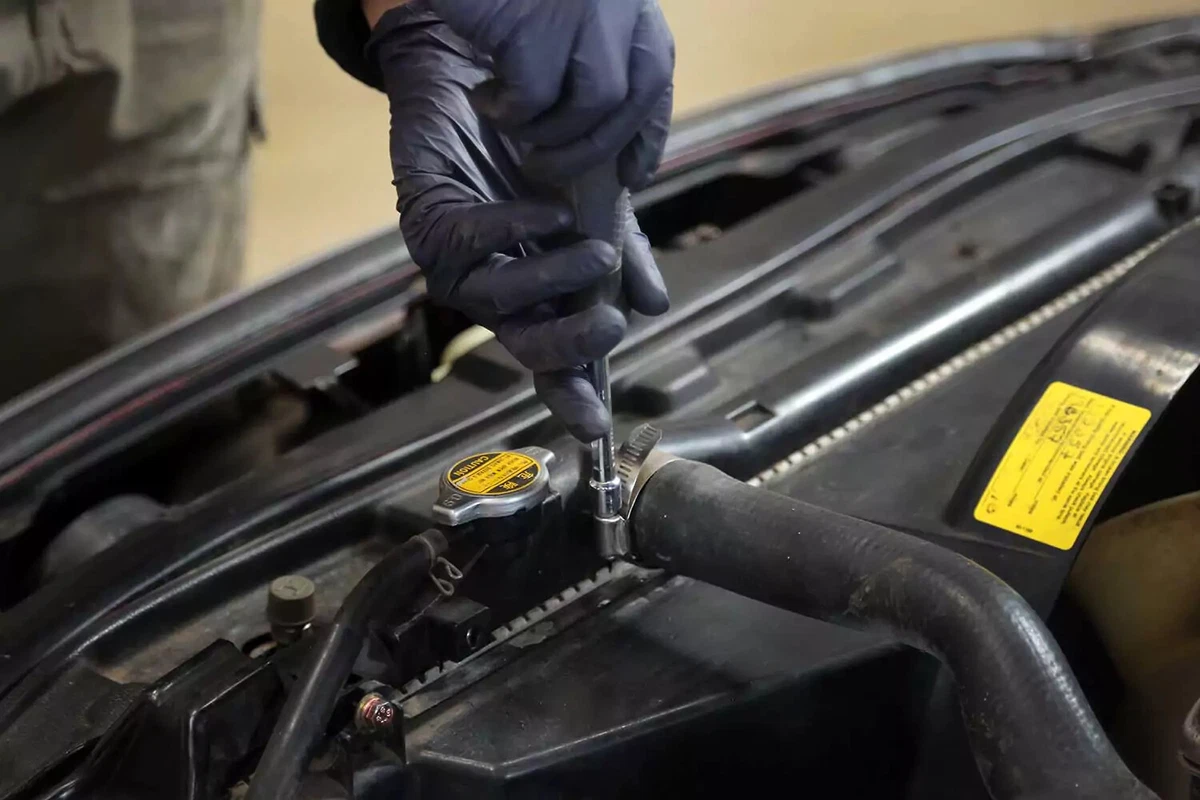
Move to the engine side of the hose. Loosen the clamp and slide it back. Then, pull the hose off the engine as you did for the radiator side.

We suggest replacing the hose clamps when installing a new hose.
Take the new clamp that came with the new hose and place it over the engine’s water neck. That will make it easier to install the clamp over the hose.
Slide the hose onto the engine water neck. Don’t tighten the clamp yet.
Now, you’re ready to connect the new hose to the radiator. Slip the clamp onto the radiator water neck and bend the hose as needed to get it into position.
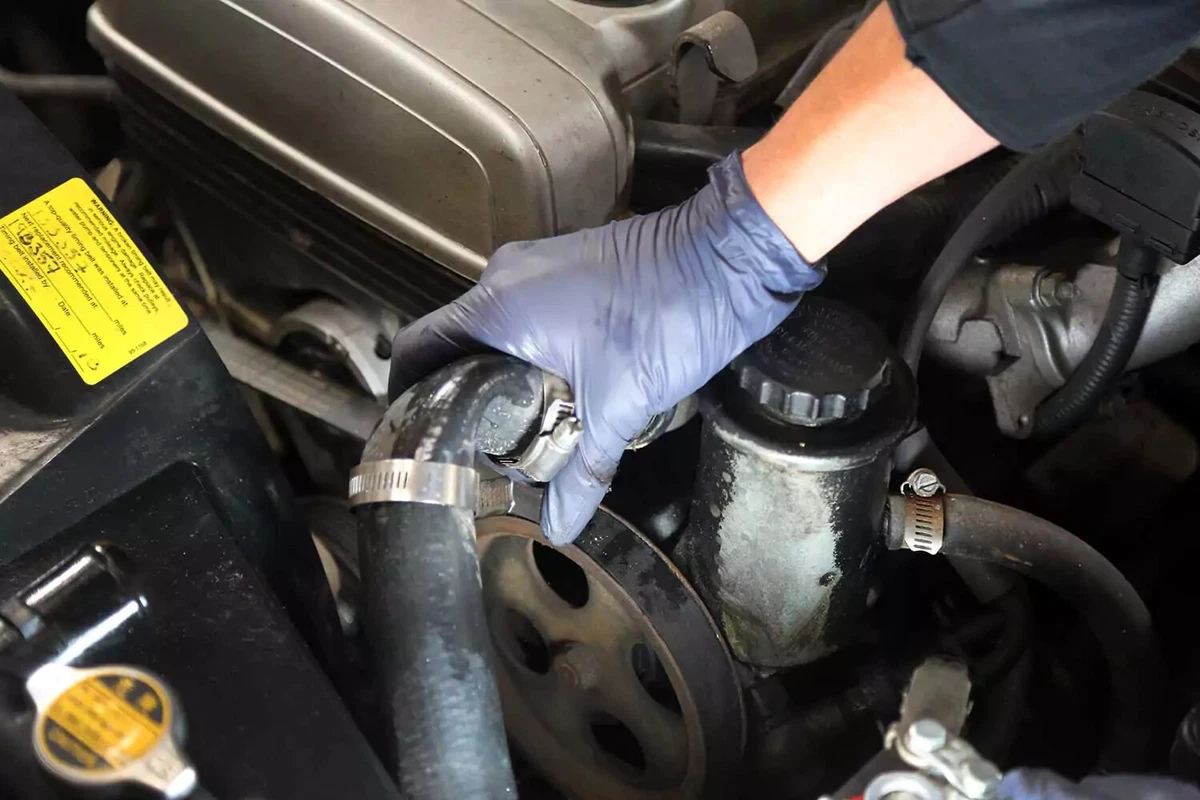
Slide and twist the new hose in place. Use at least 1.5 inches of rubber over the neck to ensure a good seal and enough room for the clamp to tighten over the hose.
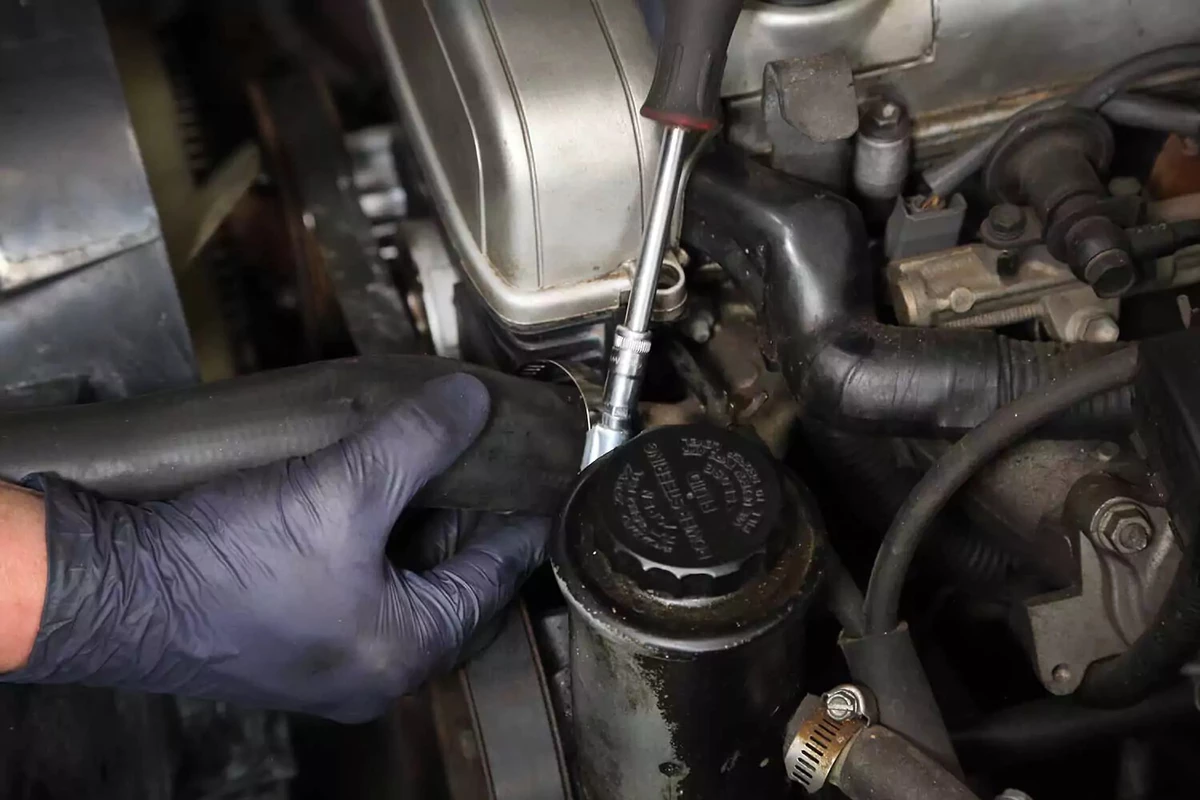
Connect both sides of the hose before tightening the clamps. The clamps should be positioned right next to (but not on top of) the water neck’s bead. We used a 5/16-inch nut driver, which works well for hose clamps. You can also use a flat-blade screwdriver or socket and ratchet. Don’t over-tighten the clamp.
The clamp should compress the hose but not dig into it. If the rubber bulges through small openings in the clamp, it is too tight. Repeat for the radiator-side hose clamp.
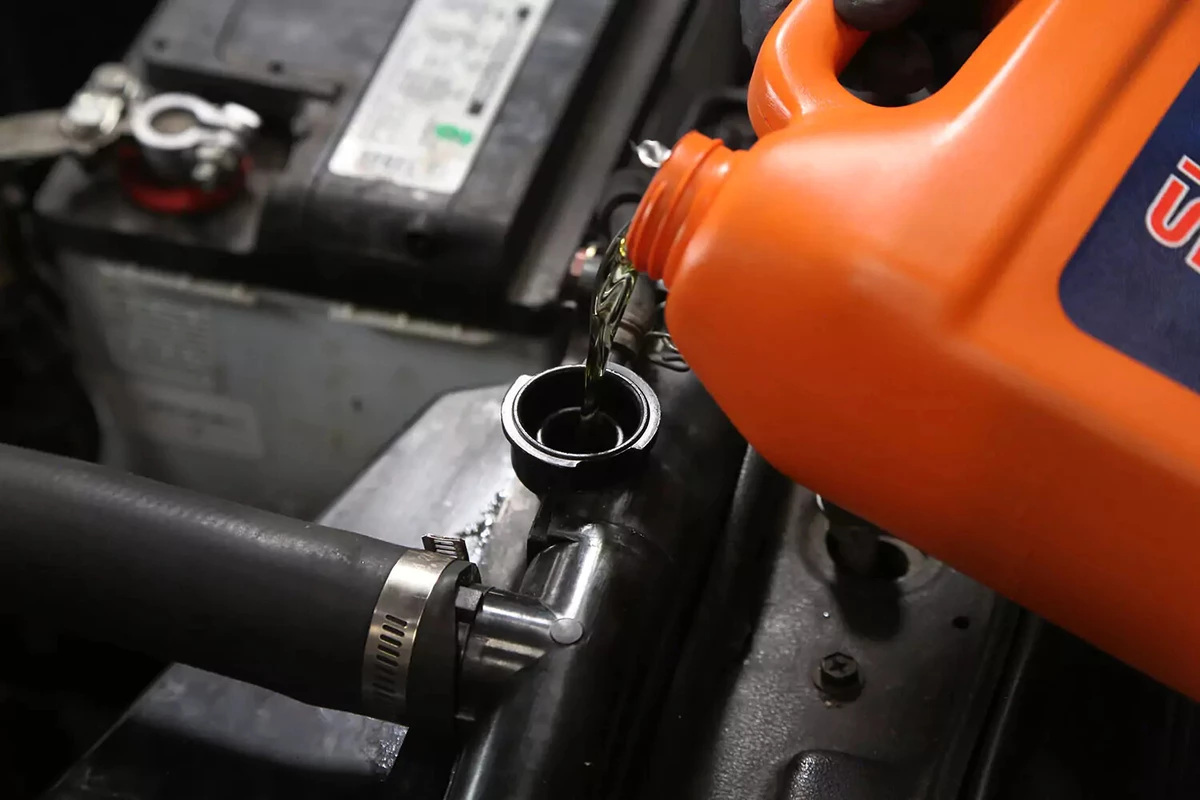
Finally, fill the new radiator with a 50/50 mix of coolant and distilled water. It is easier to buy pre-mixed coolant, so you don’t have to find distilled water. Avoid using tap water, which has minerals and salts that can cause sediment to build up and corrode inside your cooling system and engine.
At this stage, your radiator will only take so much coolant. In other words, the cooling system won’t fill up until the engine reaches its normal operating temperature (usually 180 to 205 degrees Fahrenheit) and the thermostat is hot enough to open.
To properly fill the radiator, follow these steps:
- Start the engine and let it idle for a few minutes until the system reaches its operating temperature.
- Once the engine is warmed up to the point where the thermostat opens, coolant will start to move, and the level will drop. Also, the upper hose will get hot.
- Continue adding the coolant-water mix until it is once again at the top.
- Turn the heater all the way up so the heater core fills with fresh coolant as well.
- Replace the radiator cap and fill the expansion or recovery tank to the hot fill line on the reservoir's side. Turn off the engine and allow it to cool for at least an hour.
- Check the fluid level again. It will probably be low. Top it off another time. Do this for the next couple of days (after driving the vehicle) until the system is full. Never open a hot radiator. That’s dangerous.
- You might need to remove the remaining air from the system by burping your radiator. This typically requires running the car with the radiator pressure cap off for several cycles, allowing the air to escape. Consult your repair manual for details.
About the author

Share your feedback
This article is meant to provide general guidance only. Automotive maintenance, repair, upgrade, and installation may depend on vehicle-specifics such as make and model. Always consult your owner's manual, repair guide for specific information for your particular vehicle and consider a licensed auto-care professional's help as well, particularly for advance repairs.
Recommended for you
Find answers and inspiration
How to Change a Thermostat
7 min read
How to Flush and Change Engine Coolant
6 min read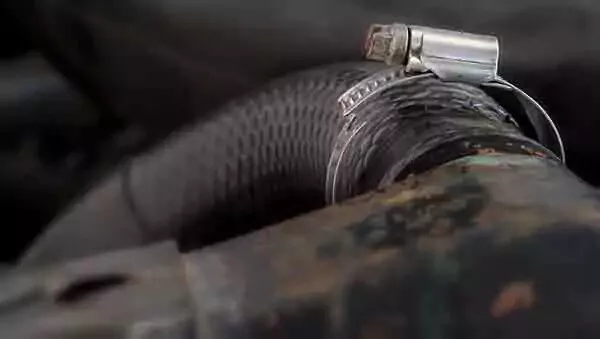
Everything You Need to Know About Radiator Hoses
6 min read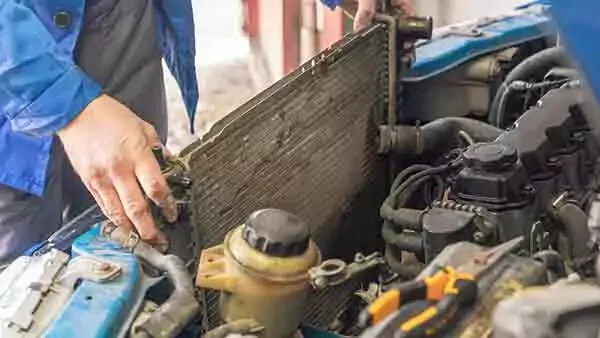
What You Should Know About Your Car Radiator
6 min read
How to Find the Right Radiator For Your Vehicle
6 min read
A Quick Guide to Your Car's Water Pump
6 min read
How to Change a Water Pump
8 min read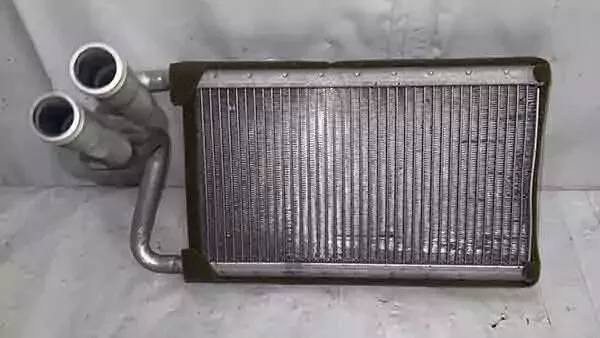
How to Buy the Right Heater Core
5 min read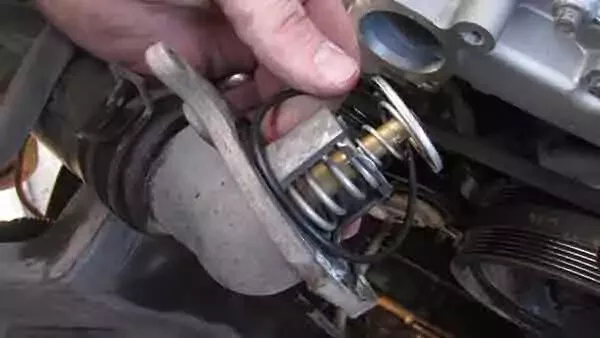
How to Choose a Thermostat for Your Vehicle
5 min read
How to Replace a Heater Core
12 min read
Diagnosing a Bad Heater Core
5 min read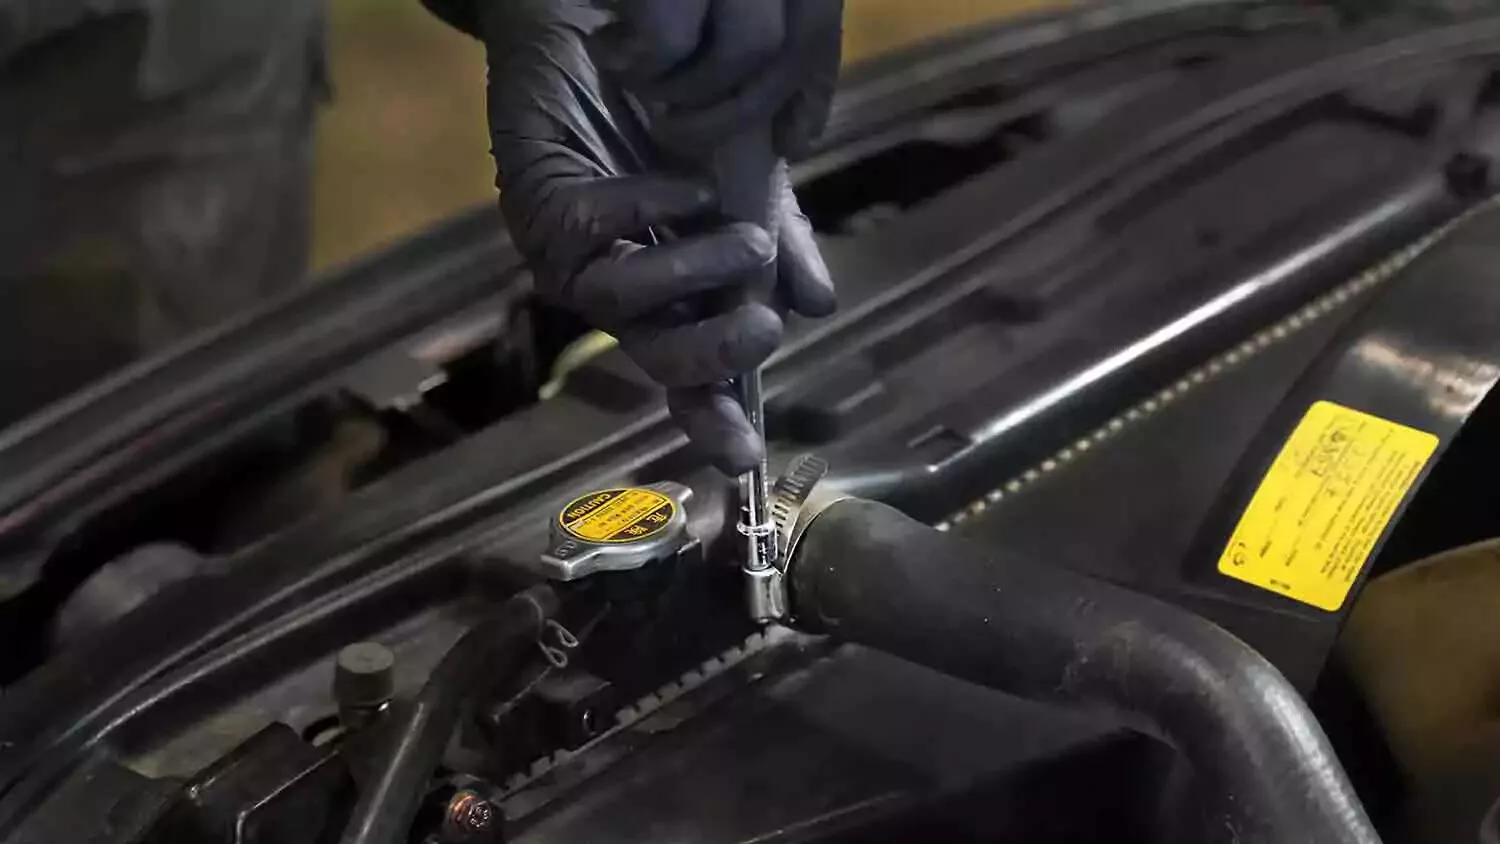
What to Consider When Buying a Radiator Hose
5 min read
Buying the Right Water Pump for Your Car
5 min read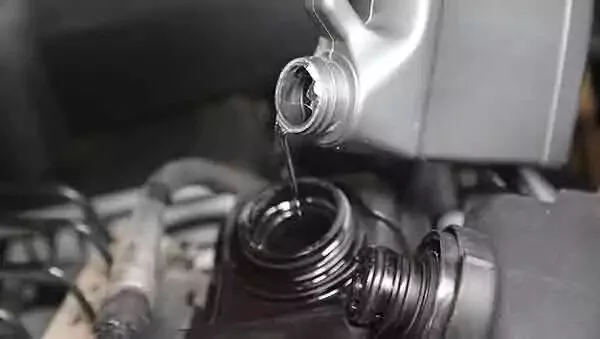
Selecting the Right Coolant for the Next Flush
5 min read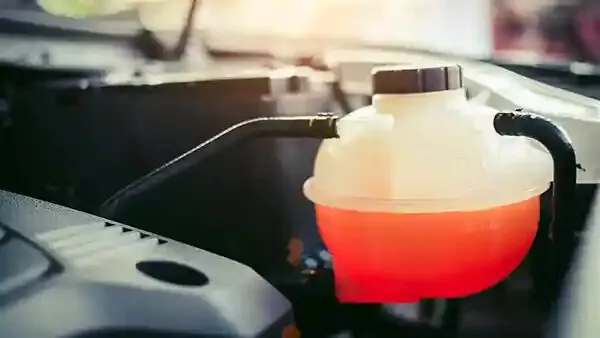
The Essentials of Engine Coolant
5 min read
Everything You Need to Know About Car Thermostats
6 min read
How to Replace a Car Radiator
8 min read
Explore more projects

How to Repair a Chipped Windshield
1 to 2 hours
Beginner
7 min read

How to Replace Brake Fluid
1 to 2 hours
Beginner
10 min read

How to Replace an Ignition Coil
Less than 30 minutes
Beginner
6 min read

How to Replace Brake Rotors
1 to 2 hours
Beginner
7 min read

How to Replace a Serpentine Belt Tensioner
Less than 30 minutes
Beginner
4 min read

How to Replace a Drive Belt
Less than 30 minutes
Beginner
5 min read

How to Rotate Your Tires
30 to 60 minutes
Beginner
5 min read

How to Refill Windshield Washer Fluid
Less than 30 minutes
Beginner
4 min read

How to Replace an Oxygen Sensor
30 to 60 minutes
Beginner
5 min read

How To Replace Differential Fluid
Less than 30 minutes
Beginner
8 min read

How to Replace Sway Bar End Links and Bushings
30 to 60 minutes
Beginner
6 min read

How to Replace Transmission Fluid and Filter
1 to 2 hours
Beginner
11 min read

How to Replace a Cabin Air Filter
Less than 30 minutes
Beginner
5 min read

How to Change Disc Brake Pads
30 to 60 minutes
Beginner
8 min read

How to Replace a Valve Cover Gasket
Less than 30 minutes
Beginner
7 min read

How to Change Windshield Wipers
Less than 30 minutes
Beginner
3 min read

How to Replace an Engine Air Filter
Less than 30 minutes
Beginner
5 min read

How to Clean Fuel Injectors
1 to 2 hours
Beginner
8 min read

How to Replace Shock Absorbers
30 to 60 minutes
Beginner
8 min read

How to Change a Car Battery
Less than 30 minutes
Beginner
6 min read
Automation How to Change a Car Battery
Less than 30 minutes
Beginner
6 min read

How to Replace a Mass Air Flow (MAF) Sensor
Less than 30 minutes
Beginner
7 min read

How to Replace a Clutch Master Cylinder
1 to 2 hours
Beginner
11 min read
How to Flush and Change Engine Coolant
30 to 60 minutes
Beginner
6 min read

How to Replace a Distributor Cap and Rotor
30 to 60 minutes
Beginner
5 min read

How to Check Tire Pressure and Change a Tire
Less than 30 minutes
Beginner
9 min read

How to Replace a Fuel Filter
30 to 60 minutes
Beginner
7 min read

How to Replace a PCV Valve
30 to 60 minutes
Beginner
6 min read

How to Replace a Brake Caliper
1 to 2 hours
Beginner
7 min read

How to Replace an Idler Pulley
30 to 60 minutes
Beginner
4 min read

How to Change a Headlight Bulb
Less than 30 minutes
Beginner
6 min read

How to Replace an Exhaust Gasket
1 to 2 hours
Beginner
9 min read

How to Replace a Throttle Body
30 to 60 minutes
Beginner
6 min read

How to Change Oil in a Car
Less than 30 minutes
Beginner
8 min read

How to Replace an Alternator
1 to 2 hours
Beginner
11 min read

How to Replace an EGR Valve
30 to 60 minutes
Beginner
5 min read

How to Jump Start a Car
Less than 30 minutes
Beginner
9 min read