Your vehicle’s accessory drive belt connects the engine crankshaft to accessories such as the AC compressor, alternator, power steering, and water pump. For proper operation, the drive belt must be held tight to each pulley.
The tensioner used on modern serpentine systems is a dynamic device, providing variable tension to adjust for sudden load changes. This prevents the belt from stretching and prematurely wearing out and reduces wear on accessory bearings.
Dynamic belt tensioners are typically powered by a heavy coil spring, rubber elastomer, or hydraulic shock. Most manufacturers recommend replacing the tensioner every 40,000 to 70,000 miles. It’s smart to replace the tensioner when you replace the belt.
Belt tensioners have two failure points: the tensioner device and the pulley bearing. Either can fail, leaving you with a stalled vehicle. The most common symptom of a failing belt tensioner is squealing and groaning. You might also experience a battery warning light, overheating, or burning rubber smell.
Replacing the tensioner on most vehicles is a quick and easy process using basic hand tools.
Tips & Tricks
- It doesn’t make sense to repair belt tensioners. It’s easier and better to replace the tensioner entirely.
- Verify that the replacement tensioner matches the original item and fits your make and model.
- Take a picture of the belt routing before replacing related parts. Photos will be helpful when reinstalling the belt. Not every vehicle has a sticker indicating the belt routing.
- If the tensioner is bad, the belt probably also needs to be replaced.
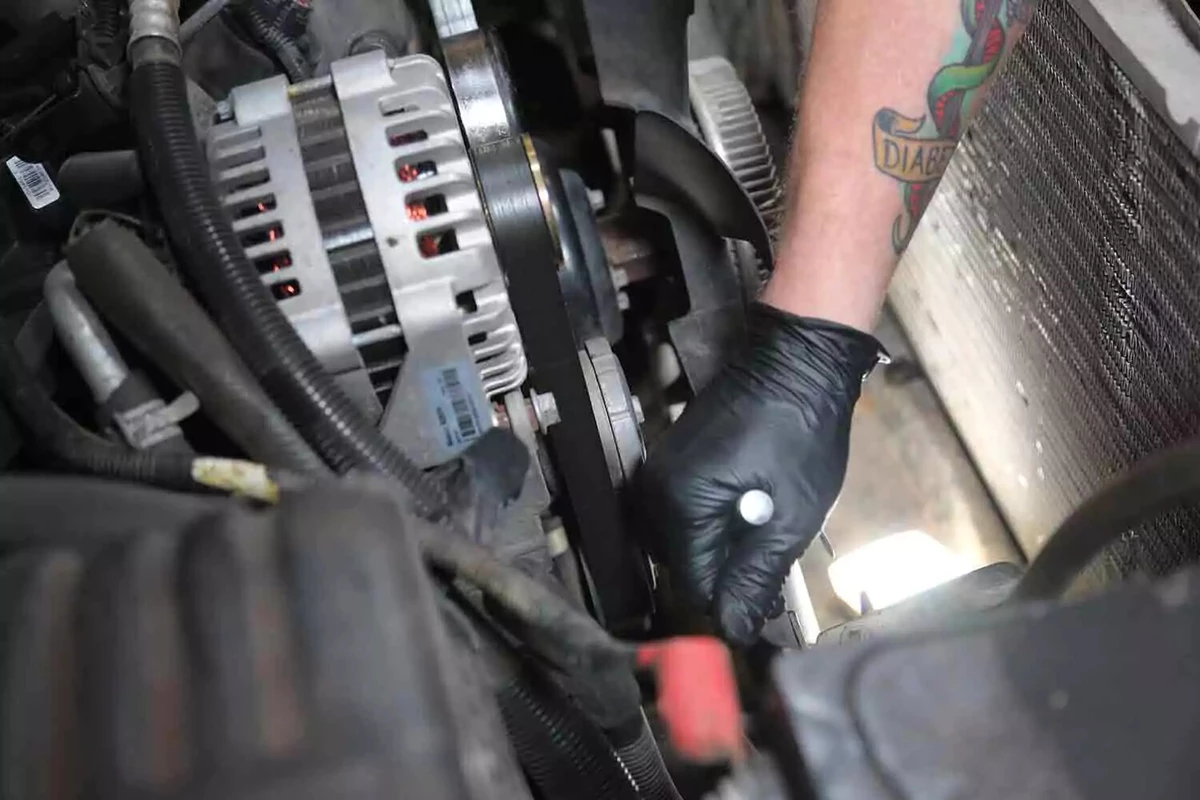
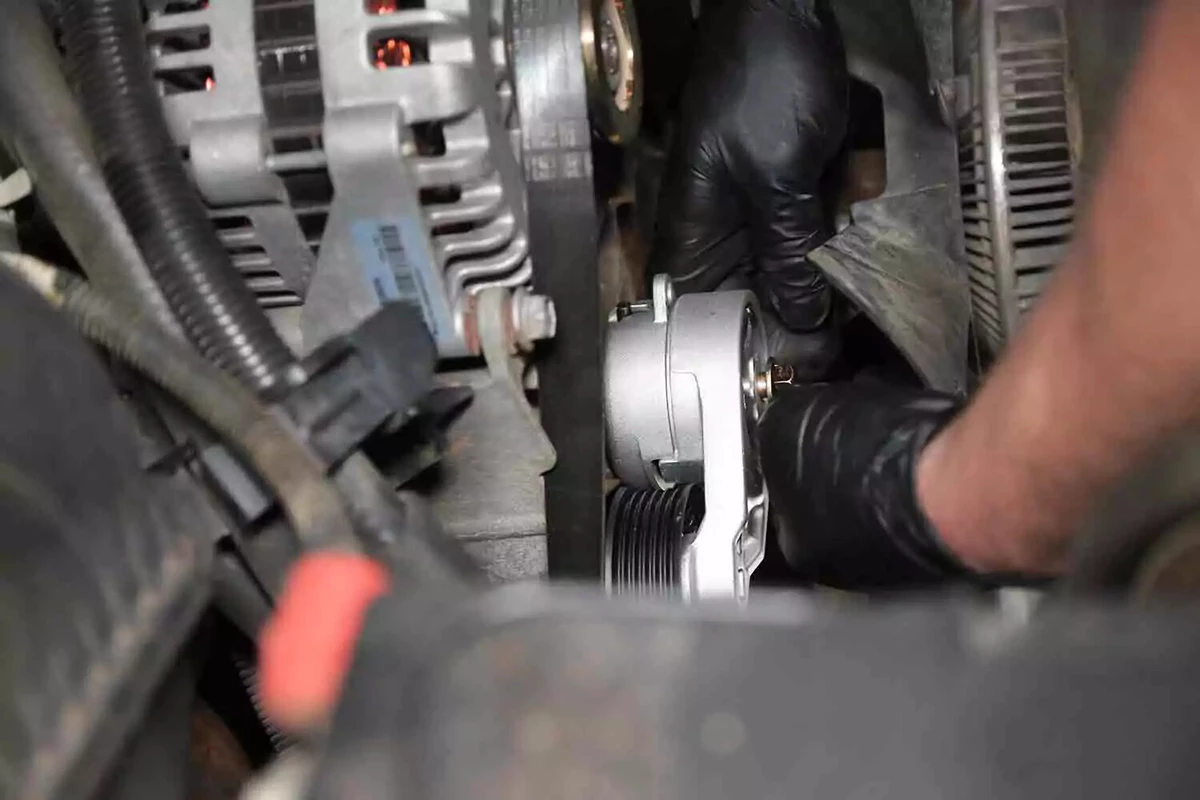
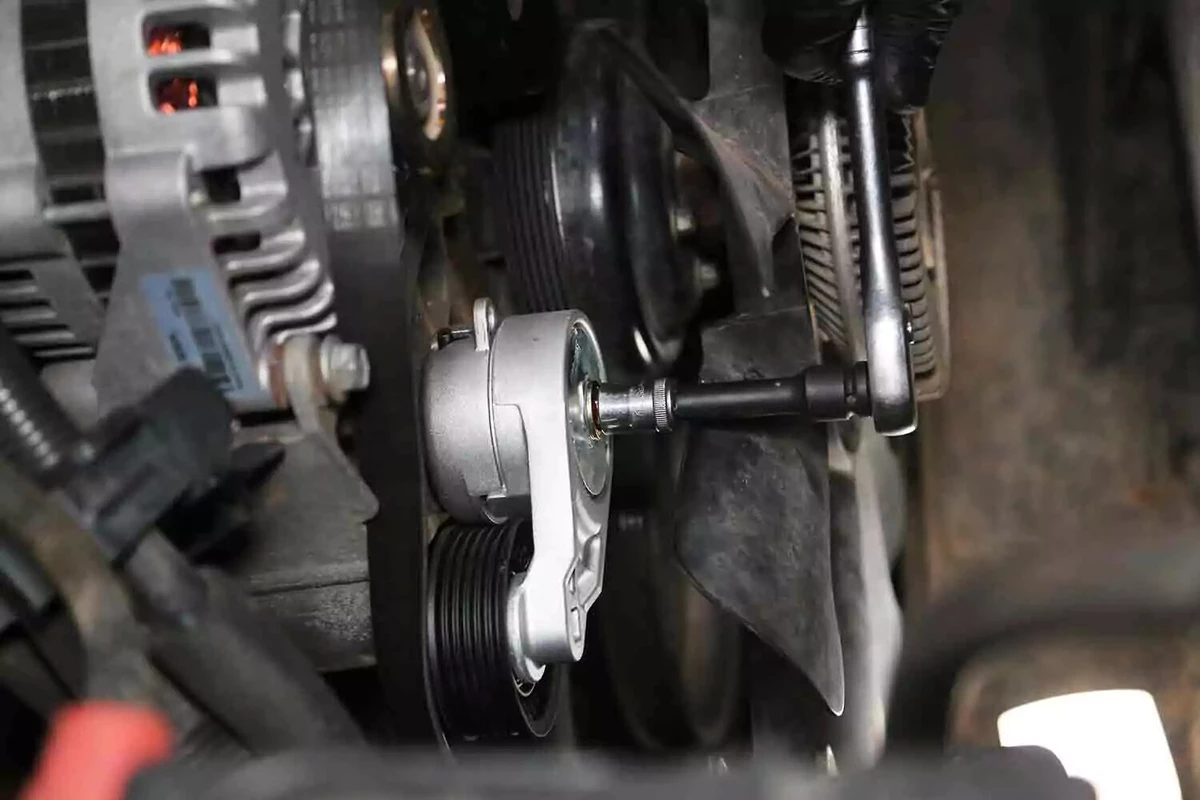
Use a breaker bar or ratchet to release the belt tension. Most tensioners have a 3/8-inch or 1/2-inch square drive for a ratchet or breaker bar. Some require a socket or a Torx bit. Rotate the tensioner arm against the spring to put slack in the belt with one hand while you slip the belt off with the other.
Check your owner’s manual for your vehicle’s recommended method.
You might need to remove some of the radiator shroud to access the tensioner.

While holding the tensioner in the released position, slip the belt off one pulley. If you are replacing the belt, fully remove it.
Release the tensioner.
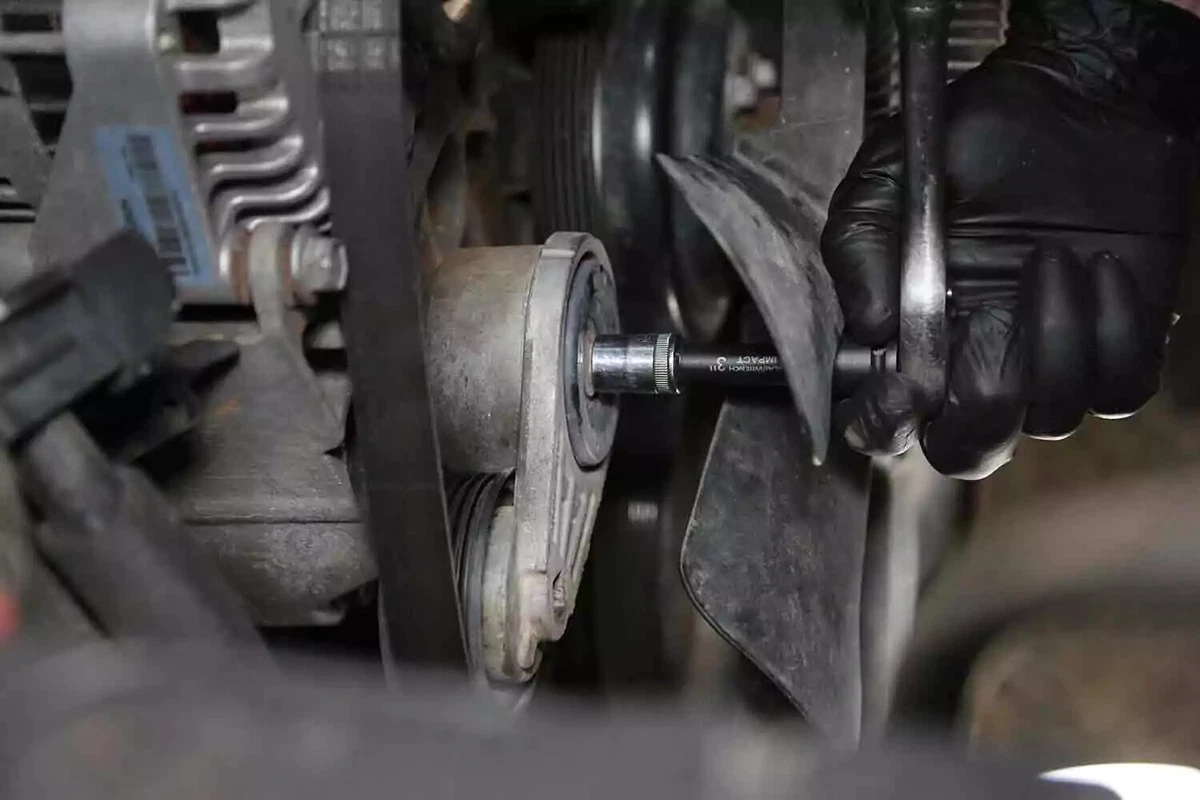
Unbolt the tensioner from the engine block. A single bolt through the center of the tensioner usually holds it in place.
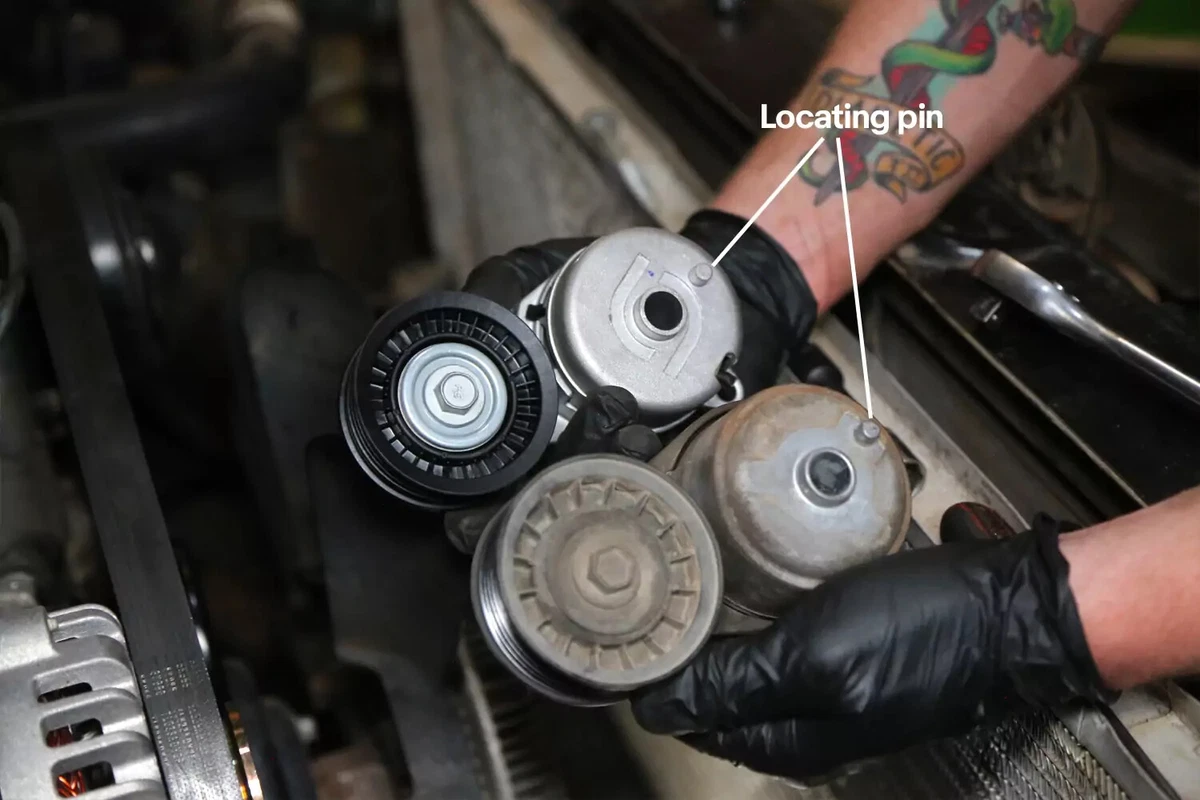
Hold the new and old tensioners next to one another. Verify that they are the same size and have the same mounting and pulley design. Do they have the same number of ribs?
Notice the small pin on the back of this tensioner. That’s what locks the mount in position on the engine.
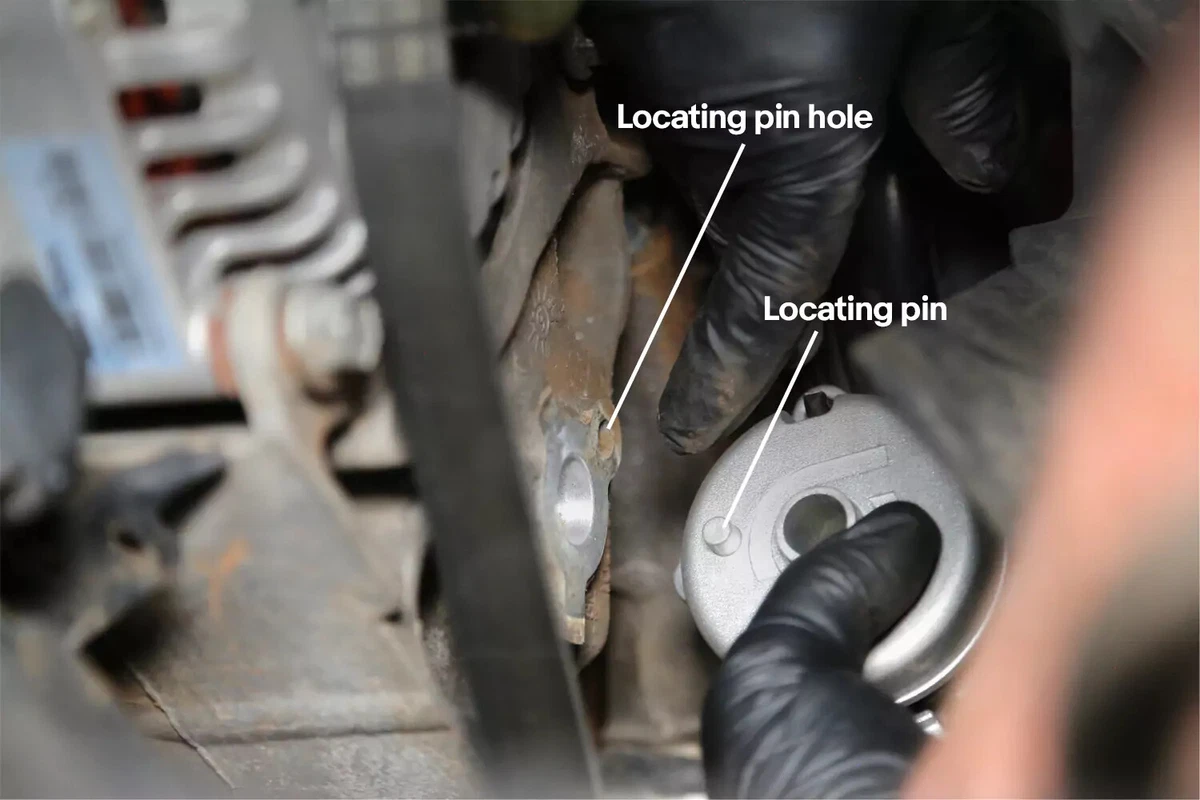
Verify the mounting features for your engine’s tensioner design. Position the new tensioner on the engine.
Put the tensioner into place. Thread the fasteners into place. Use new bolts, if available.
Use a socket and ratchet to tighten the bolts to the factory spec.
Verify the torque specs in your service manual. They are usually under 30 pound-feet, so wrench-tight is adequate.
Reinstall the serpentine belt following the original routing. There should be a sticker under the hood detailing the belt routing. If not, consult your repair manual for the correct routing.
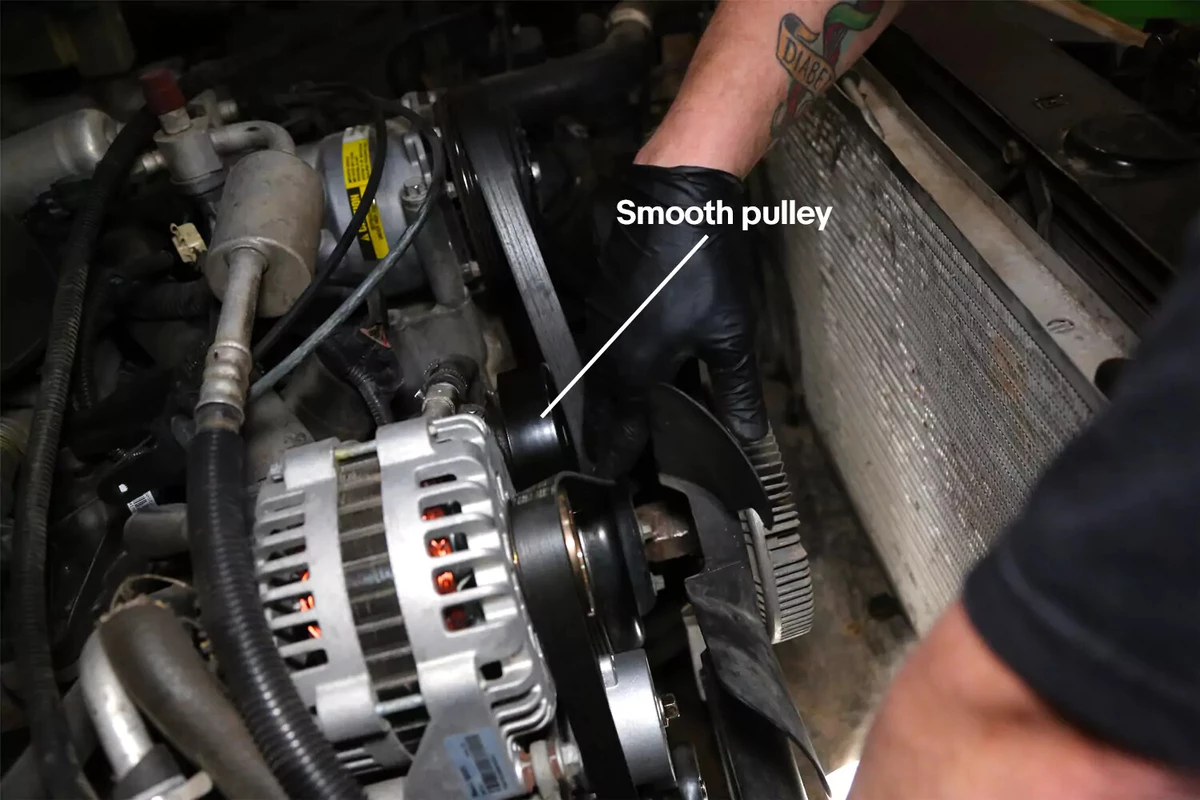
Route the belt over all of the pulleys, including the new one, skipping one smooth idler pulley.
Attach the ratchet or socket to the tensioner and release the tension on the belt. Slip the belt over that last smooth pulley. Release the tensioner, ensuring the ribs are fully engaged on all pulleys. Check the other grooved pulleys to ensure the belt is centered.
It’s important to confirm that the belt is fully on the pulleys. Otherwise, the belt could come off and be damaged.
About the author

Share your feedback
This article is meant to provide general guidance only. Automotive maintenance, repair, upgrade, and installation may depend on vehicle-specifics such as make and model. Always consult your owner's manual, repair guide for specific information for your particular vehicle and consider a licensed auto-care professional's help as well, particularly for advance repairs.
Recommended for you
Find answers and inspiration
A Quick Guide to Valve Cover Gaskets
6 min read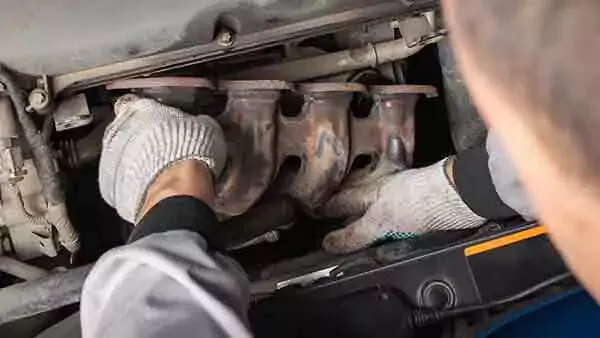
When to Replace Your Exhaust Manifold Gasket
6 min read
How to Replace an Ignition Coil
6 min read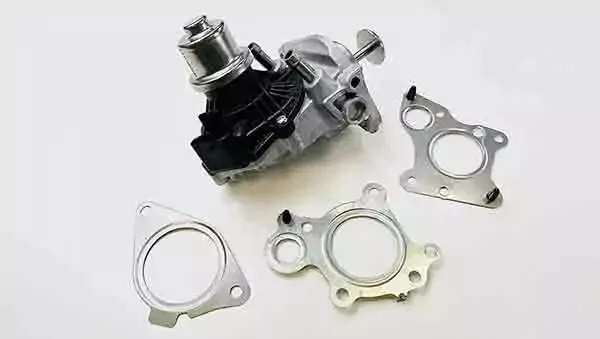
How to Buy the Right EGR Valve and Gasket
6 min read
Your Complete Idler Pulley Buying Guide
5 min read
Buying the Right Distributor Cap and Rotor
4 min read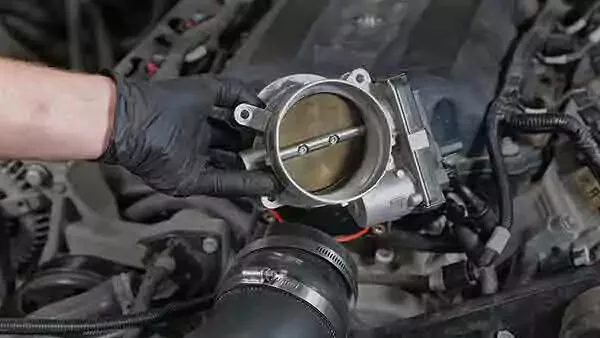
How to Buy the Right Throttle Body
5 min read
How to Replace a Drive Belt
5 min read
How to Replace an Intake Manifold Gasket
7 min read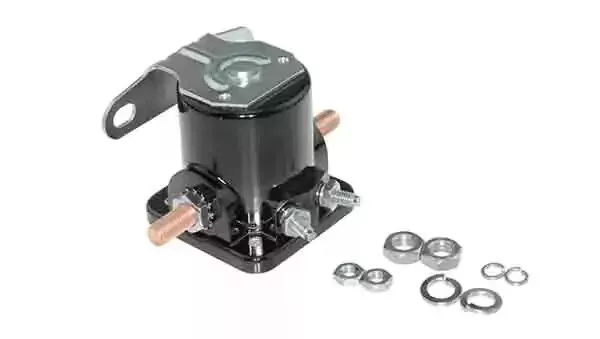
How to Buy the Right Car Starter
5 min read
How to Replace a Valve Cover Gasket
7 min read
How to Change a Timing Belt
12 min read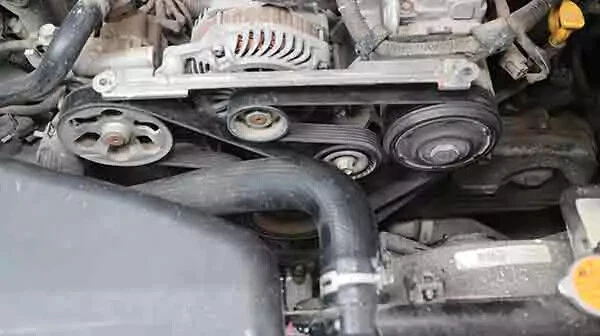
Diagnosing Your Serpentine Belt and Tensioner
6 min read
Changing Your Oil: 5 Things to Know
6 min read
How to Clean Fuel Injectors
8 min read
Automation How to Change a Car Battery
6 min read
How to Replace a Mass Air Flow (MAF) Sensor
7 min read
Distributors 101
6 min read
How to Replace Spark Plugs
7 min read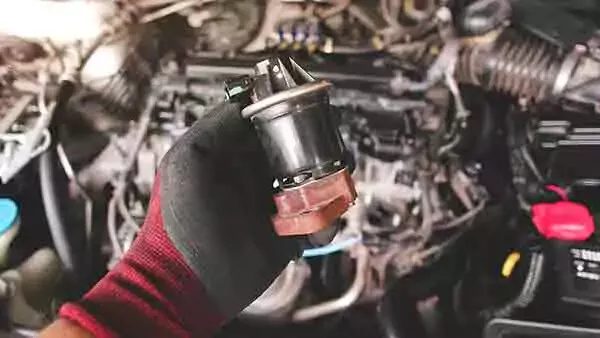
Everything You Should Know About EGR Valves
5 min read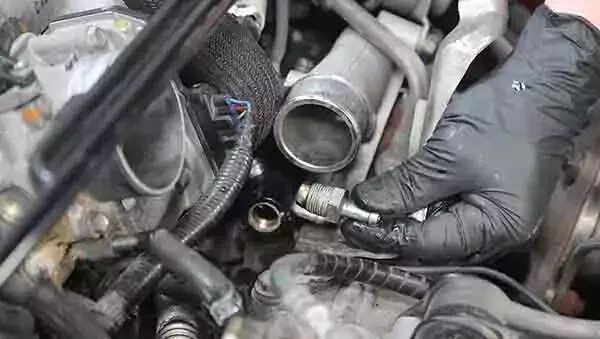
How to Test Your PCV Valve
6 min read
Buying the Best Portable Car Battery Jump Starter
6 min read
An Introduction to Cleaning Fuel Injectors
5 min read
A Deep-Dive Guide to Ignition Wires
7 min read
How to Replace Engine Mounts
4 min read
The Right Tools to Clean Your Fuel Injectors
6 min read
How Do Ignition Coils Work?
5 min read
Spark Plugs 101
7 min read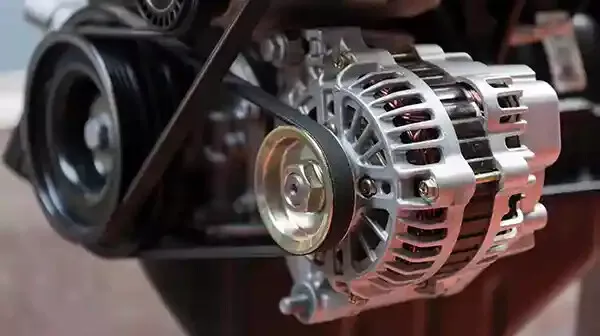
When to Replace Your Drive Belt
6 min read
Fuel Pumps and How They Work
8 min read
What to Know About Your Vehicle's Throttle Body
6 min read
Everything You Need to Know About Fuel Filters
6 min read
How to Buy the Right Ignition Coils
7 min read
How to Buy the Right O2 Sensor
5 min read
When to Replace Your Engine Air Filter
5 min read
How to Replace an Oxygen Sensor
5 min read
How to Buy the Right Timing Belt and Related Tools
5 min read
How to Buy the Right Car Distributor
6 min read
Timing Belts 101
5 min read
How to Replace an Engine Air Filter
5 min read
How to Buy the Right Exhaust Manifold Gasket
6 min read
How to Choose the Best Spark Plugs
5 min read
How to Replace a Car Starter
7 min read
What You Should Know About O2 Sensors
6 min read
How to Buy the Right Valve Cover Gasket
4 min read
How to Replace a Distributor Cap and Rotor
5 min read
Understanding Your Car's Idler Pulley
4 min read
How to Replace a Fuel Filter
7 min read
How to Replace a PCV Valve
6 min read
Do You Have a Faulty Mass Air Flow Sensor?
4 min read
Everything You Need to Know About Car Starters
7 min read
How to Replace an Exhaust Gasket
9 min read
Ignition Wire Buying Guide
6 min read
All About Your Distributor Cap and Rotor
7 min read
How to Replace a Throttle Body
6 min read
Spotting Intake Manifold Gasket Problems
7 min read
How to Change Oil in a Car
8 min read
How to Buy the Best MAF Sensor
4 min read
How to Replace an EGR Valve
5 min read
How to Change an In-Tank Fuel Pump
9 min read
Explore more projects

How to Repair a Chipped Windshield
1 to 2 hours
Beginner
7 min read

How to Replace Brake Fluid
1 to 2 hours
Beginner
10 min read
How to Replace an Ignition Coil
Less than 30 minutes
Beginner
6 min read

How to Replace a Radiator Hose
Less than 30 minutes
Beginner
5 min read

How to Replace Brake Rotors
1 to 2 hours
Beginner
7 min read
How to Replace a Drive Belt
Less than 30 minutes
Beginner
5 min read

How to Rotate Your Tires
30 to 60 minutes
Beginner
5 min read

How to Refill Windshield Washer Fluid
Less than 30 minutes
Beginner
4 min read
How to Replace an Oxygen Sensor
30 to 60 minutes
Beginner
5 min read

How To Replace Differential Fluid
Less than 30 minutes
Beginner
8 min read

How to Replace Sway Bar End Links and Bushings
30 to 60 minutes
Beginner
6 min read

How to Replace Transmission Fluid and Filter
1 to 2 hours
Beginner
11 min read

How to Change Disc Brake Pads
30 to 60 minutes
Beginner
8 min read

How to Replace a Cabin Air Filter
Less than 30 minutes
Beginner
5 min read
How to Replace a Valve Cover Gasket
Less than 30 minutes
Beginner
7 min read

How to Change Windshield Wipers
Less than 30 minutes
Beginner
3 min read
How to Replace an Engine Air Filter
Less than 30 minutes
Beginner
5 min read
How to Clean Fuel Injectors
1 to 2 hours
Beginner
8 min read

How to Replace Shock Absorbers
30 to 60 minutes
Beginner
8 min read
How to Change a Car Battery
Less than 30 minutes
Beginner
6 min read
Automation How to Change a Car Battery
Less than 30 minutes
Beginner
6 min read
How to Replace a Mass Air Flow (MAF) Sensor
Less than 30 minutes
Beginner
7 min read

How to Replace a Clutch Master Cylinder
1 to 2 hours
Beginner
11 min read

How to Flush and Change Engine Coolant
30 to 60 minutes
Beginner
6 min read
How to Replace a Distributor Cap and Rotor
30 to 60 minutes
Beginner
5 min read

How to Check Tire Pressure and Change a Tire
Less than 30 minutes
Beginner
9 min read
How to Replace a Fuel Filter
30 to 60 minutes
Beginner
7 min read
How to Replace a PCV Valve
30 to 60 minutes
Beginner
6 min read

How to Replace a Brake Caliper
1 to 2 hours
Beginner
7 min read

How to Replace an Idler Pulley
30 to 60 minutes
Beginner
4 min read

How to Change a Headlight Bulb
Less than 30 minutes
Beginner
6 min read
How to Replace an Exhaust Gasket
1 to 2 hours
Beginner
9 min read
How to Replace a Throttle Body
30 to 60 minutes
Beginner
6 min read
How to Change Oil in a Car
Less than 30 minutes
Beginner
8 min read

How to Replace an Alternator
1 to 2 hours
Beginner
11 min read
How to Replace an EGR Valve
30 to 60 minutes
Beginner
5 min read

How to Jump Start a Car
Less than 30 minutes
Beginner
9 min read