Shock absorbers control your vehicle's vertical bouncing and side-to-side swaying. Good shocks help keep your tires in contact with the road, improving comfort, steering, handling, and braking. Bad shocks are not only uncomfortable to ride on, but they can also make your vehicle hard to control and potentially dangerous.
How do you know your shocks are bad?
To test your shock absorbers, press down on one corner of your vehicle a few times. After a hefty push, your vehicle should immediately rebound to ride height and stop bouncing. Repeat for each corner. If the shock is bad, the corner will be easy to push down. When you stop pushing, there will be noticeable continued bouncing. Repeat for each corner.
Is it hard to replace shock absorbers?
Most of the time, changing your car's shock absorbers is an easy do-it-yourself job that takes 30 to 60 minutes.
Should all shock absorbers be replaced at the same time?
It’s critical to replace the shocks on both sides of your vehicle at the same time. If one shock is bad, the other side is likely to be bad as well—or soon will be. Replacing only one shock will yield an off-balance ride. If you have never replaced any of your vehicle’s shocks, replace them all at once for the best results.
Read these guides: Shock Absorbers 101 - opens in new window or tab. and How to Choose the Best Shock Absorbers - opens in new window or tab..
DIY Shock Replacement Tips and Tricks
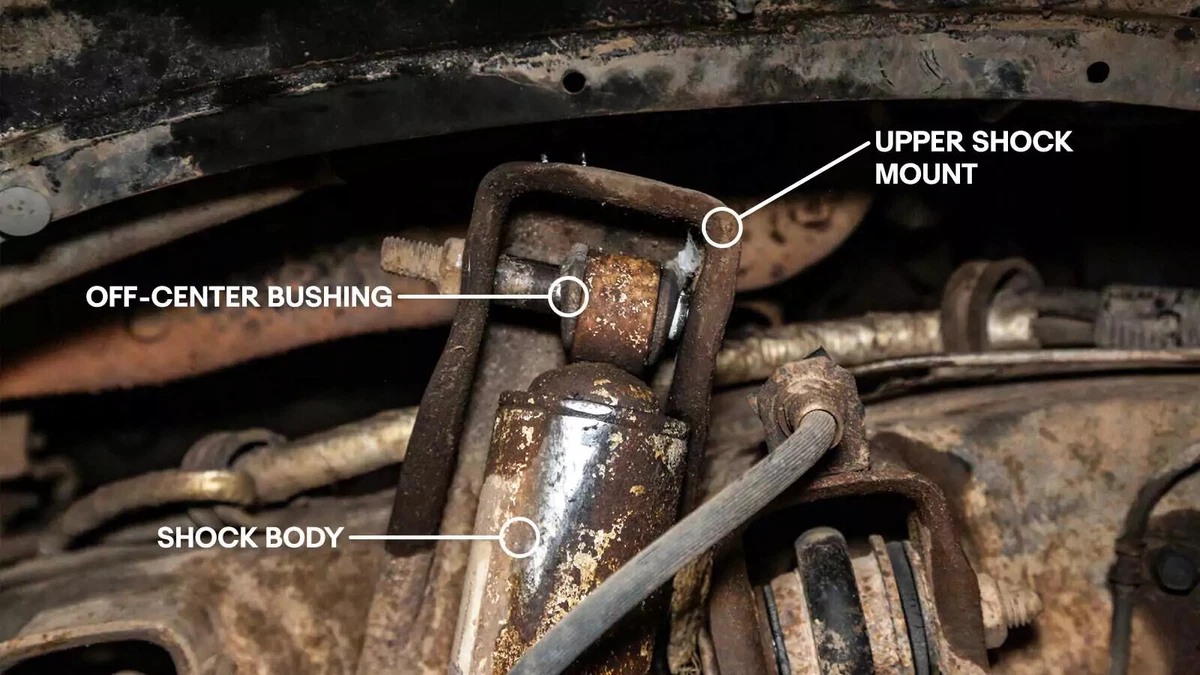
- There are three common types of shock absorber mounts: eyelet, stud (also called bayonet), and cross-shaft eyelet (also called bar or T-bar). The demo vehicle we used for this project has dual eyelets (top and bottom) on the front end.
- Stud shocks typically have a single stud for an upper mount and removable bushings that slide over the stud. One bushing is above, and another is below where the stud mounts on the vehicle.
- An eyelet mount uses a bolt-in cross-shaft that connects to the vehicle with two bolts.
- Occasionally, you'll have to replace the shock bushings, which can wear out before the shock. You might hear a clunk when you drive over bumps. If the bushings are squished around the shock eye (mount) or cracked, they are bad.
- If your shock absorber bushing is bad, replace the entire shock. A bad bushing is indicative of excessive wear.
- Rusted fasteners are the most common challenge with replacing shock absorbers. To break up corrosion, spray the fasteners with penetrating fluid. Bolts tend to weld themselves to the metal sleeve inside the rubber bushings, so spray the entire bolt and the rubber bushings. It’s even better to spray them a day or two before removing the fasteners.
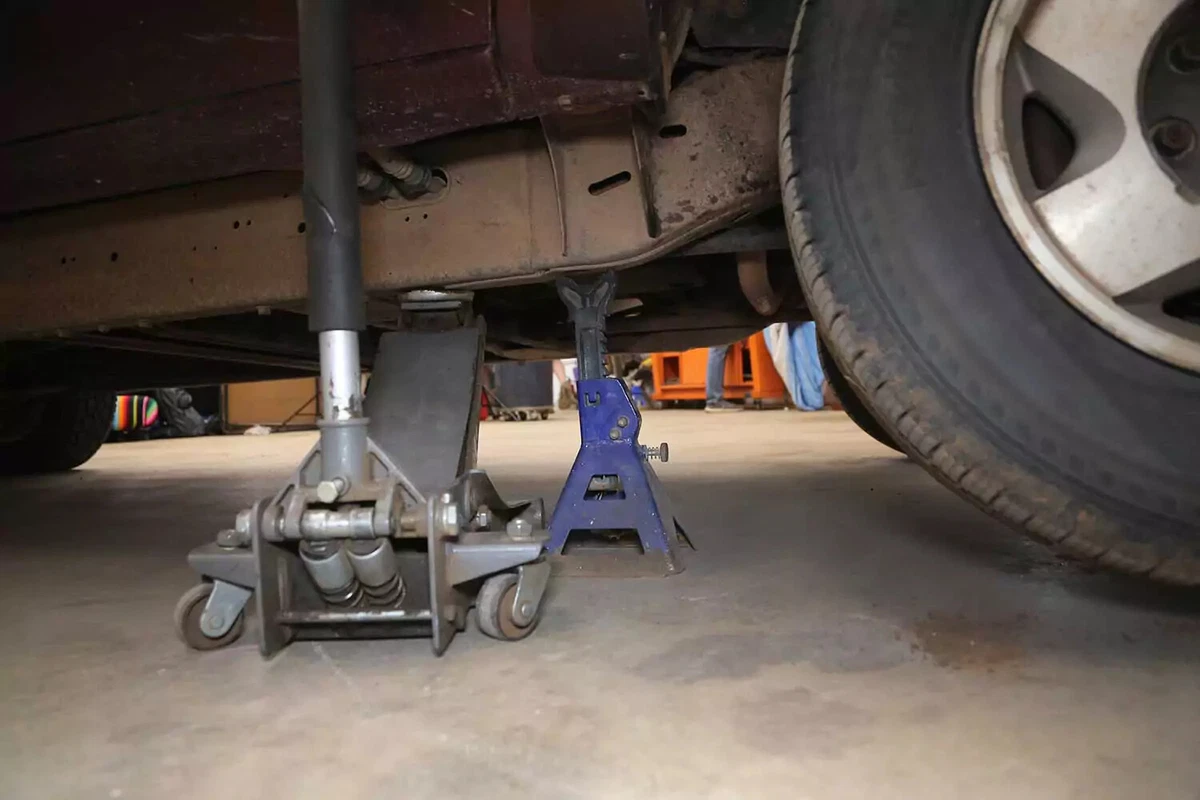
Replacing your own shock absorbers requires working safely under the vehicle. You will need a floor jack, and jack stands, ramps, or wheel cribs to support the vehicle.
Locate the factory jacking points just behind the front wheels or just in front of the rear wheels. The jacking point is a metal section with two V notches about two inches apart. Check your owner’s manual to confirm the lift location.
Never use jack stands on dirt, gravel, or asphalt. If you do not have access to a concrete work surface, use wheel cribs, solid-base ramps, or wide-base wood supports to support the vehicle. Never use cinder blocks or bricks as supports.
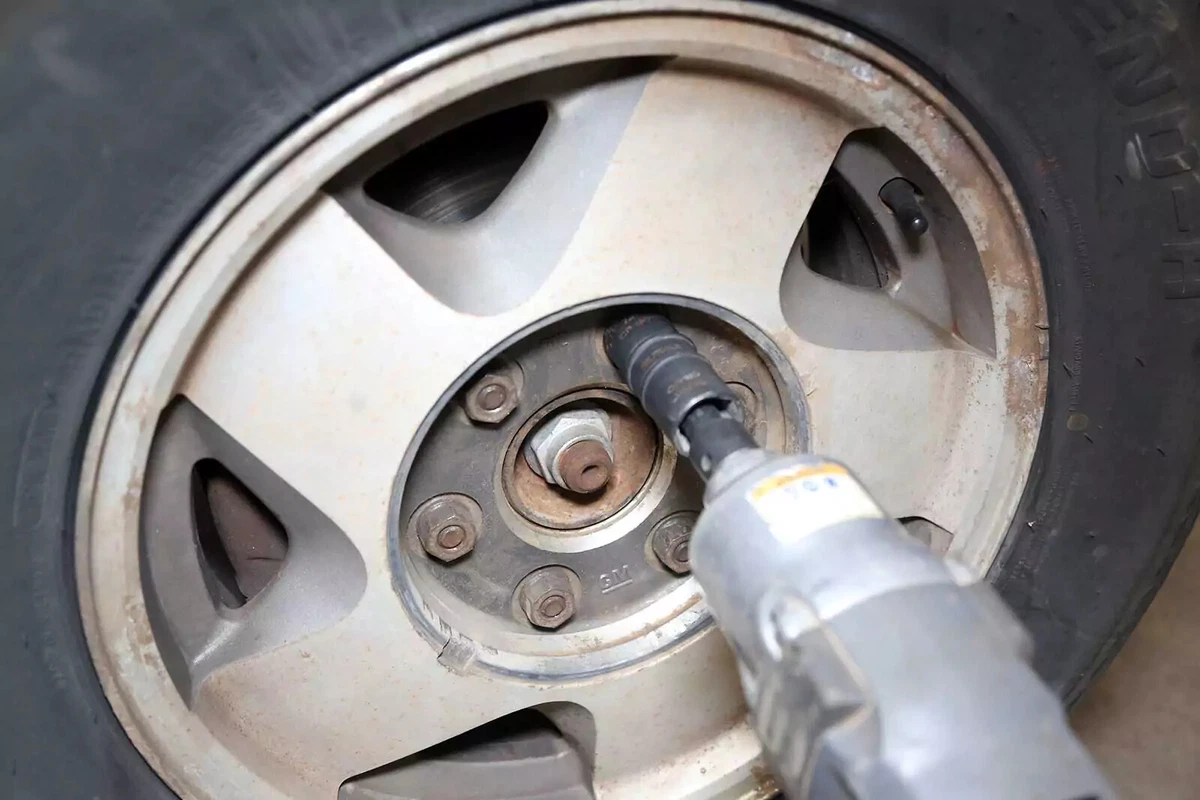
Use a socket and ratchet or impact gun to remove the lug nuts and wheel from the vehicle. Loosen the lug nuts while the car is still on the ground.
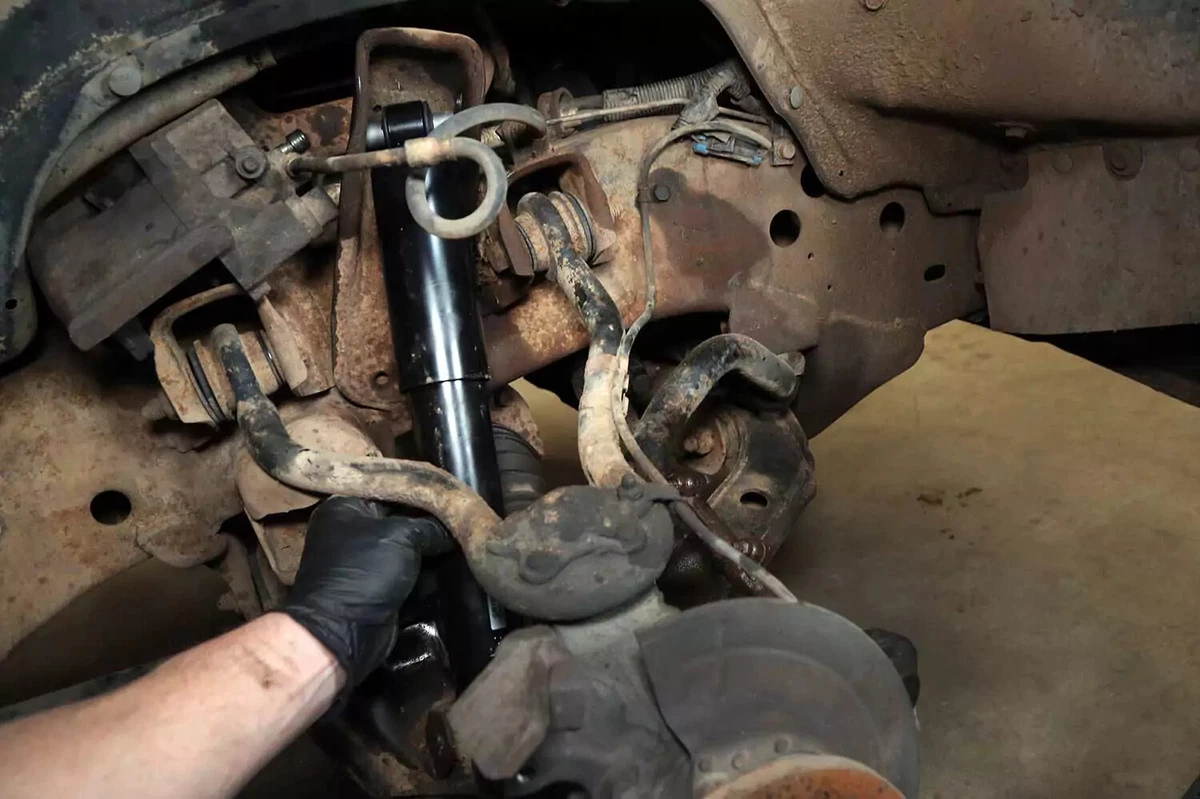
With front or rear independent suspension (IRS), the bottom of the shock will be attached to the upper or lower control arm. For live-axle rear-drive vehicles, it will be on the axle housing.
In our demo vehicle, the upper shock bushing slid to one side. Also, the rubber is cracked and bulging out of the shock eye.
This optional step is recommended for older vehicles. Spray the entire fastener and rubber bushing with penetrating fluid. Allow the fluid to soak in overnight or for at least a few minutes. Tap on the fastener with a hammer a few times to help break up any corrosion.

Remove the upper shock mounting bolt. Our demo vehicle has an eyelet-style mount.
If the bolt won’t come out, try spinning it with a socket while pressing on the other side. If that doesn’t work, use a small hammer and punch to drive the fastener out. Your last resort is a Sawzall or an abrasive cutoff wheel.
Inspect the hardware for wear or damage. If the bolt shaft is heavily rusted or has damaged threads, consider replacing the hardware with new grade 8 (SAE) or 10.9 (metric) bolts.
For vehicles with shocks using bayonet mounts, the studs often spin the shock piston shaft when you try to remove the nut. The top of the stud has a small hex for a backup wrench to hold the shock and prevent it from rotating so you can remove the nut. If there isn’t a hex (or it’s stripped), use a strap wrench on the upper shock body or locking pliers on the piston shaft to remove the nut.
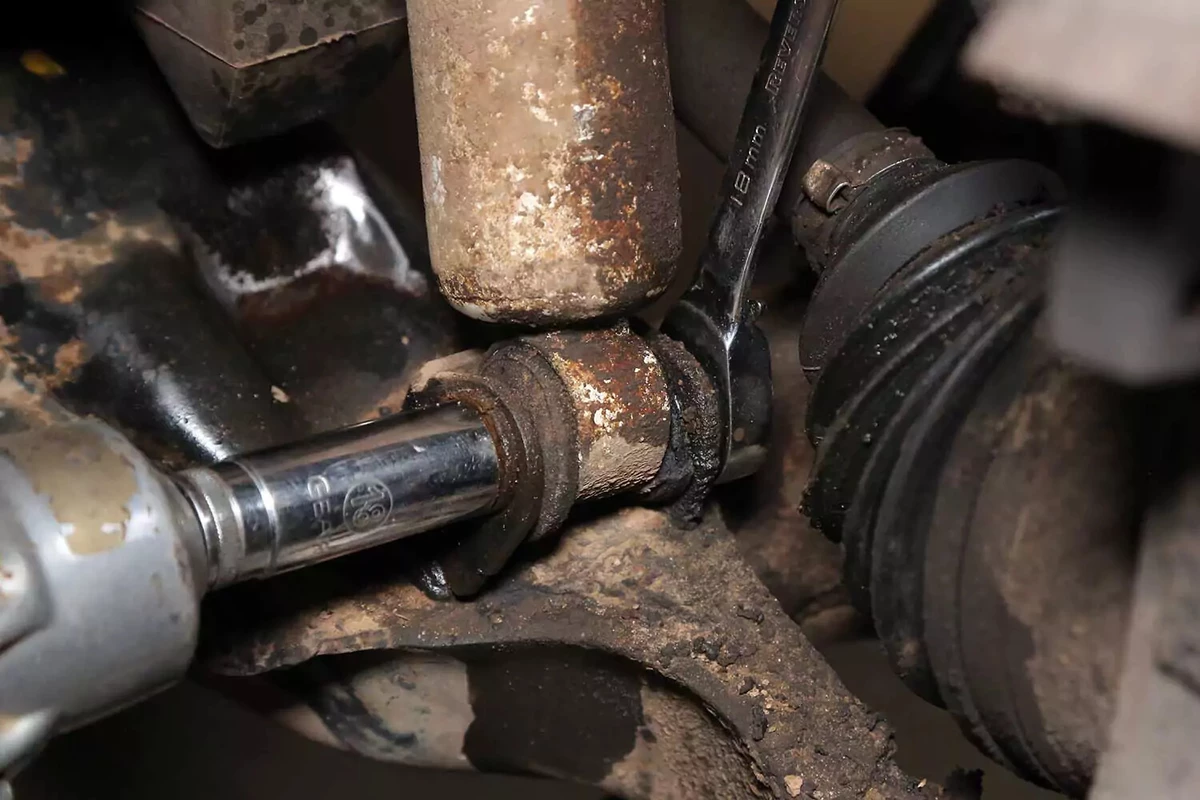
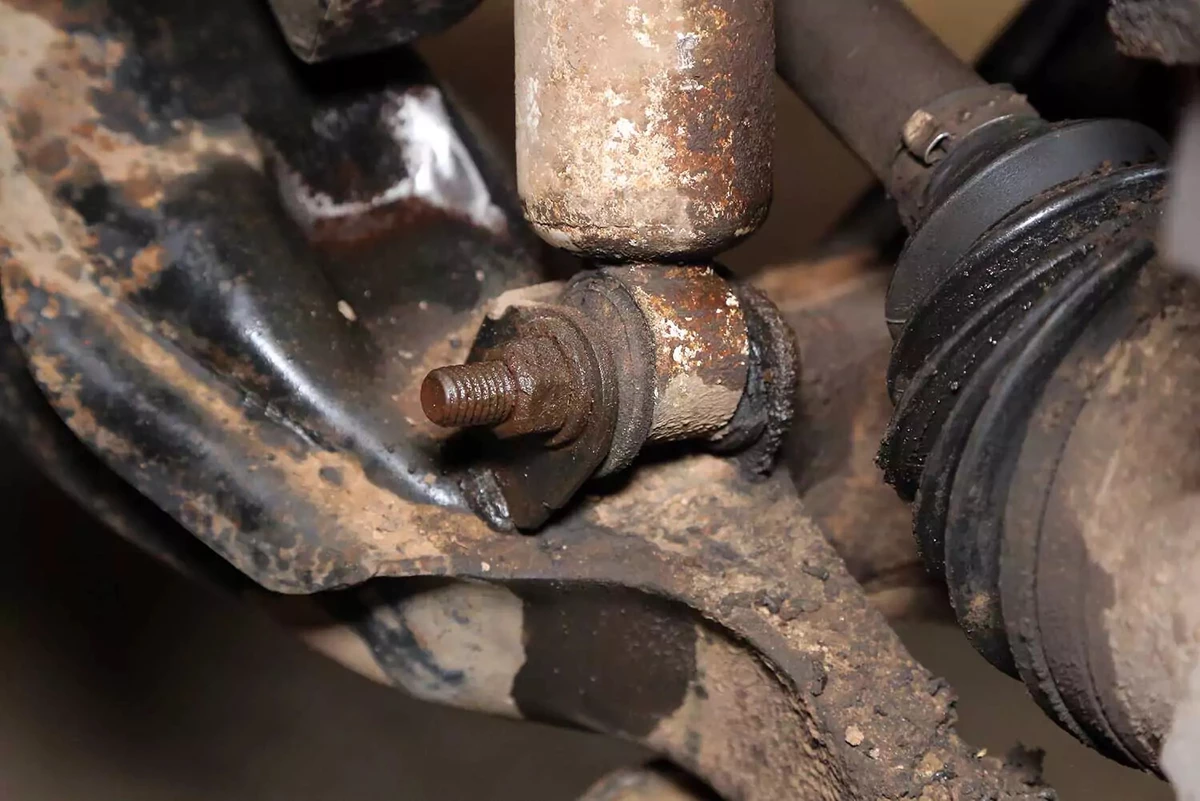
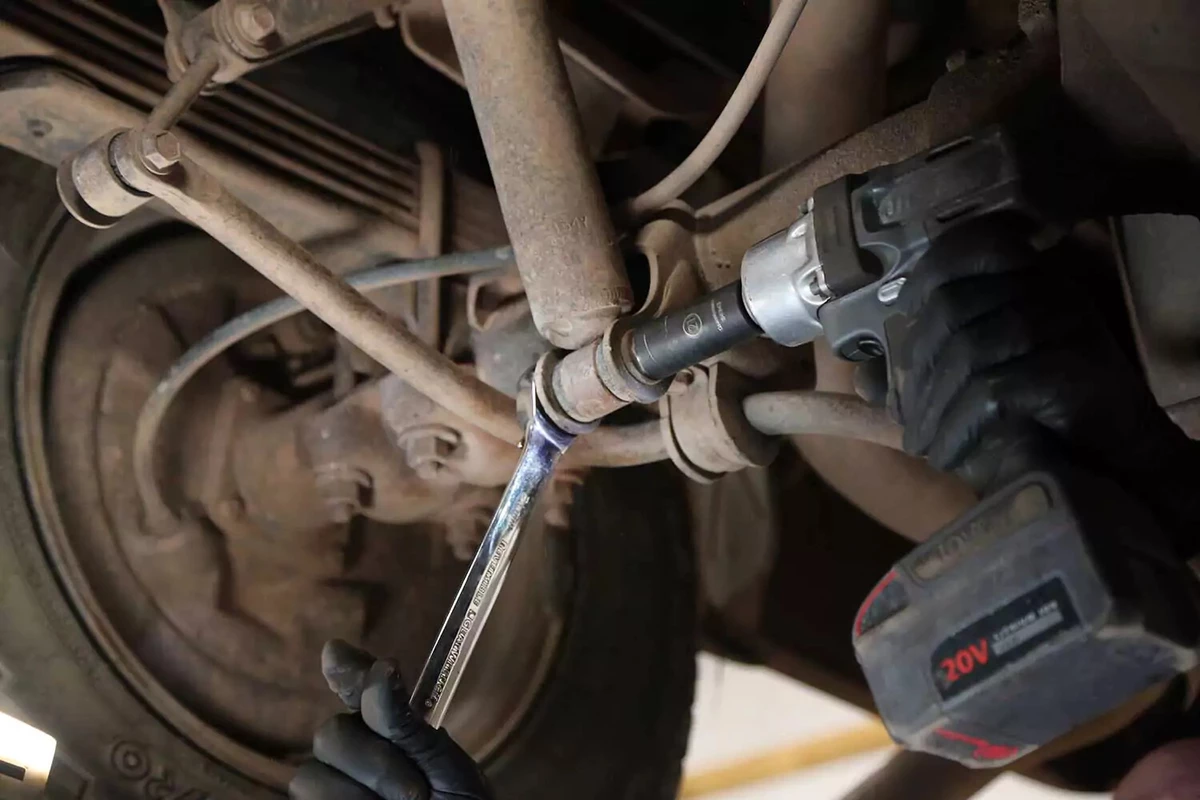
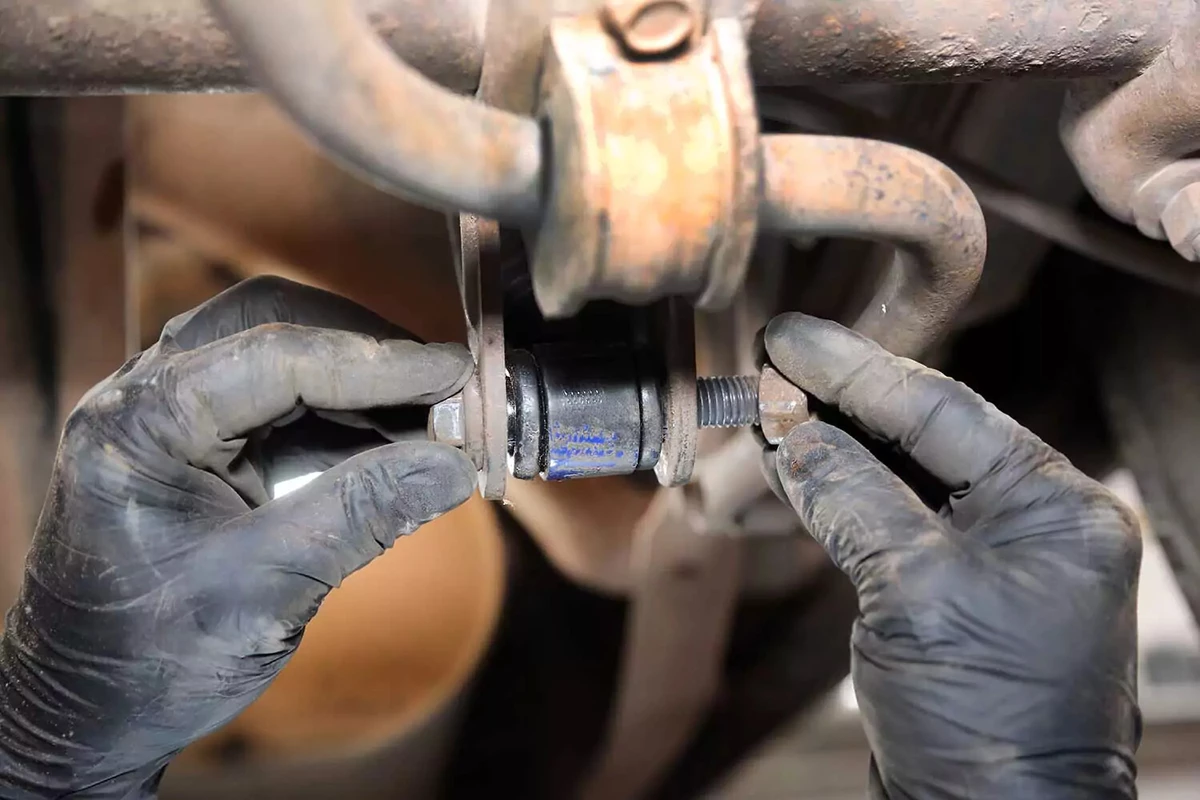
This lower shock mount has two eyelets and a single long bolt. Use a socket and wrench to remove the nut from the bolt. We used a lot of force to remove this hardware. Retain the fastener for reuse unless your new shocks come with hardware. You may need to use a punch to drive the bolt out of the shock and mount.
To avoid rounding off the corners of the bolt head or nut, use a six-point socket or a box wrench—not an open-end wrench.

After removing the fasteners, pull the shock out of the vehicle. If the shock is stuck, use a pry bar to remove it.
For bayonet stud mounts, remove the lower shock mount and then pull the stud out of the mount.
Install the new shock. Some shocks come with a plastic loop holding it in a compressed state. Remove the loop before installation. (The shock won’t rapidly expand when you cut the loop.)
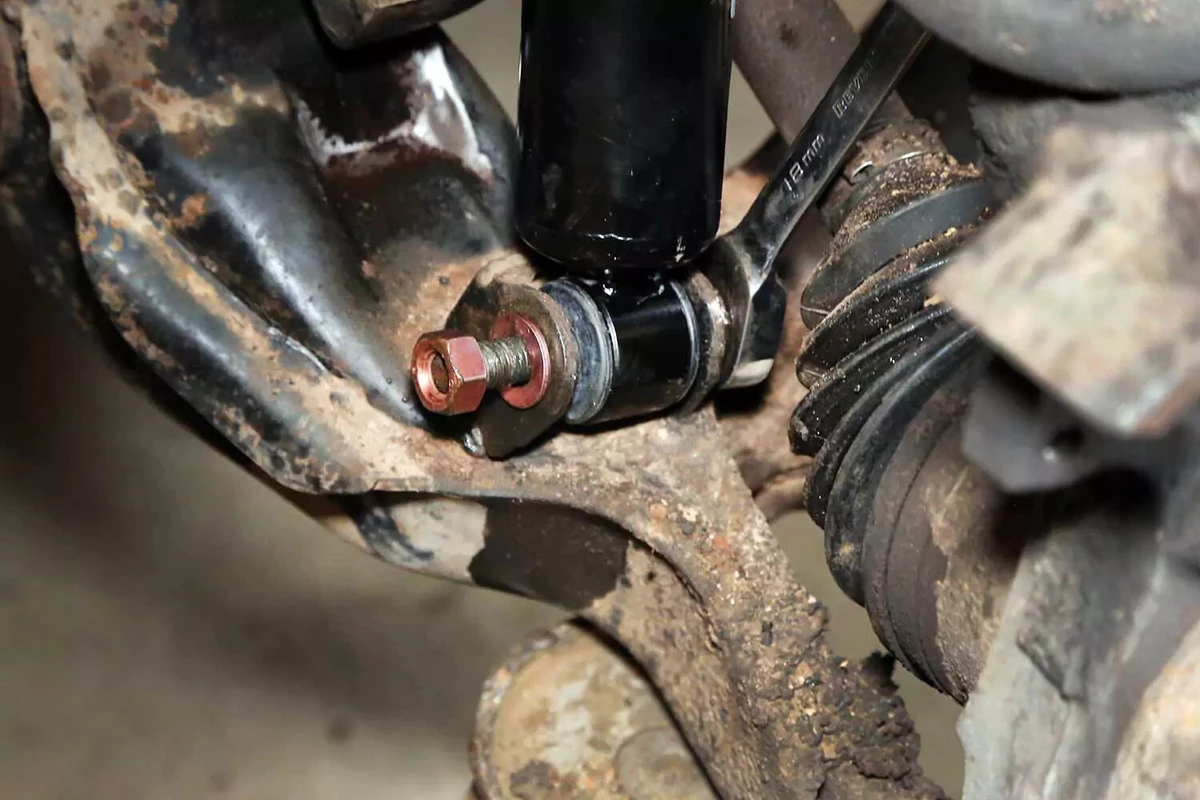
Install the upper bolt through the eyelet and mount. The shock will be expanded, so you may need to compress it slightly to line up the holes. In most cases, you can do this by hand or with a pry bar.
Some vehicles use shocks to limit suspension travel. If so, you may need to compress the suspension with a floor jack to get the shock mount to line up. Place the floor jack under the ball joint and give it a couple of pumps until the bolt and the holes line up.
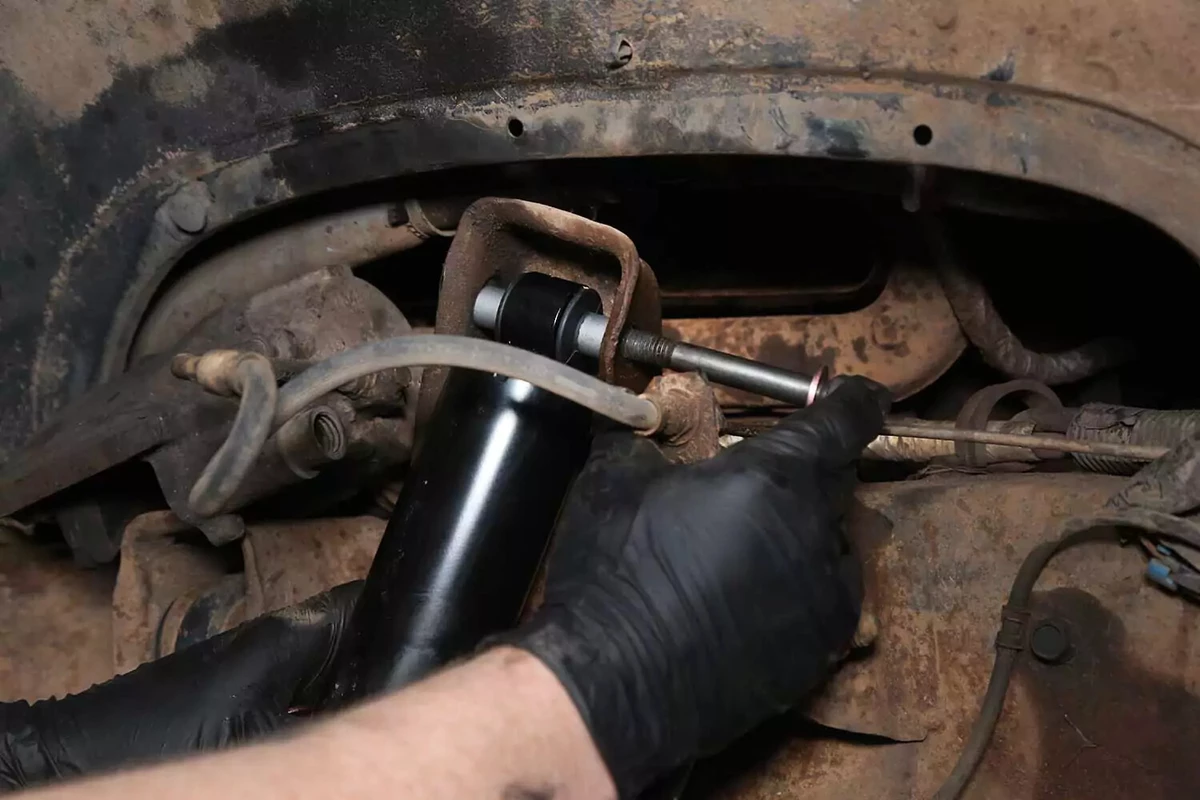
Install the lower fastener and thread the nut all the way. The nut on our demo vehicle was rounded off, so we replaced the hardware.
Replace any worn or damaged hardware with the appropriate high-strength bolts and locking nuts.
If you have a bayonet stud, slide it into the mount with the lower bushing in place. Then, install the lower mount fastener.
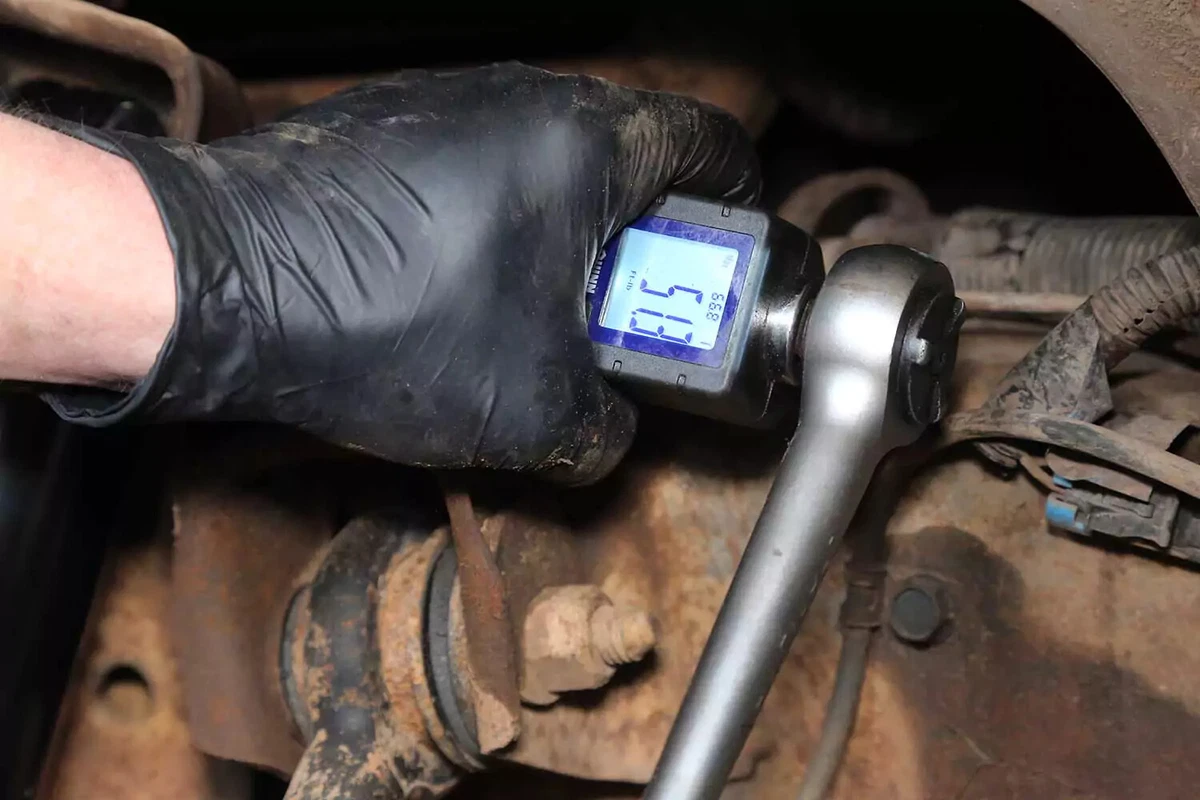
Torque the shock bolts to the specifications recommended in your repair manual. Our demo vehicle requires 60 pound-feet of torque for each upper and lower fastener.
Reinstall the wheel and lug nuts. Lower the vehicle and torque the lug nuts to the recommended levels.
The rear shocks are often a little different from the front shocks, as they may be connected to a live axle. Nonetheless, replacing the rear shocks is straightforward. It’s similar to replacing the front ones.
Remove the lower bolt. Some vehicles use a large stud on the rear axle, while others have a bolt and nut.
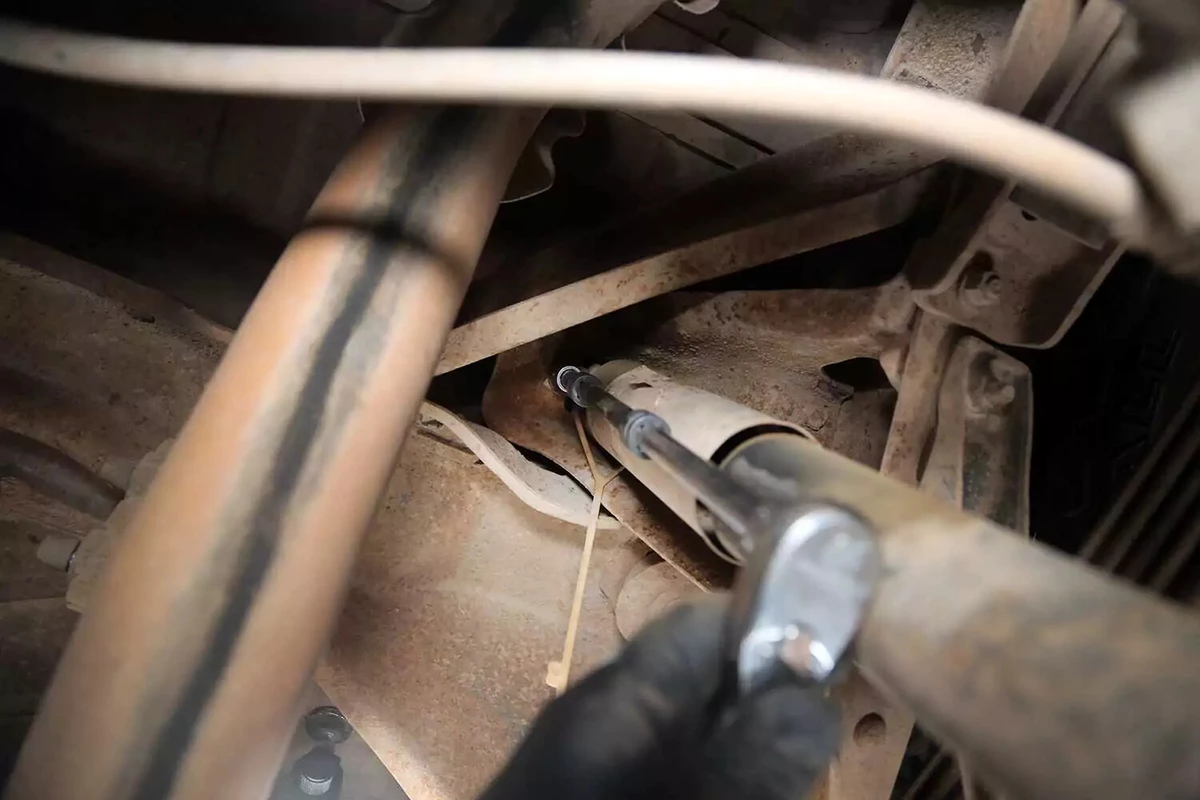
Remove the rear upper shock bolts. Our demo vehicle uses a T-bar mount for this. We needed a few long ratchet extensions to reach the bolts.
You might have to access these bolts from inside the car—from behind the back seat or under a piece of interior trim.
Starting with the upper mount, install the new rear shock absorber in the original location with the original hardware.
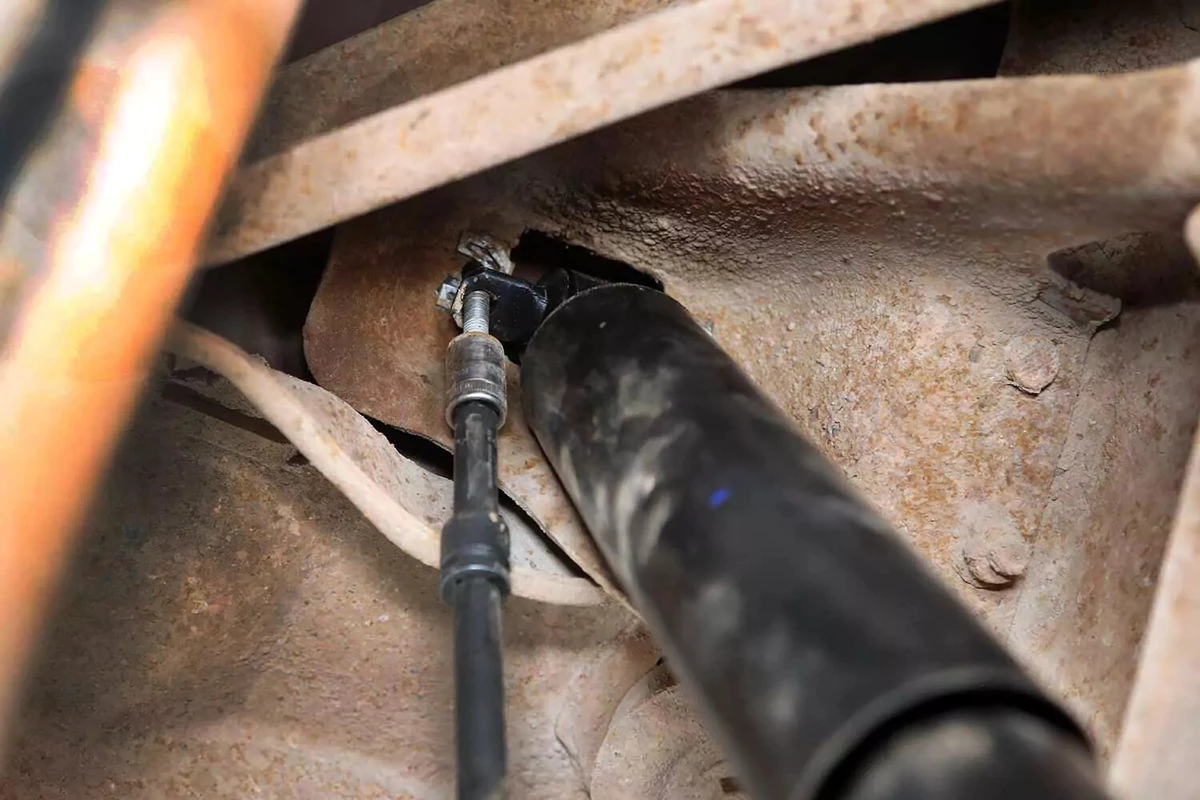
Finally, install the lower shock bolt into the axle mount. You will probably need to push the shock up to align it with the mount.
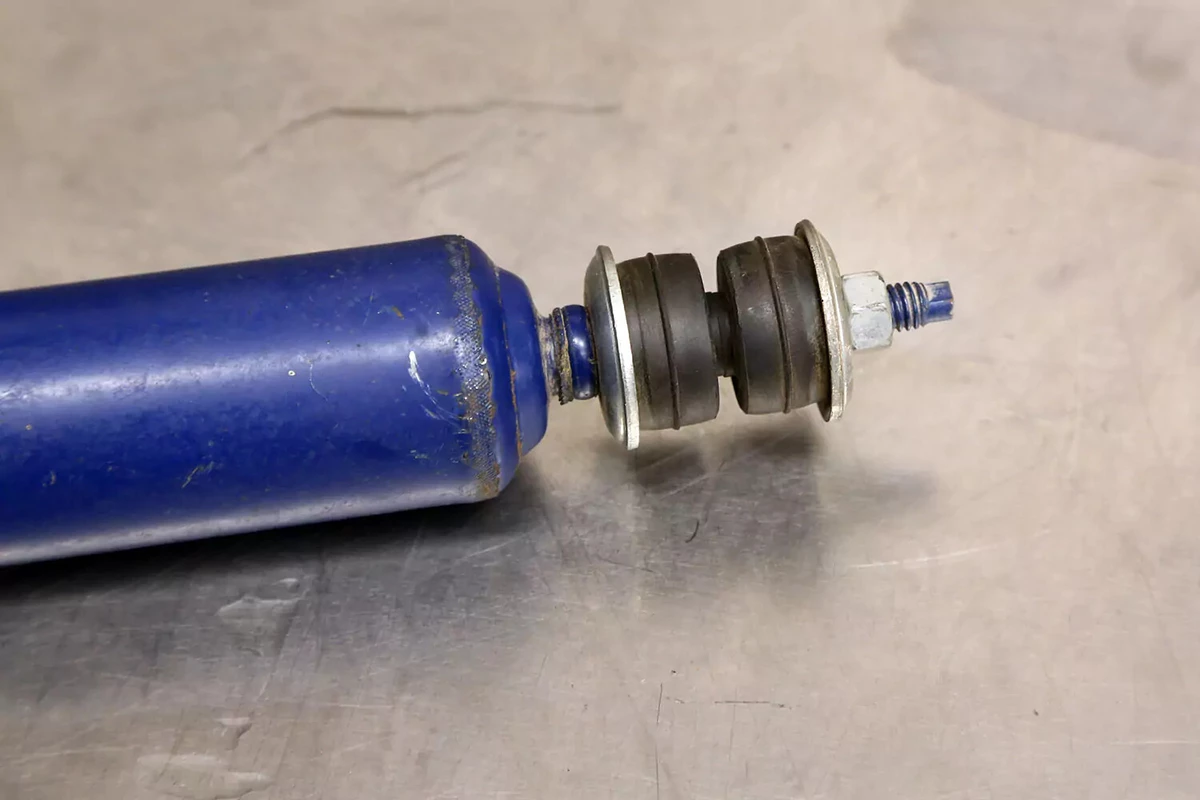
You might find a bayonet shock mount on the top of a front or rear shock. The upper mount on this shock has a threaded stud that uses two rubber bushings and washers to compress it on the mounting flange.
Take note of the hex on the mounting stud tip. That keeps the piston shaft from spinning while you remove the mounting nut. Sometimes, there’s a recess for an Allen wrench.
About the author

Share your feedback
This article is meant to provide general guidance only. Automotive maintenance, repair, upgrade, and installation may depend on vehicle-specifics such as make and model. Always consult your owner's manual, repair guide for specific information for your particular vehicle and consider a licensed auto-care professional's help as well, particularly for advance repairs.
Recommended for you
Find answers and inspiration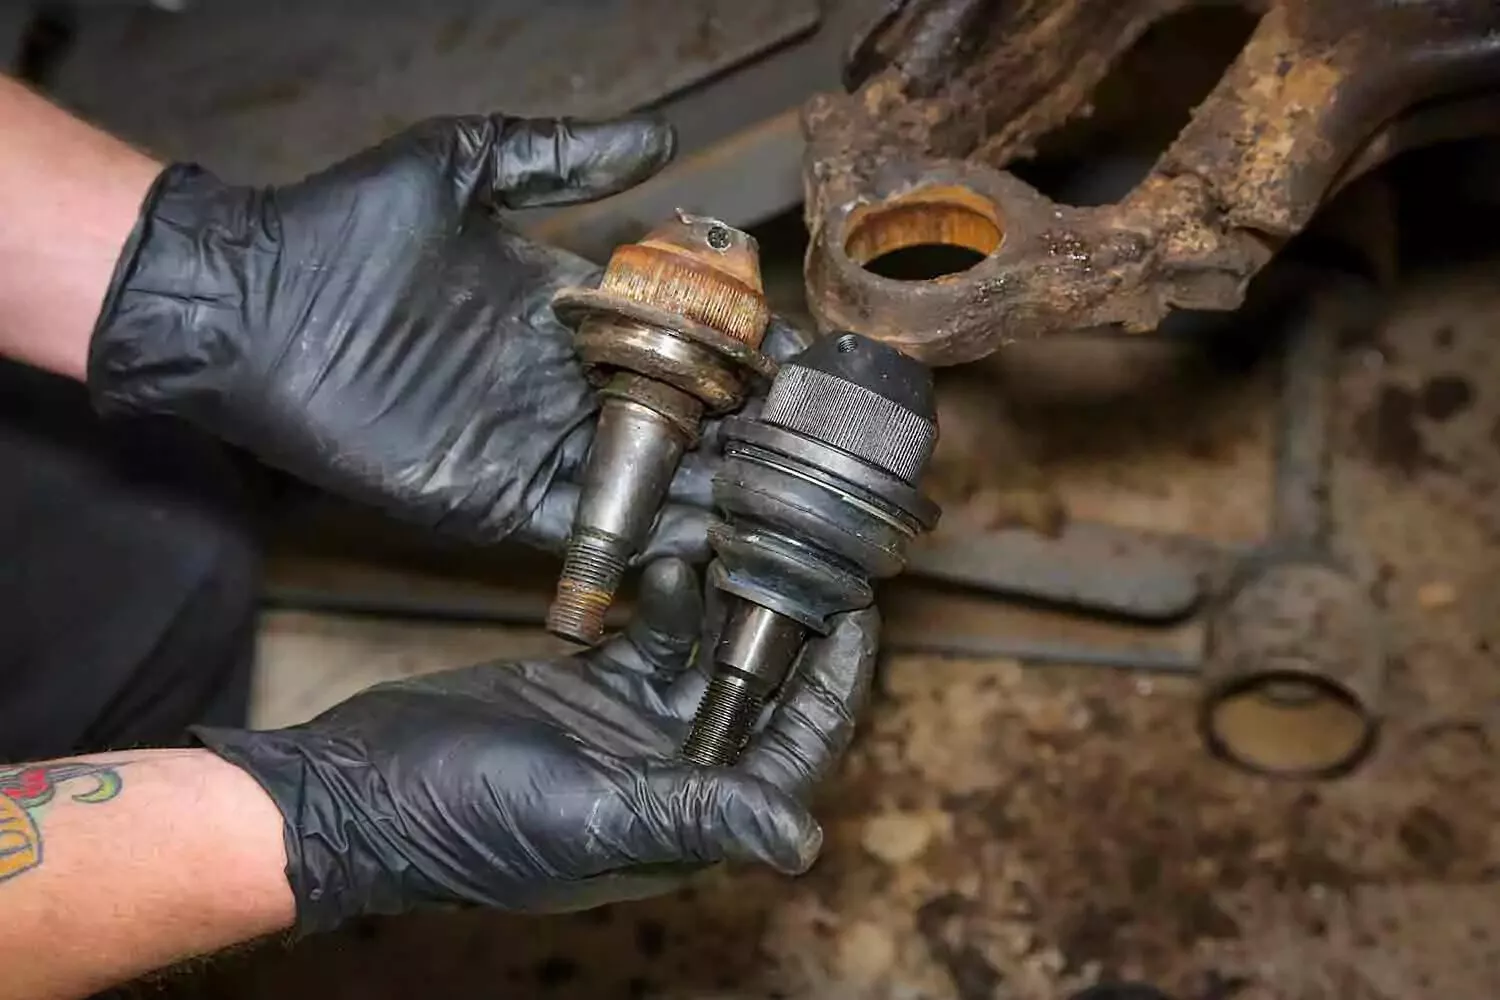
How to Diagnose a Failing Ball Joint
7 min read
How to Buy the Right Sway Bar Links and Bushings
6 min read
How to Buy the Right Steering Gearbox
5 min read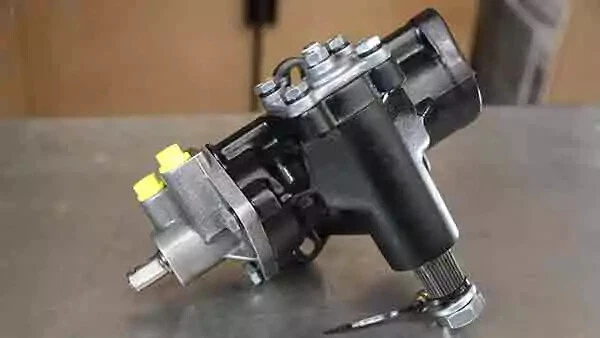
Understanding Steering Gearboxes
5 min read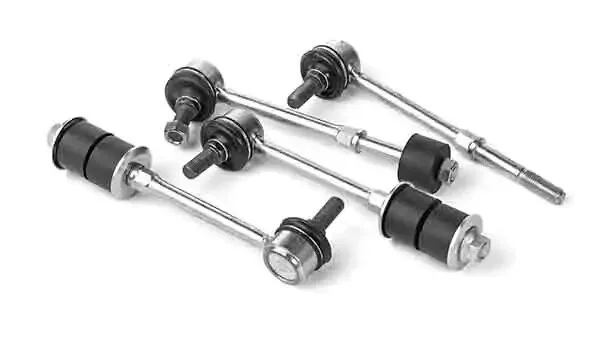
How to Buy the Right Tie Rod Ends
6 min read
How to Replace Tie Rod Ends
8 min read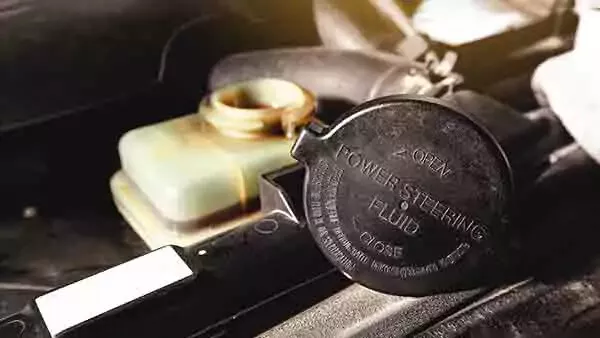
An Intro to Flushing Your Power Steering Fluid
5 min read
How to Replace Sway Bar End Links and Bushings
6 min read
How to Replace a Power Steering Pump
7 min read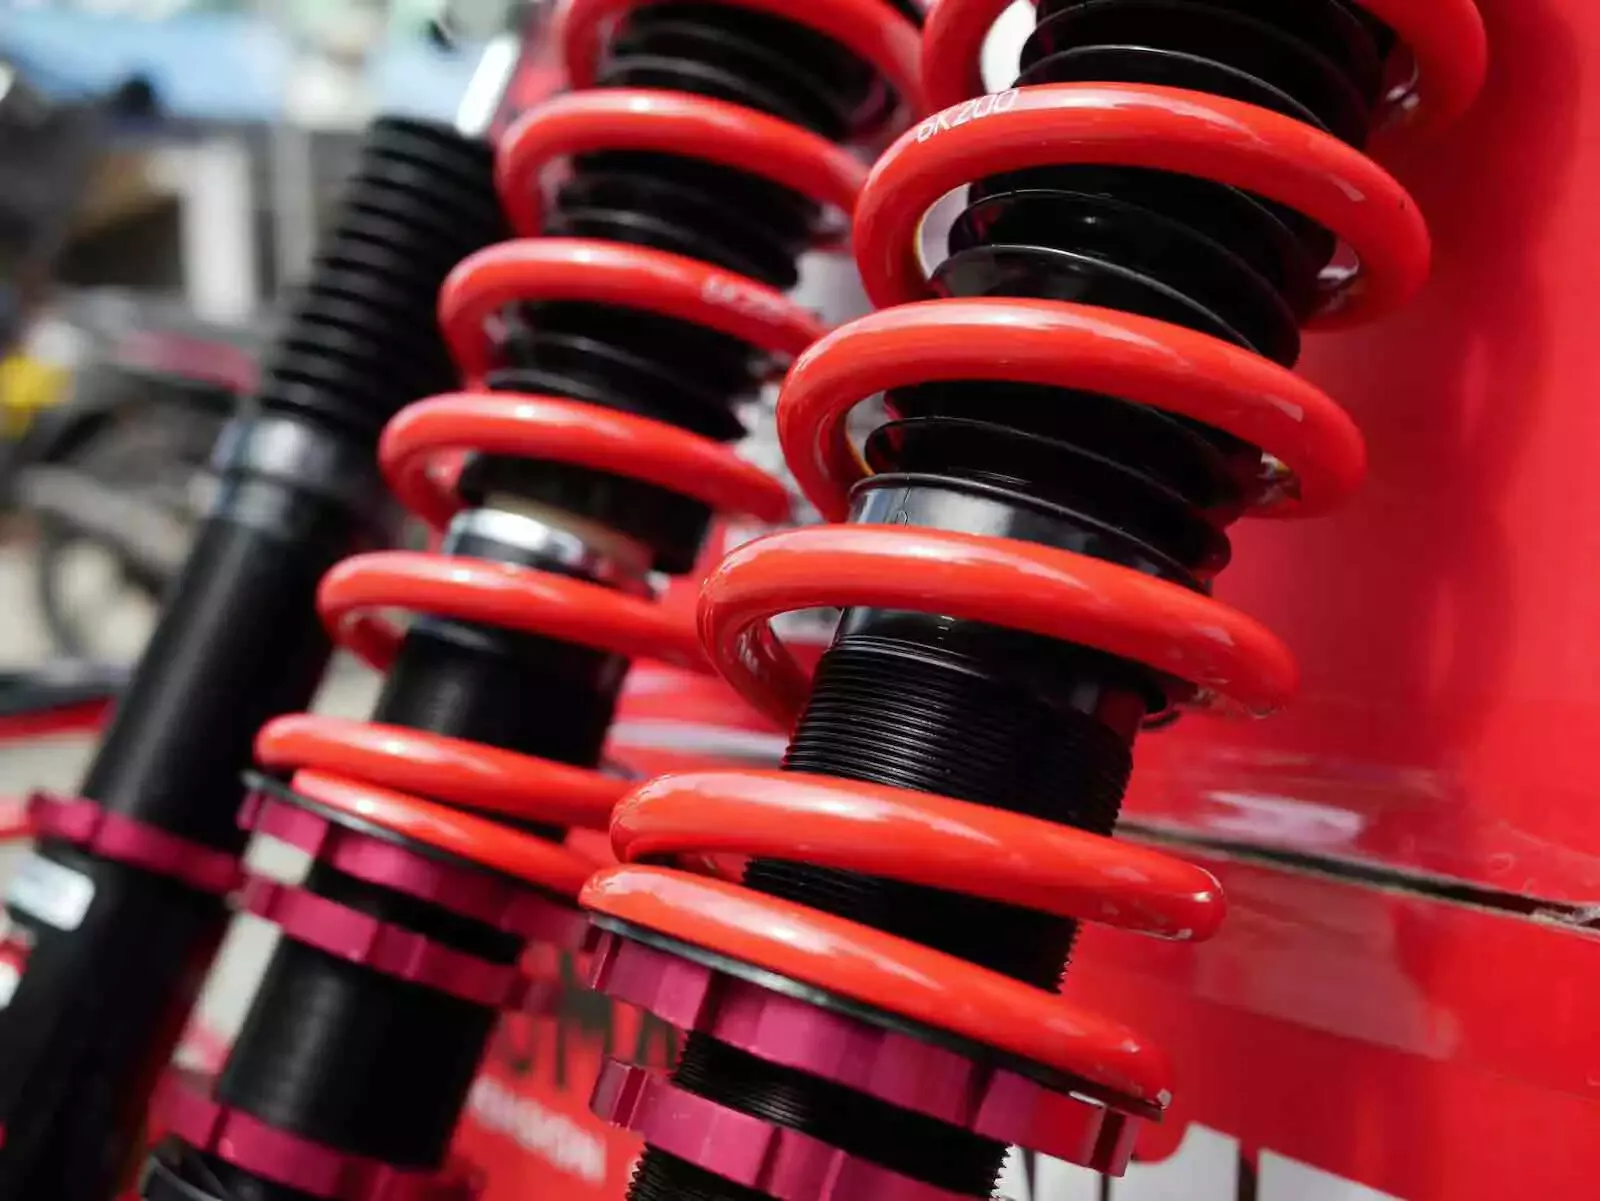
How to Choose the Best Shock Absorbers
8 min read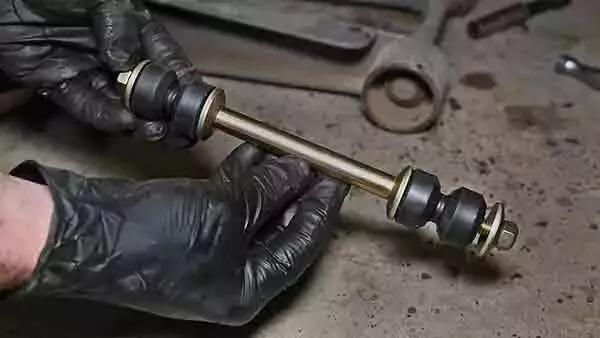
Understanding Sway Bar Links
6 min read
How to Replace a Steering Gearbox
8 min read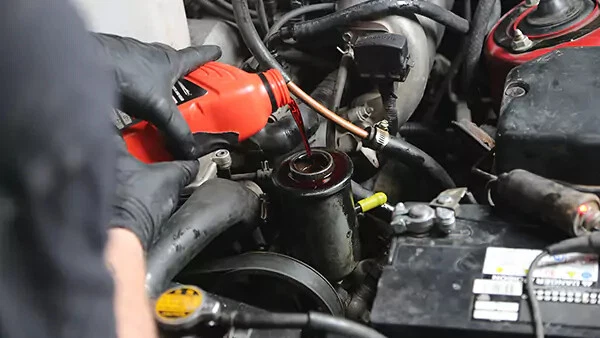
How to Replace Power Steering Fluid
8 min read
Why Idler Arms Are So Critical
6 min read
Power Steering Pump Problems and Solutions
5 min read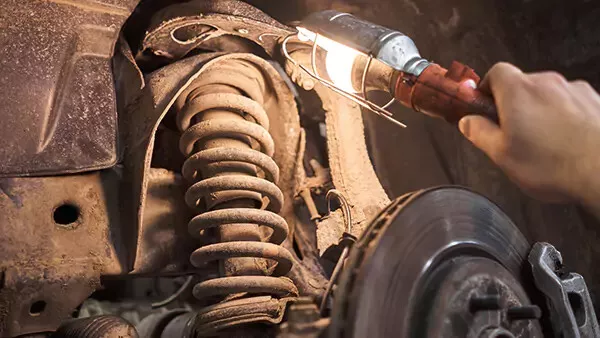
Shock Absorbers 101
8 min read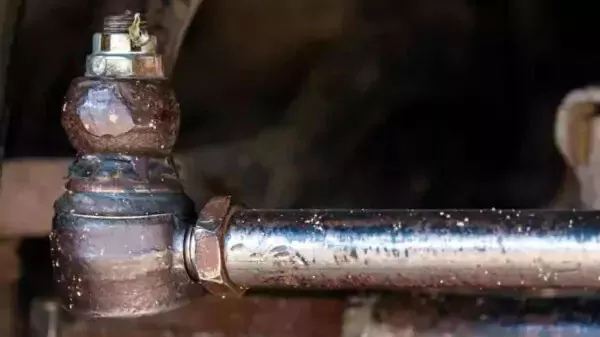
Diagnosing Bad Tie Rod Ends
6 min read
Explore more projects

How to Repair a Chipped Windshield
1 to 2 hours
Beginner
7 min read

How to Replace Brake Fluid
1 to 2 hours
Beginner
10 min read

How to Replace an Ignition Coil
Less than 30 minutes
Beginner
6 min read

How to Replace a Radiator Hose
Less than 30 minutes
Beginner
5 min read

How to Replace Brake Rotors
1 to 2 hours
Beginner
7 min read

How to Replace a Serpentine Belt Tensioner
Less than 30 minutes
Beginner
4 min read

How to Replace a Drive Belt
Less than 30 minutes
Beginner
5 min read

How to Rotate Your Tires
30 to 60 minutes
Beginner
5 min read

How to Refill Windshield Washer Fluid
Less than 30 minutes
Beginner
4 min read

How to Replace an Oxygen Sensor
30 to 60 minutes
Beginner
5 min read

How To Replace Differential Fluid
Less than 30 minutes
Beginner
8 min read
How to Replace Sway Bar End Links and Bushings
30 to 60 minutes
Beginner
6 min read

How to Replace Transmission Fluid and Filter
1 to 2 hours
Beginner
11 min read

How to Change Disc Brake Pads
30 to 60 minutes
Beginner
8 min read

How to Replace a Cabin Air Filter
Less than 30 minutes
Beginner
5 min read

How to Replace a Valve Cover Gasket
Less than 30 minutes
Beginner
7 min read

How to Change Windshield Wipers
Less than 30 minutes
Beginner
3 min read

How to Replace an Engine Air Filter
Less than 30 minutes
Beginner
5 min read

How to Clean Fuel Injectors
1 to 2 hours
Beginner
8 min read

How to Change a Car Battery
Less than 30 minutes
Beginner
6 min read
Automation How to Change a Car Battery
Less than 30 minutes
Beginner
6 min read

How to Replace a Mass Air Flow (MAF) Sensor
Less than 30 minutes
Beginner
7 min read

How to Replace a Clutch Master Cylinder
1 to 2 hours
Beginner
11 min read

How to Flush and Change Engine Coolant
30 to 60 minutes
Beginner
6 min read

How to Replace a Distributor Cap and Rotor
30 to 60 minutes
Beginner
5 min read

How to Check Tire Pressure and Change a Tire
Less than 30 minutes
Beginner
9 min read

How to Replace a Fuel Filter
30 to 60 minutes
Beginner
7 min read

How to Replace a PCV Valve
30 to 60 minutes
Beginner
6 min read

How to Replace a Brake Caliper
1 to 2 hours
Beginner
7 min read

How to Replace an Idler Pulley
30 to 60 minutes
Beginner
4 min read

How to Change a Headlight Bulb
Less than 30 minutes
Beginner
6 min read

How to Replace an Exhaust Gasket
1 to 2 hours
Beginner
9 min read

How to Replace a Throttle Body
30 to 60 minutes
Beginner
6 min read

How to Change Oil in a Car
Less than 30 minutes
Beginner
8 min read

How to Replace an Alternator
1 to 2 hours
Beginner
11 min read

How to Replace an EGR Valve
30 to 60 minutes
Beginner
5 min read

How to Jump Start a Car
Less than 30 minutes
Beginner
9 min read