How Often to Change Spark Plugs
Modern spark plugs can last 100,000 miles, but most manufacturers specify replacing them between 30,000 and 65,000 miles. Pre-1996 vehicles may use copper-based spark plugs that must be changed as often as every 20,000 miles.
While you can run plugs longer than recommended, you risk performance loss. Old plugs also force the ignition coils to work harder, shortening service life.
What Happens When Spark Plugs Go Bad?
When spark plugs are reaching the end of their lives, you'll experience symptoms such as reduced fuel economy, lower power, hard starting, hesitation, and rough running.
Is it Easy to Change Spark Plugs?
For most vehicles, changing the spark plugs is a simple process. There are two common locations: on the top of the cylinder head centered in the valve cover or on the side of the cylinder head between the exhaust ports.
On older vehicles, spark plugs are almost always on the side of the head. Today, it is about 50/50 top or side, varying by make and model. Our demo vehicle uses an engine with top-mount plugs. The spark plug replacement steps are relatively the same for all engines.
Tips and Tricks for DIY Spark Plug Replacement
- Always replace one spark plug at a time. Don’t remove all the plugs at once. If the plug wires cross, the engine won’t run. Depending on your engine, you may need a specialty spark plug socket or a universal extension to reach some plugs.
- On some vehicles with V-8s or horizontally mounted V-6 engines, reaching the rear-most plugs can be difficult. Extensions and wobble/universal joints for your ratchet can be helpful.
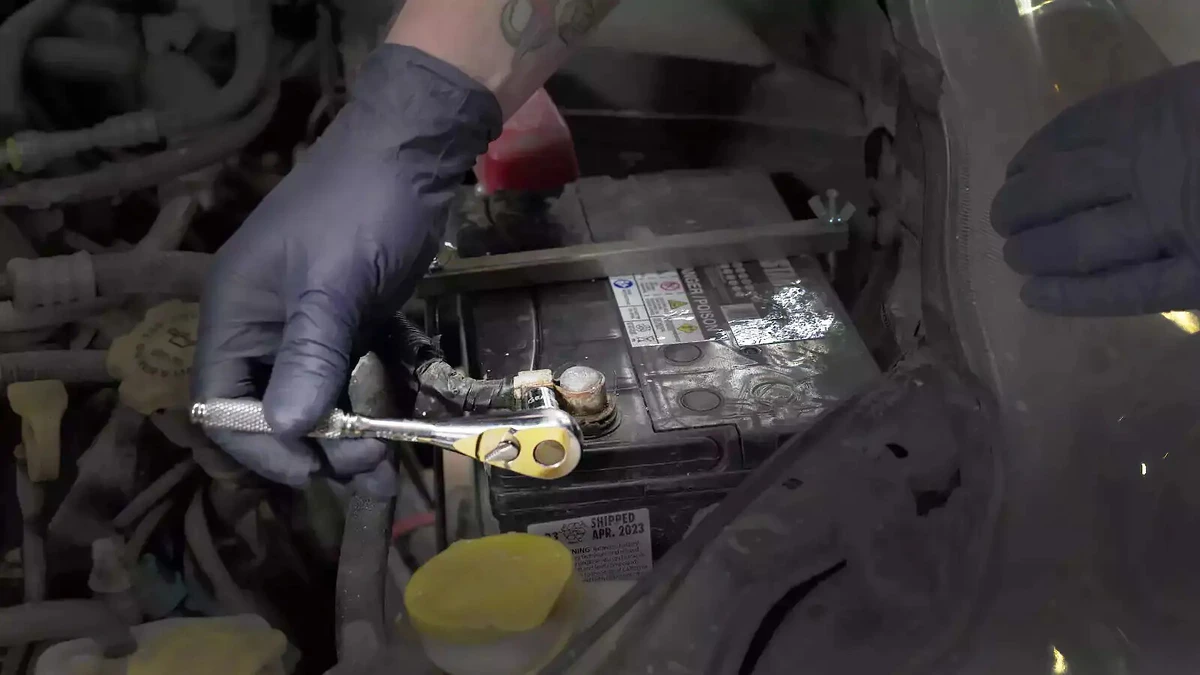
The first step for many auto repair jobs is disconnecting the vehicle’s battery. It’s a simple task. Remove the ground clamp from the battery’s negative post. Plus (+) and minus (-) signs are usually molded into the plastic battery case near the post.
Removing the negative terminal first ensures the vehicle is no longer connected to a live battery. This prevents sparks, electrical shorts, or components (such as fans) from unnecessarily coming on.
Pull the terminal off the battery for a close inspection. If there is corrosion, loose wires, or physical damage, consider replacing the battery terminal or cable.
Move the terminal away from the battery into a position where it can’t accidentally touch the battery post.
Let the engine cool off so you don’t burn yourself.
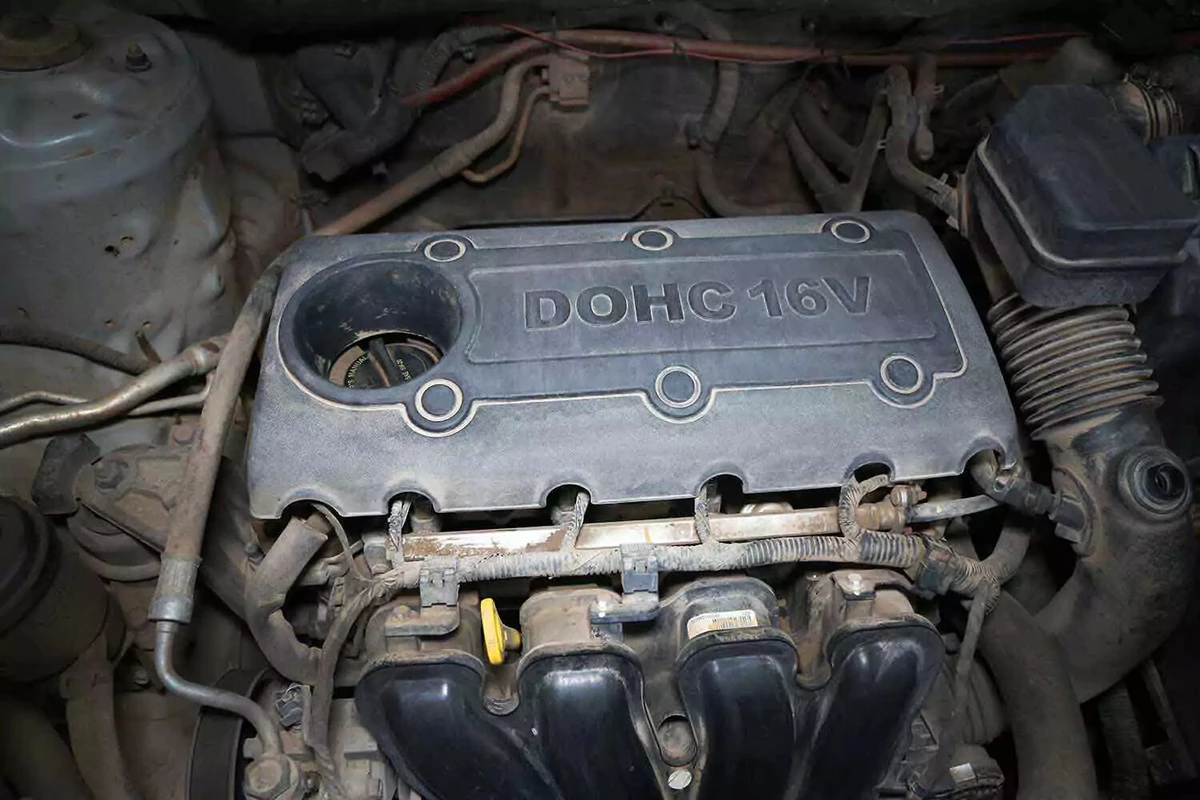
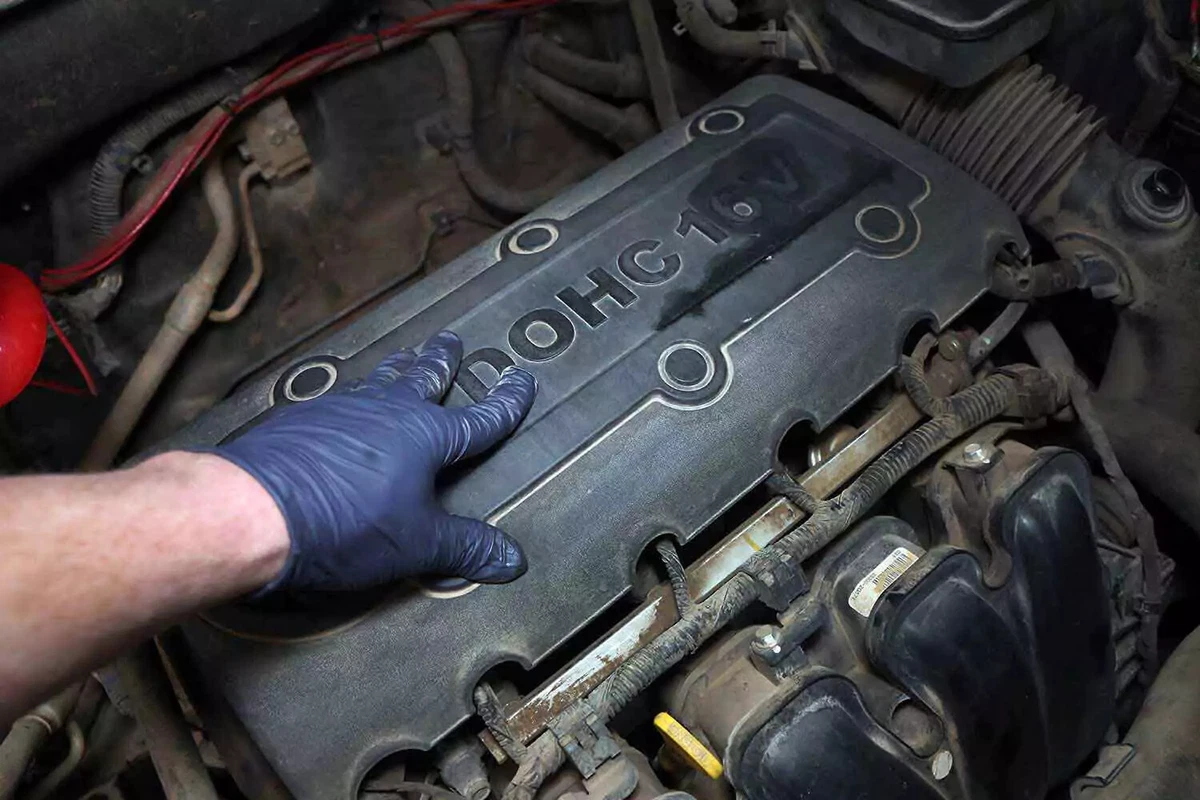
This four-cylinder engine uses top-mounted spark plugs under a plastic cover. You can find the plugs by locating the spark plug wires or coils.

Gently lift the cover until it pops out of the mount. Check to see if the cover is secured with bolts or screws that you must remove. This one is hinged on the back. The cover slides off the hinge rod after you lift it.

If your engine uses coil-on-plug ignition coils like these, remove the bolt securing the coil to the head. If your engine has conventional plug wires, grip the plug boot and twist it back and forth to break the seal. Pull the boot firmly away from the plug to remove it. Label the wire with a piece of tape and note its position.
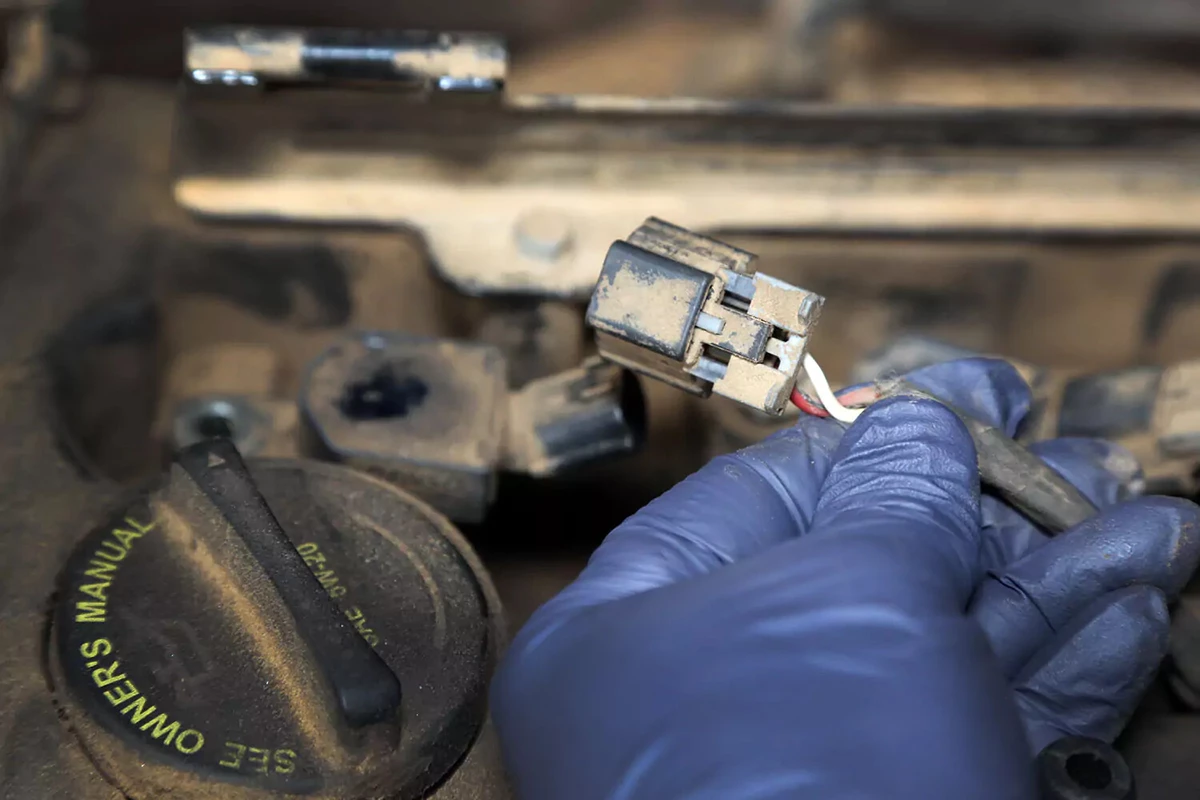
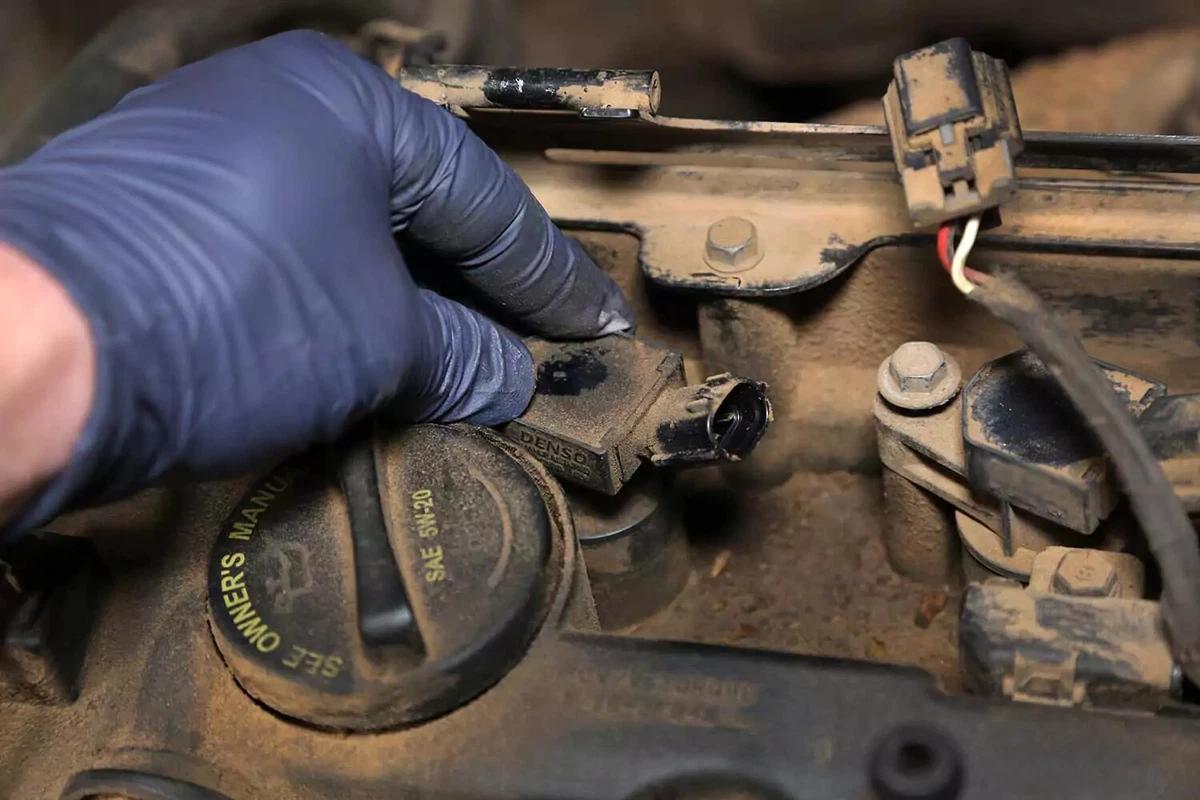
Coil-on-plug engines may not have enough harness length to leave the connector attached. This engine didn’t, so we removed the connector from the coil.
There may be a locking tab on the terminal plug. Push it back to unlock the removal tab.

Gently lift the coil to remove it from the spark plug. Set it aside for reuse. The action in this step is similar to removing a plug wire. Wiggle, turn, lift, and separate. The coil is also the plug wire in this type of ignition system. Others use separate plug wires, multiple coil packs, or a single large ignition coil.
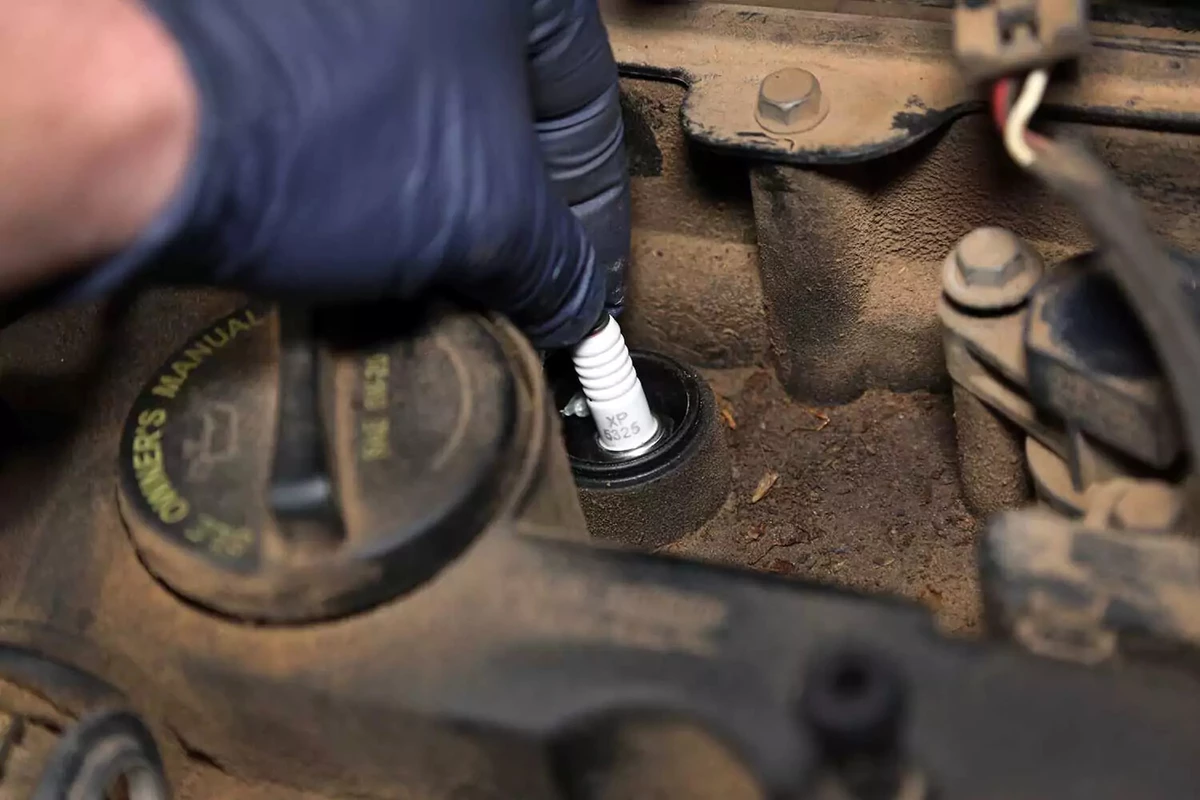
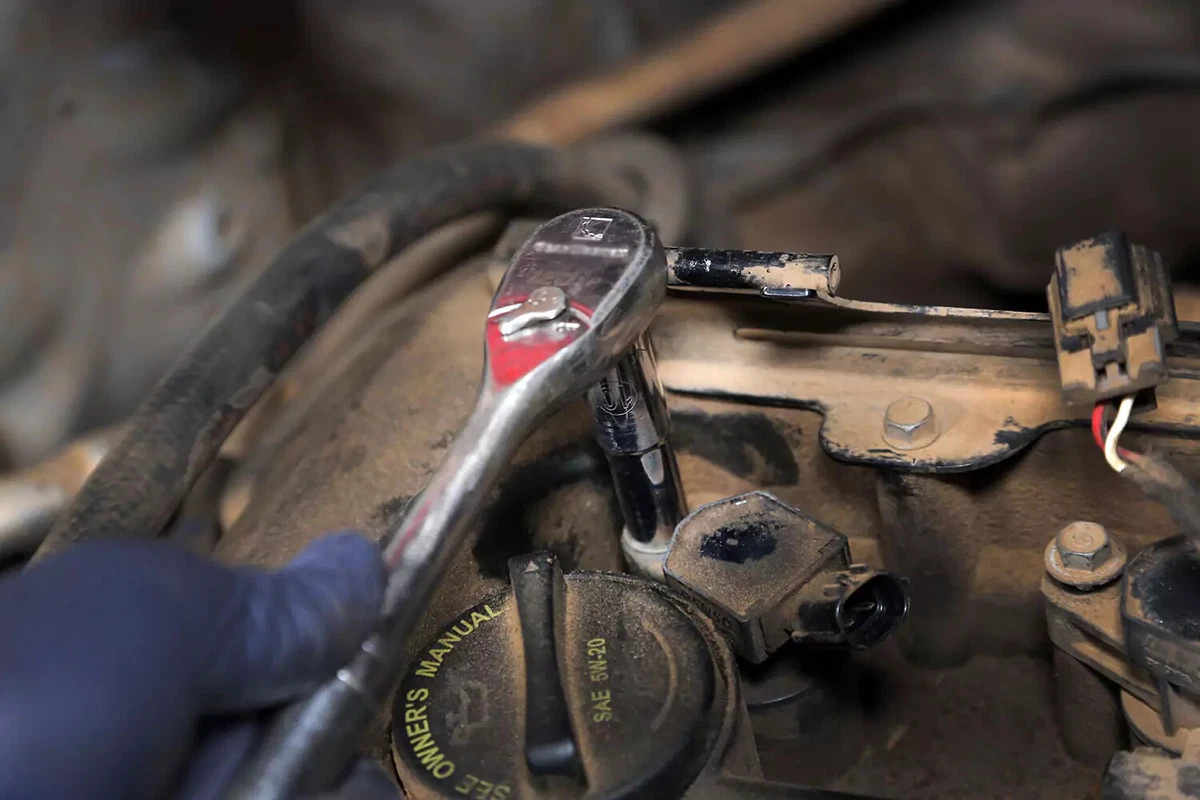
Top-mount plugs usually require a long extension to reach the spark plug inside the head. You can use a specialty spark plug socket with a rubber grommet inside it to hold the plug in place. Or you can use a regular deep socket, like the one shown here, that fits your spark plugs.
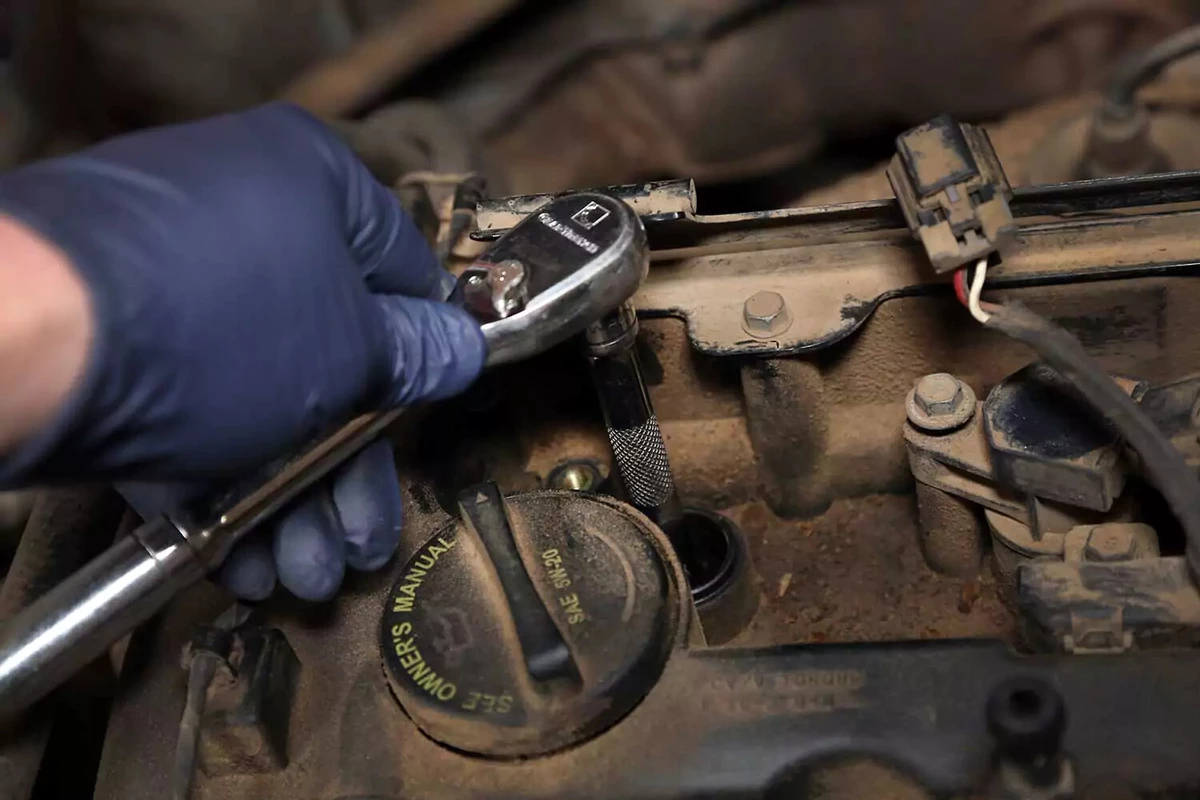
Place the socket extension assembly into the head and unscrew the spark plug. If you have a dedicated spark plug socket, the plug will come out with the socket after it clears the threads.
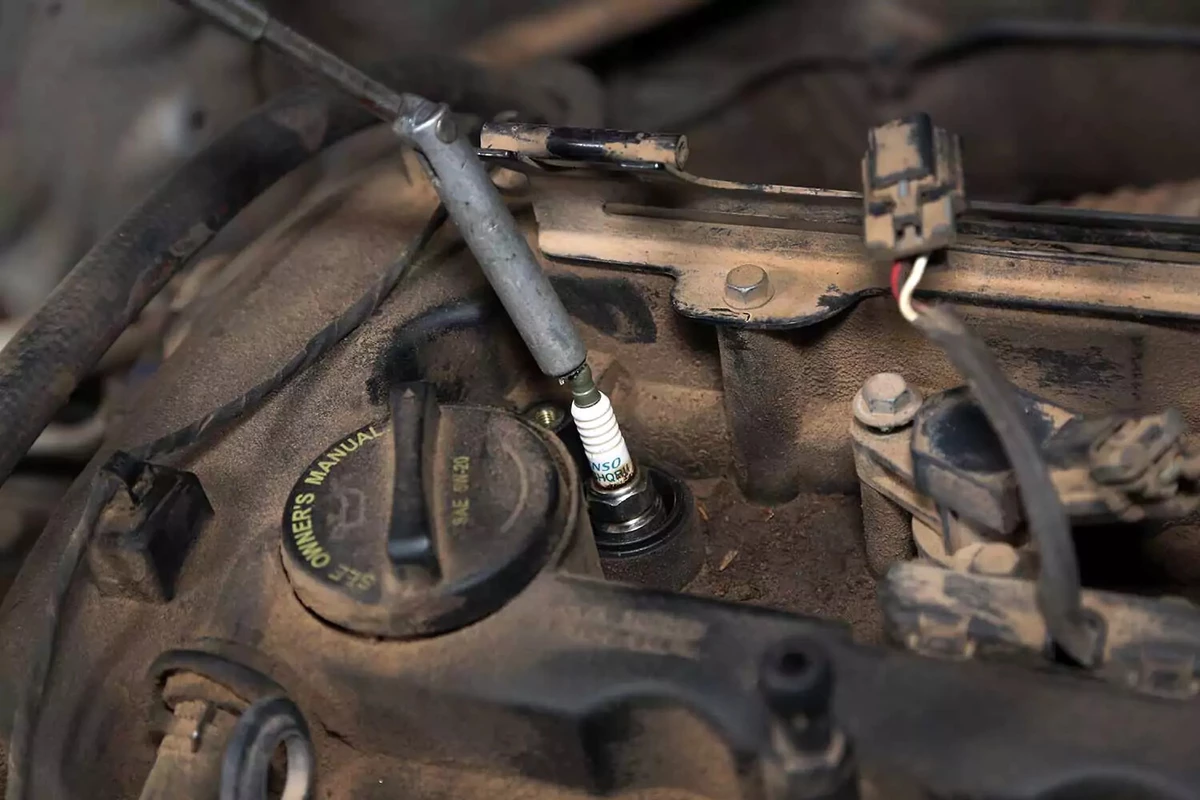
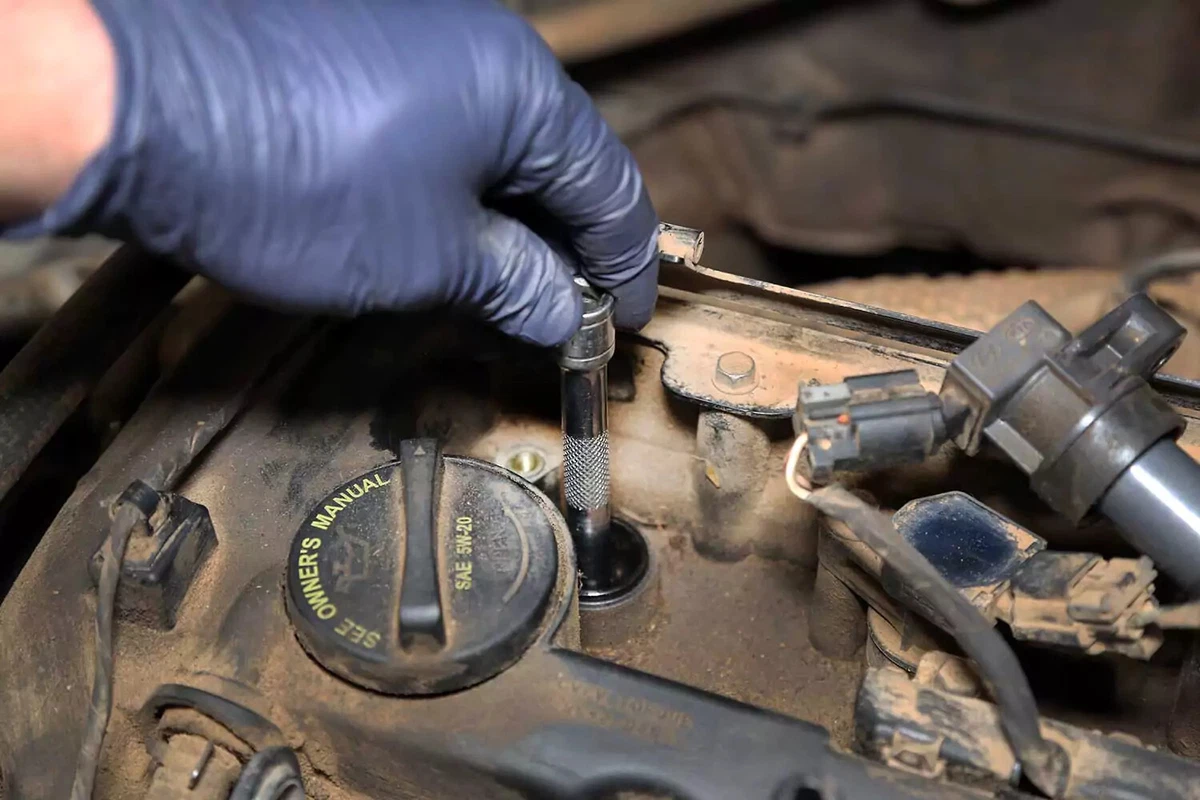
If you don’t have a specialty socket, use a parts magnet like the one shown here to grab the tip of the spark plug and pull it out of the valve cover.
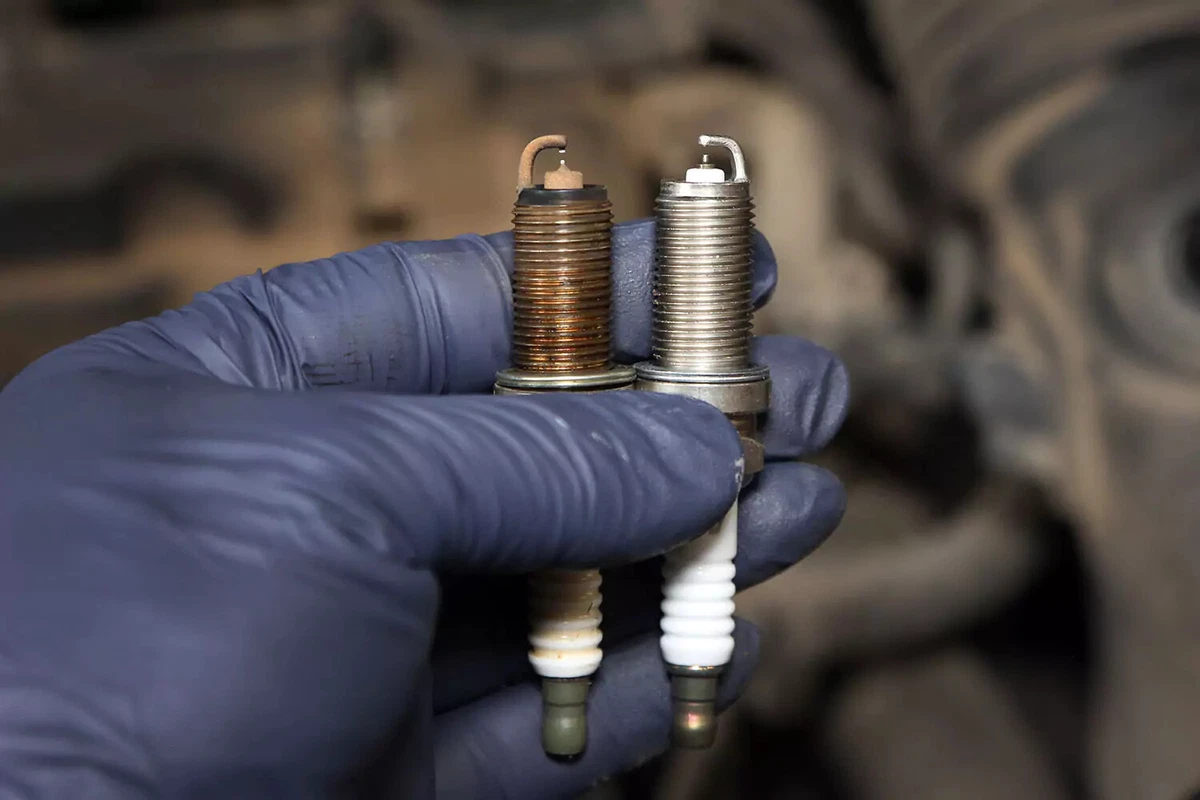
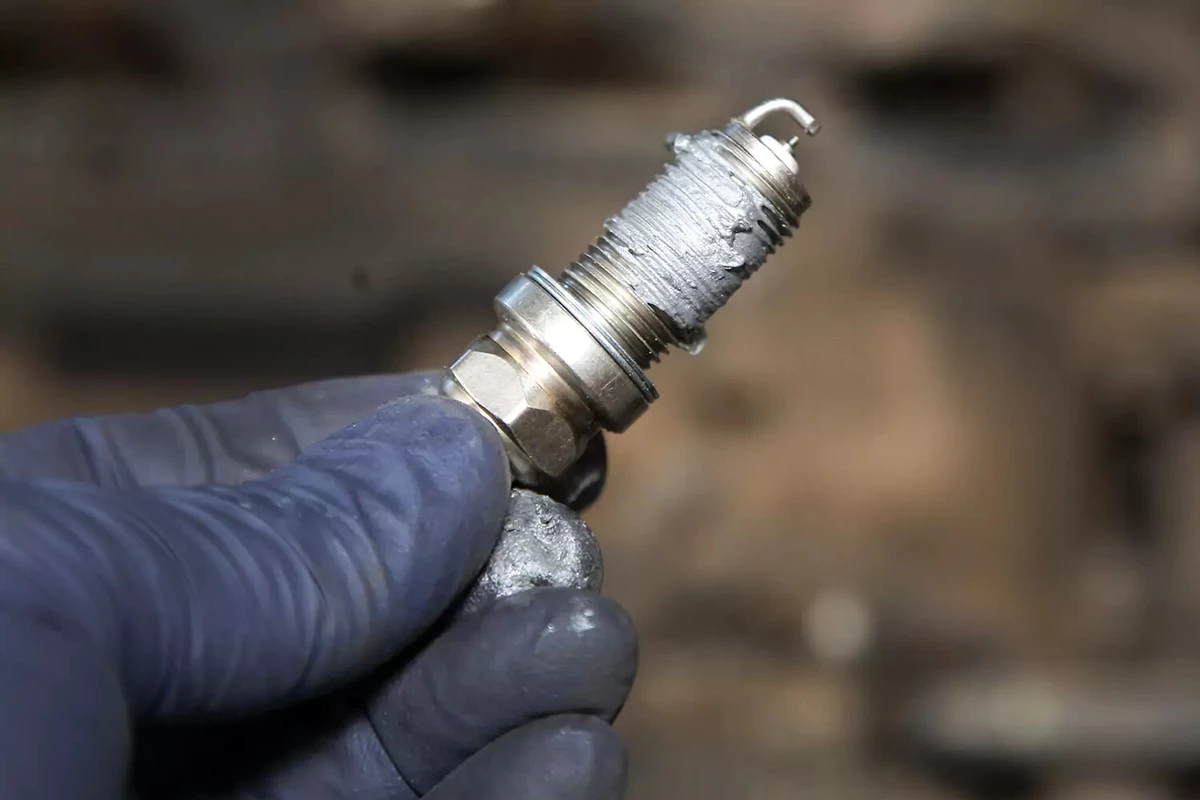
Compare the old spark plug to the new one. Verify the threads are the same length and pitch, and look for signs of engine issues. This old plug is in excellent condition, and the color is perfect. If the old plug is black, wet (with oil or fuel), physically damaged, or otherwise looks odd, you should investigate the engine’s health.
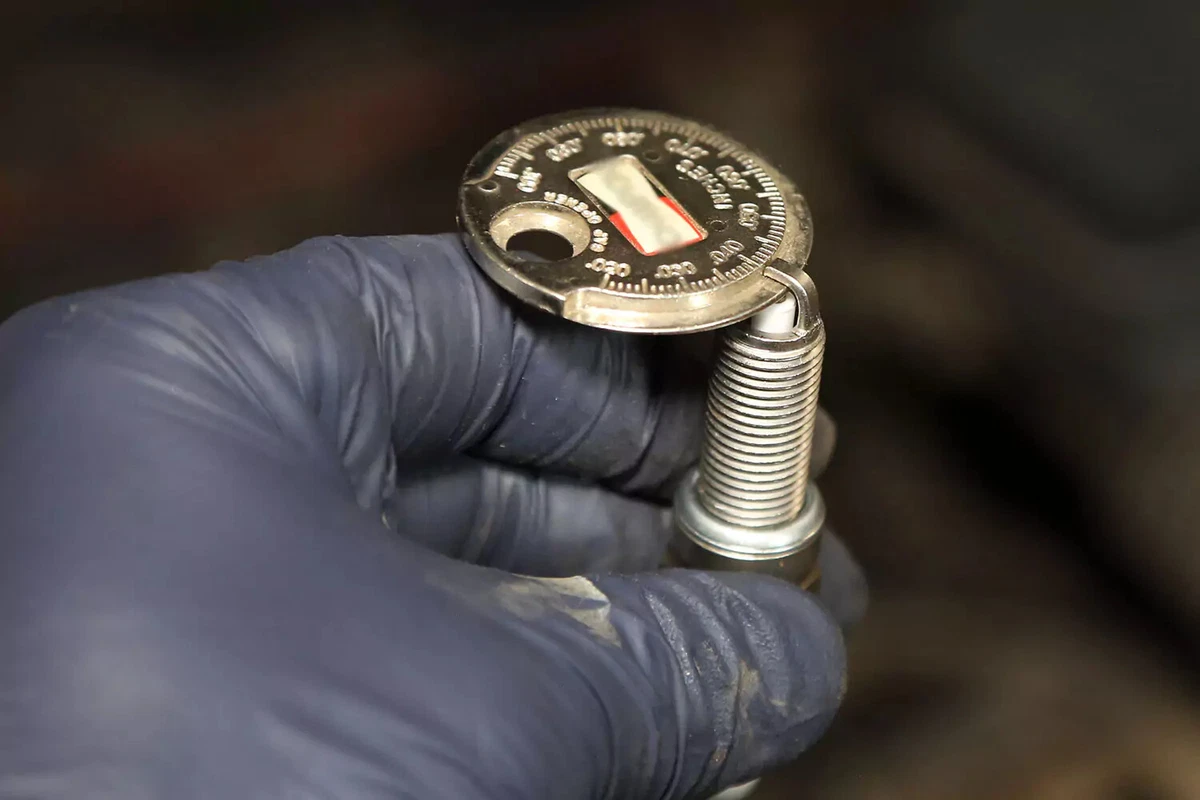
Check each new spark plug to see if it matches the plug gap specifications noted in your owner’s manual. You can use feeler gauges or a spark plug gap tool like the one shown here.
The plugs for this engine were set to the correct .044-inch gap. Check the plug manufacturer’s specs to see whether or not the plug is gap-adjustable. Modern, precious metal spark plugs should not be re-gapped. If the plugs you are about to install have the incorrect gap, they could be damaged, or the plug is wrong for your vehicle.
It’s not unusual for spark plugs to have stripped threads. They are often made from metals dissimilar to the cylinder heads, which can cause the threads to corrode or react to each other.
To prevent this, coat the threads of new plugs with anti-seize lubricant, which makes it much easier to remove them later.
Be careful with the plugs and lubricant, which can leave black stains on hands, clothes, and car interiors.
For top-mounted plugs, lower the plug into the cylinder hole. If you have a specialty spark plug socket, you can load the plug into the socket, which will hold it in place. You should be able to thread side-mount plugs by hand.
A foot-long piece of rubber fuel line over the end of the plug makes it easy to start the threads at the bottom of a deep spark plug well.
Start the plug by hand to avoid cross-threading it, which could damage the threads in the cylinder head. They are expensive to repair.
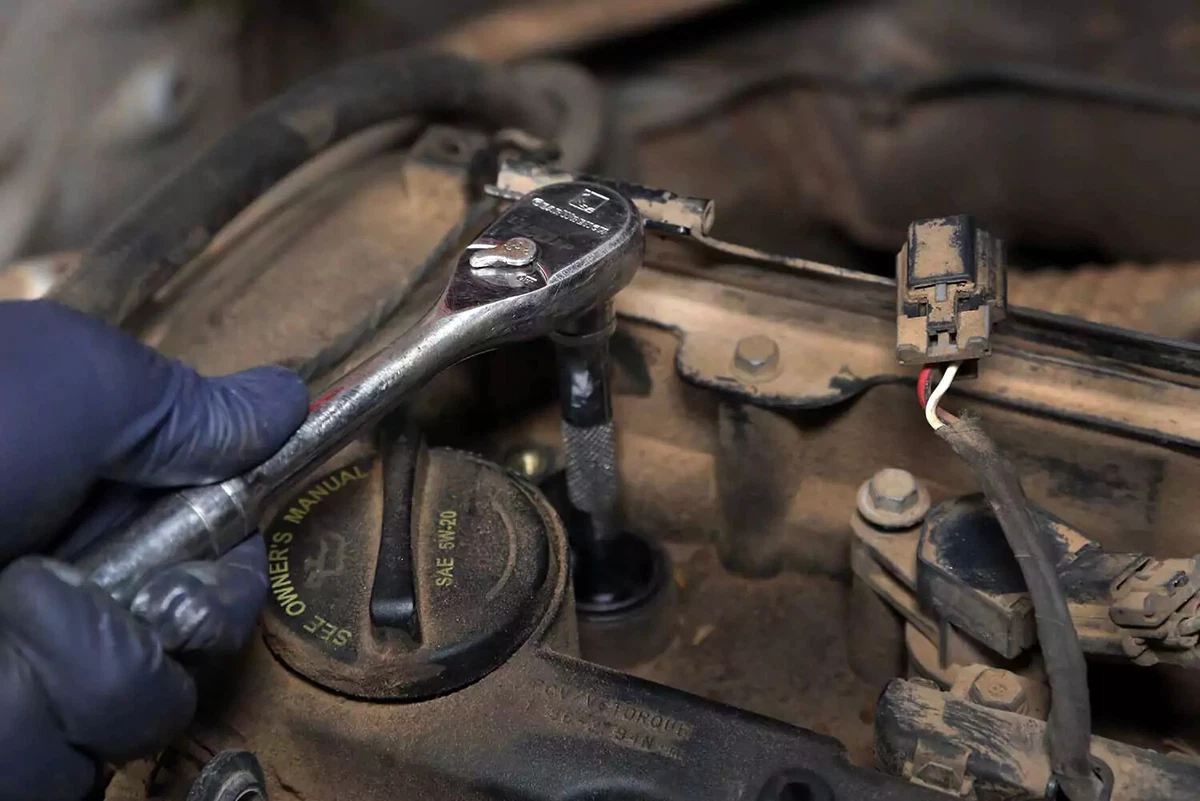
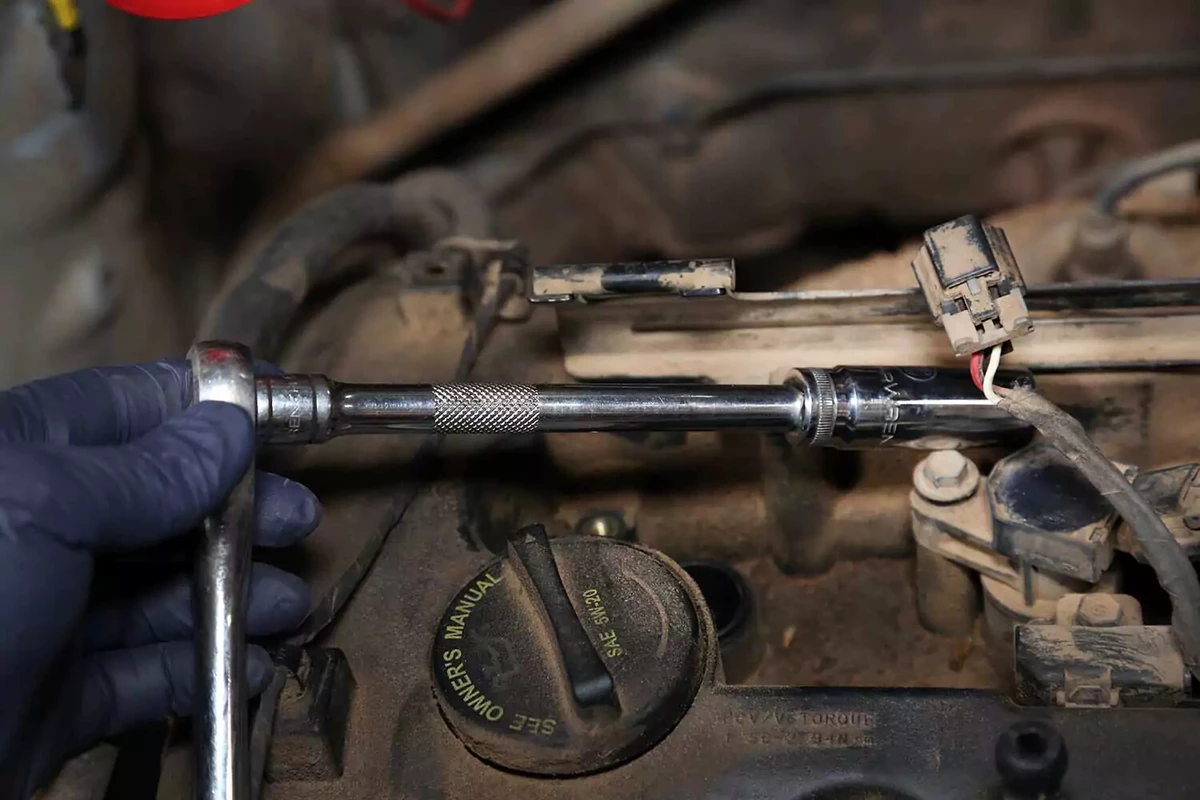
Use the socket to tighten the spark plug into the head. Most spark plugs require 10 to 15 pound-feet of torque, which is too small a value for most torque wrenches. Instead, thread the plug to finger-tight and give it about a quarter-turn.
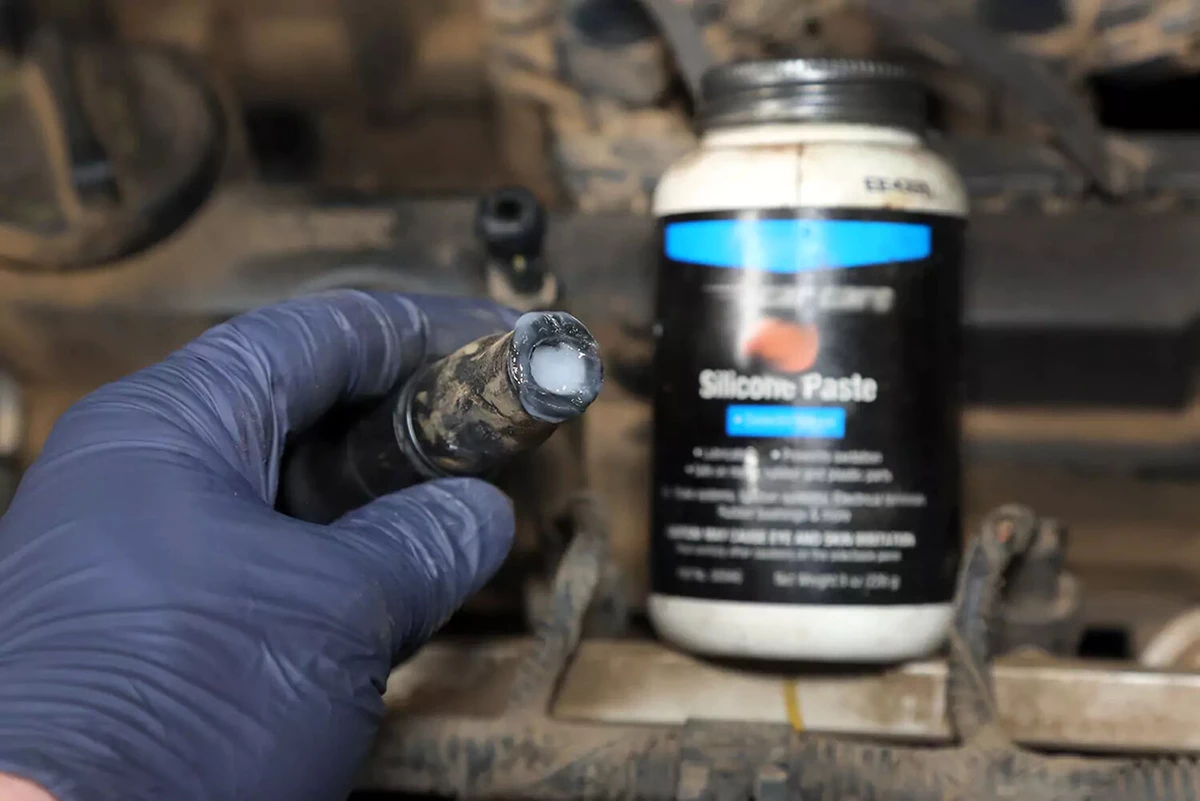
Spark plugs get hot and often stick to the plug boot on the wire or coil. The best solution is a generous coating of silicone paste or dielectric grease. This grease doesn’t affect conductivity. But it seals the connection from moisture, which can damage plugs and wires.
Install the coil pack back into the valve cover and press it on the spark plug. You should feel it click when it locks on the plug.
If you are working on a side-mount engine, snap the plug boot over the plug until it clicks.
Thread the original bolt back into the valve cover through the mounting boss on the coil. Tighten with a socket and ratchet. These are typically not torqued, just tightened by hand. Don’t over-tighten these bolts because you may crack the valve cover or strip the threads.

If you disconnected the coil wiring, reconnect it now. Remember to set the locking tab on the clip.
That’s one plug changed. Now repeat steps 4 through 19 until you change all the plugs.
Now that the plugs are replaced, you can reinstall any covers or trim you removed to gain access to the spark plugs. Reconnect the negative battery terminal, then start the vehicle to verify it runs properly.
About the author

Share your feedback
This article is meant to provide general guidance only. Automotive maintenance, repair, upgrade, and installation may depend on vehicle-specifics such as make and model. Always consult your owner's manual, repair guide for specific information for your particular vehicle and consider a licensed auto-care professional's help as well, particularly for advance repairs.
Recommended for you
Find answers and inspiration
A Quick Guide to Valve Cover Gaskets
6 min read
When to Replace Your Exhaust Manifold Gasket
6 min read
How to Replace an Ignition Coil
6 min read
How to Buy the Right EGR Valve and Gasket
6 min read
Your Complete Idler Pulley Buying Guide
5 min read
How to Buy the Right Throttle Body
5 min read
Buying the Right Distributor Cap and Rotor
4 min read
How to Replace a Drive Belt
5 min read
How to Replace an Intake Manifold Gasket
7 min read
How to Buy the Right Car Starter
5 min read
How to Replace a Valve Cover Gasket
7 min read
Diagnosing Your Serpentine Belt and Tensioner
6 min read
How to Change a Timing Belt
12 min read
Changing Your Oil: 5 Things to Know
6 min read
How to Clean Fuel Injectors
8 min read
How to Change a Car Battery
6 min readAutomation How to Change a Car Battery
6 min read
How to Replace a Mass Air Flow (MAF) Sensor
7 min read
Distributors 101
6 min read
Everything You Should Know About EGR Valves
5 min read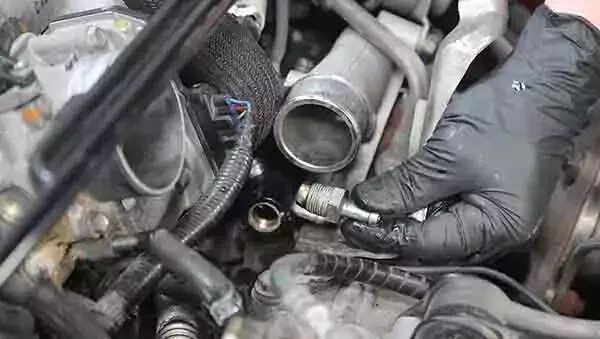
How to Test Your PCV Valve
6 min read
Buying the Best Portable Car Battery Jump Starter
6 min read
An Introduction to Cleaning Fuel Injectors
5 min read
A Deep-Dive Guide to Ignition Wires
7 min read
How to Replace Engine Mounts
4 min read
The Right Tools to Clean Your Fuel Injectors
6 min read
How Do Ignition Coils Work?
5 min read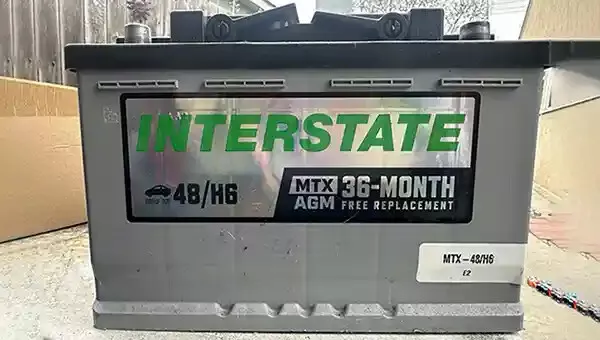
What to Consider When Buying a Car Battery
6 min read
How to Jump Start a Car
9 min read
Spark Plugs 101
7 min read
When to Replace Your Drive Belt
6 min read
Fuel Pumps and How They Work
8 min read
What to Know About Your Vehicle's Throttle Body
6 min read
Everything You Need to Know About Fuel Filters
6 min read
How to Buy the Right Ignition Coils
7 min read
How to Buy the Right O2 Sensor
5 min read
How to Replace a Serpentine Belt Tensioner
4 min read
When to Replace Your Engine Air Filter
5 min read
How to Replace an Oxygen Sensor
5 min read
How to Buy the Right Timing Belt and Related Tools
5 min read
How to Buy the Right Car Distributor
6 min read
An Intro to Jump-Starting Your Car Battery

Timing Belts 101
5 min read
How to Replace an Engine Air Filter
5 min read
How to Buy the Right Exhaust Manifold Gasket
6 min read
How to Choose the Best Spark Plugs
5 min readSBJ 1.2 Test Prod - Change a Car Battery Shari
6 min read
How to Replace a Car Starter
7 min read
What You Should Know About O2 Sensors
6 min read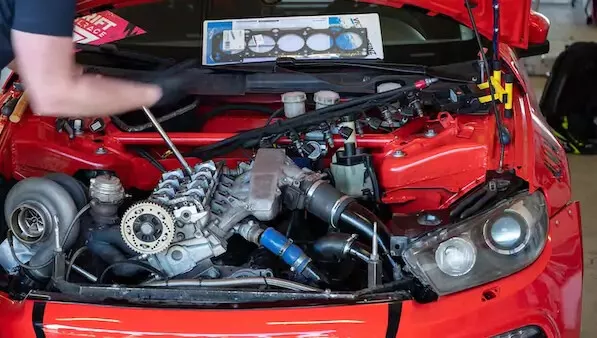
How to Buy the Right Valve Cover Gasket
4 min read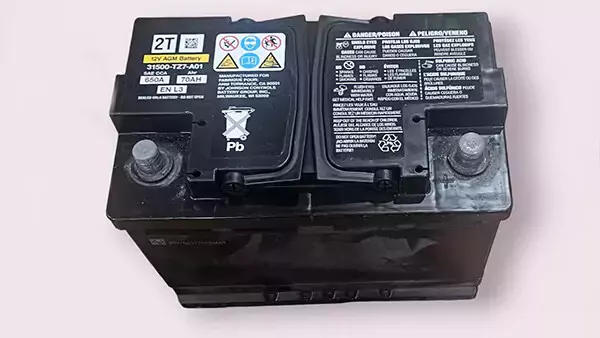
When to Replace Your Car’s Battery
5 min read
How to Replace a Distributor Cap and Rotor
5 min read
Understanding Your Car's Idler Pulley
4 min read
How to Replace a Fuel Filter
7 min read
How to Replace a PCV Valve
6 min read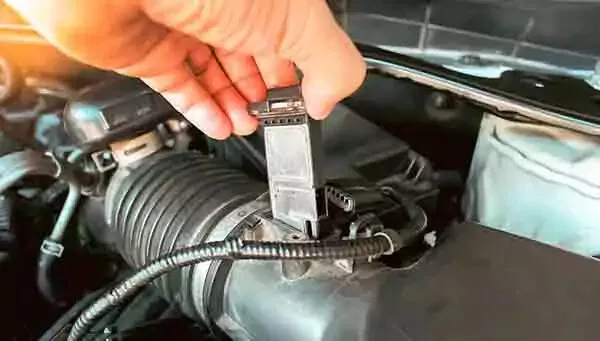
Do You Have a Faulty Mass Air Flow Sensor?
4 min read
Everything You Need to Know About Car Starters
7 min read
How to Replace an Exhaust Gasket
9 min read
Ignition Wire Buying Guide
6 min read
All About Your Distributor Cap and Rotor
7 min read
How to Replace a Throttle Body
6 min read
Spotting Intake Manifold Gasket Problems
7 min read
How to Change Oil in a Car
8 min read
How to Buy the Best MAF Sensor
4 min read
How to Replace an Alternator
11 min read
How to Replace an EGR Valve
5 min read
How to Change an In-Tank Fuel Pump
9 min read
Explore more projects
How to Change a Thermostat
30 to 60 minutes
Intermediate
7 min read
How to Replace a Car Starter
1 to 2 hours
Intermediate
7 min read
How to Replace a Transmission Mount
1 to 2 hours
Intermediate
7 min read
How to Replace Engine Mounts
1 to 2 hours
Intermediate
4 min read

How to Change Manual Transmission Fluid
Less than 30 minutes
Intermediate
4 min read

How to Change a Water Pump
1 to 2 hours
Intermediate
8 min read
How to Replace an Intake Manifold Gasket
2 to 5 hours
Intermediate
7 min read

How to Replace Wheel Bearings
1 to 2 hours
Intermediate
7 min read

How to Replace Tie Rod Ends
30 to 60 minutes
Intermediate
8 min read
How to Replace a Heater Core
More than 5 hours
Intermediate
12 min read

How to Replace a Power Steering Pump
1 to 2 hours
Intermediate
7 min read

How to Replace a Steering Gearbox
2 to 5 hours
Intermediate
8 min read
How to Replace Power Steering Fluid
1 to 2 hours
Intermediate
8 min read

How to Change Automatic Transmission Fluid
Less than 30 minutes
Intermediate
6 min read
How to Replace a U-Joint
1 to 2 hours
Intermediate
14 min read

How to Replace a Car Radiator
1 to 2 hours
Intermediate
8 min read
How to Change an In-Tank Fuel Pump
2 to 5 hours
Intermediate
9 min read