An electric starter (also called a starter motor) spins the engine so it can start. While your starter should last at least 10 years (and thousands of start cycles), it will eventually wear out.
Is It Hard to Replace a Car Starter?
Changing a car starter motor is one of the first jobs a novice DIY mechanic could attempt. Most starters can be easily removed and replaced in one to two hours. The difficulty and time required for this beginner auto repair task will depend on how easily you can reach your starter and lift it from the vehicle. (Starters can be heavy.)
Most starters are located under the vehicle, so you will likely need to lift the vehicle to reach it. Some can be quite difficult to reach. Starters are commonly secured with two to four bolts threaded into the engine block or transmission. Some starters require shims for alignment. Check your vehicle’s repair manual for details.
In addition to the mounting bolts, your starter has two main connections: the battery’s positive terminal and the trigger wire. The main power is almost always a ring terminal connected to a lug and secured with a nut. The trigger wire may be a ring terminal or a quick-connect terminal plug. To remove these wires, you might need to remove the starter first.
Before removing the starter, ensure the wires are long enough to keep it out of the way. Do not let the starter hang from the wires.
Tips and Tricks for DIY Starter Replacement
- Starter bolts are special. If you need to replace them, purchase special correct starter bolts. You cannot replace them with regular grade 8 bolts.
- Starters can be very heavy. We recommend having an assistant available to help lift and move the starter.
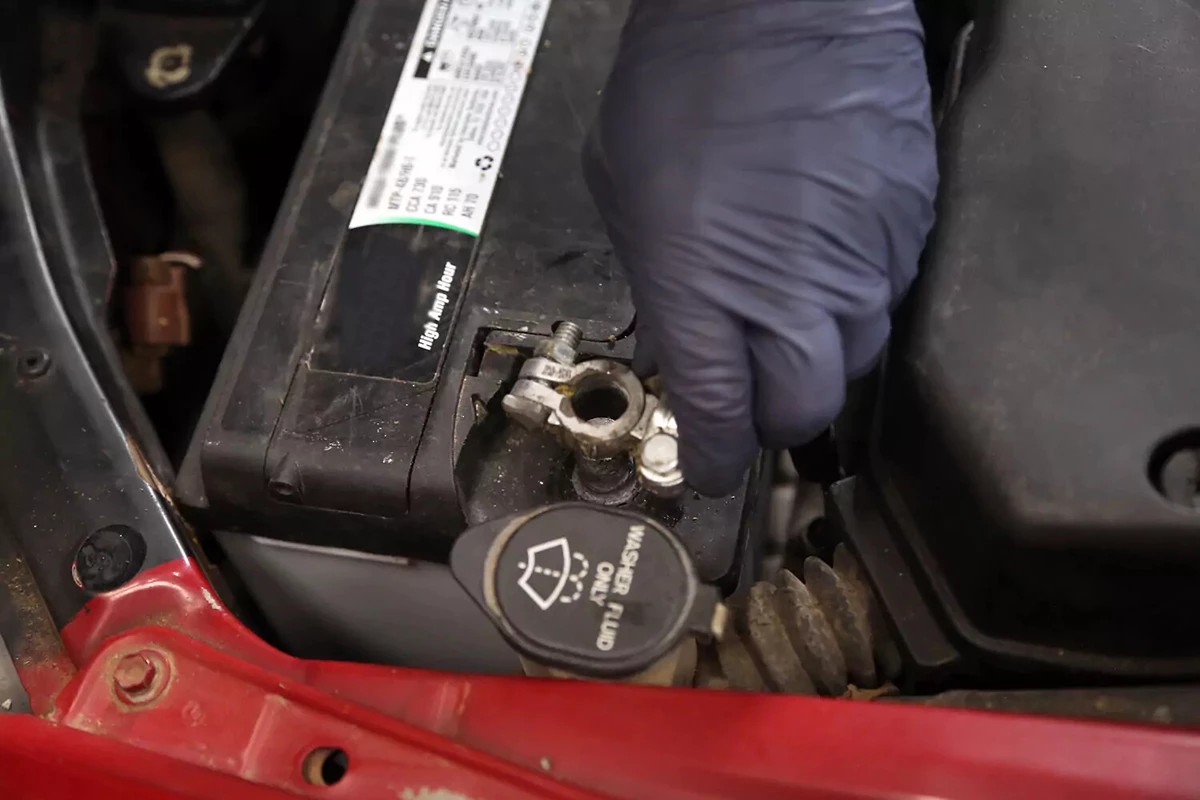
The first step for many auto repair jobs is to disconnect the battery from the vehicle. It’s a simple task. Remove the ground clamp from the battery’s negative post. Plus (+) and minus (-) signs are usually molded into the plastic battery case near the post.
Removing the negative terminal first ensures the vehicle is no longer connected to a live battery, preventing sparks, electrical shorts, or components (such as fans) from unnecessarily coming on.
Pull the terminal off the battery for a close inspection. If there is corrosion, loose wires, or physical damage, consider replacing the battery terminal or cable.
Move the terminal away from the battery into a position where it can’t accidentally touch the battery post.
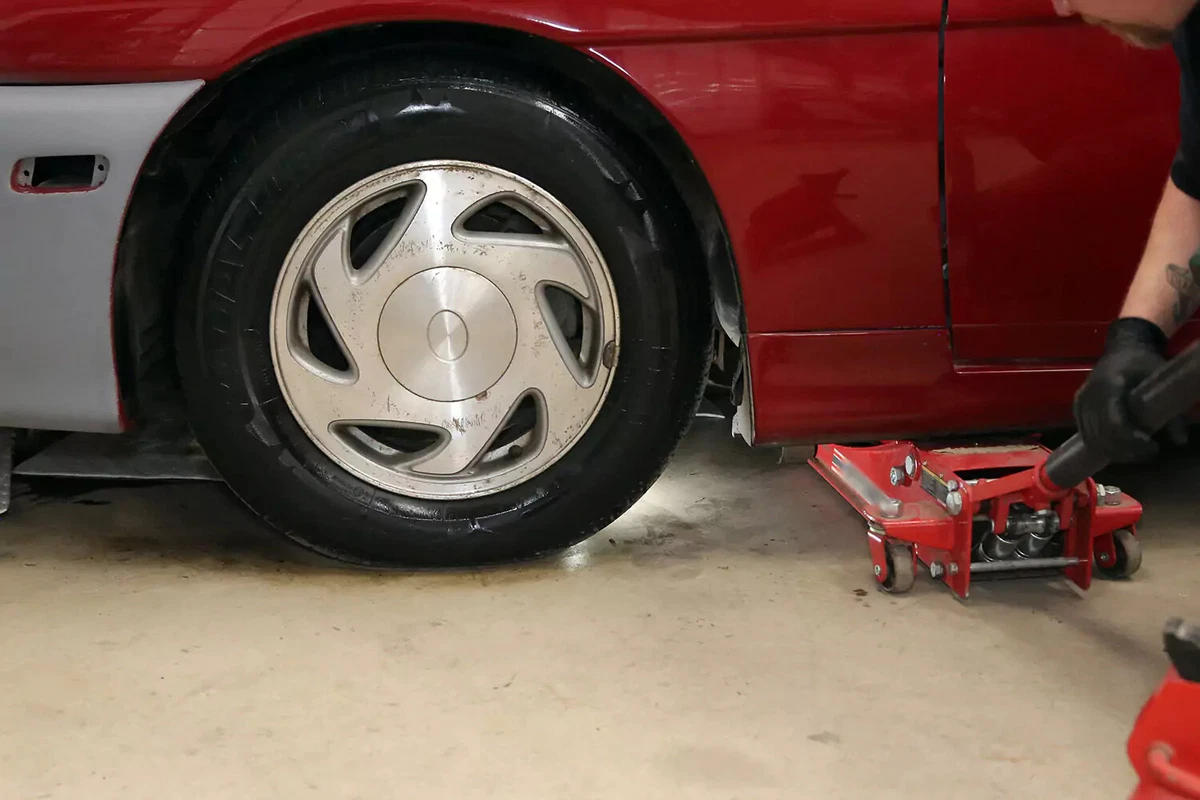
This project requires working safely under the vehicle. You will need a floor jack, and jack stands, ramps, or wheel cribs to support the vehicle.
Locate the factory jacking points just behind the front wheels or just in front of the rear wheels. The jacking point is a metal section with two V notches about two inches apart. Check your owner’s manual to confirm the lift location.
Never use jack stands on dirt, gravel, or asphalt. If you do not have access to a concrete work surface, use wheel cribs, solid-base ramps, or wide-base wood supports to support the vehicle. Never use cinder blocks or bricks as supports.

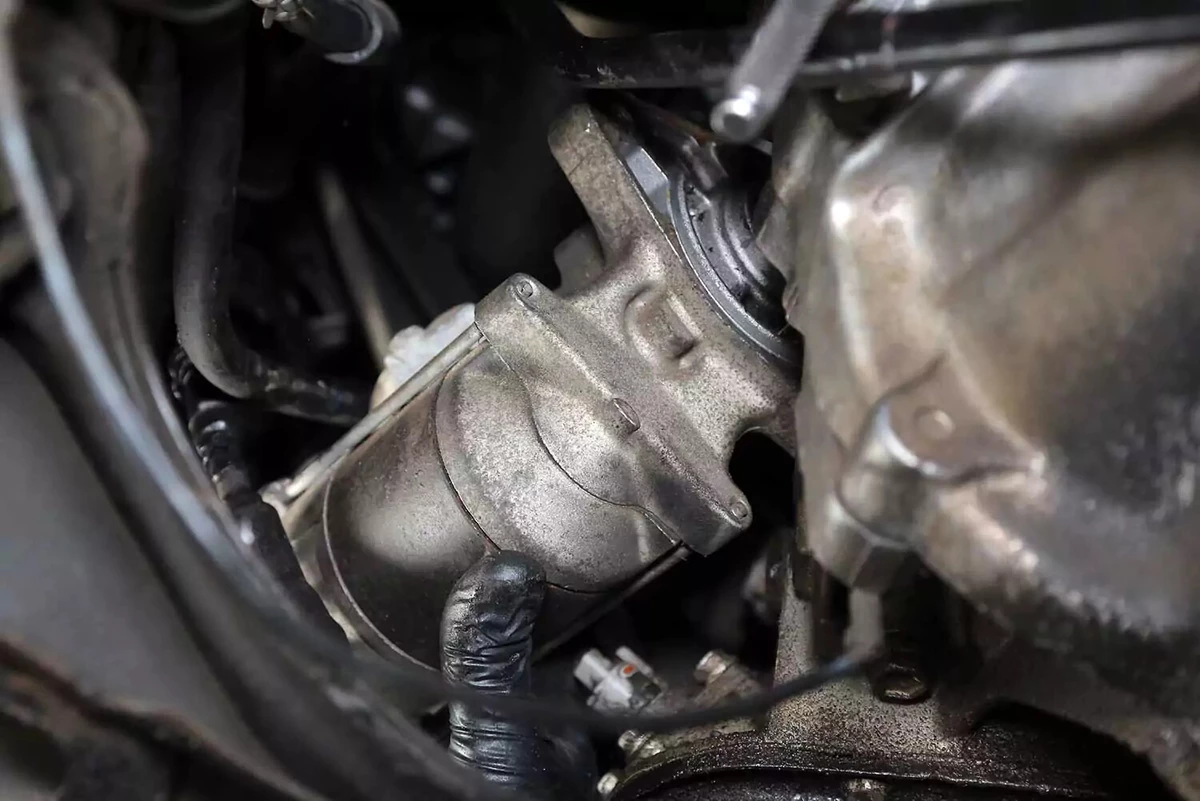
After the vehicle is safely lifted, slide under to find the starter. Identify any cables, hoses, brackets, or wires that need to be removed to access and remove the starter.
While you’re there, determine the correct size for sockets and wrenches to remove wires and bolts.

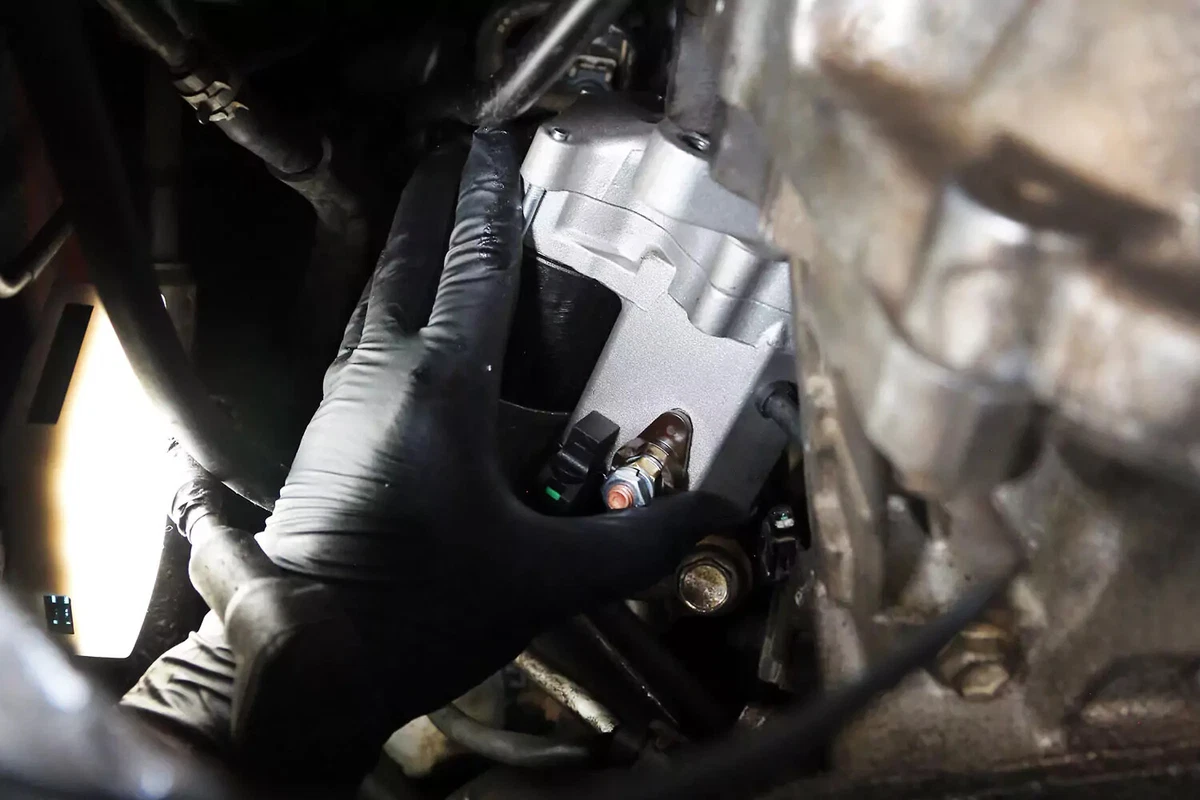
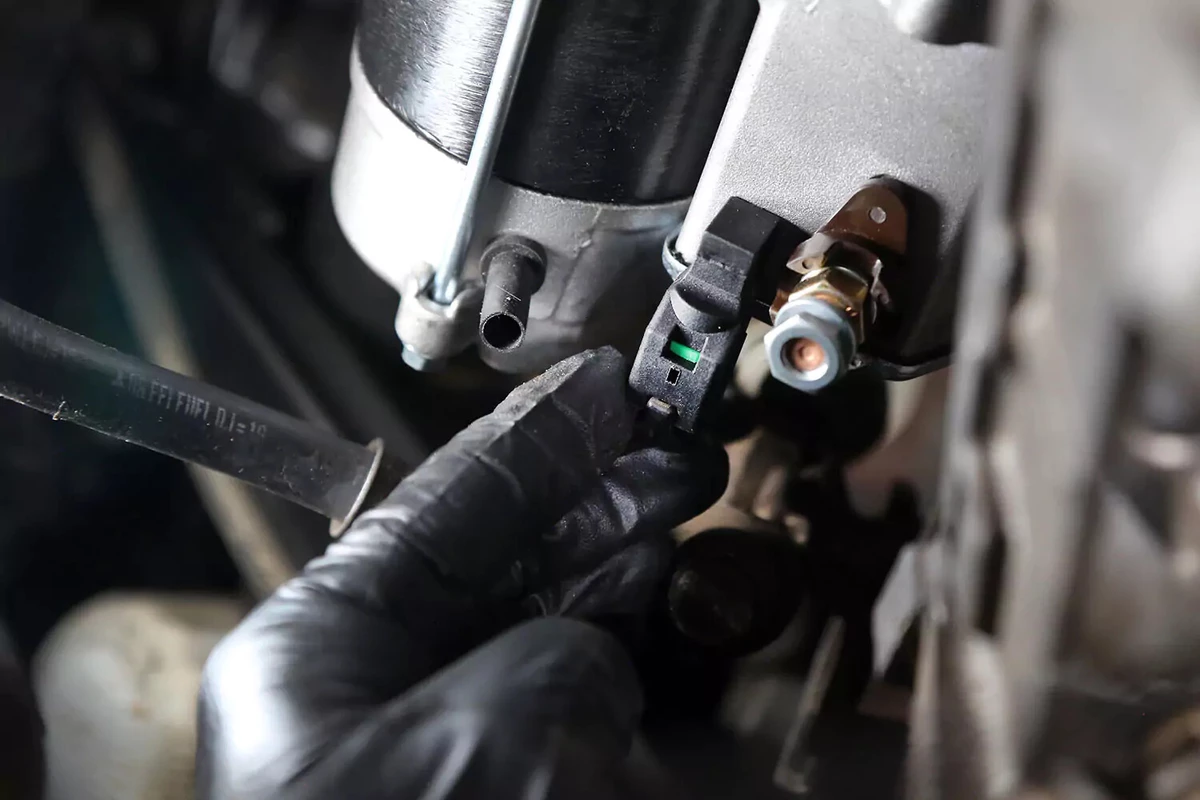
Our demo vehicle has a plug-in trigger wire. We removed it by pressing the release tab and pulling it out of the starter.
On many vehicles, this wire is retained with a small nut on a post next to the battery lug. This can be tricky to reach with the wrench, so we used a ¼-inch -drive ratchet and deep socket.
This wire is not live because the battery is not disconnected. If you neglect disconnecting the battery, the wire will not be live until the ignition key is in the start position or you push the starter button while depressing the brake pedal.

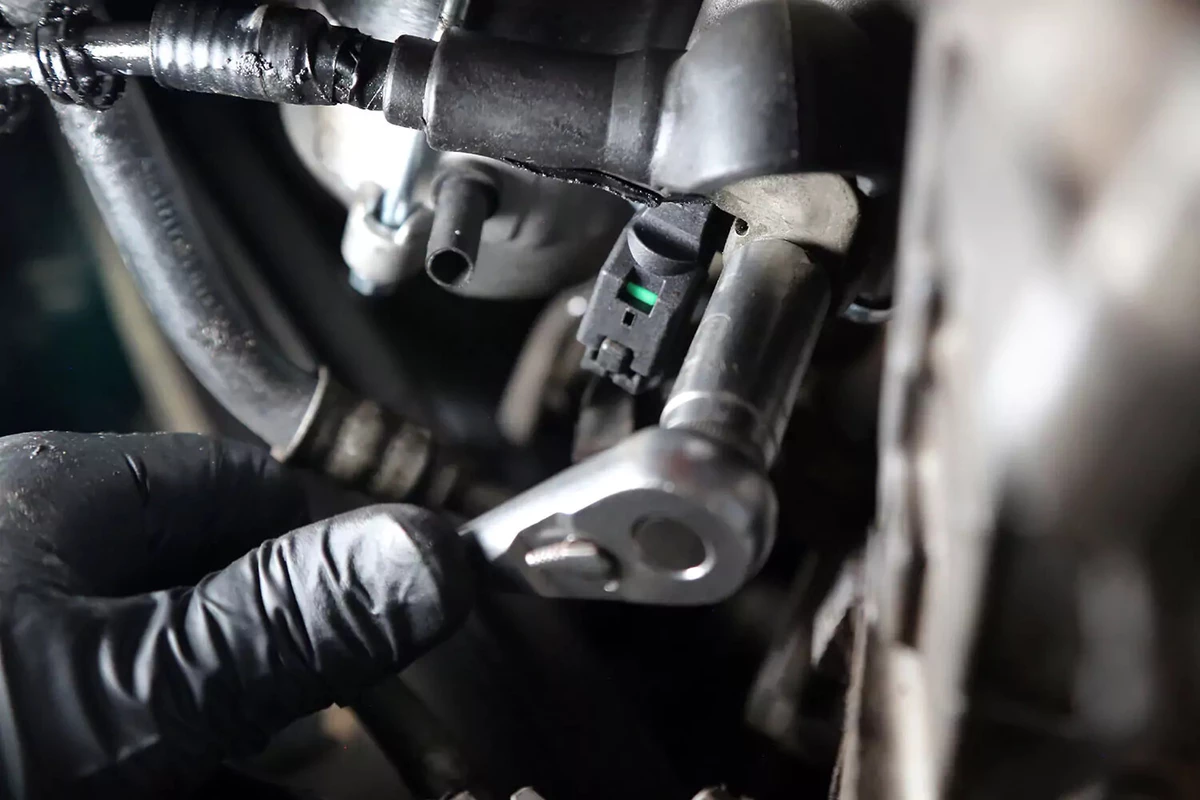
Use a wrench or small socket and ratchet to remove the nut holding the main battery cable to the starter. Sometimes, you need a backup wrench for the retainer nut that holds the lug to the starter, but only if the lug moves when you try to remove the clamping nut.
This wire is connected directly to the positive battery post. Did you disconnect the negative battery terminal? That will prevent the wire from arcing to metal.
Inspect the battery cable to the starter for corrosion on or near the terminal, loose wire strands, or cut wire or insulation. If there is any damage, now is the time to replace the cable. This cable carries several hundred amps of current. It must be in excellent condition.

Use a wrench or socket to unbolt the starter. Starters can weigh 20 pounds or more. Once the bolts are loose, use one hand to support the starter, and then finish removing the bolts.
If you need help, get an assistant or use a stack of wood blocks or old books to support the starter while you remove the bolts. Do not let the starter hang from loose bolts. This can damage the bolts and mounting threads.
On our demo vehicle, the bolts were difficult to reach. To reach the top bolt, we needed several extensions with two wobble extensions, which give a slight bend to the stack of tools needed to turn the bolt head. You might need a universal extension, a combination of extensions, or an extra wrist joint in your forearm for some fasteners.
Lower the starter from its position. Remove it from the vehicle.
If possible, inspect the engine’s flexplate/flywheel. It’s the large disc with teeth on the outer ring that the starter gear engages. Flexplates are used on automatic transmissions, while flywheels are for manual transmissions. You’ll see the teeth through the opening in the transmission that you uncovered by removing the starter.
A failing starter can erode the teeth on the ring gear if it is hitting the edge instead of meshing with the gear. The teeth should be clean and smooth with no signs of physical damage. A slightly chewed tooth here and there isn’t a major concern. But if teeth are heavily dog-eared, you may need to replace the flexplate or flywheel.

Starter bolts are not the same as regular bolts. Starter bolts typically have knurling near the threads and are slightly larger in diameter than standard grade 8 bolts.
Knurling is the cross-hatch pattern that creates a tight fit between the bolts and the starter’s mounting holes. That keeps the gear teeth on the starter and the ring in perfect alignment.
The old bolt (right) has a groove worn in the knurling. This bolt should be replaced with the new, correct starter bolt.
Raise the starter into position, holding the bolts in place. Once the starter is in the right location, thread the bolts into the mounting holes by hand because there is not yet enough tension to use a ratchet. After the bolts are hand-tight, you can release the starter.

Use a ratchet and socket or wrench to tighten the starter bolts. Most engines have a specific bolt torque specification, typically 20 to 35 pound-feet. That’s hand-tight for most people. Check your vehicle’s repair manual for details on the torque specs for the starter bolts.
Often, there isn’t enough room to use a torque wrench. If you have an aluminum block—or the starter mounts to an aluminum transmission case—the torque needed is lower than an iron-block mount. Take care not to strip the threads.
If your starter uses a quick-connect, snap it in place.
If the trigger wire is a ring on a stud, slip on the ring followed by the nut. Tighten so that it’s snug but not so that the stud rotates in its mount.
Install the main battery cable to the starter’s battery lug and tighten the new nut with a wrench or socket. The nut should be very tight, but don’t tighten it to the point where the lug rotates. That can damage the starter’s internal wiring.
Remove the jack stands and jack. Reinstall the negative battery cable. You are now ready to start the engine.
About the author

Share your feedback
This article is meant to provide general guidance only. Automotive maintenance, repair, upgrade, and installation may depend on vehicle-specifics such as make and model. Always consult your owner's manual, repair guide for specific information for your particular vehicle and consider a licensed auto-care professional's help as well, particularly for advance repairs.
Recommended for you
Find answers and inspiration
A Quick Guide to Valve Cover Gaskets
6 min read
When to Replace Your Exhaust Manifold Gasket
6 min read
How to Replace an Ignition Coil
6 min read
How to Buy the Right EGR Valve and Gasket
6 min read
Your Complete Idler Pulley Buying Guide
5 min read
How to Buy the Right Throttle Body
5 min read
Buying the Right Distributor Cap and Rotor
4 min read
How to Replace a Drive Belt
5 min read
How to Replace an Intake Manifold Gasket
7 min read
How to Buy the Right Car Starter
5 min read
How to Replace a Valve Cover Gasket
7 min read
How to Change a Timing Belt
12 min read
Diagnosing Your Serpentine Belt and Tensioner
6 min read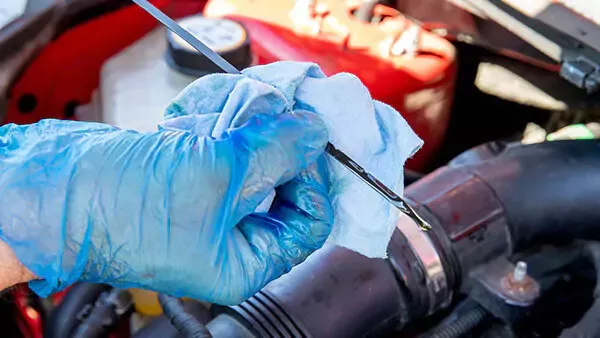
Changing Your Oil: 5 Things to Know
6 min read
How to Clean Fuel Injectors
8 min read
Automation How to Change a Car Battery
6 min read
How to Replace a Mass Air Flow (MAF) Sensor
7 min read
Distributors 101
6 min read
How to Replace Spark Plugs
7 min read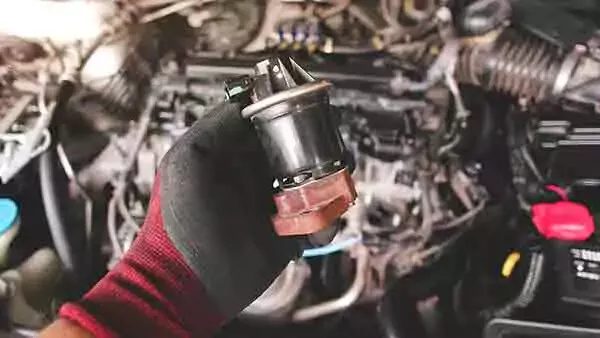
Everything You Should Know About EGR Valves
5 min read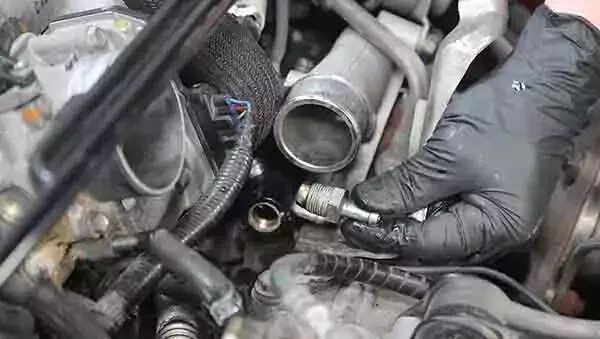
How to Test Your PCV Valve
6 min read
Buying the Best Portable Car Battery Jump Starter
6 min read
An Introduction to Cleaning Fuel Injectors
5 min read
A Deep-Dive Guide to Ignition Wires
7 min read
How to Replace Engine Mounts
4 min read
The Right Tools to Clean Your Fuel Injectors
6 min read
How Do Ignition Coils Work?
5 min read
Spark Plugs 101
7 min read
When to Replace Your Drive Belt
6 min read
Fuel Pumps and How They Work
8 min read
What to Know About Your Vehicle's Throttle Body
6 min read
Everything You Need to Know About Fuel Filters
6 min read
How to Buy the Right Ignition Coils
7 min read
How to Buy the Right O2 Sensor
5 min read
How to Replace a Serpentine Belt Tensioner
4 min read
When to Replace Your Engine Air Filter
5 min read
How to Replace an Oxygen Sensor
5 min read
How to Buy the Right Timing Belt and Related Tools
5 min read
How to Buy the Right Car Distributor
6 min read
Timing Belts 101
5 min read
How to Replace an Engine Air Filter
5 min read
How to Buy the Right Exhaust Manifold Gasket
6 min read
How to Choose the Best Spark Plugs
5 min read
What You Should Know About O2 Sensors
6 min read
How to Buy the Right Valve Cover Gasket
4 min read
How to Replace a Distributor Cap and Rotor
5 min read
Understanding Your Car's Idler Pulley
4 min read
How to Replace a Fuel Filter
7 min read
How to Replace a PCV Valve
6 min read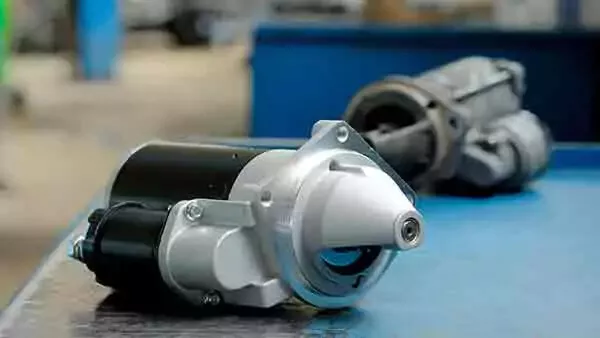
Everything You Need to Know About Car Starters
7 min read
How to Replace an Exhaust Gasket
9 min read
Do You Have a Faulty Mass Air Flow Sensor?
4 min read
Ignition Wire Buying Guide
6 min read
All About Your Distributor Cap and Rotor
7 min read
How to Replace a Throttle Body
6 min read
Spotting Intake Manifold Gasket Problems
7 min read
How to Change Oil in a Car
8 min read
How to Buy the Best MAF Sensor
4 min read
How to Replace an EGR Valve
5 min read
How to Change an In-Tank Fuel Pump
9 min read
Explore more projects
How to Change a Thermostat
30 to 60 minutes
Intermediate
7 min read
How to Replace Spark Plugs
1 to 2 hours
Intermediate
7 min read
How to Replace a Transmission Mount
1 to 2 hours
Intermediate
7 min read
How to Replace Engine Mounts
1 to 2 hours
Intermediate
4 min read

How to Change a Water Pump
1 to 2 hours
Intermediate
8 min read

How to Change Manual Transmission Fluid
Less than 30 minutes
Intermediate
4 min read
How to Replace an Intake Manifold Gasket
2 to 5 hours
Intermediate
7 min read

How to Replace Wheel Bearings
1 to 2 hours
Intermediate
7 min read

How to Replace Tie Rod Ends
30 to 60 minutes
Intermediate
8 min read
How to Replace a Heater Core
More than 5 hours
Intermediate
12 min read

How to Replace a Power Steering Pump
1 to 2 hours
Intermediate
7 min read

How to Replace a Steering Gearbox
2 to 5 hours
Intermediate
8 min read
How to Replace Power Steering Fluid
1 to 2 hours
Intermediate
8 min read

How to Change Automatic Transmission Fluid
Less than 30 minutes
Intermediate
6 min read
How to Replace a U-Joint
1 to 2 hours
Intermediate
14 min read

How to Replace a Car Radiator
1 to 2 hours
Intermediate
8 min read
How to Change an In-Tank Fuel Pump
2 to 5 hours
Intermediate
9 min read