Steering systems have two designs: rack and pinion, which is used on most modern vehicles, and recirculating ball, which has been used for nearly 100 years. You can still find recirculating ball steering gearboxes on larger trucks and some cars. This article focuses on replacing a recirculating ball gearbox.
These durable steering gearboxes use a sector and worm gear. The worm gear is actuated by 30 to 50 ball bearings that spool inside the gear housing as the steering wheel turns. This yields smooth steering operation.
Steering Gearbox Problems
Problems sometimes arise when steering gearboxes age. The grease inside the box thins, allowing the ball bearings to wear. Eventually, the steering action becomes too loose as the ball bearings stack up to move the gear. When you change the steering wheel’s direction, the ball bearings roll to the other side, creating a dead spot.
Up to one inch of play in the steering wheel is considered acceptable. If there’s more than that, consider replacing the steering gearbox.
Is It Hard to Replace a Steering Gearbox?
Changing your recirculating ball gearbox is considered an intermediate do-it-yourself job. It usually takes two to five hours, depending on where your gearbox is located and how easily you can reach it.
Tips and Tricks for DIY Steering Gearbox Replacement
- The steering gearbox’s location makes this job difficult. It's situated between the engine and chassis, and several components are in the way. Lift the vehicle to give you enough room to remove any parts that block access to the gearbox.
- Before installation, the gearbox must be centered so that the wheels can turn the same degree left and right. Otherwise, you could limit the steering radius.
For steering repair jobs, straighten the wheels and steering wheel before lifting the vehicle.
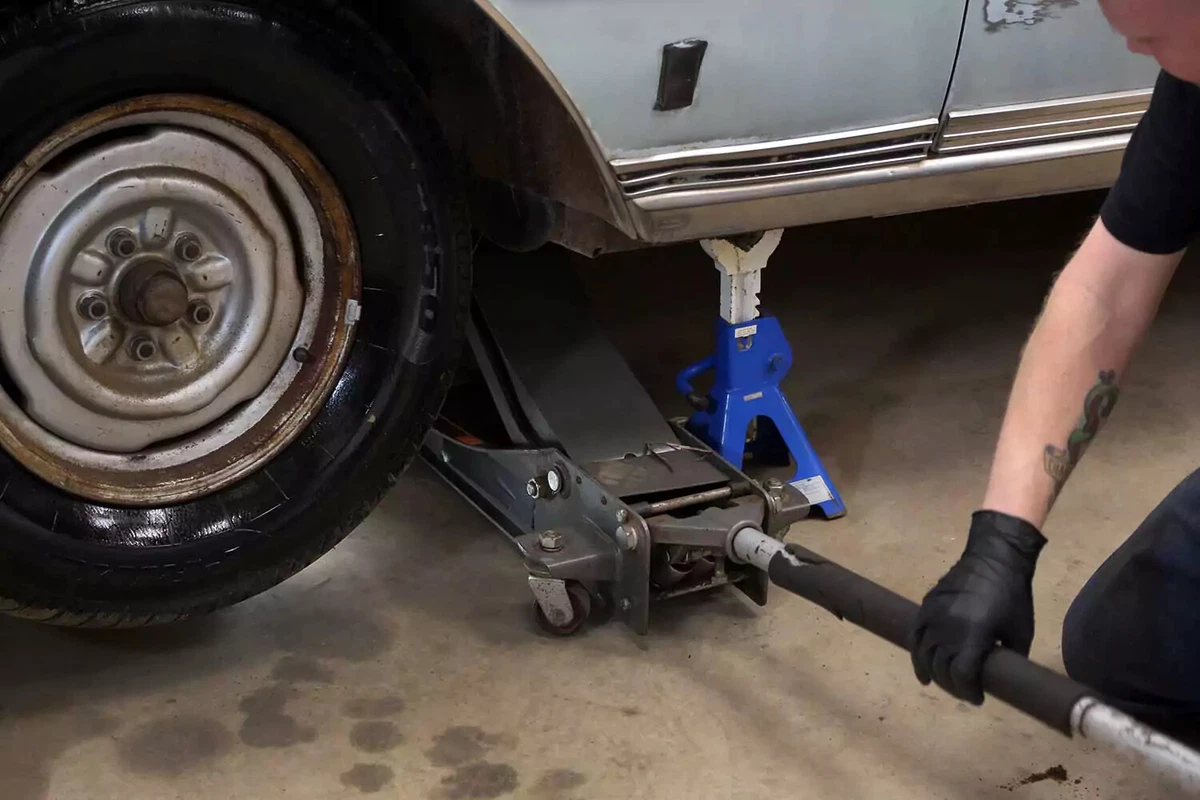
This project requires working safely under the vehicle. You will need a floor jack and jack stands, ramps, or wheel cribs to support the vehicle.
Locate the factory jacking points just behind the front wheels or just in front of the rear wheels. The jacking point is a metal section with two V notches about two inches apart. Check your owner’s manual to confirm the lift location.
Never use jack stands on dirt, gravel, or asphalt. If you do not have access to a concrete work surface, use wheel cribs, solid-base ramps, or wide-base wood supports to support the vehicle. Never use cinder blocks or bricks as supports.

Work under the car to locate the gearbox and remove any components blocking access.
Remove the power steering lines. If your vehicle does not have power steering, skip this step.
Consider replacing the power steering hoses, especially if they have any visible wear. You may need a crowfoot wrench to reach the line fittings.
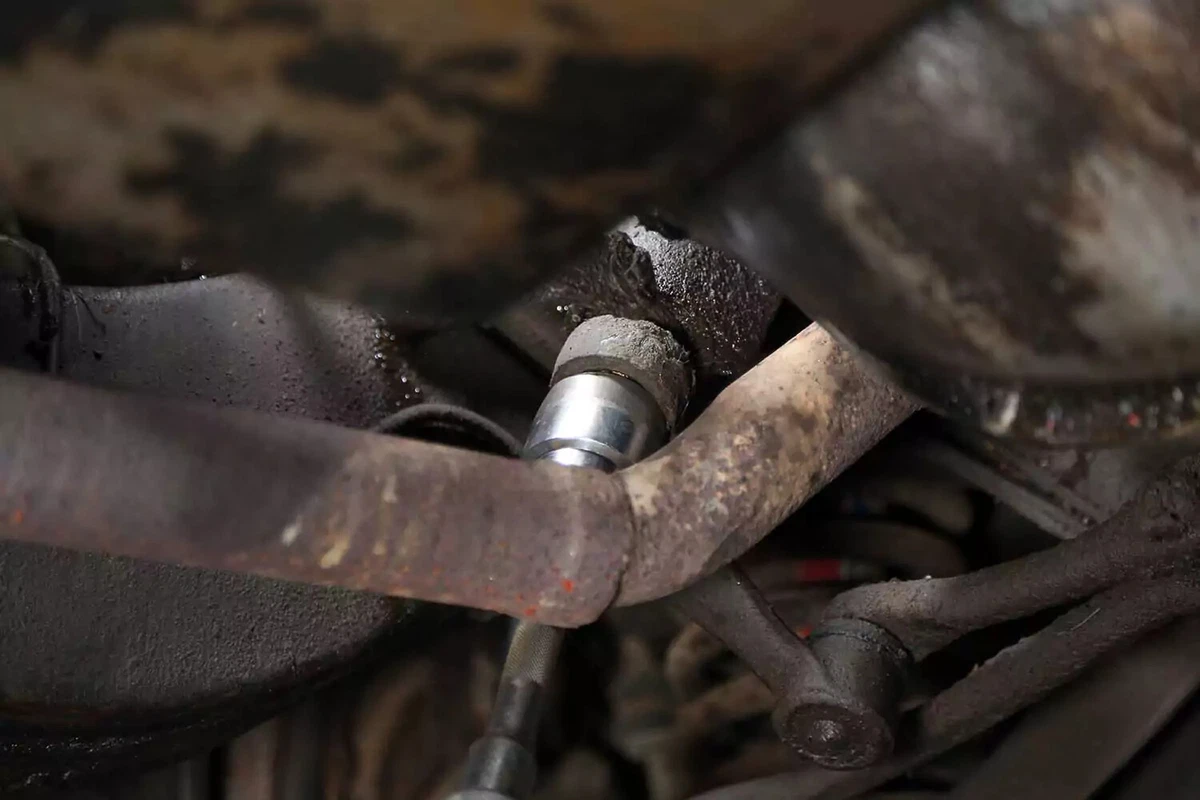
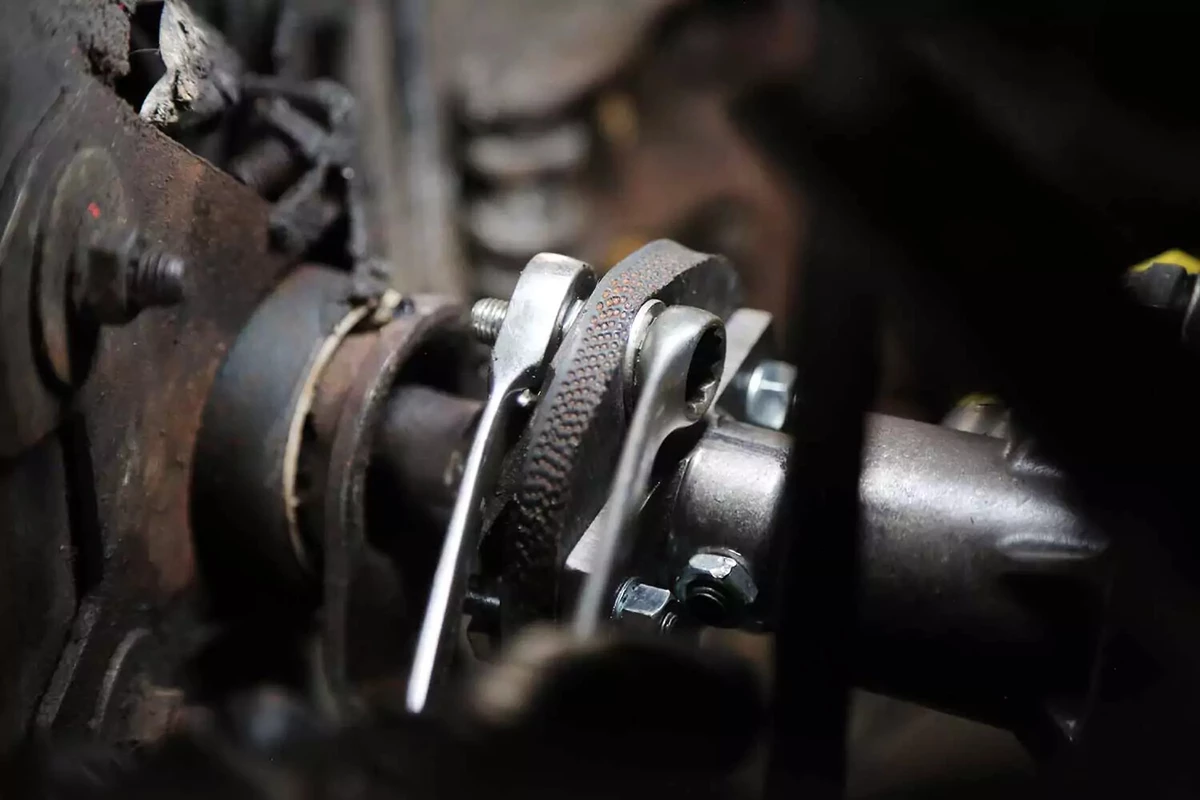
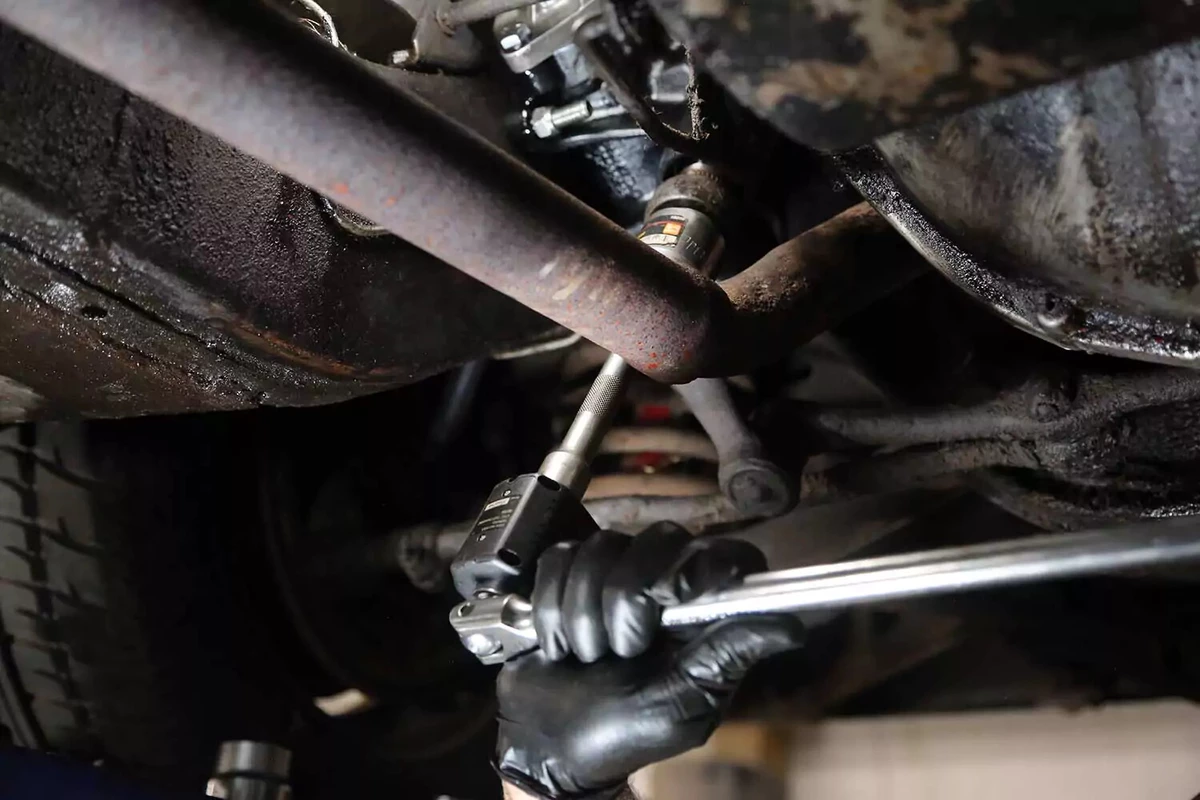
Use a large socket and impact gun to remove the pitman arm nut. The pitman arm transfers the rotation of the steering gear into linear motion to turn the wheels.
If your wheels are suspended (not on wheel cribs), removing this nut with a ratchet or breaker bar may turn the steering gear. If this occurs, reset the steering to center.
Use a pitman arm puller to wrest the pitman arm off the gearbox. You can also use a ball joint separator or a two-jaw puller.
Slide the arm off of the shaft and allow it to hang. This is a great time to replace the pitman arm, which can wear out. If the ball stud on the other end of the arm is loose, the entire arm must be replaced.
Some new gearboxes come with a pitman arm already installed.

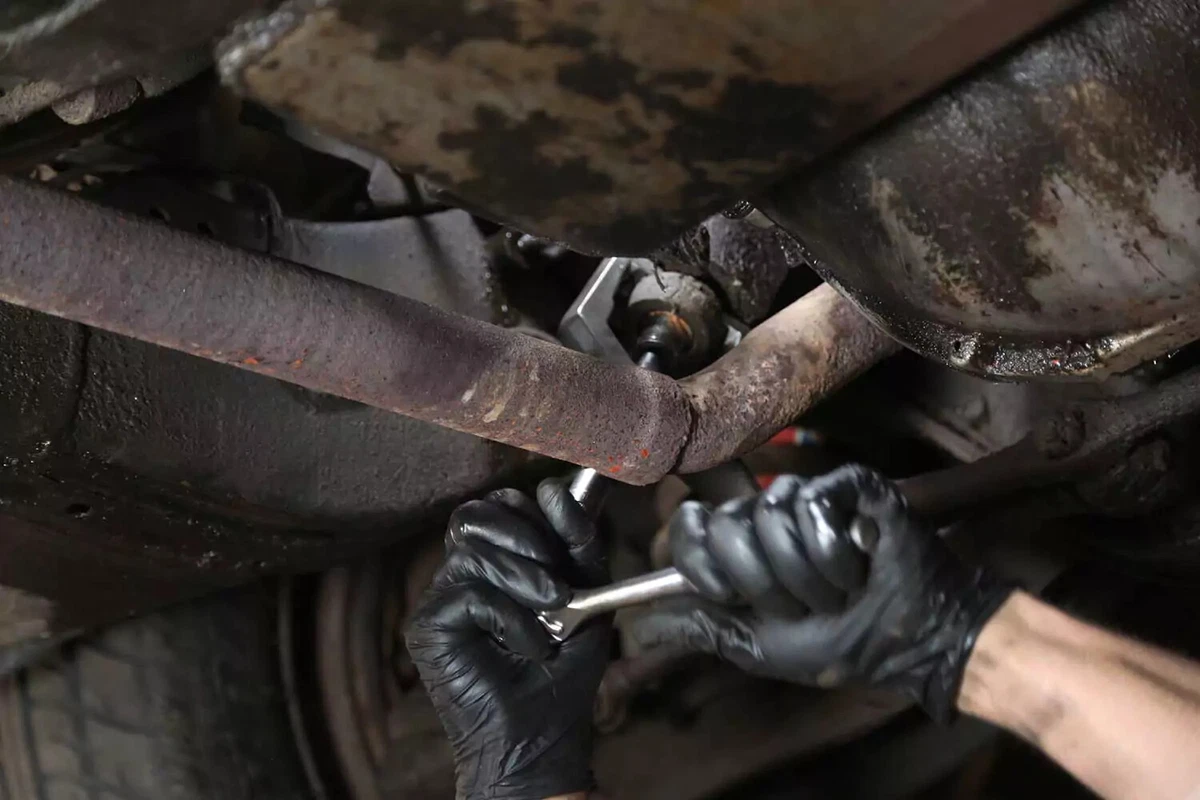
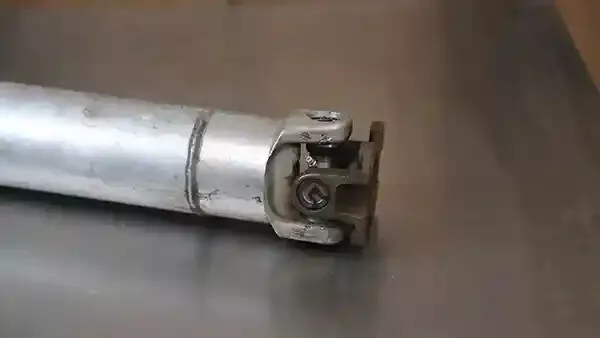
There are two main types of steering column connections: rag joints and U-joints. Our demo vehicle uses a rag joint with two bolts and two pins holding the halves together. Remove the two bolts from the joint to separate the column. In some cases, you may need to loosen the steering column mounts under the dash to get the joint to separate.
For U-joint connections, loosen the jam nut. Separate the U-joint from the gearbox.

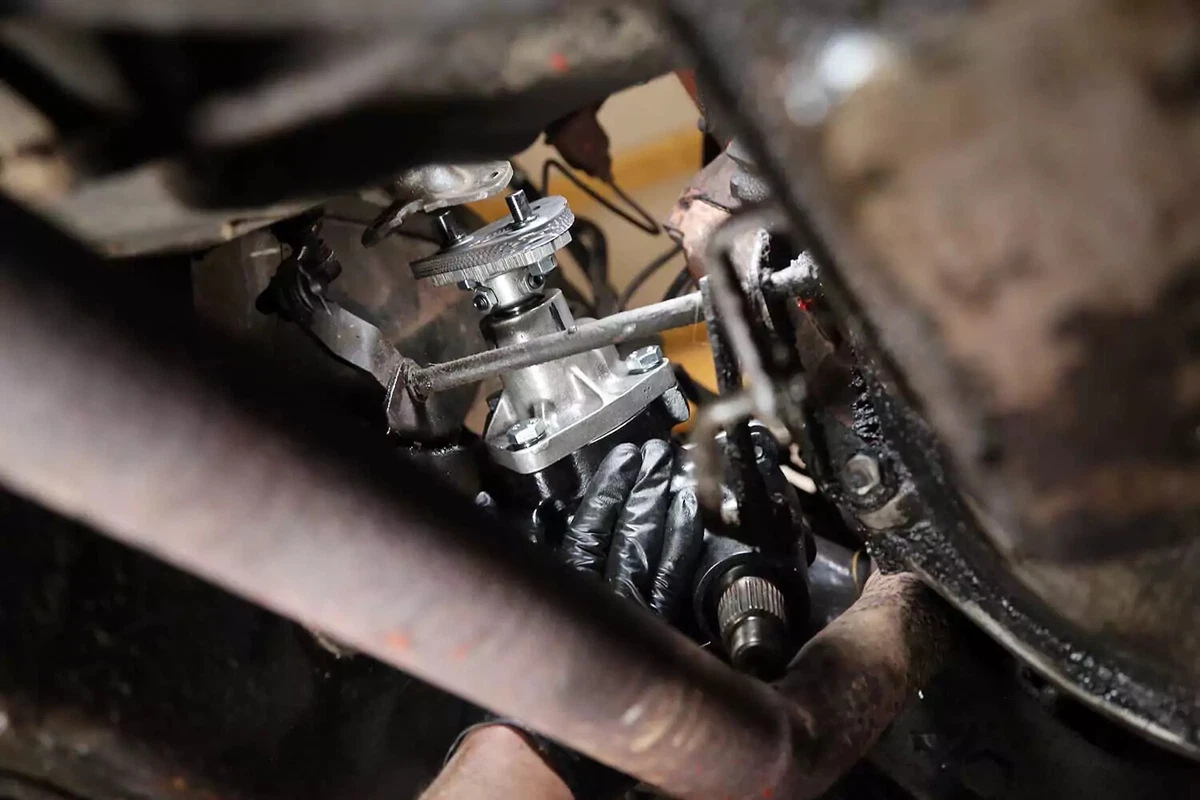
The bolts for the gearbox may be on the gearbox side or the chassis side. Our demo vehicle uses bolts from the chassis side to the gearbox, so we had to reach into the wheel well. We removed the three bolts to access the gearbox.
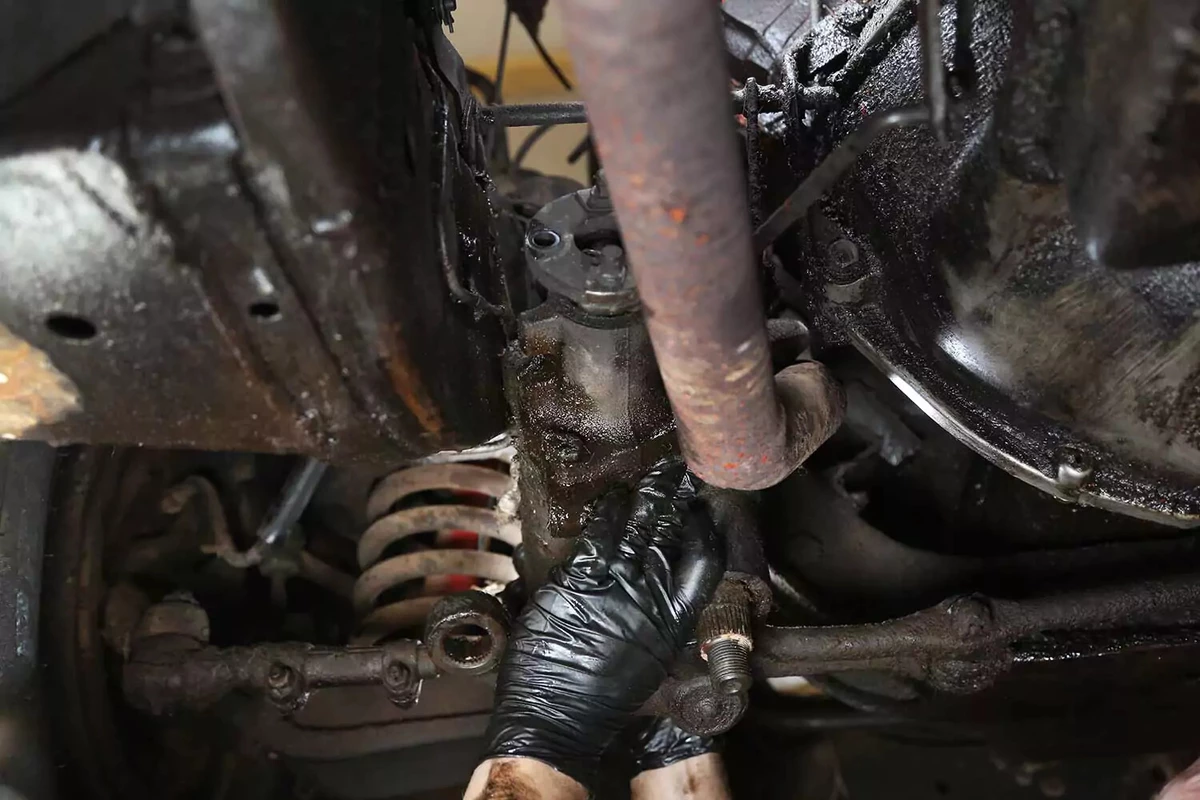
With the bolts removed, the gearbox drops out of the chassis. For your vehicle, it may be easier to remove the box from the top.
A gearbox can weigh 30 pounds or more, so be careful when removing it. The gearbox will be covered in grease, so wear gloves and clean it off so it doesn’t slip.

The new gearbox must be centered. Turn the gearbox input shaft from lock to lock. Count the turns. This box turns exactly 3.5 rotations. Divide that in half, and you get 1.75 turns, which is the center. Turn the box to one stop, then back 1.75 turns, going in the opposite direction to center the gears.
Use one color marker to flag the full-lock position and another to mark the center position. Repeat this in the other direction to make sure you end up at the same center point.
Do not turn the gearbox again until the job is finished.
Then, install the new rag joint, which is usually a separate purchase. You should always replace the old rag joint when you install a new gearbox.
Slide the new gearbox into position and refasten the bolts. Not all gearboxes come with new bolts. Our demo car's gearbox is a high-performance upgrade, so it came with new bolts. A high-performance, sportier option has a faster steering ratio—with fewer turns lock-to-lock.
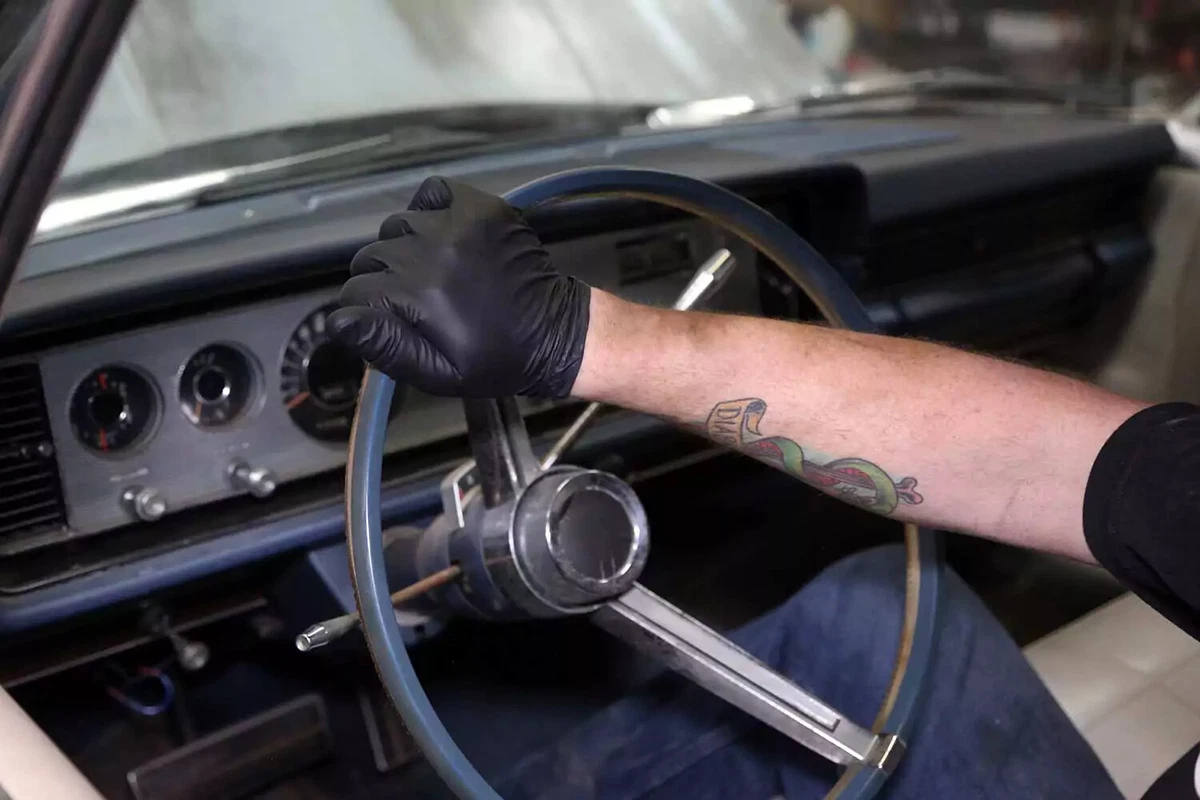
Make sure the steering wheel is centered when you align the rag joint and connect it to the gearbox.

Use a torque wrench or torque gauge adapter to tighten the gearbox bolts to the factory specs. You can find the torque specifications in your vehicle’s repair manual. A torque spec of 70 to 80 pound-feet is typical.
Tighten the bolts connecting the rag joint halves (or the set screw and jam nut for a U-joint). If there is no torque specification for these bolts, tighten them until the rubber in the joint starts to squish—up to about 18 to 20 pound-feet.
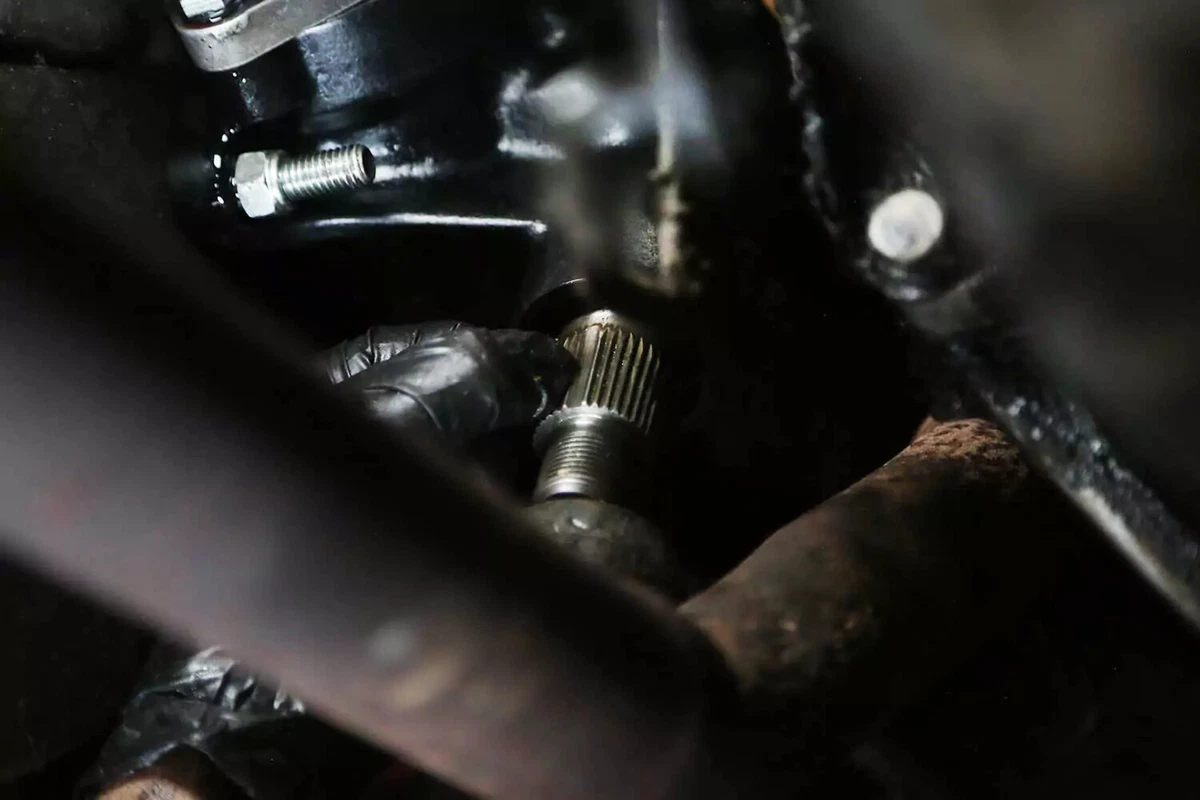
The pitman arm shaft has splines, a series of ridges. Most gearboxes have one to four widely spaced splines to ensure correct positioning. These wide sections line up with the pitman arm. If you can’t get the pitman arm onto the shaft, check the alignment of the splines.
Fasten the new lock washer and nut to the gearbox output shaft. In most cases, you will not be able to fully seat the pitman arm by hand. Instead, use the nut to inch the arm onto the shaft.
Using a torque wrench or torque gauge, tighten the pitman arm nut to the recommended specification.
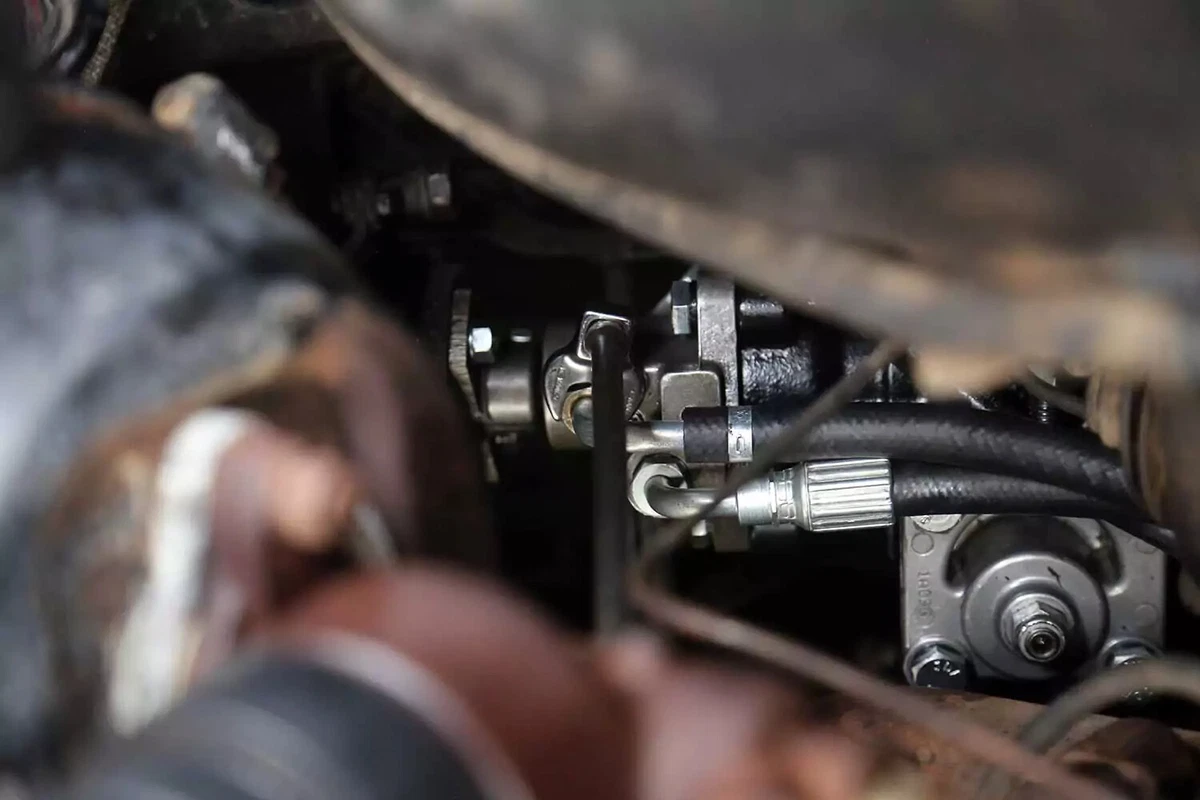
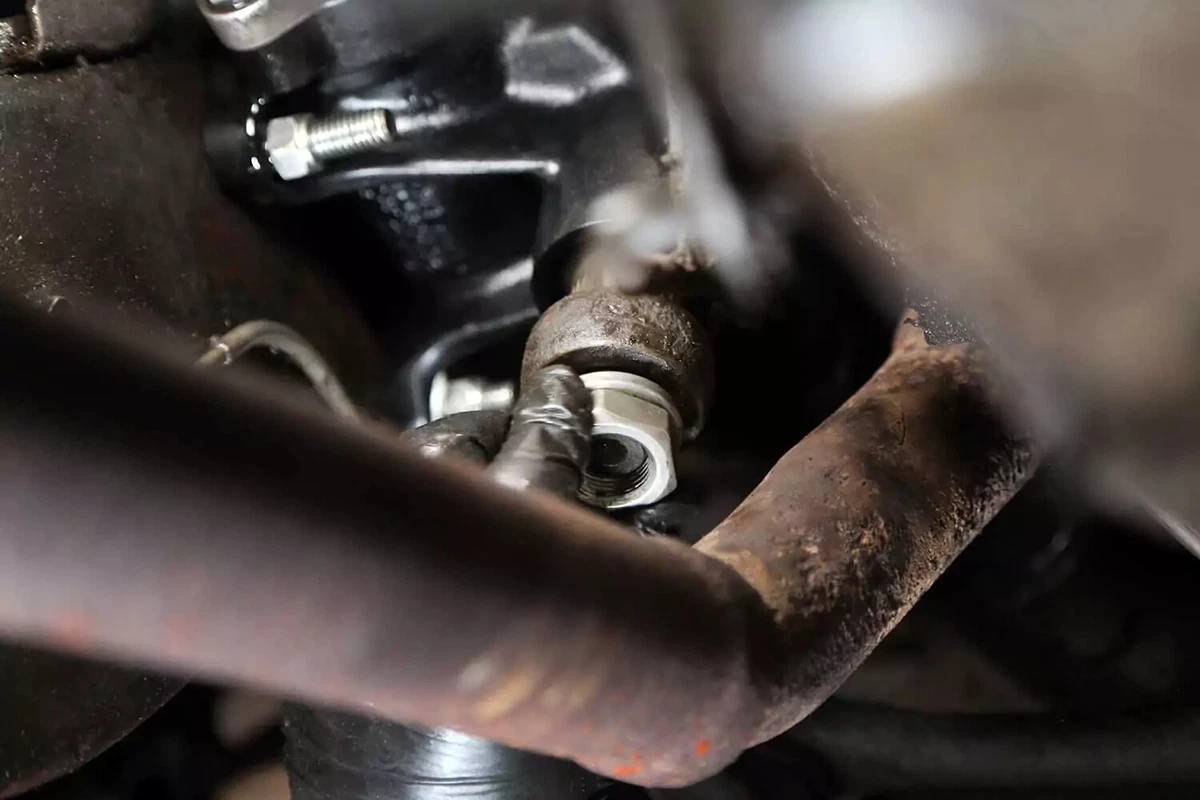
Connect the power steering lines to the gearbox. If you can’t get an open-end wrench to fit, you may need a crowfoot wrench to reach the fittings.
Because our box was a performance upgrade, we needed new hoses. Regardless, we recommend installing new hoses when you replace the gearbox.
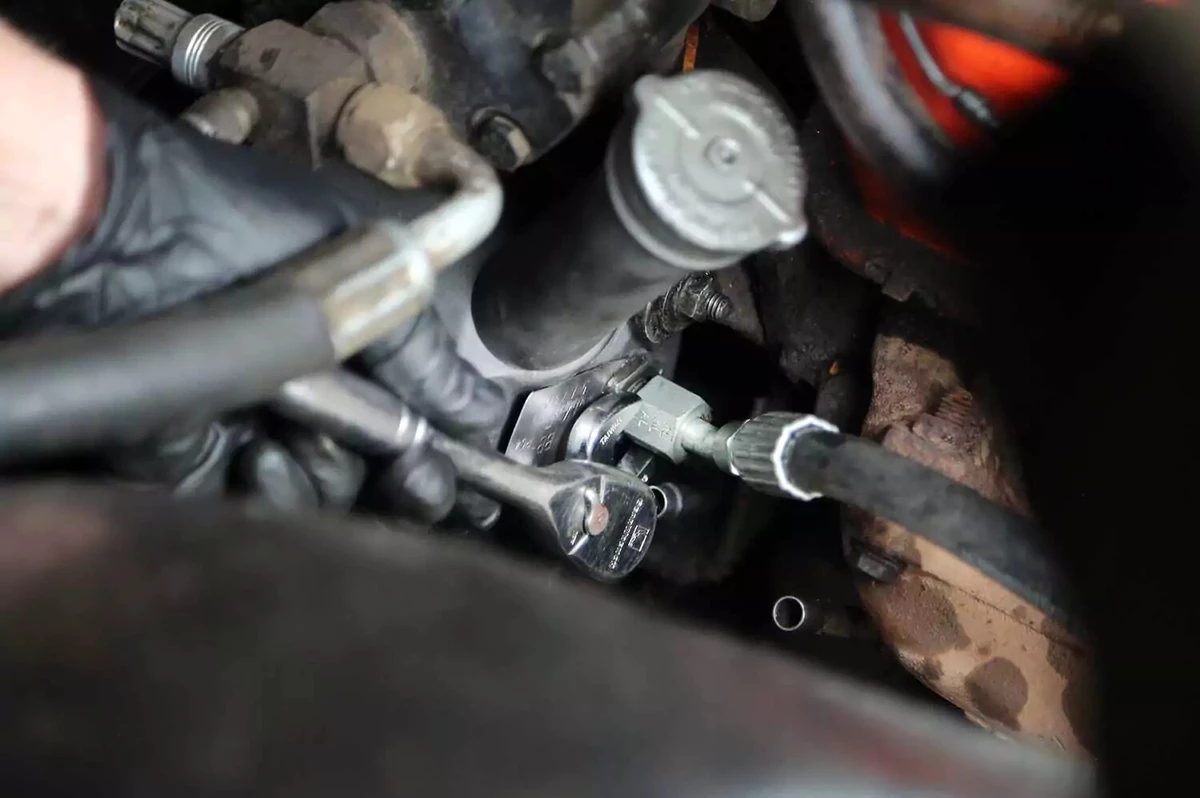
If you’re replacing the lines, connect the new ones to the power steering pump and tighten them to the recommended torque specifications.
Fill the power steering pump with fresh power steering fluid. Some vehicles use a dedicated fluid, while others specify automatic transmission fluid (ATF). See the recommended fluid on the reservoir cap or owner’s manual.
Lift the front wheels off the ground so you can freely turn the steering wheel. Then, start the engine and slowly turn the steering wheel all the way from one side to the other—lock to lock—about 20 times. This will bleed the air from the system.
The fluid level should not drop below the halfway mark. If it does, add more fluid. Running out of fluid can damage the pump.
If the system groans or whines or the fluid is foamy or bubbly after 20 turns, turn it another 20 times. If it still makes noise or is foamy, there might be a leak in the return line. Either a hose is damaged, or the fitting isn’t properly tightened.
After you bleed the gearbox, top off the reservoir to the full mark. Lower the vehicle off the jackstands. Your new gearbox is fully installed, and the vehicle is ready to drive.
About the author

Share your feedback
This article is meant to provide general guidance only. Automotive maintenance, repair, upgrade, and installation may depend on vehicle-specifics such as make and model. Always consult your owner's manual, repair guide for specific information for your particular vehicle and consider a licensed auto-care professional's help as well, particularly for advance repairs.
Recommended for you
Find answers and inspiration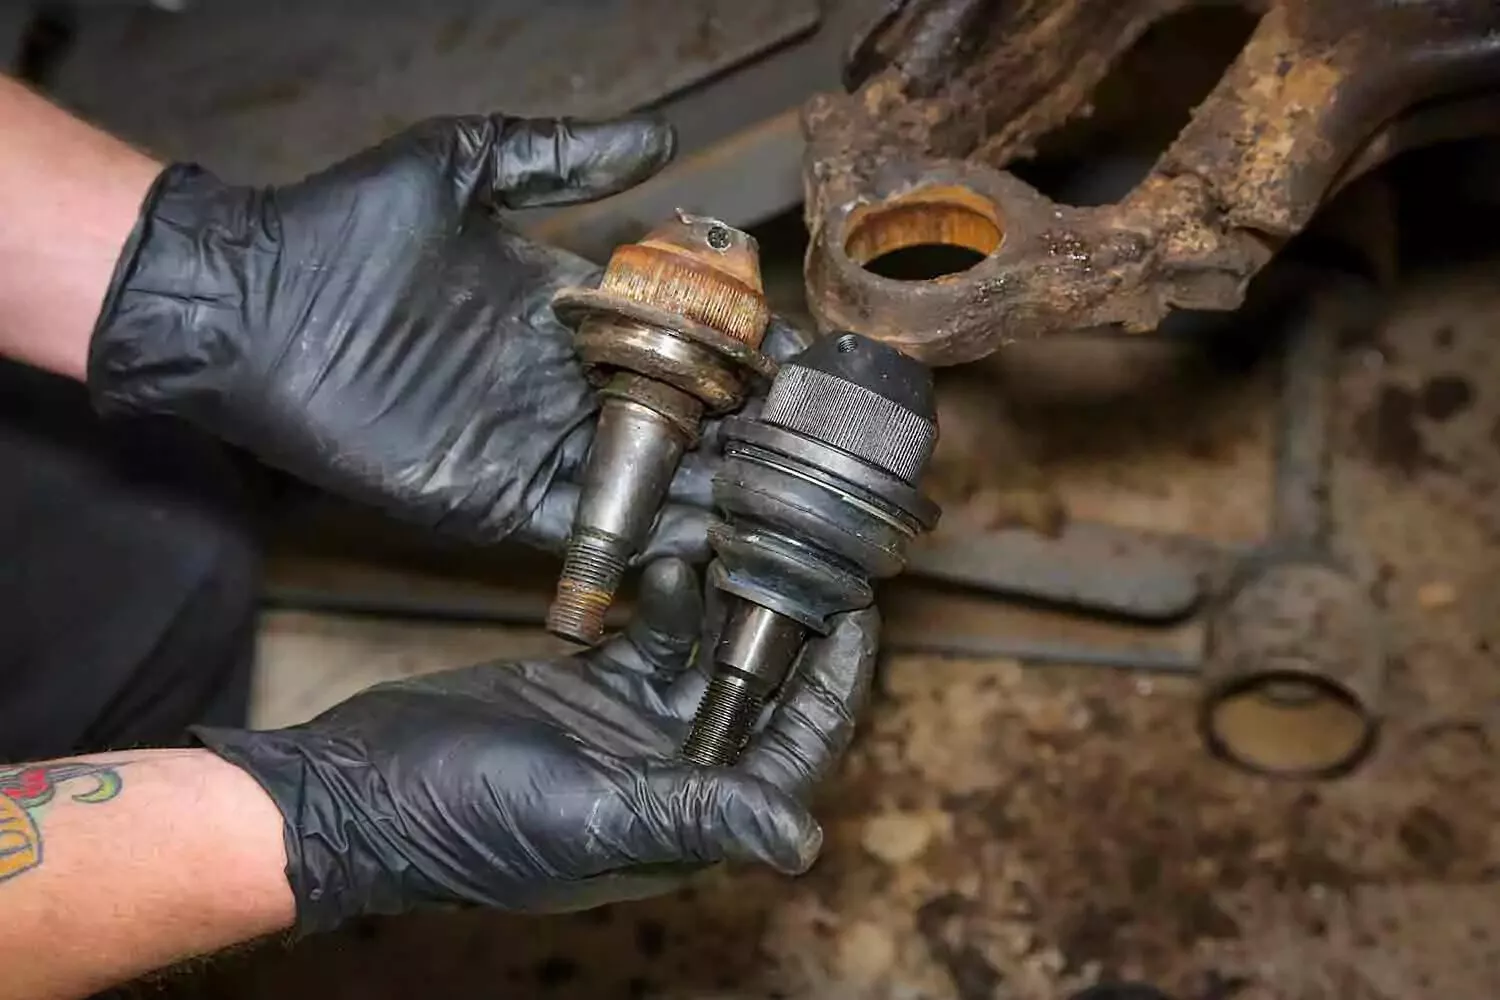
How to Diagnose a Failing Ball Joint
7 min read
How to Buy the Right Sway Bar Links and Bushings
6 min read
How to Buy the Right Steering Gearbox
5 min read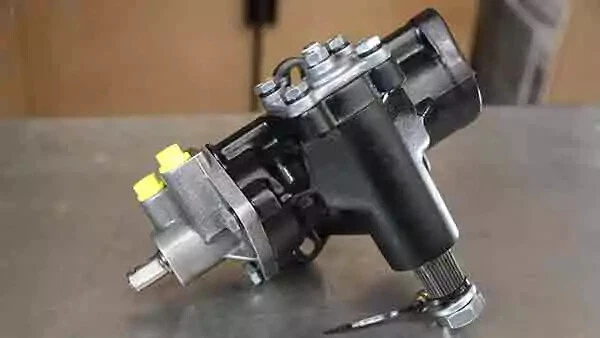
Understanding Steering Gearboxes
5 min read
How to Buy the Right Tie Rod Ends
6 min read
How to Replace Tie Rod Ends
8 min read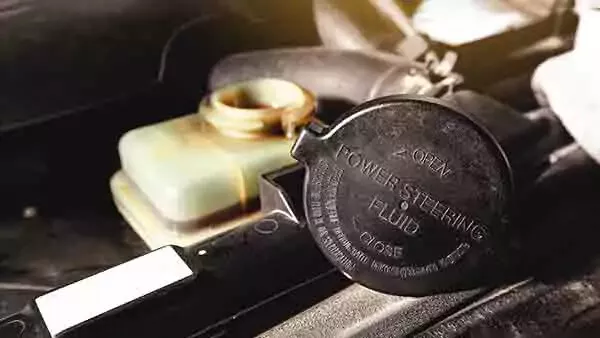
An Intro to Flushing Your Power Steering Fluid
5 min read
How to Replace Sway Bar End Links and Bushings
6 min read
How to Replace a Power Steering Pump
7 min read
How to Choose the Best Shock Absorbers
8 min read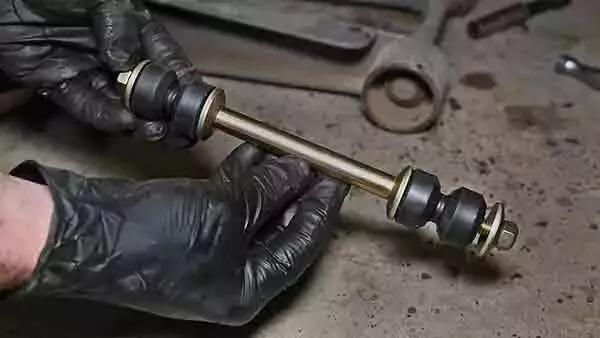
Understanding Sway Bar Links
6 min read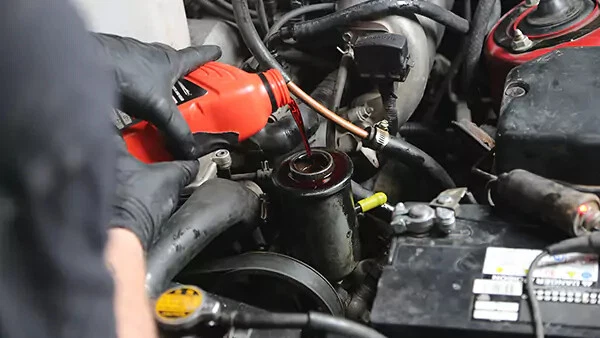
How to Replace Power Steering Fluid
8 min read
Why Idler Arms Are So Critical
6 min read
Power Steering Pump Problems and Solutions
5 min read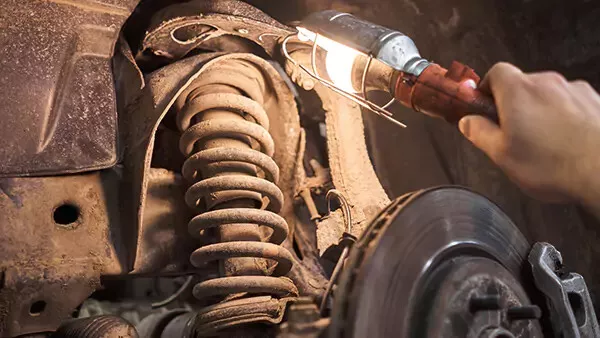
Shock Absorbers 101
8 min read
How to Replace Shock Absorbers
8 min read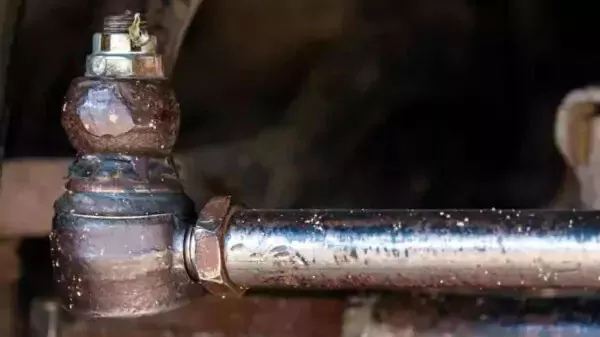
Diagnosing Bad Tie Rod Ends
6 min read
Explore more projects
How to Change a Thermostat
30 to 60 minutes
Intermediate
7 min read

How to Replace a Car Starter
1 to 2 hours
Intermediate
7 min read

How to Replace Spark Plugs
1 to 2 hours
Intermediate
7 min read
How to Replace a Transmission Mount
1 to 2 hours
Intermediate
7 min read

How to Replace Engine Mounts
1 to 2 hours
Intermediate
4 min read

How to Change a Water Pump
1 to 2 hours
Intermediate
8 min read

How to Change Manual Transmission Fluid
Less than 30 minutes
Intermediate
4 min read

How to Replace an Intake Manifold Gasket
2 to 5 hours
Intermediate
7 min read

How to Replace Wheel Bearings
1 to 2 hours
Intermediate
7 min read
How to Replace Tie Rod Ends
30 to 60 minutes
Intermediate
8 min read
How to Replace a Heater Core
More than 5 hours
Intermediate
12 min read
How to Replace a Power Steering Pump
1 to 2 hours
Intermediate
7 min read
How to Replace Power Steering Fluid
1 to 2 hours
Intermediate
8 min read

How to Change Automatic Transmission Fluid
Less than 30 minutes
Intermediate
6 min read
How to Replace a U-Joint
1 to 2 hours
Intermediate
14 min read

How to Replace a Car Radiator
1 to 2 hours
Intermediate
8 min read

How to Change an In-Tank Fuel Pump
2 to 5 hours
Intermediate
9 min read