Does your car feel wobbly on the highway? Does it move like a boat when you take a turn? If so, then your sway bar link bushings could be worn out. Although there is no typical service interval for sway bar end links, they do wear out and need to be replaced occasionally.
As you turn, the momentum of the vehicle puts pressure on the outside suspension, causing the body to roll.
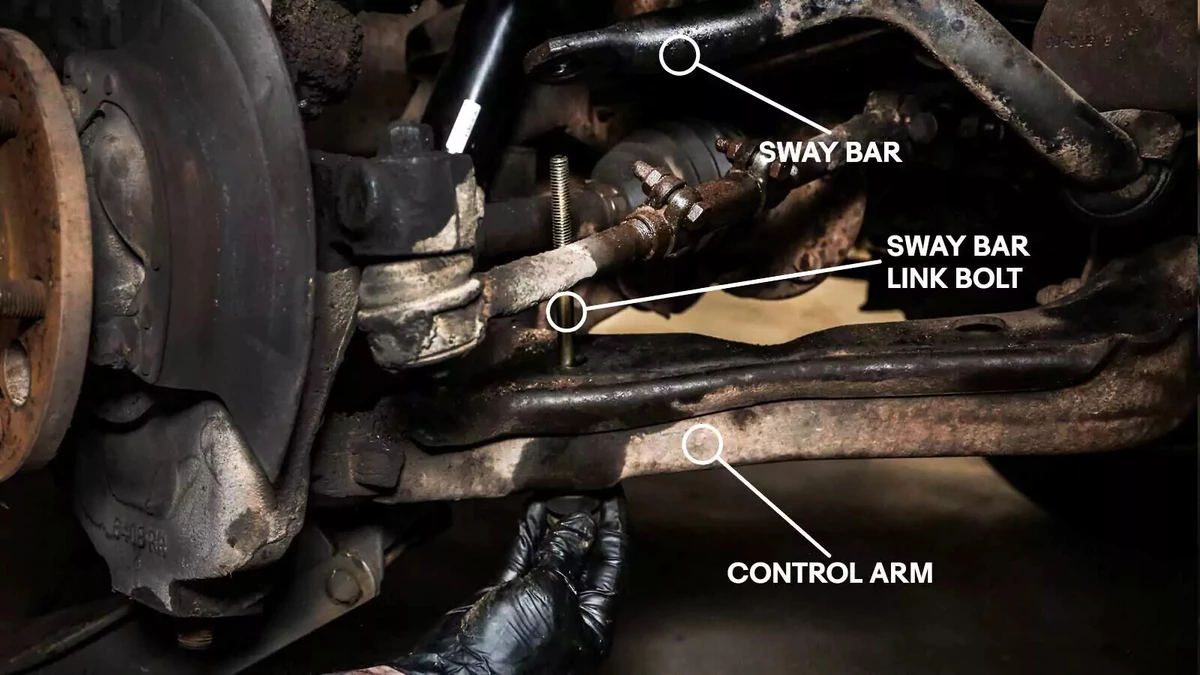
The sway bar counters this roll. The end links connect the lower control arms of each side of the suspension. Sway bars are simple devices that work well, but much of the credit should go to the bushings. These small rubber parts bear the entire load of the body in a turn. When your bushings wear to the point of getting loose, the sway bar is not doing its job.
How hard is it to replace sway bar Llinks?
Fortunately, replacing your sway bar end links and bushings is an easy DIY project. This beginner auto repair task usually takes 30 to 60 minutes.
Tips and tricks for DIY sway bar end link replacement
- If you live in an area with twisty, bumpy roads, winter-salted roads, or high temperatures, your sway bar bushings won’t last as long as they would in an area with milder temperatures and smoother roads. Some drivers have to change sway bar links every couple of years, while others can go 100,000 miles on a set of bushings. There are a lot of factors that play into the lifespan of these parts.
- Rubber bushings wear out, but aftermarket polyurethane sway bar bushings last a very long time. The bolts and spacers will rust before poly bushings deteriorate.
- This project is quick and relatively easy, but sometimes, the bolt seizes to the spacer and has to be cut off. This happens more often in older vehicles but can happen to any car or truck.
- The key to this job is the final torque on the nut. You should tighten the nut to the point that bushings just start to bulge past the washers, typically about 1/16 inch past the edge. This is the correct method for installing sway bar bushings.
- Some vehicles don’t use the style of end links found on our demo vehicle. Instead, they may use something that looks more like a tie rod end with rubber bushings. These have specific torque values. This guide focuses on the more common “bolt and bushings” style of sway bar end links.
- While bushings are typically sold as a one-side kit, it is important to replace both at the same time. Determine whether your kit is a single- or dual-side kit and purchase accordingly.
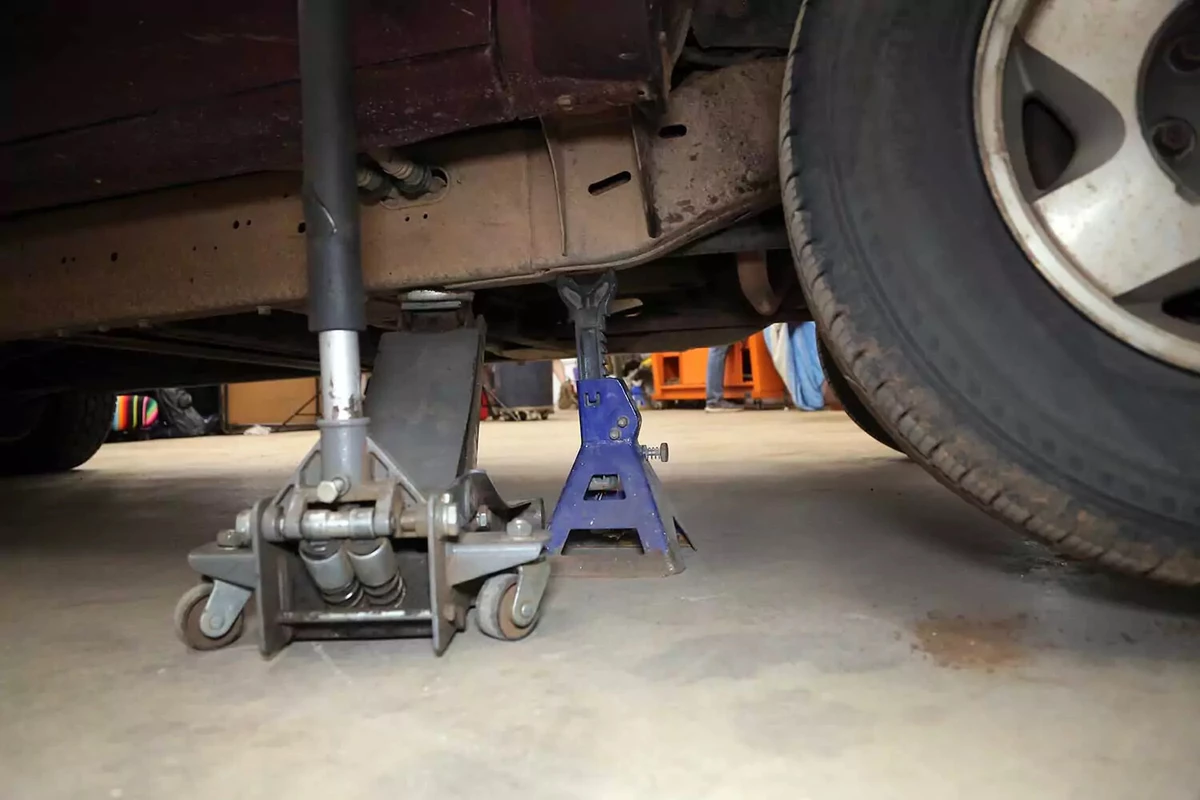
This project requires working safely under the vehicle. You will need a floor jack, and jack stands, ramps, or wheel cribs to support the vehicle.
Locate the factory jacking points just behind the front wheels or just in front of the rear wheels. The jacking point is a metal section with two V notches about two inches apart. Check your owner’s manual to confirm the lift location.
Never use jack stands on dirt, gravel, or asphalt. If you do not have access to a concrete work surface, use wheel cribs, solid-base ramps, or wide-base wood supports to support the vehicle. Never use cinder blocks or bricks as supports.
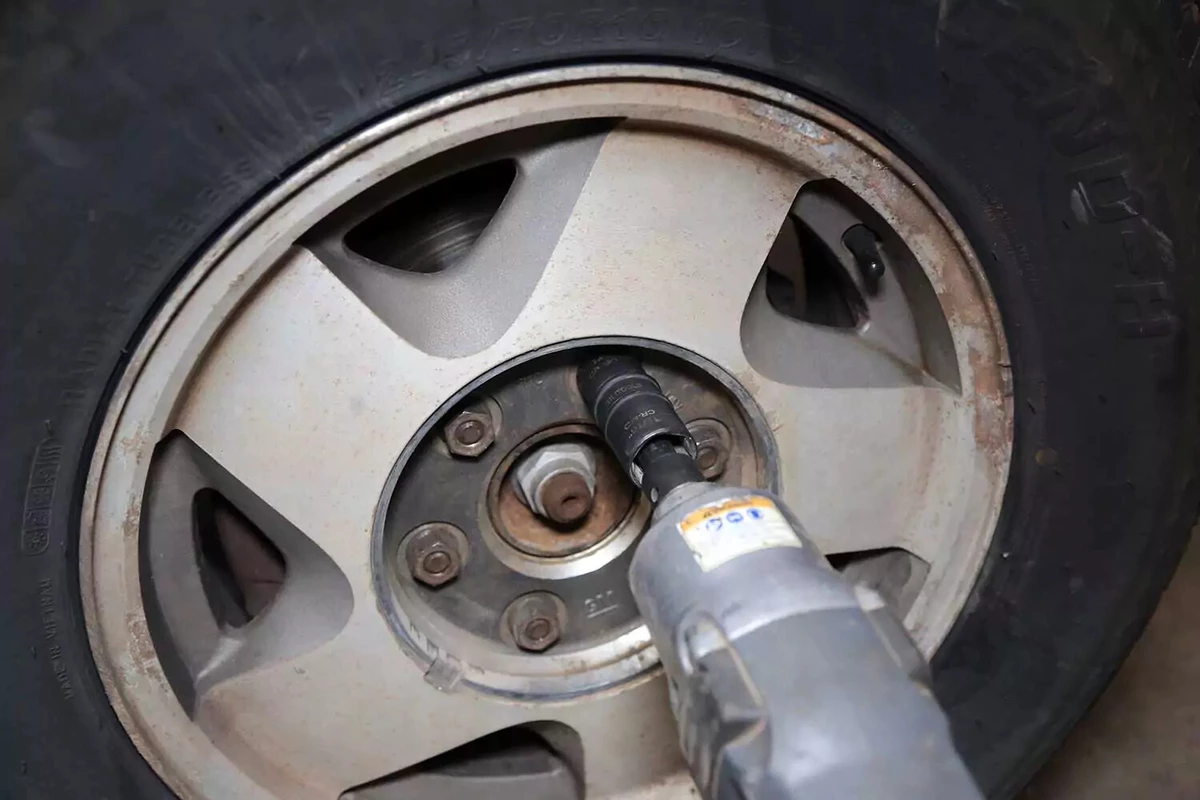
Use an impact gun or breaker bar to remove the lug nuts. Remove the wheel to gain access to the sway bar links. You can work on one side at a time.
If you don’t have an impact gun, loosen the lug nuts before lifting the wheel.
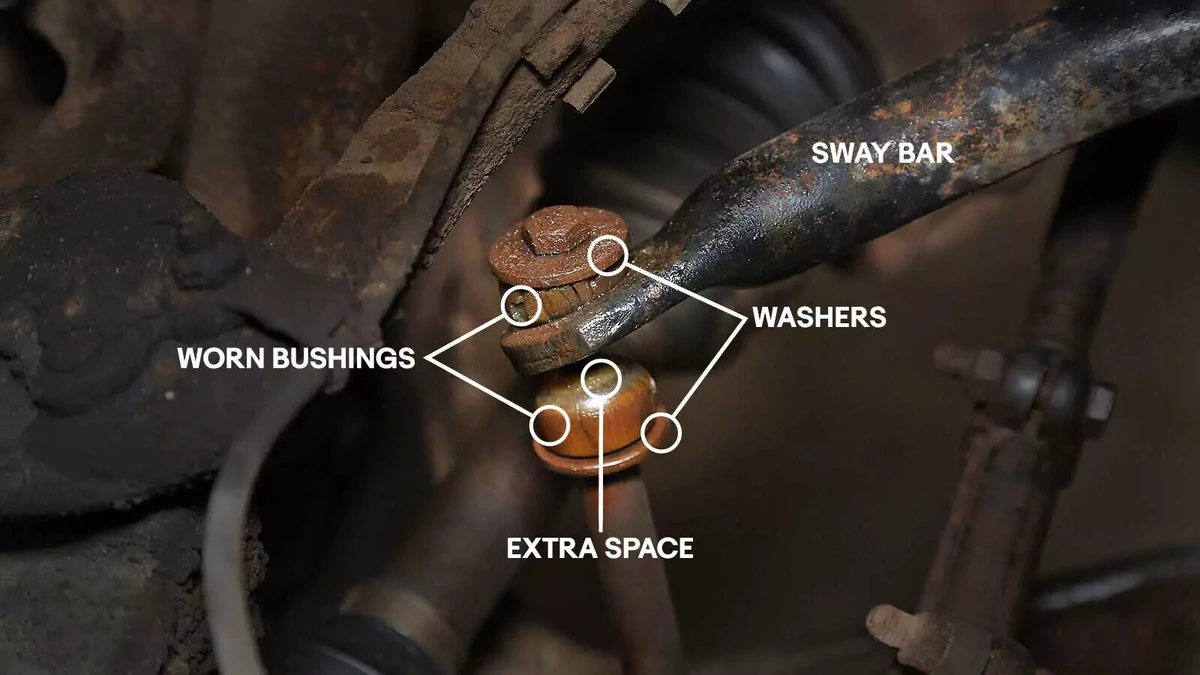
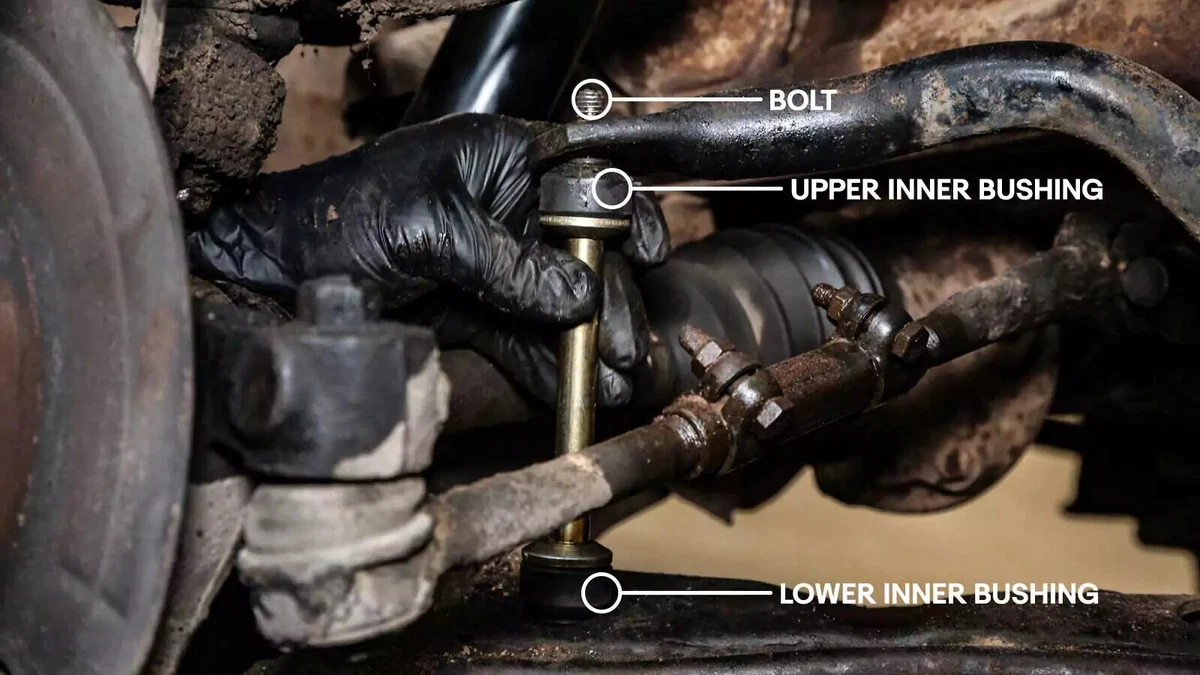
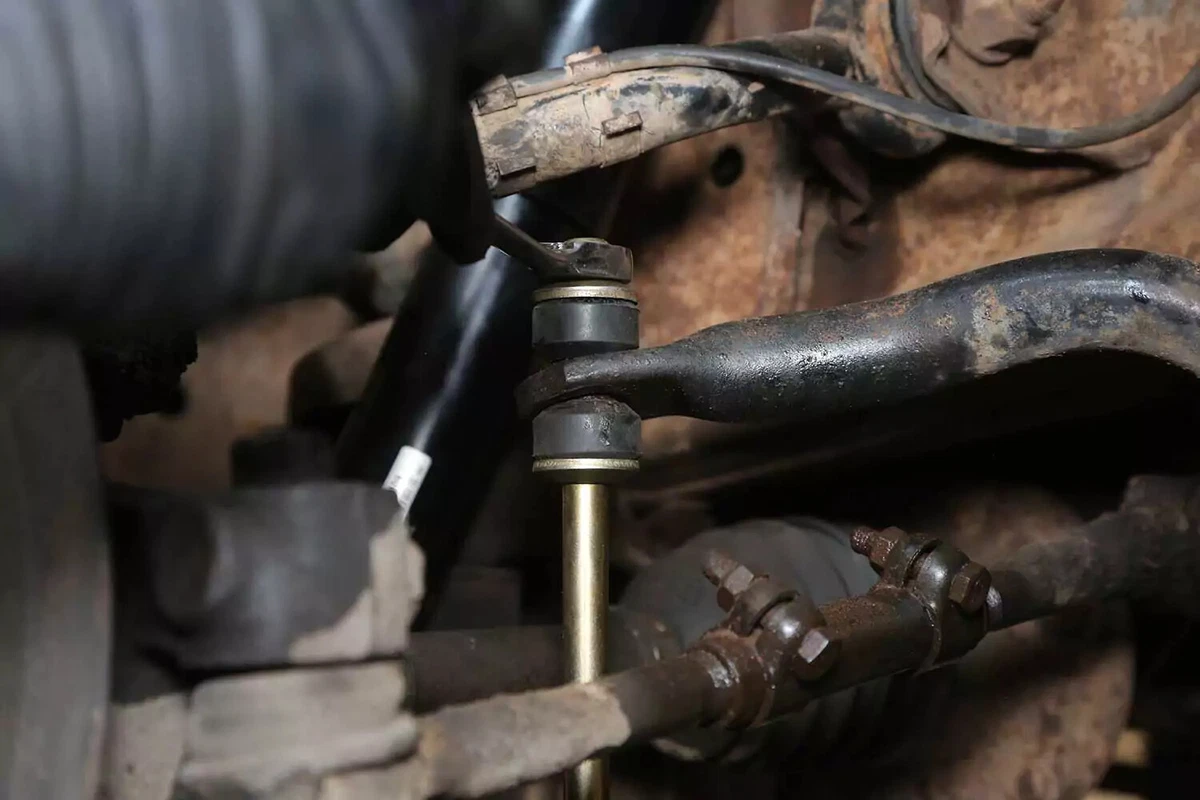
Locate the sway bar and end links. This bushing-style link is the most common and uses four bushings, four cupped washers, a spacer, and a long bolt.
In our demo vehicle, these older bushings are loose and allow the car to roll excessively in corners. They provide too much clearance between the bushings and the sway bar end.
Spray the entire assembly with penetrating fluid to help break down the rust and dirt. This makes the parts easier to remove.
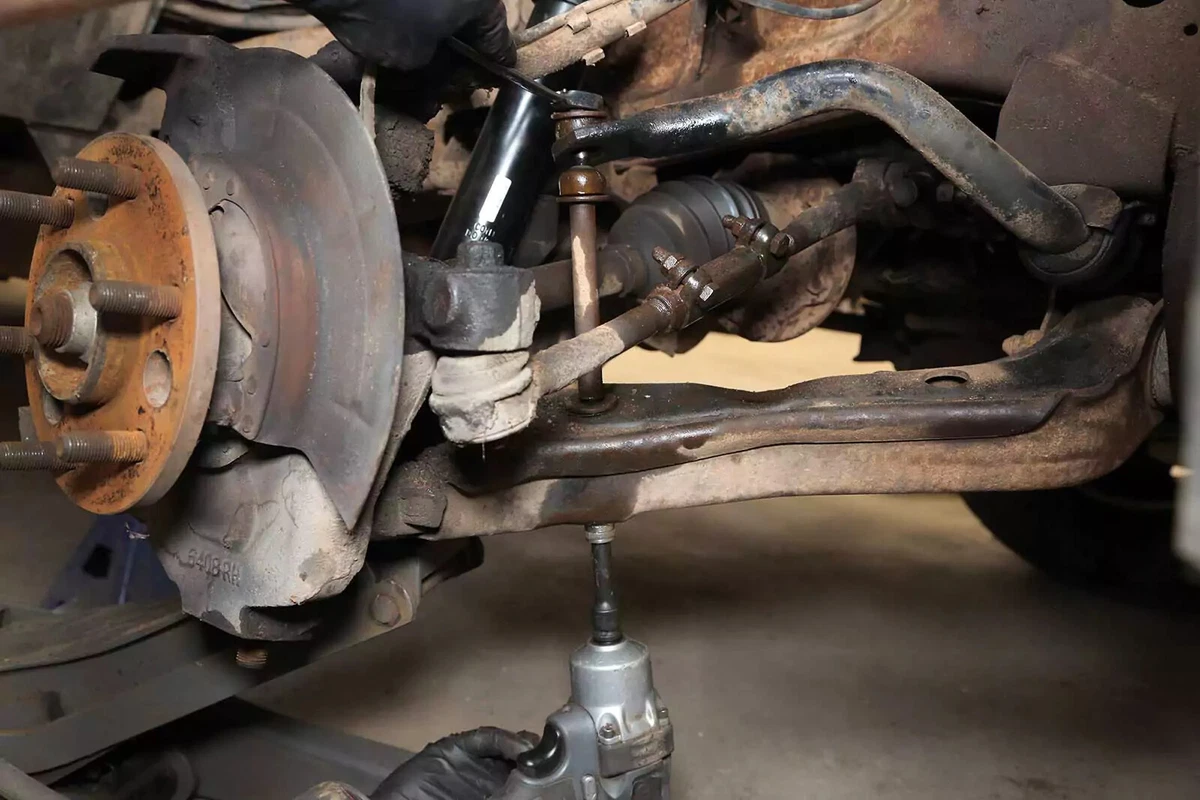
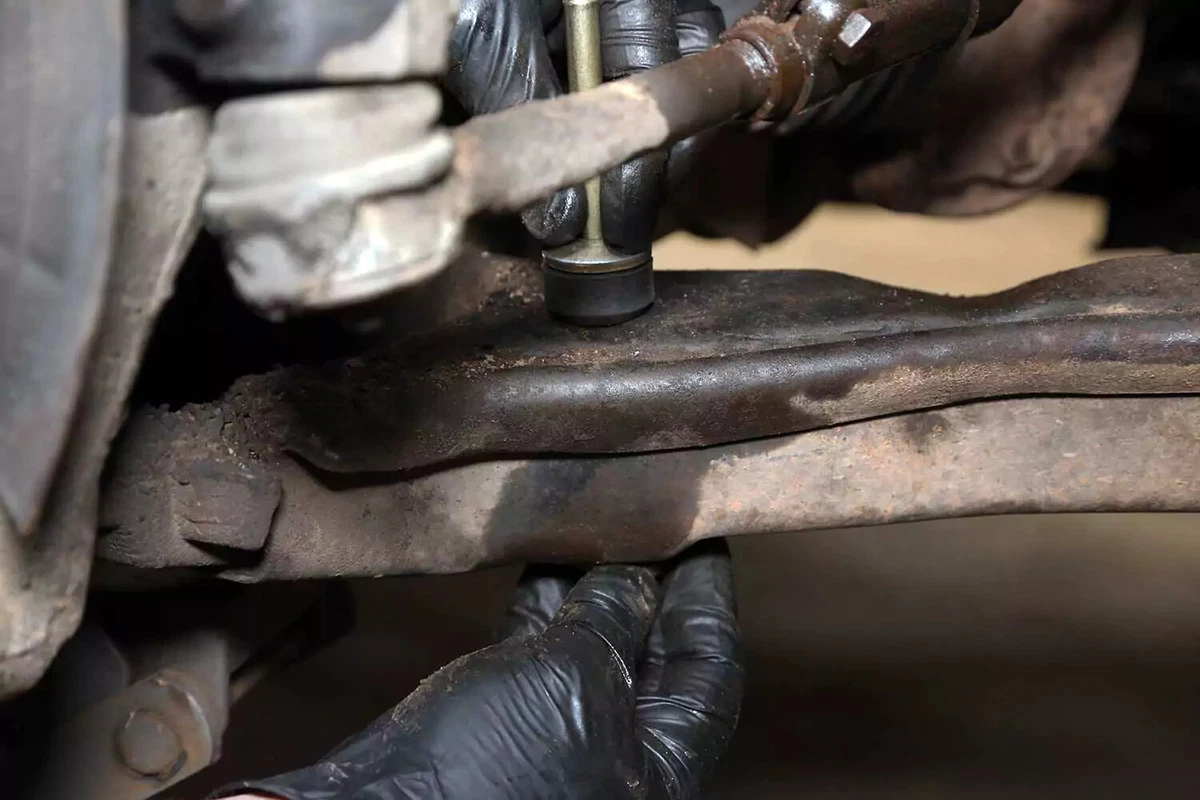
With a wrench on the bolt, use a socket and ratchet or impact gun to remove the nut. These are often heavily rusted and can take some effort to remove.
If the nut is seized, use a hacksaw to cut the bolt in half and take it apart.
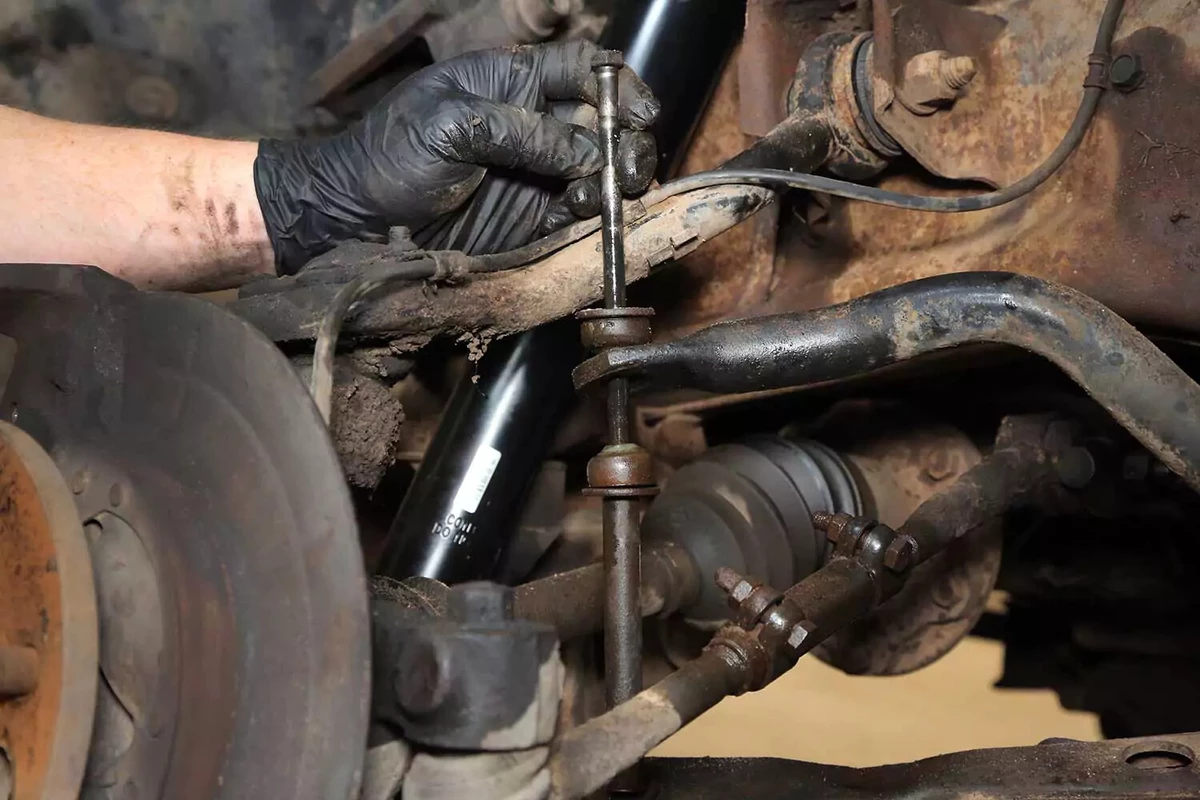
With the nut removed, slide the bolt out of the assembly. You may install the bolt from either the top or the bottom.
Sometimes, the spacer seizes to the bolt, making it hard to extract. Use a hacksaw if necessary.
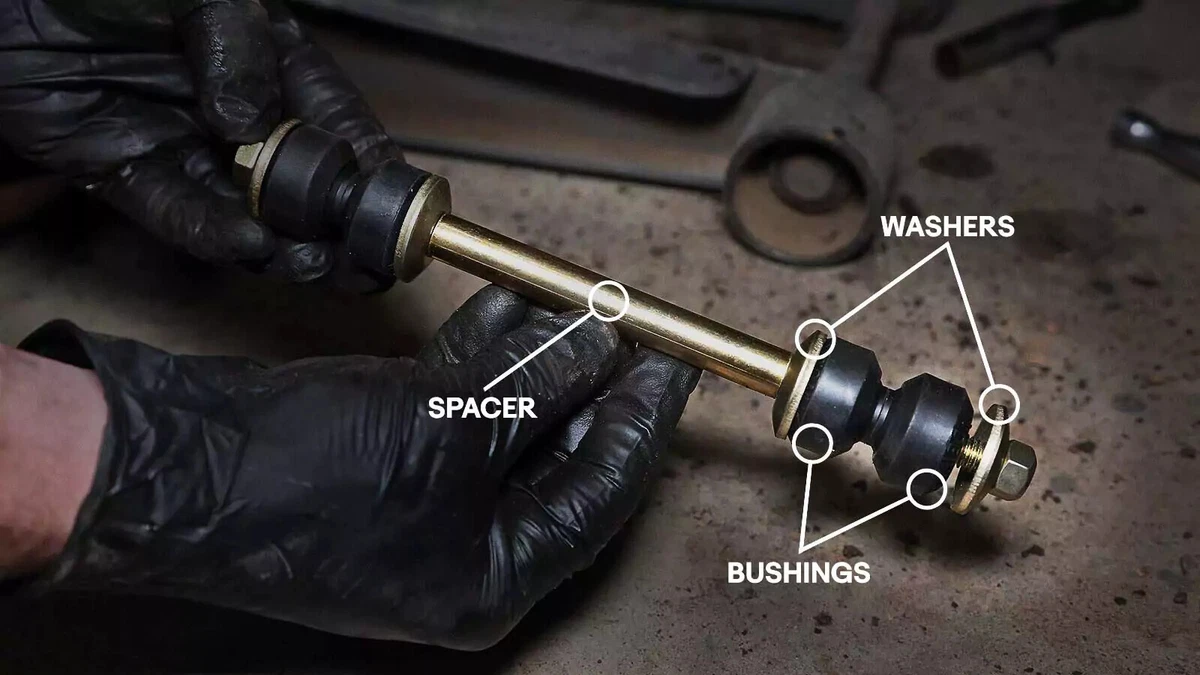
Pre-assemble the sway bar end links so that you can visualize the parts in the correct order.
The more rounded, nipple side of each bushing goes into the holes in the sway bar and lower control arm. There’s a washer on top of each bushing. The spacer goes between the center washers.
Remove the upper washers, spacer, and one of the two lower washers and bushings.
We threaded the assembly through the bottom of the lower control arm because the access hole was too small for our fingers. You can drop the bolt in from the top—whatever is easier for you.
Slide the inner bushing and washer onto the bolt. Push the nipple into the hole in the control arm.
Slip the spacer onto the bolt, followed by the upper inner bushing and washer.
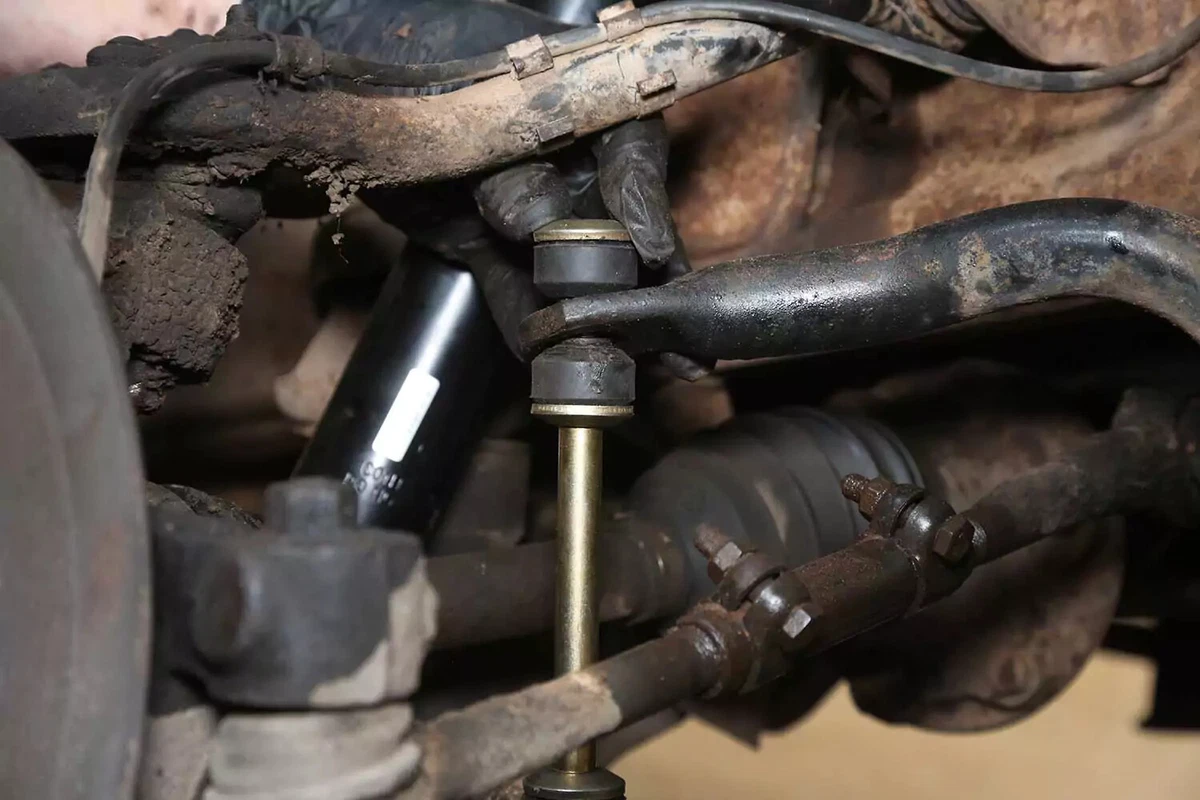
Drop the top bushing and washer onto the bolt and push the nipple into the sway bar hole.
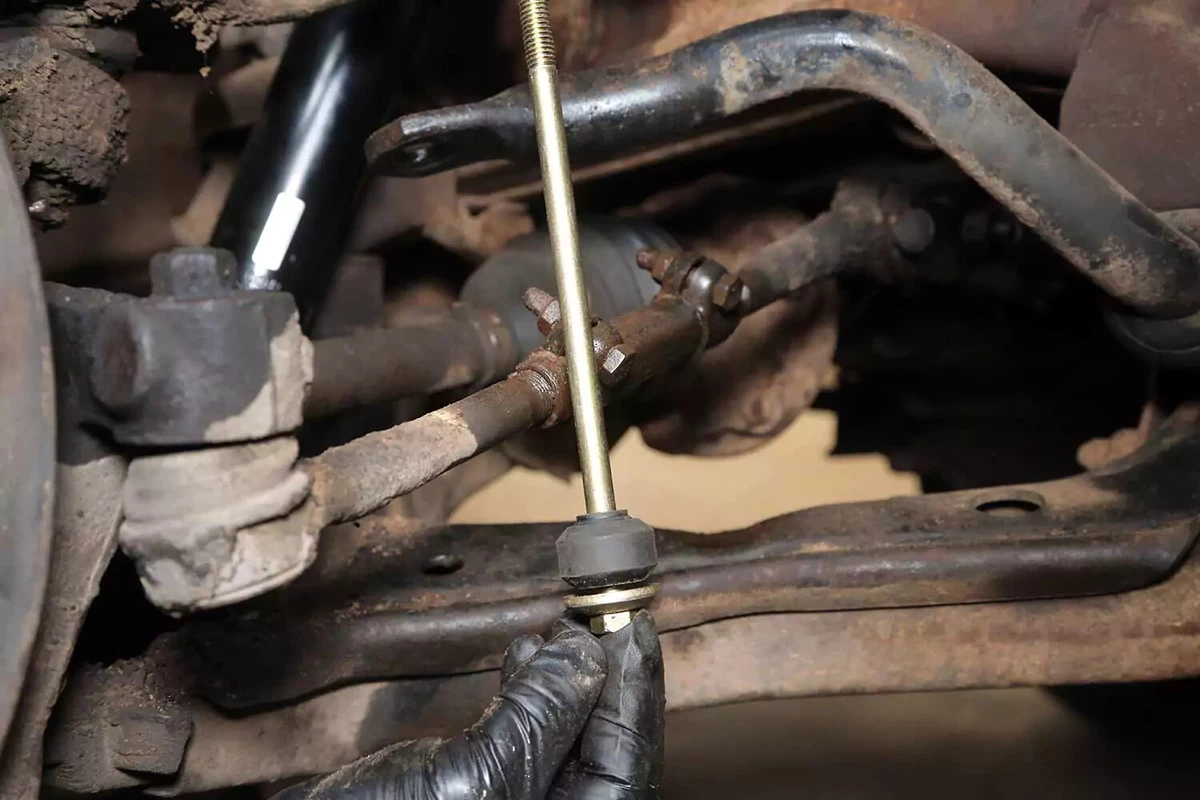
Thread the new nut onto the bolt and tighten it by hand.
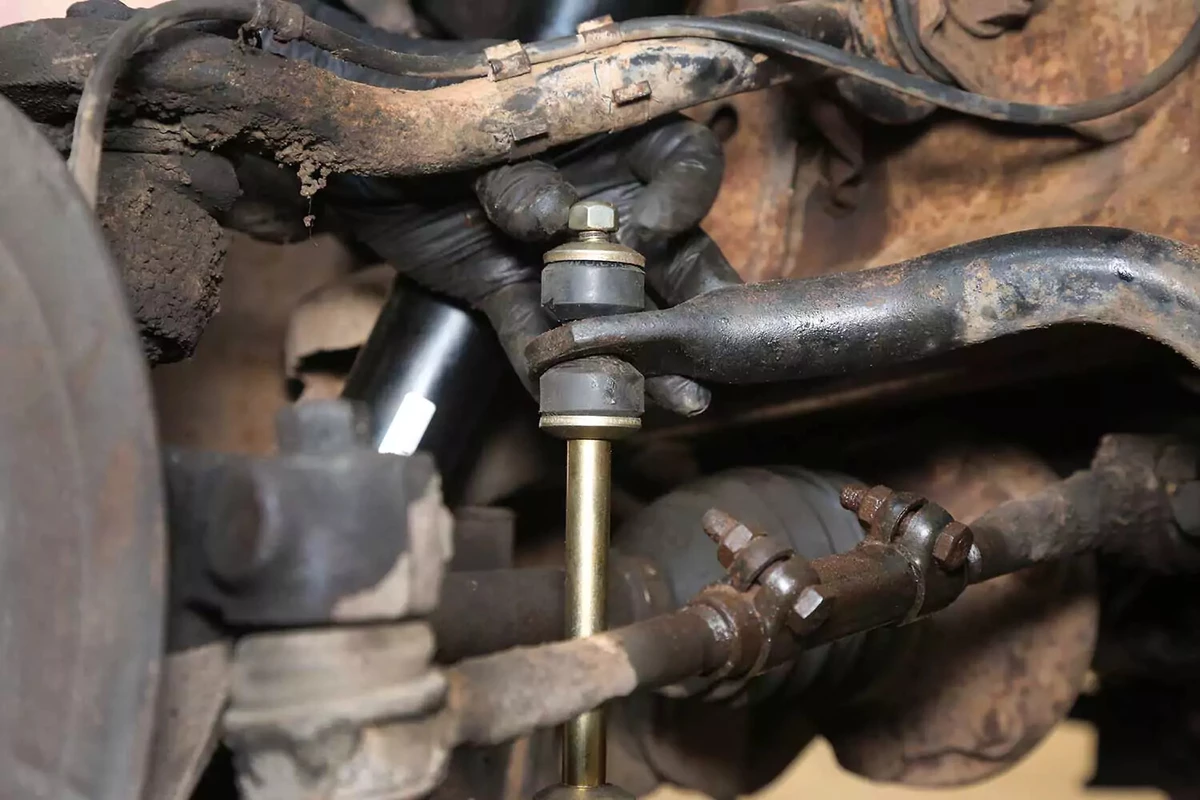
With a socket holding the bolt, use a ratchet or wrench to tighten the nut. Keep tightening until the bushings start to bulge past the washer edges.
This style of end link can be installed with the vehicle lifted or on the ground. For adjustable end links—common in the aftermarket for high-performance cars—the vehicle’s weight should be on the suspension.
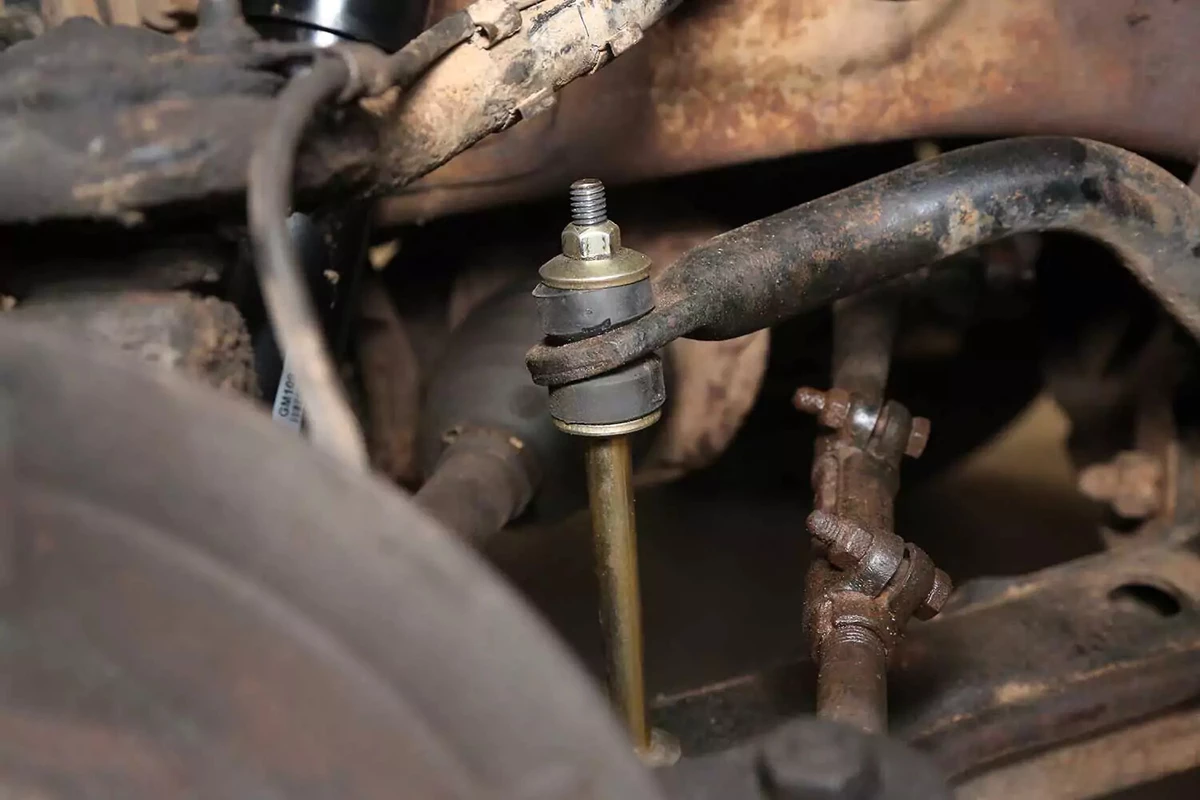
The final sway bar end link installation should look like this. The bushings have begun to bulge past the washers. This may be uniform or to one side, depending on the angle relative to the sway bar.
Reinstall the wheel and torque the lug nuts to manufacturer specifications. Then, lower the vehicle. After about 100 miles, check the bushings to make sure they haven’t settled or loosened. If so, tighten them again.
About the author

Share your feedback
This article is meant to provide general guidance only. Automotive maintenance, repair, upgrade, and installation may depend on vehicle-specifics such as make and model. Always consult your owner's manual, repair guide for specific information for your particular vehicle and consider a licensed auto-care professional's help as well, particularly for advance repairs.
Recommended for you
Find answers and inspiration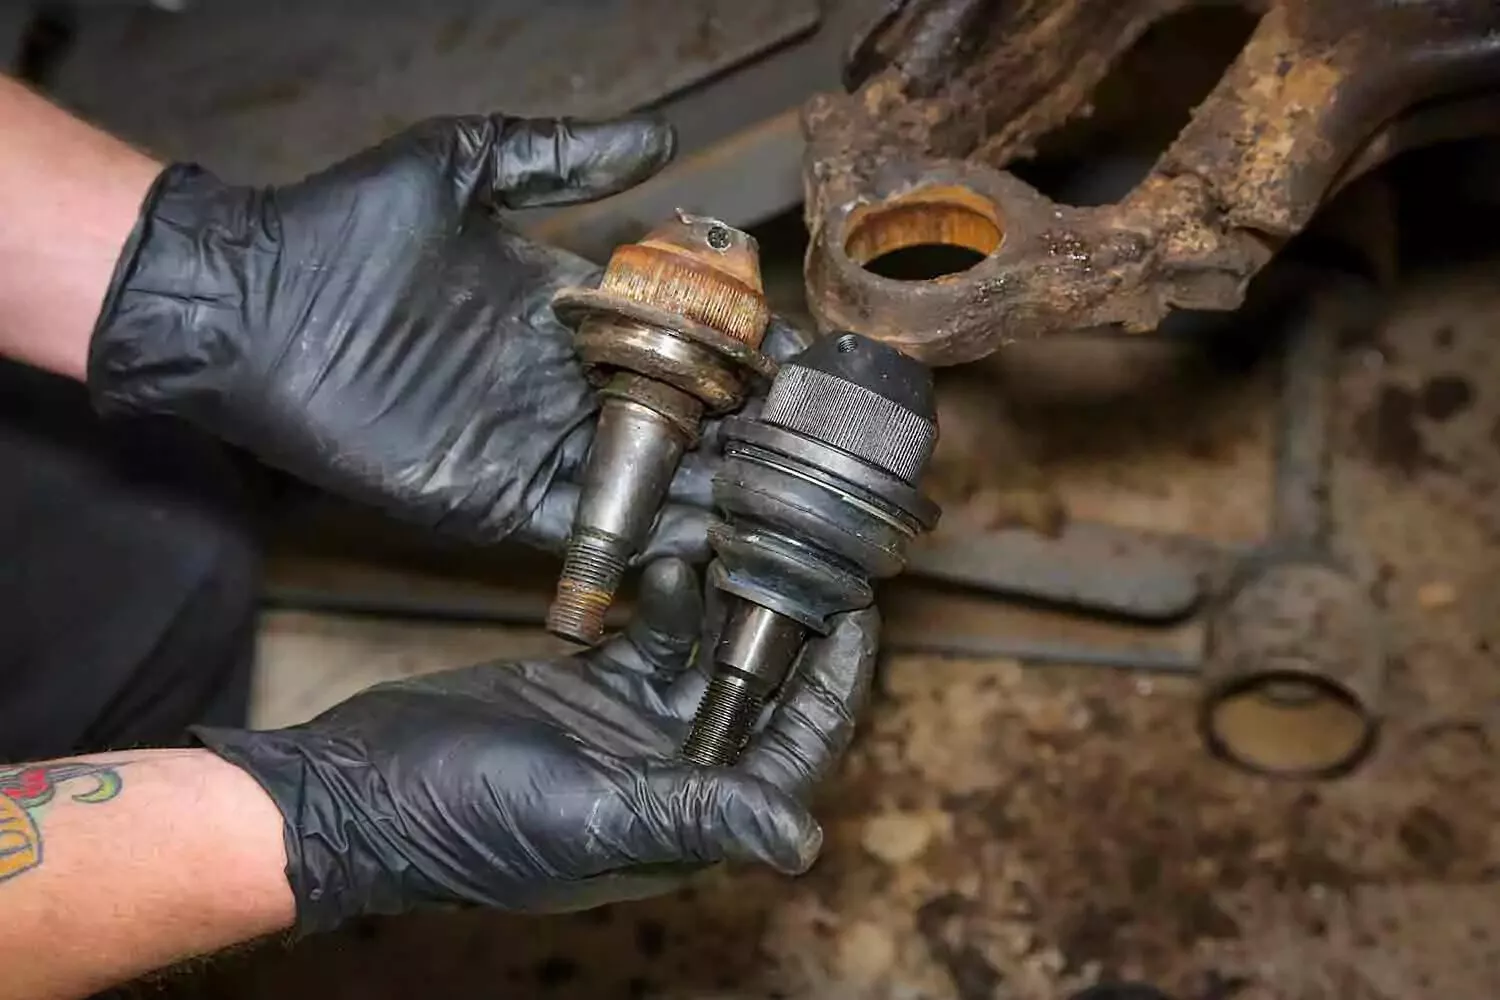
How to Diagnose a Failing Ball Joint
7 min read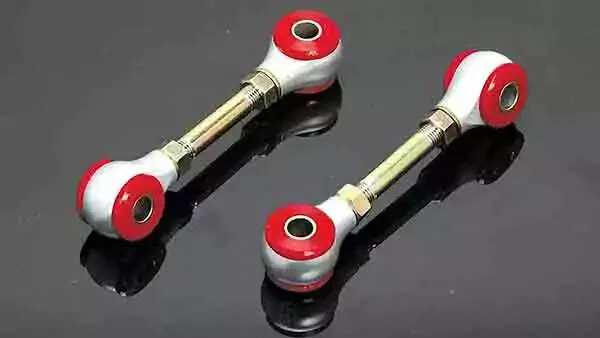
How to Buy the Right Sway Bar Links and Bushings
6 min read
How to Buy the Right Steering Gearbox
5 min read
Understanding Steering Gearboxes
5 min read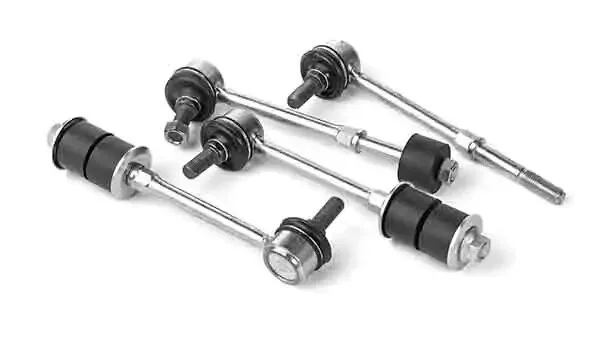
How to Buy the Right Tie Rod Ends
6 min read
How to Replace Tie Rod Ends
8 min read
An Intro to Flushing Your Power Steering Fluid
5 min read
How to Replace a Power Steering Pump
7 min read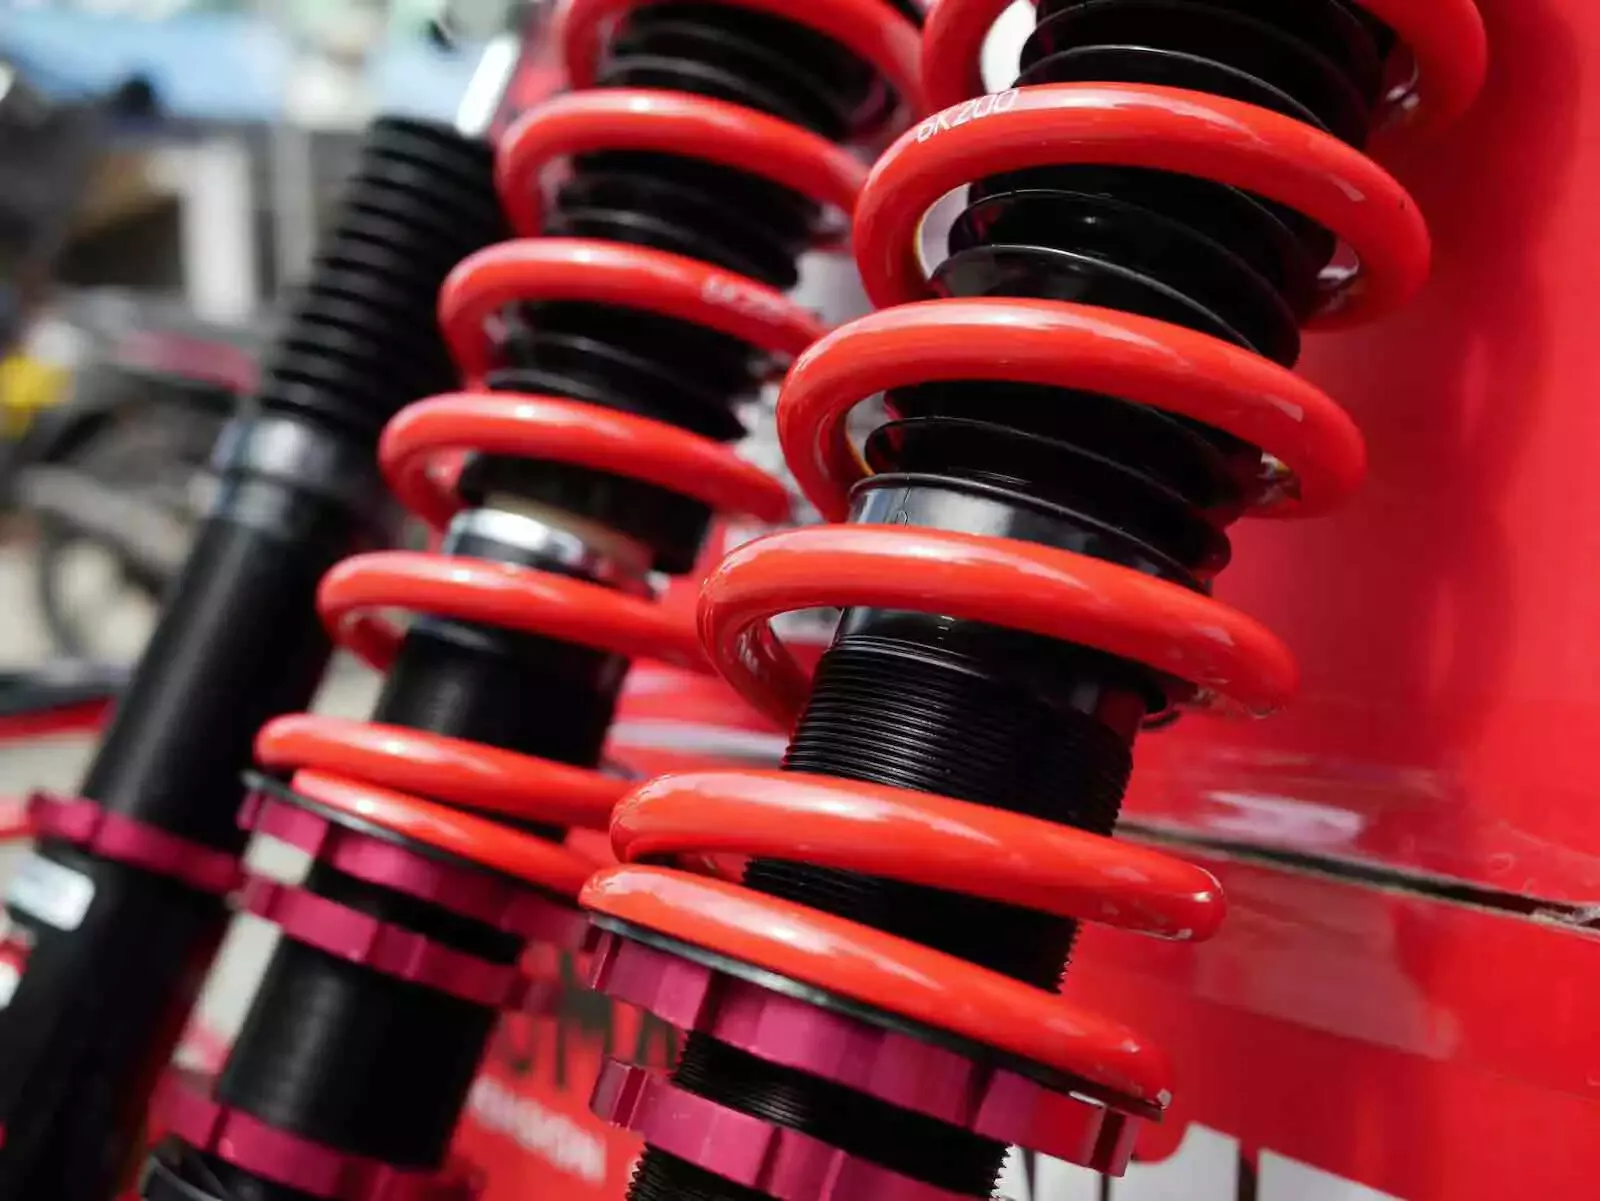
How to Choose the Best Shock Absorbers
8 min read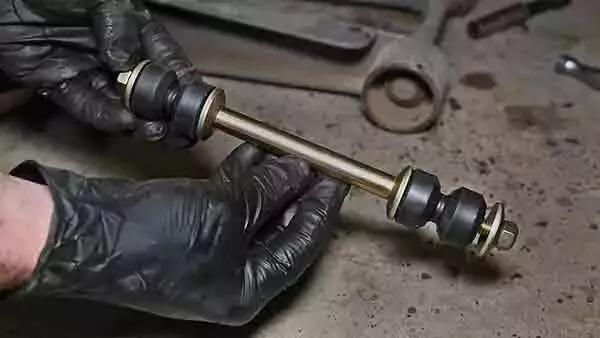
Understanding Sway Bar Links
6 min read
How to Replace a Steering Gearbox
8 min read
How to Replace Power Steering Fluid
8 min read
Why Idler Arms Are So Critical
6 min read
Power Steering Pump Problems and Solutions
5 min read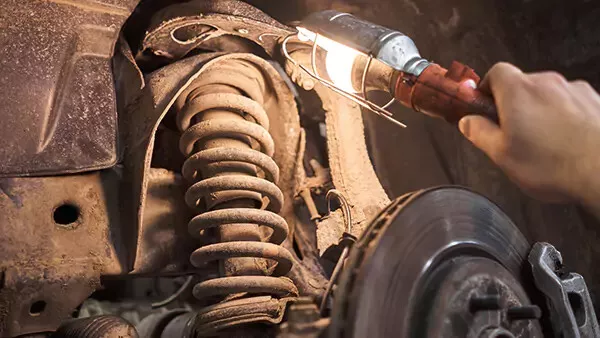
Shock Absorbers 101
8 min read
How to Replace Shock Absorbers
8 min read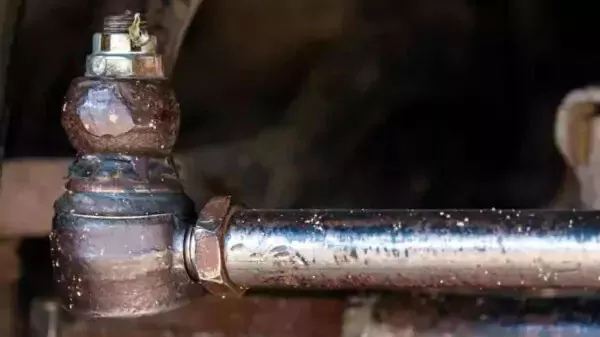
Diagnosing Bad Tie Rod Ends
6 min read
Explore more projects

How to Repair a Chipped Windshield
1 to 2 hours
Beginner
7 min read

How to Replace Brake Fluid
1 to 2 hours
Beginner
10 min read

How to Replace an Ignition Coil
Less than 30 minutes
Beginner
6 min read

How to Replace a Radiator Hose
Less than 30 minutes
Beginner
5 min read

How to Replace Brake Rotors
1 to 2 hours
Beginner
7 min read

How to Replace a Serpentine Belt Tensioner
Less than 30 minutes
Beginner
4 min read

How to Replace a Drive Belt
Less than 30 minutes
Beginner
5 min read

How to Rotate Your Tires
30 to 60 minutes
Beginner
5 min read

How to Refill Windshield Washer Fluid
Less than 30 minutes
Beginner
4 min read

How to Replace an Oxygen Sensor
30 to 60 minutes
Beginner
5 min read

How To Replace Differential Fluid
Less than 30 minutes
Beginner
8 min read

How to Replace Transmission Fluid and Filter
1 to 2 hours
Beginner
11 min read

How to Change Disc Brake Pads
30 to 60 minutes
Beginner
8 min read

How to Replace a Cabin Air Filter
Less than 30 minutes
Beginner
5 min read

How to Replace a Valve Cover Gasket
Less than 30 minutes
Beginner
7 min read

How to Change Windshield Wipers
Less than 30 minutes
Beginner
3 min read

How to Replace an Engine Air Filter
Less than 30 minutes
Beginner
5 min read

How to Clean Fuel Injectors
1 to 2 hours
Beginner
8 min read
How to Replace Shock Absorbers
30 to 60 minutes
Beginner
8 min read

How to Change a Car Battery
Less than 30 minutes
Beginner
6 min read
Automation How to Change a Car Battery
Less than 30 minutes
Beginner
6 min read

How to Replace a Mass Air Flow (MAF) Sensor
Less than 30 minutes
Beginner
7 min read

How to Replace a Clutch Master Cylinder
1 to 2 hours
Beginner
11 min read

How to Flush and Change Engine Coolant
30 to 60 minutes
Beginner
6 min read

How to Replace a Distributor Cap and Rotor
30 to 60 minutes
Beginner
5 min read

How to Check Tire Pressure and Change a Tire
Less than 30 minutes
Beginner
9 min read

How to Replace a Fuel Filter
30 to 60 minutes
Beginner
7 min read

How to Replace a PCV Valve
30 to 60 minutes
Beginner
6 min read

How to Replace a Brake Caliper
1 to 2 hours
Beginner
7 min read

How to Replace an Idler Pulley
30 to 60 minutes
Beginner
4 min read

How to Change a Headlight Bulb
Less than 30 minutes
Beginner
6 min read

How to Replace an Exhaust Gasket
1 to 2 hours
Beginner
9 min read

How to Replace a Throttle Body
30 to 60 minutes
Beginner
6 min read

How to Change Oil in a Car
Less than 30 minutes
Beginner
8 min read

How to Replace an Alternator
1 to 2 hours
Beginner
11 min read

How to Replace an EGR Valve
30 to 60 minutes
Beginner
5 min read

How to Jump Start a Car
Less than 30 minutes
Beginner
9 min read