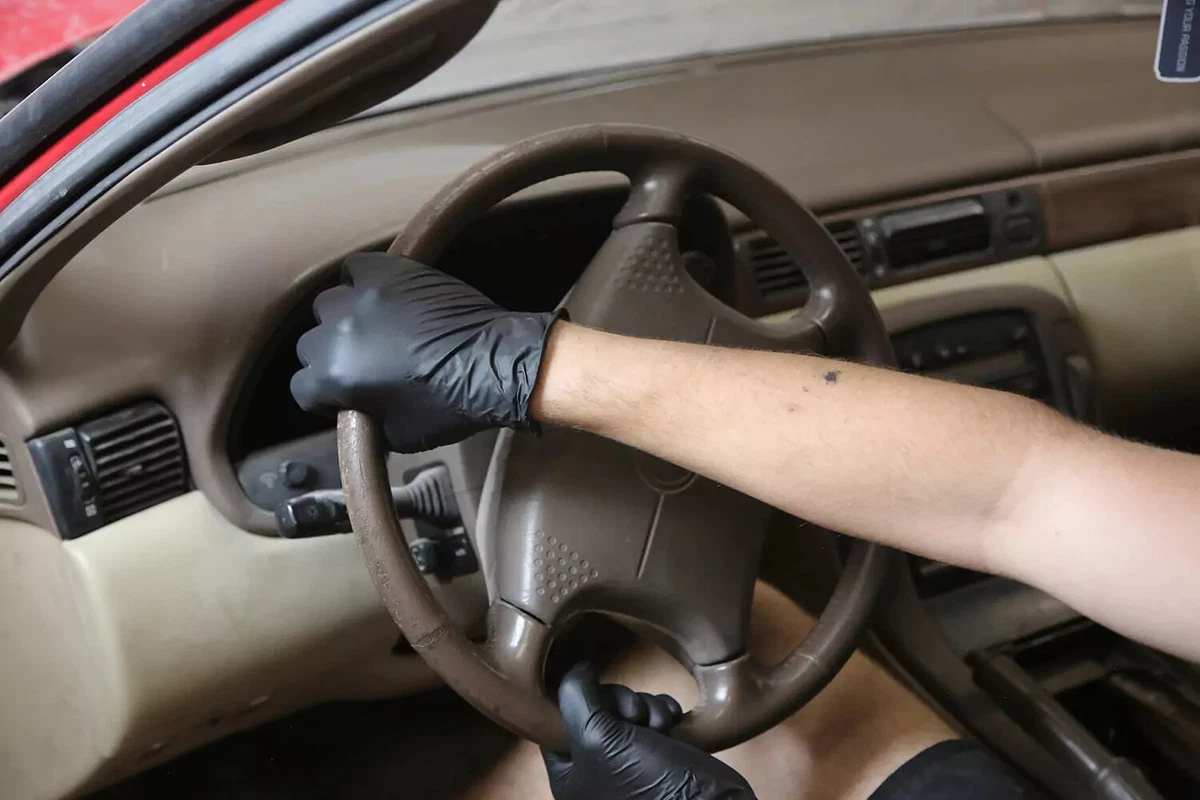
Most cars produced after the 1970s have assisted steering. Power steering reduces the effort needed to turn the steering wheel, especially at low speeds. For most cars built before the mid-2010s (as well as many current models), this means a hydraulic power steering system.
Many recent vehicles have electric power assist, but most still use a power steering pump to feed high-pressure fluid to the steering gear. This pressure flows through the gearbox—rack and pinion or recirculating ball—and back to the reservoir. As you turn the steering wheel, a spool valve turns inside the gearbox, allowing pressurized fluid to push the steering gear for you. When it’s working, power steering is excellent. But when it is not, turning the wheel is a strenuous workout.
To keep your power steering system fully functional, change the fluid every 40,000 to 80,000 miles. Your owner’s manual will provide the specific change interval.
Replacing your fluid before it breaks down is paramount. It ensures that your steering is light and easy. Changing your power steering fluid is nearly as easy as changing your engine oil.
Tips and Tricks
- Carmakers require a specific type of power steering fluid. Ensure that you buy fluid that is compatible with your vehicle.
- Owners of heavy-duty vehicles—or those who frequently drive through water or mud— should change power steering fluid more often, at least every 40,000 miles.
- The power steering system is not closed. Dirt and moisture can enter the system, along with metal shavings and other contaminants. Most power steering systems do not have filters, so this gunk just flows around, taking life out of the components.
- If your power steering fluid hasn’t been changed for more than 100,000 miles, add a flush treatment to remove varnish and get more life out of related components. Flush treatments are sold as power steering flush, but you can also use any transmission flush—although you would need much less. There are multiple methods and steps (not fully covered here) for performing a power steering fluid flush.
- Some newer vehicles have electric, not hydraulic, power steering. Those vehicles do not require this procedure.

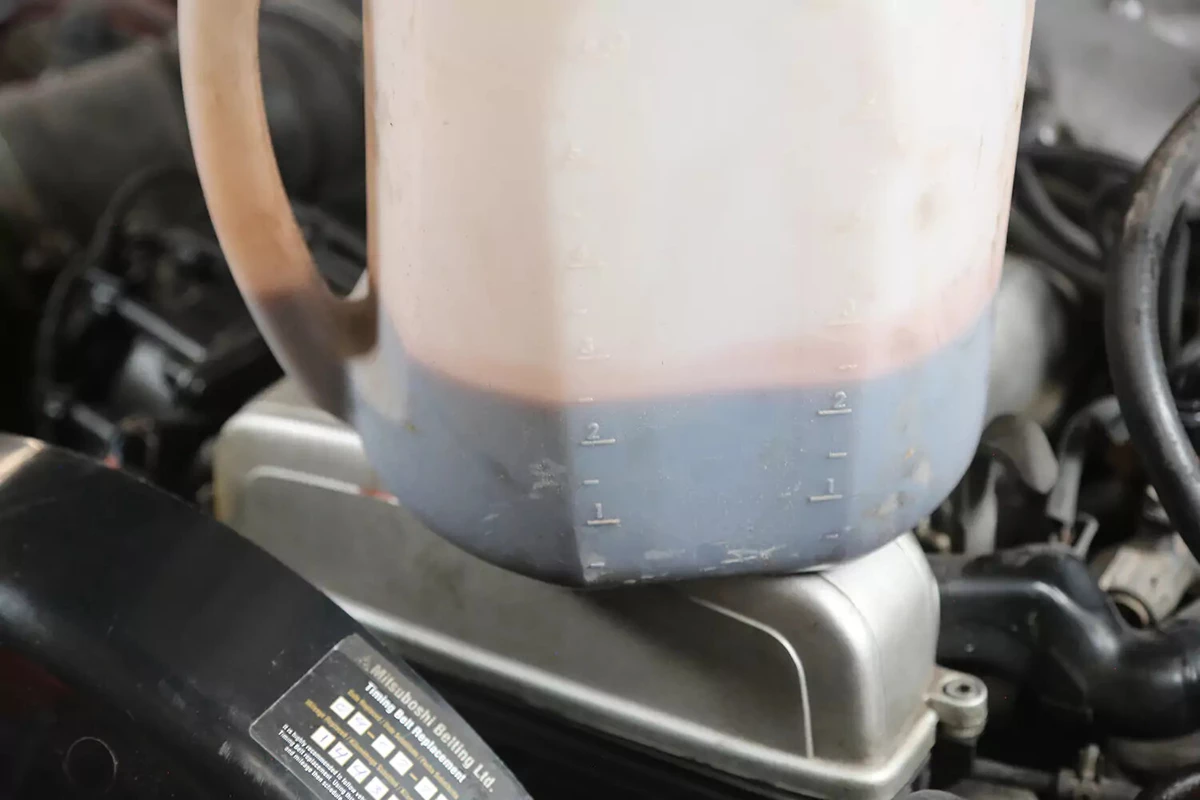
Locate the reservoir under the hood. In most cases, the reservoir is part of the power steering pump or is mounted to it, as shown on our demo vehicle. In some cases, the reservoir may be mounted to the inner fender, firewall, or core support. The reservoir cap should indicate that it’s for power steering fluid only. The cap might also indicate the specific fluid type.
If using a flush treatment, pour the fluid into the reservoir and run the engine for 15 to 20 minutes. During this time, turning the steering wheel, lock to lock, a few times. You can also take a short drive to get the flush through the entire system. Shut the engine off and allow it to cool for 30 minutes before continuing.

Find the reservoir’s return line, which is typically the smaller line at the top or side of the reservoir. Most return lines, which are low pressure, use a simple hose clamp (although your vehicle might use a crimp-on threaded fitting).
Loosen the hose, but do not remove it yet.

Remove the hose. Cap the port with a rubber or silicone cap, as shown here.
If you leave the port open, fluid will pour out. The cap is needed so you can fill the reservoir fully. Be prepared to clean spillage with towels.

Run the return line to an empty container. We used a large oil pitcher with a piece of hose and a small copper line. Alternatively, you could run the return line to a bottle or milk jug.

Fill the reservoir to the top with fresh fluid.
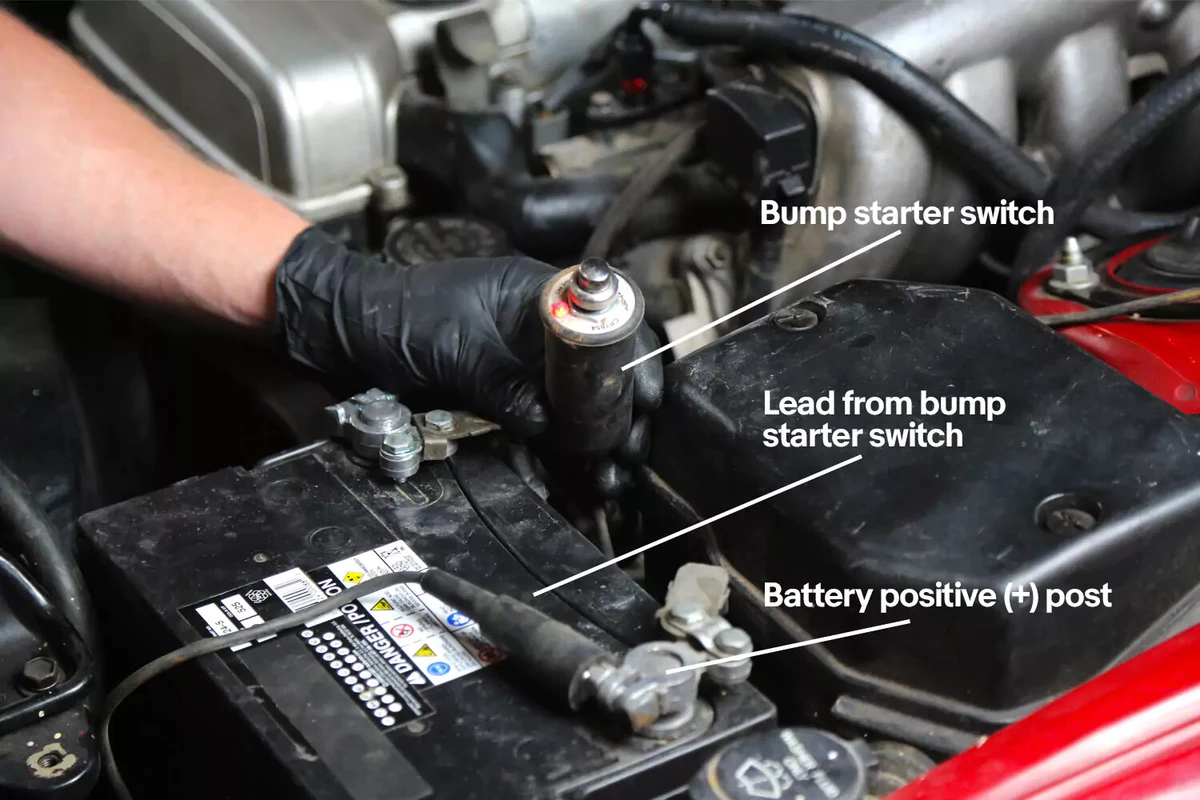
If you are using a bump starter, connect it now.
A bump starter—sometimes called a remote starter switch—is a handy switch on a wire that allows you to “bump” the starter motor without using a key to start the engine. Alternatively, an assistant can turn the key for you.
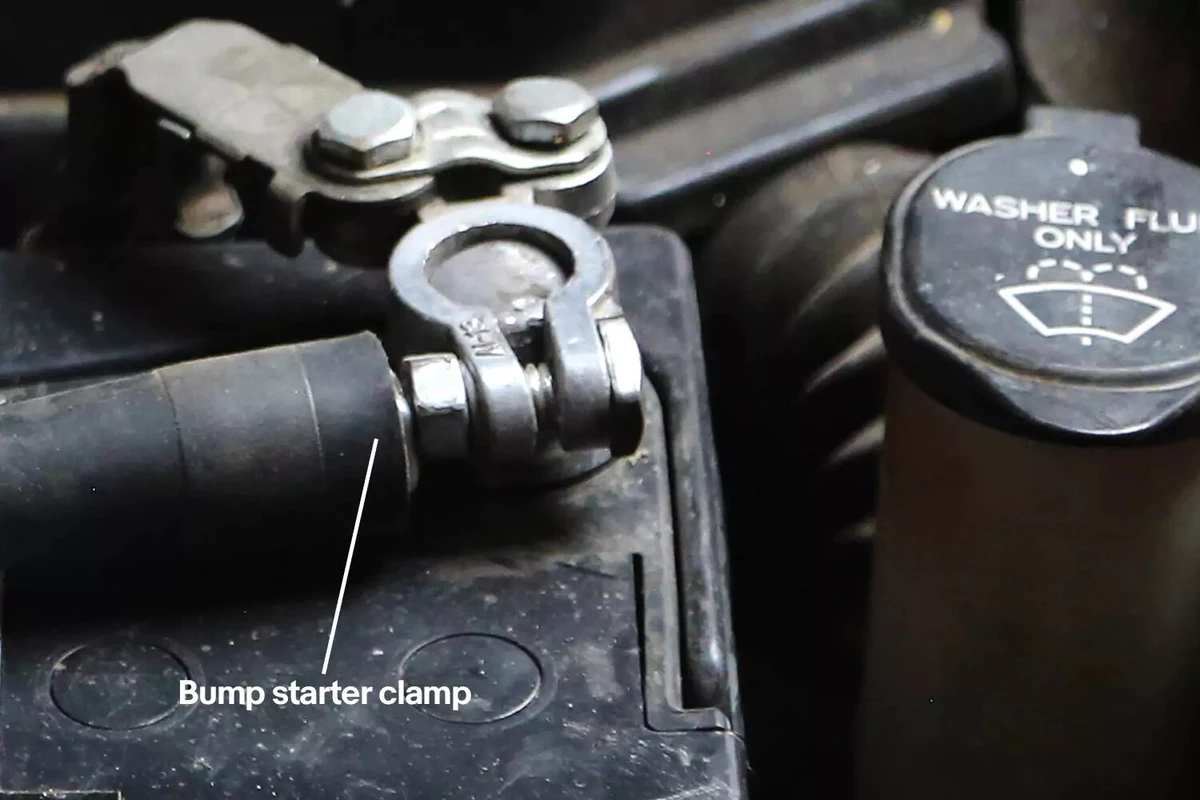
Attach one clamp of the bump starter switch to the battery positive terminal.
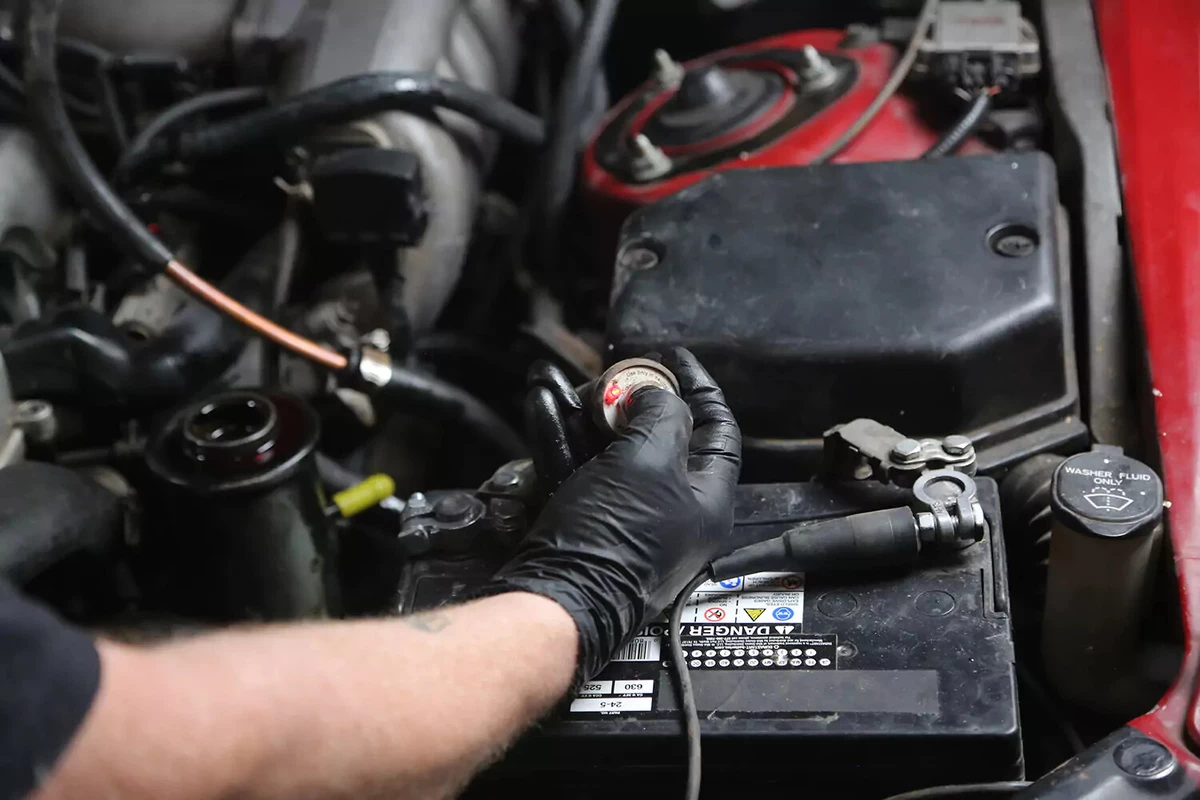
Route the wires away from any belts or fan blades that might snag the wires when the engine is turning.
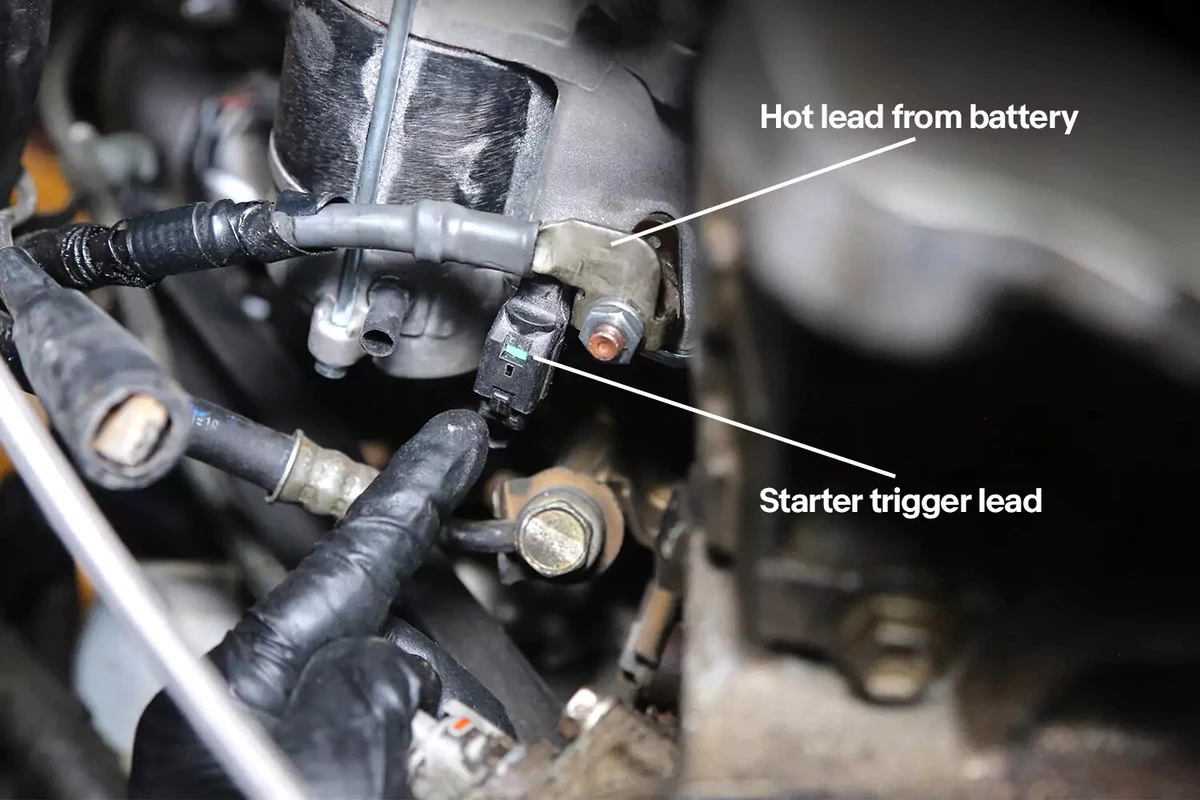
Most vehicles have a terminal lug and nut for the starter trigger. For ring-terminal lugs, clamp to the lug.
Some newer vehicles use a plug-in terminal. If your vehicle has a plug-in terminal, remove it and attach the clamp to the starter terminal pin. You might need a smaller alligator clamp test lead.
Not all starters can be connected easily, so you may have to use the engine disable method, which uses your ignition key to activate the starter. This requires you to disable the engine from starting by removing the coil wire or other methods. Check your vehicle’s repair manual.
Crank the engine for about 10 seconds, then rest for 30 seconds.
When cranking the engine during this process, it is important to crank the engine for no longer than 10 seconds at a time. If you crank it too long, you can damage the starter and heat up the wires. Crank for 10 seconds, wait at least 15 seconds, then crank it for another 10 seconds,
Repeat the cranking process of pumping the reservoir until it’s dry—but no more.
If possible, have an assistant turn the steering wheel lock to lock while you crank the engine. This will empty more old fluid out of the steering rack/box. If you’re working by yourself, you can turn the steering while cranking the engine with the key or the bump starter. They usually have long enough wires.
If the wheel is too hard to turn, raise the front wheels off the ground with a jack. Use jack stands for safety.

Every time you pause after 10 seconds of cranking, add fluid to the reservoir to replace the fluid that is being pumped out into your drain container. This is why the bump starter is so helpful. You can operate the engine from under the hood, keeping an eye on the fluid level while your assistant turns the wheel.
Do not let the pump run dry, which can cause damage or require bleeding air out of the system later.
You should see fluid pumping out less than 10 seconds after the first crank. The fluid will be much darker than the new fluid.
Most systems hold one to two quarts of fluid. A proper flush will use about twice that much.
Keep track of how much you pour in, so you know how much waste fluid to expect. After the fluid starts coming out clean and clear, flushing is complete.

Remove the cap and reinstall the original return line. Tighten the clamp.
Top off the reservoir to the fill mark with more fresh fluid. Clean up any spillage and remove the bump starter.
Dispose of old fluid at a certified recycling center.
About the author

Share your feedback
This article is meant to provide general guidance only. Automotive maintenance, repair, upgrade, and installation may depend on vehicle-specifics such as make and model. Always consult your owner's manual, repair guide for specific information for your particular vehicle and consider a licensed auto-care professional's help as well, particularly for advance repairs.
Recommended for you
Find answers and inspiration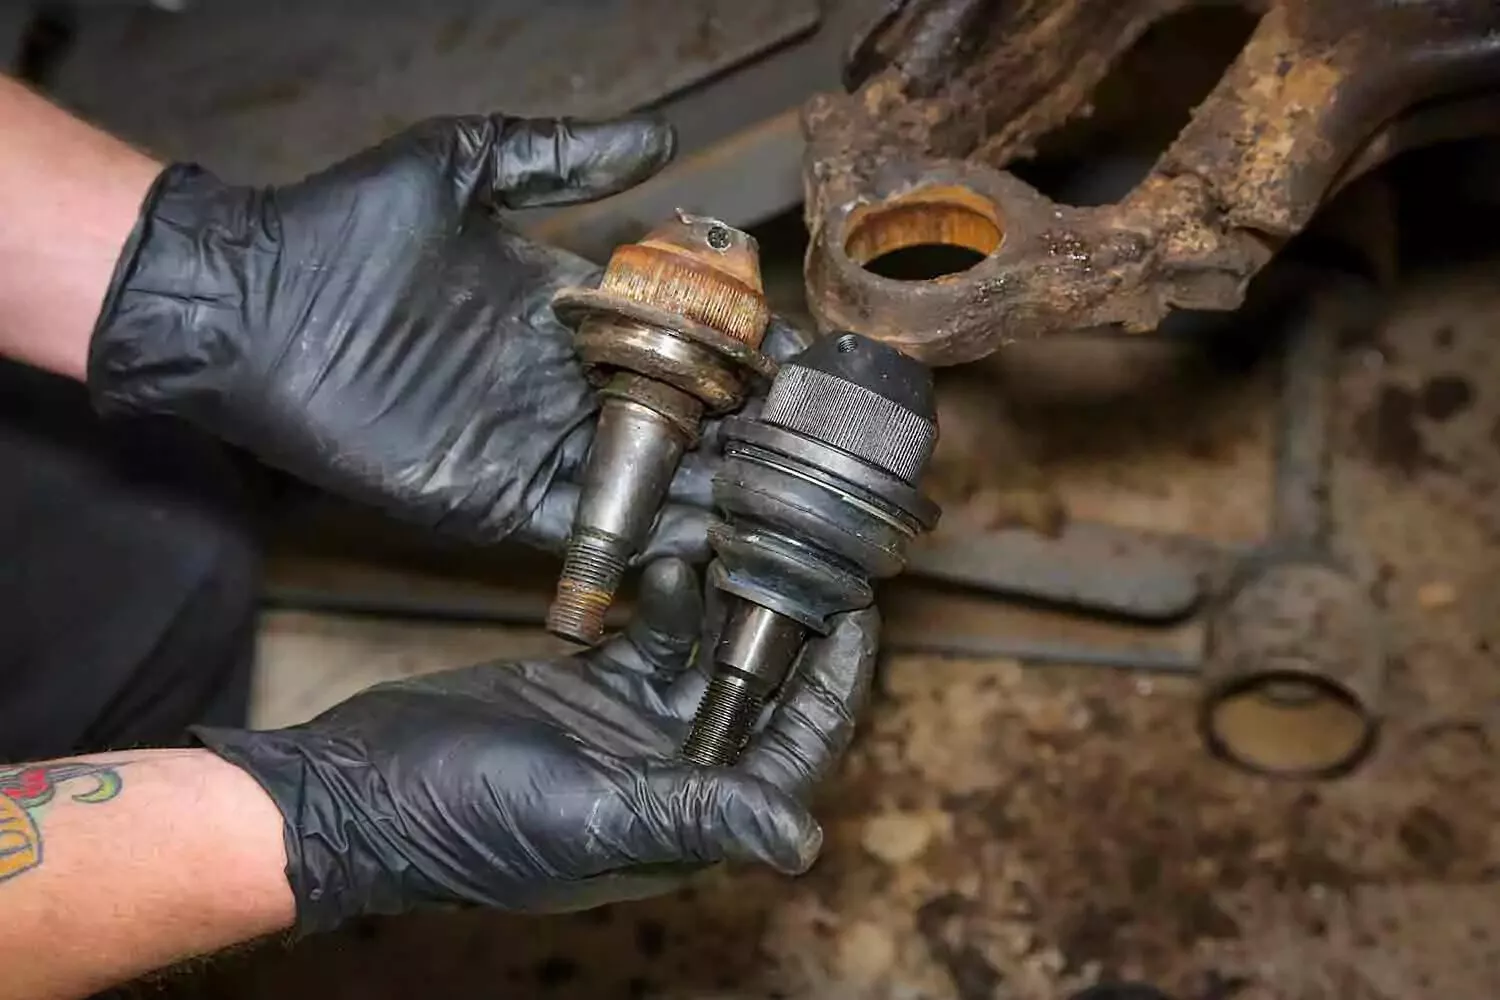
How to Diagnose a Failing Ball Joint
7 min read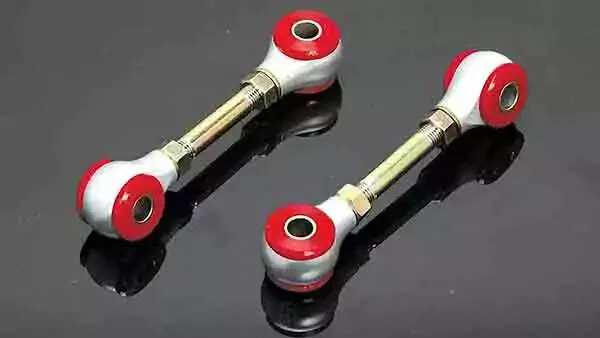
How to Buy the Right Sway Bar Links and Bushings
6 min read
How to Buy the Right Steering Gearbox
5 min read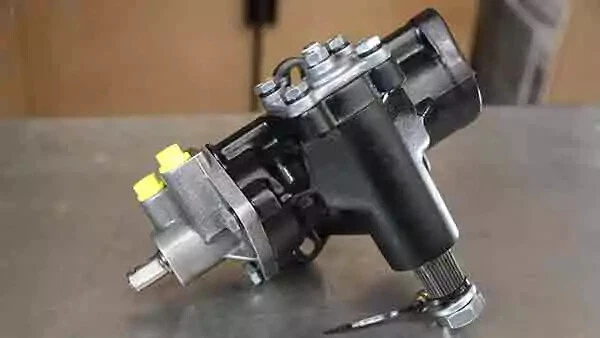
Understanding Steering Gearboxes
5 min read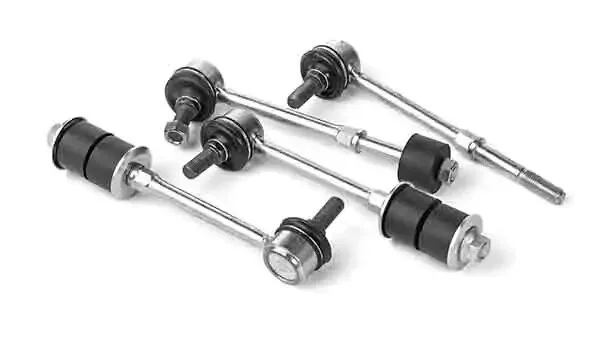
How to Buy the Right Tie Rod Ends
6 min read
How to Replace Tie Rod Ends
8 min read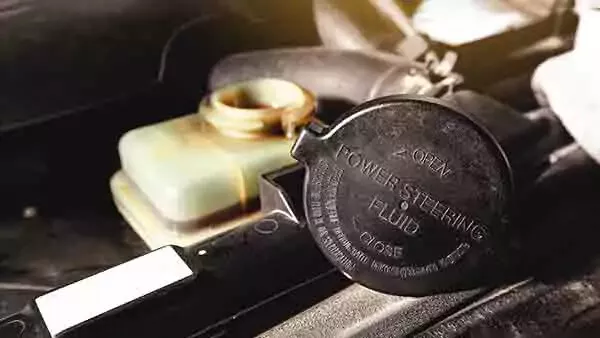
An Intro to Flushing Your Power Steering Fluid
5 min read
How to Replace Sway Bar End Links and Bushings
6 min read
How to Replace a Power Steering Pump
7 min read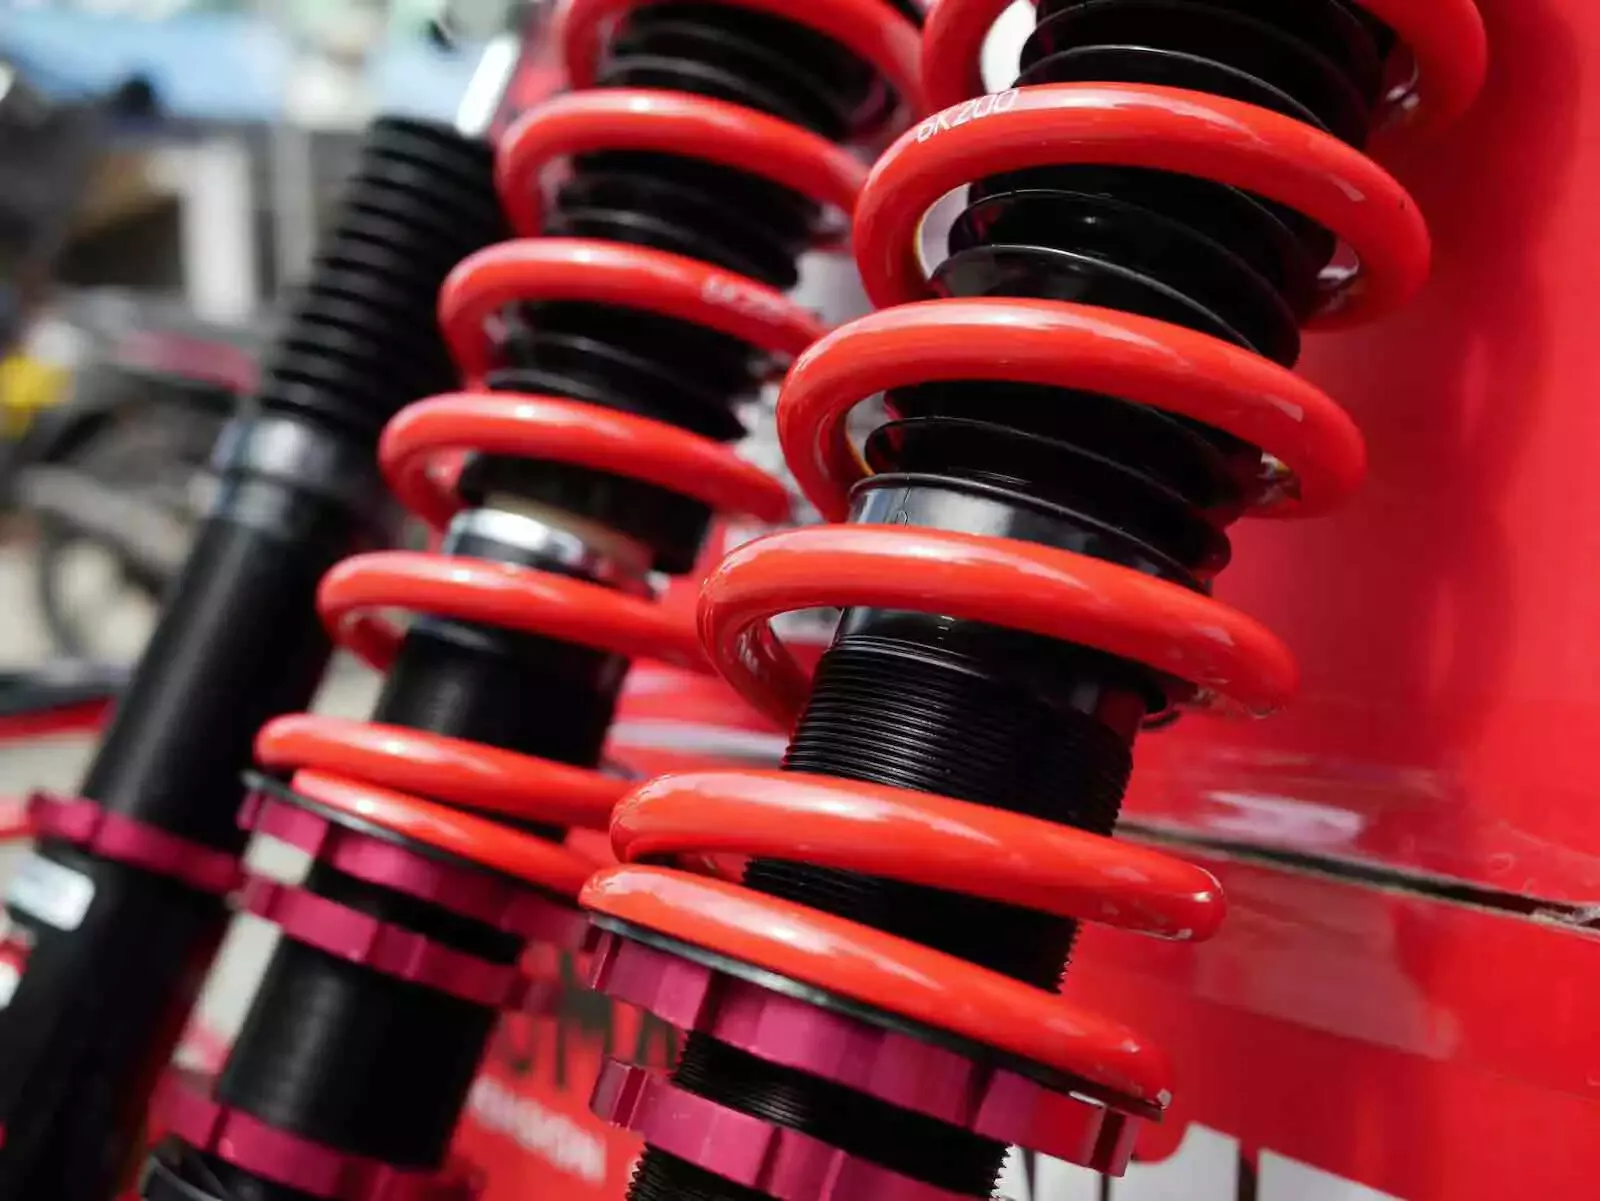
How to Choose the Best Shock Absorbers
8 min read
Understanding Sway Bar Links
6 min read
How to Replace a Steering Gearbox
8 min read
Why Idler Arms Are So Critical
6 min read
Power Steering Pump Problems and Solutions
5 min read
Shock Absorbers 101
8 min read
How to Replace Shock Absorbers
8 min read
Diagnosing Bad Tie Rod Ends
6 min read
Explore more projects
How to Change a Thermostat
30 to 60 minutes
Intermediate
7 min read

How to Replace a Car Starter
1 to 2 hours
Intermediate
7 min read

How to Replace Spark Plugs
1 to 2 hours
Intermediate
7 min read
How to Replace a Transmission Mount
1 to 2 hours
Intermediate
7 min read

How to Replace Engine Mounts
1 to 2 hours
Intermediate
4 min read

How to Change a Water Pump
1 to 2 hours
Intermediate
8 min read

How to Change Manual Transmission Fluid
Less than 30 minutes
Intermediate
4 min read

How to Replace an Intake Manifold Gasket
2 to 5 hours
Intermediate
7 min read

How to Replace Wheel Bearings
1 to 2 hours
Intermediate
7 min read
How to Replace Tie Rod Ends
30 to 60 minutes
Intermediate
8 min read
How to Replace a Heater Core
More than 5 hours
Intermediate
12 min read
How to Replace a Power Steering Pump
1 to 2 hours
Intermediate
7 min read
How to Replace a Steering Gearbox
2 to 5 hours
Intermediate
8 min read

How to Change Automatic Transmission Fluid
Less than 30 minutes
Intermediate
6 min read
How to Replace a U-Joint
1 to 2 hours
Intermediate
14 min read

How to Replace a Car Radiator
1 to 2 hours
Intermediate
8 min read

How to Change an In-Tank Fuel Pump
2 to 5 hours
Intermediate
9 min read