Your vehicle’s drive-axle housing contains key components that set the engine’s rotation into motion. There are axles, differential gears, drive gears, bearings, and bushings. The housing is filled with a viscous fluid—alternatively called differential fluid or gear oil.
This thick oil lubricates the components in high-speed conditions. The fluid should be changed every 30,000 to 50,000 miles depending on driving use. Heavy-load vehicles require more frequent changes.
Differential fluid can handle severe stress. However, the housing isn’t perfectly sealed, and allows moisture, dirt, and grit to creep in over time. Microscopic pieces of gear teeth and bearings float around inside as well. Most axle housings don’t have a filter. So, if you leave the same differential fluid in the housing for 100,000 miles, the grit and grime moving through the gears will shorten life of the bearings and seals.
Fresh fluid also has anti-wear and anti-corrosion chemicals to replace exhausted additives.
Changing the differential fluid or gear oil is a straightforward process for most vehicles. Most modern vehicles have differential housings with a drain plug like an engine oil pan.
Tips & Tricks
- New differential fluid (or gear oil) should match the specifications listed in your owner’s manual.
- As with engine oil, there are three main types: conventional, synthetic, and semi-synthetic. Conventional oil is not as durable. Meanwhile, synthetic oil is thinner, provides better lubrication, and lasts longer. Nonetheless, synthetic still oil needs to be changed, albeit perhaps only every 50,000 miles.
- There are also differential fluid grades for use under specific temperatures and load ratings. Grades range from GL-1 to GL-5. Select the correct grade and weight based on your transmission and gear system.
- Differential oil smells bad, and the odor gets worse through use. Avoid getting it on your clothes. Just in case, wear clothes that you can throw away.
- A no-plug design is more common on older vehicles (pre-2000s) and requires removing the differential cover. If your vehicle does not have a drain plug, you will need a cover gasket and maybe some RTV silicone sealant to complete the job. All differentials have a fill plug, so if you have two plugs (one near the bottom and one about half-way up the side), you have a drain plug. If your housing only has one plug around the midline of the gears, you will have to drop the cover.

This project requires working safely under the vehicle. You will need a floor jack, and jack stands, ramps, or wheel cribs to support the vehicle.
Locate the factory jacking points just behind the front wheels or just in front of the rear wheels. The jacking point is a metal section with two V notches about two inches apart. Check your owner’s manual to confirm the lift location.
Never use jack stands on dirt, gravel, or asphalt. If you do not have access to a concrete work surface, use wheel cribs, solid-base ramps, or wide-base wood supports to support the vehicle. Never use cinder blocks or bricks as supports.
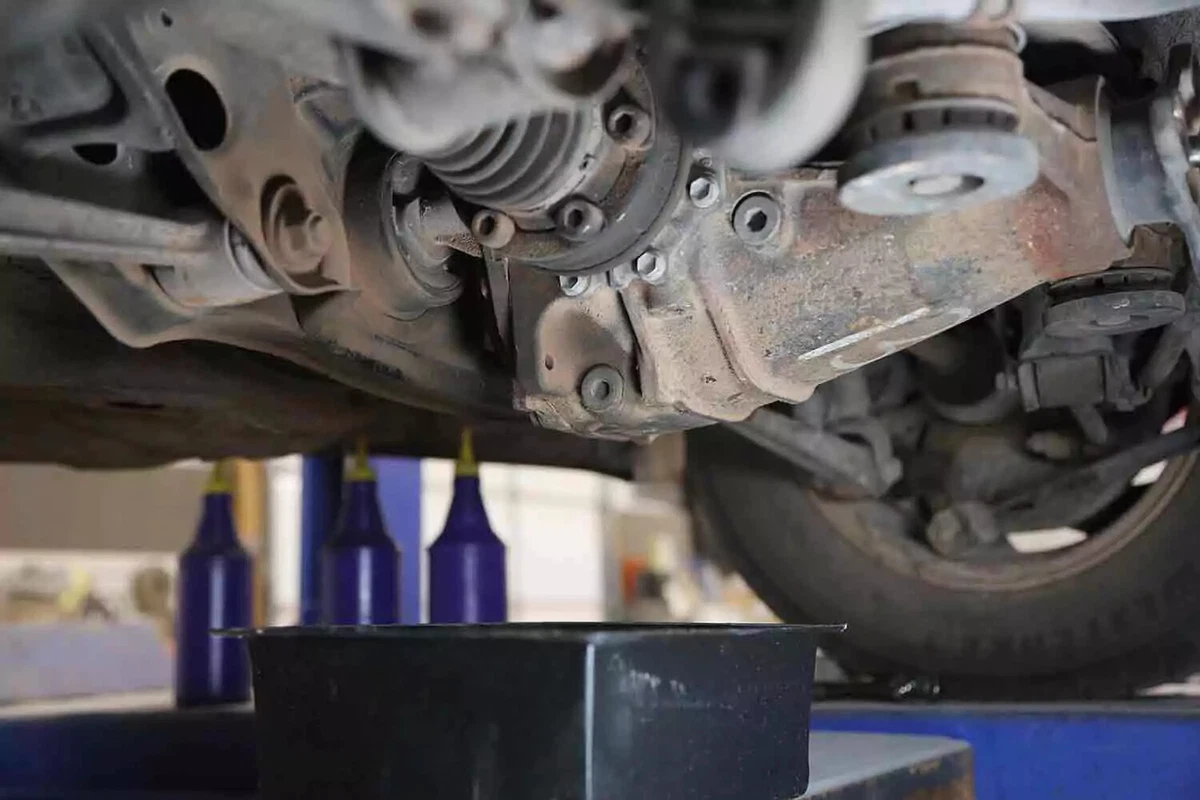
The differential is located between the wheels either front or rear. The differential center section is also referred to as the “pumpkin.” It is usually a large round box with axle tubes on the sides and the driveshaft on the front (for RWD) or to the rear (FWD).
Front differentials look slightly different. They are set to one side, and most have CV axles instead of tubes. Some FWD vehicles integrate the differential assembly with the transmission case.
RWD vehicles with independent rear suspension (IRS) also use CV axles. Our demo vehicle is RWD with IRS.
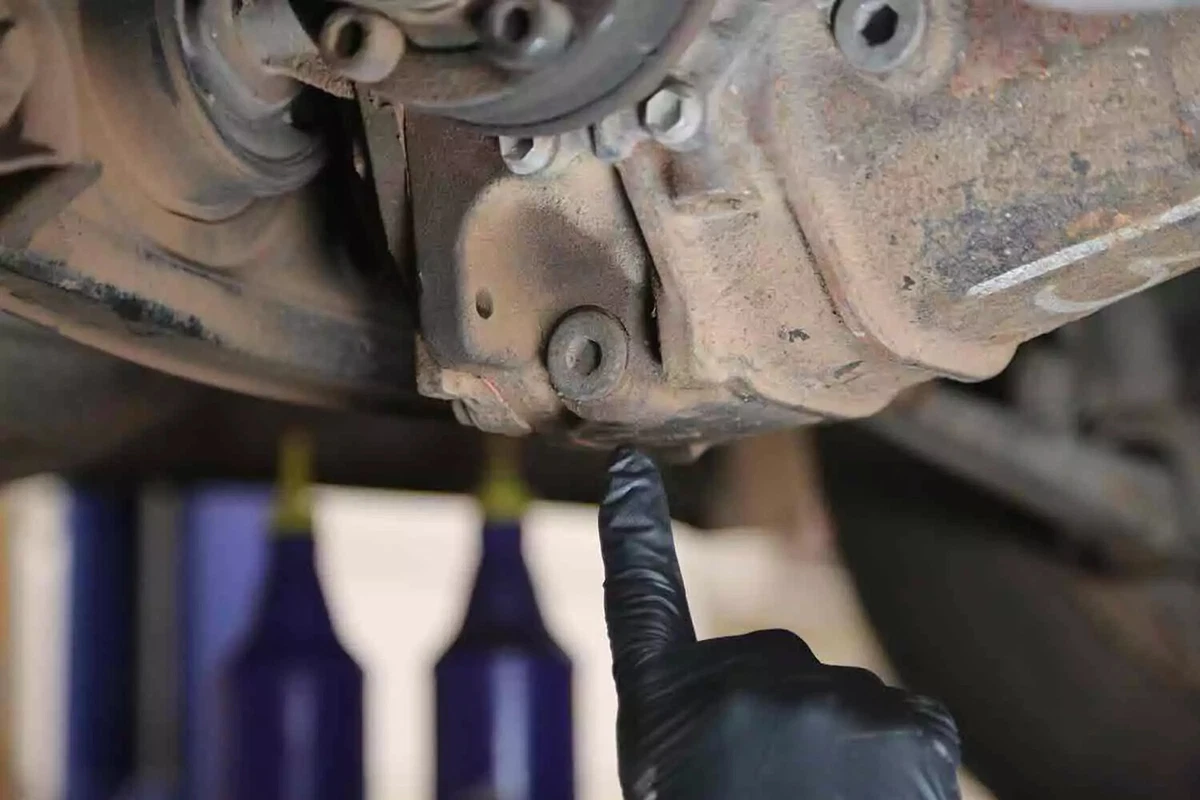
The drain plug is usually found at the housing bottom. The plug could be covered with mud and grime. If so, clean the housing carefully. Avoid re-introducing dirt into the housing and plugs.
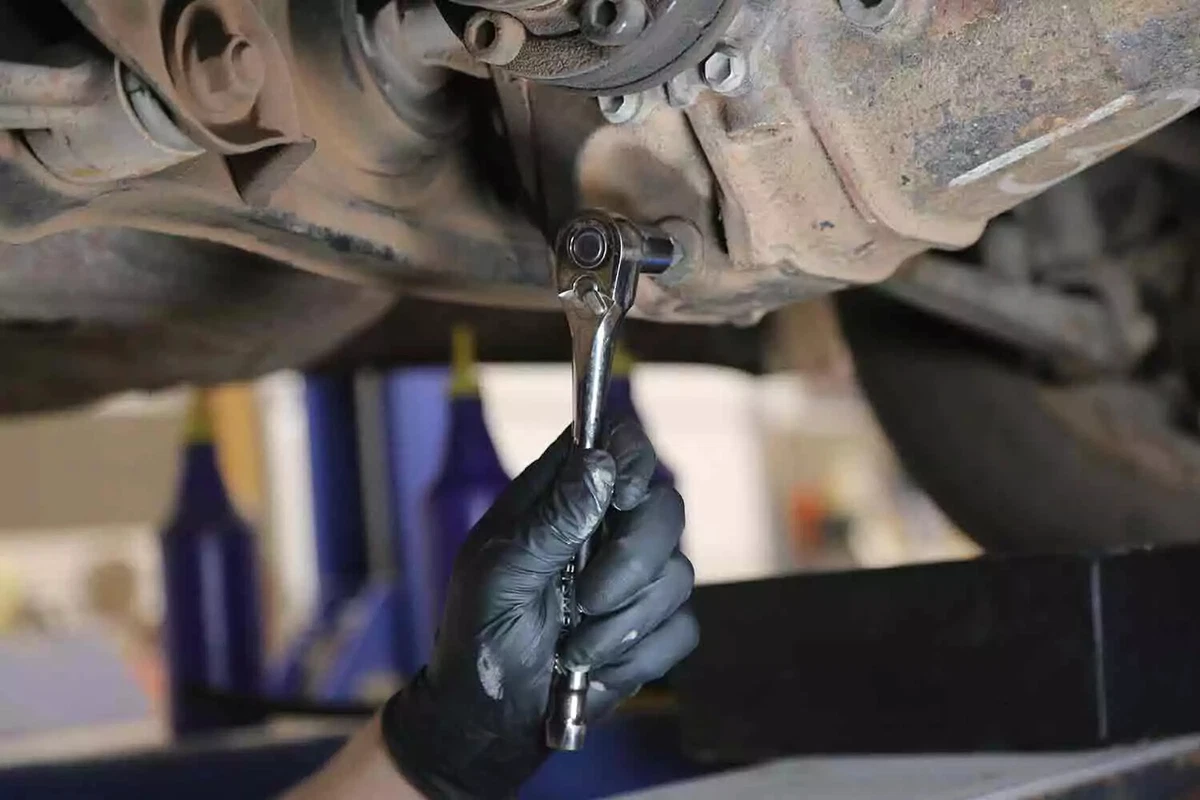
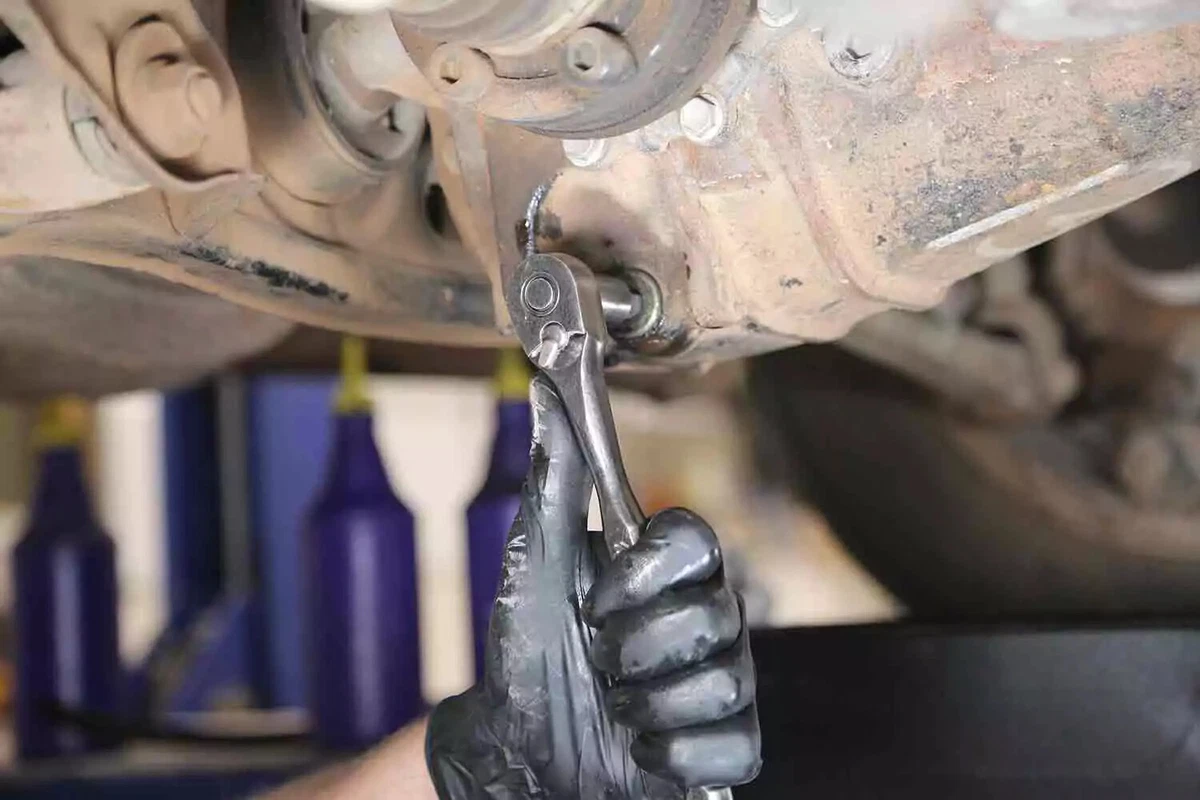
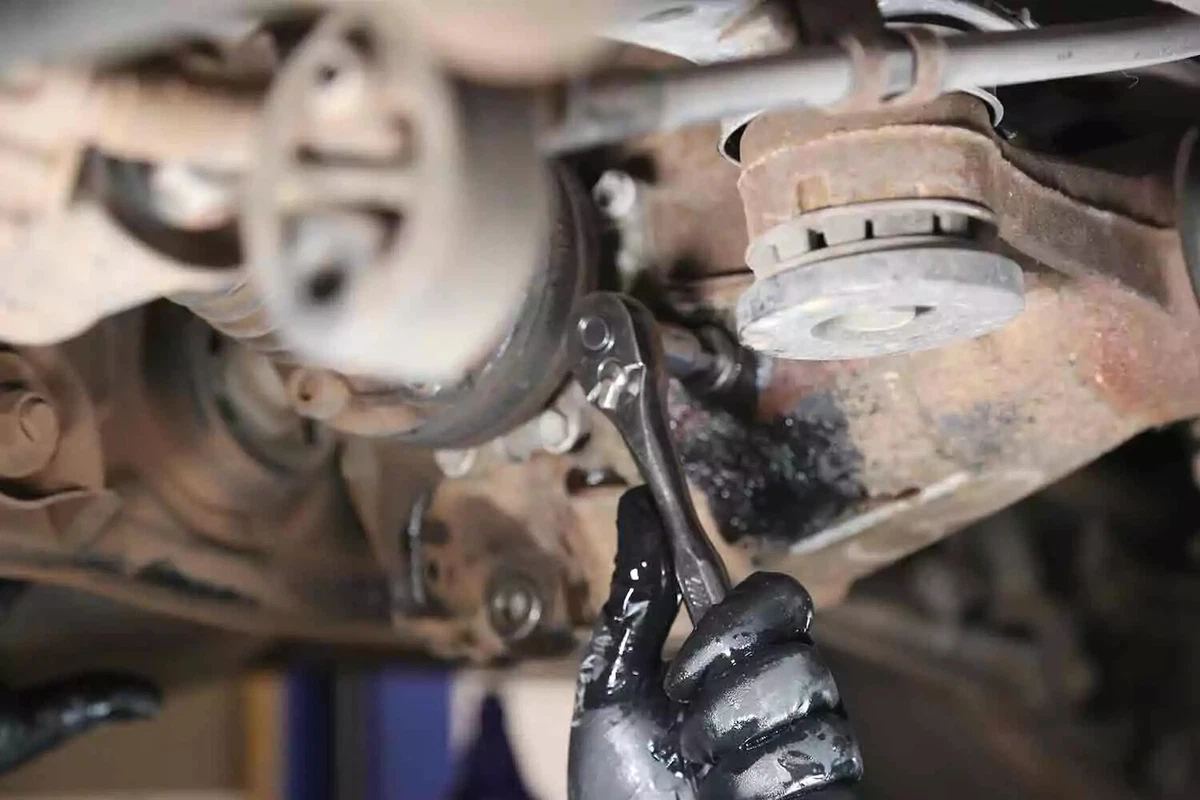
Select the correct socket or tool for your plug. Most drain plugs use an internal hex (Allen) or Torx (six-star). But some vehicles use a square-drive (ratchet to socket) in ⅜-inch or ½-inch. If your drain plug is coated with thread locker, use a breaker bar to loosen it.
Loosen the drain plug, but don’t remove it yet.
If your vehicle does not have a drain plug, remove the differential cover. The housing cover uses perimeter bolts. Loosen all of the bolts, but don’t remove any yet.

Before removing the plug or cover, set your drain pan under the plug. You don’t need a large pan. There are usually fewer than two quarts in a housing. Full tube axles may have closer to three quarts.
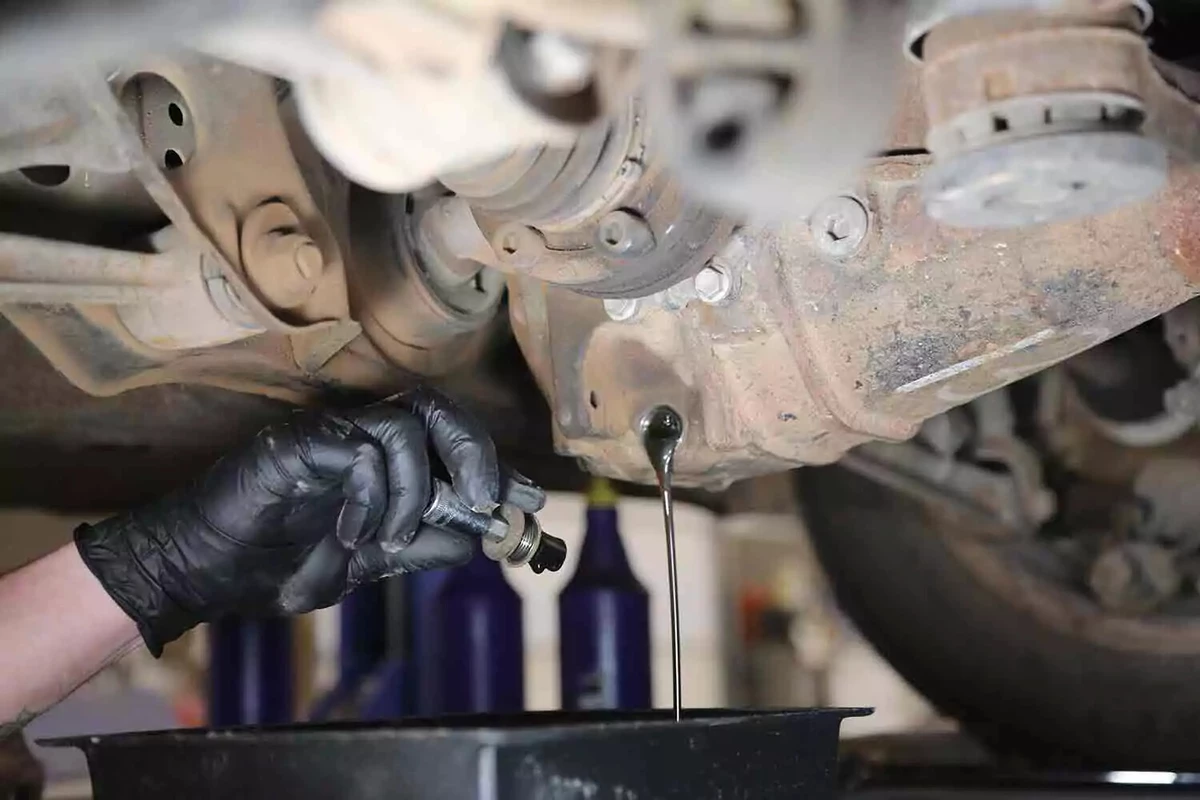
Remove the plug and allow the differential fluid to drain. Remove as much of the old oil as possible. The nastiest bits settle at the bottom.
No drain plug? First, remove the cover bolts. Then, use a flat-blade screwdriver to gently pry the cover at the housing bottom—but strictly at the bottom only—until the differential fluid starts to flow out. Don’t scratch the housing or cover. After the oil stops draining, remove the bolts and cover from the housing. Use brake cleaner to flush the housing. This step helps remove old dirty fluid. Allow five minutes for the cleaner to flush out and evaporate before moving on.
Some vehicles use a plastic differential cover that is meant to be replaced. It’s almost impossible to reseal these after they’ve been reinstalled. Purchase a new one.
While the oil is draining, clean the drain plug with brake cleaner and a towel. Some plugs have a magnetic tip. Ensure there are no metal shavings on the plug. Some “fur” on the magnet is normal, but clean it off.
If your plug has a gasket (typically aluminum or copper), replace it. Some vehicles require thread sealant,Teflon tape or RTV silicone to seal the plug. Check your owner’s manual for details.
No drain plug? Clean the cover to remove the old gasket or silicone sealant. The cover and housing mating surfaces should be completely clean, with no residual gasket or sealant. Spray the surfaces with brake cleaner and wipe dry.
Install a new gasket if the old cover used one. Some covers simply use RTV silicone sealant on the cover instead of a gasket. Reinstall the bolts. Typically, these covers are torqued to 10 to 12 pound-feet, but good and snug with a ⅜-inch ratchet or a shorty box wrench is plenty.

The fill plug is typically on the same side as the drain. It should be around the middle of the differential gear’s height.
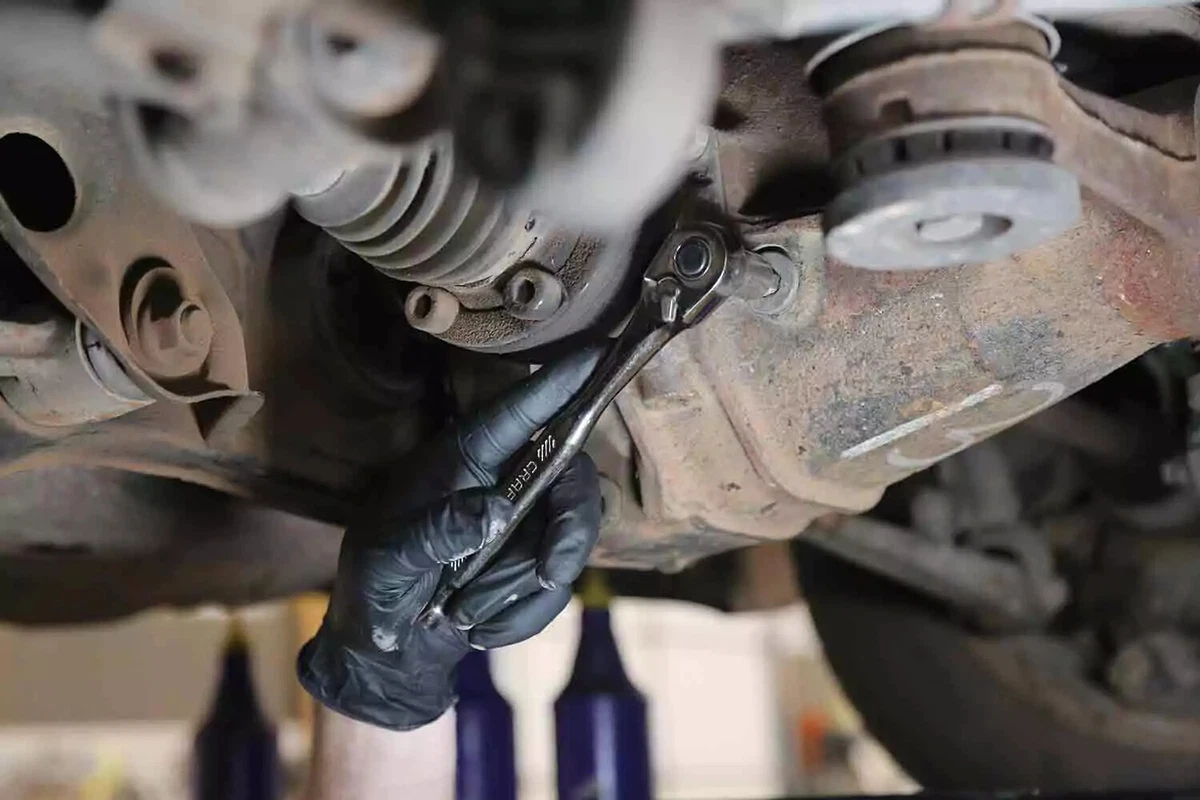
Use the correct tool to remove the fill plug. It’s typically the same tool that was used for the drain plug. As with the drain plug, clean the area first.
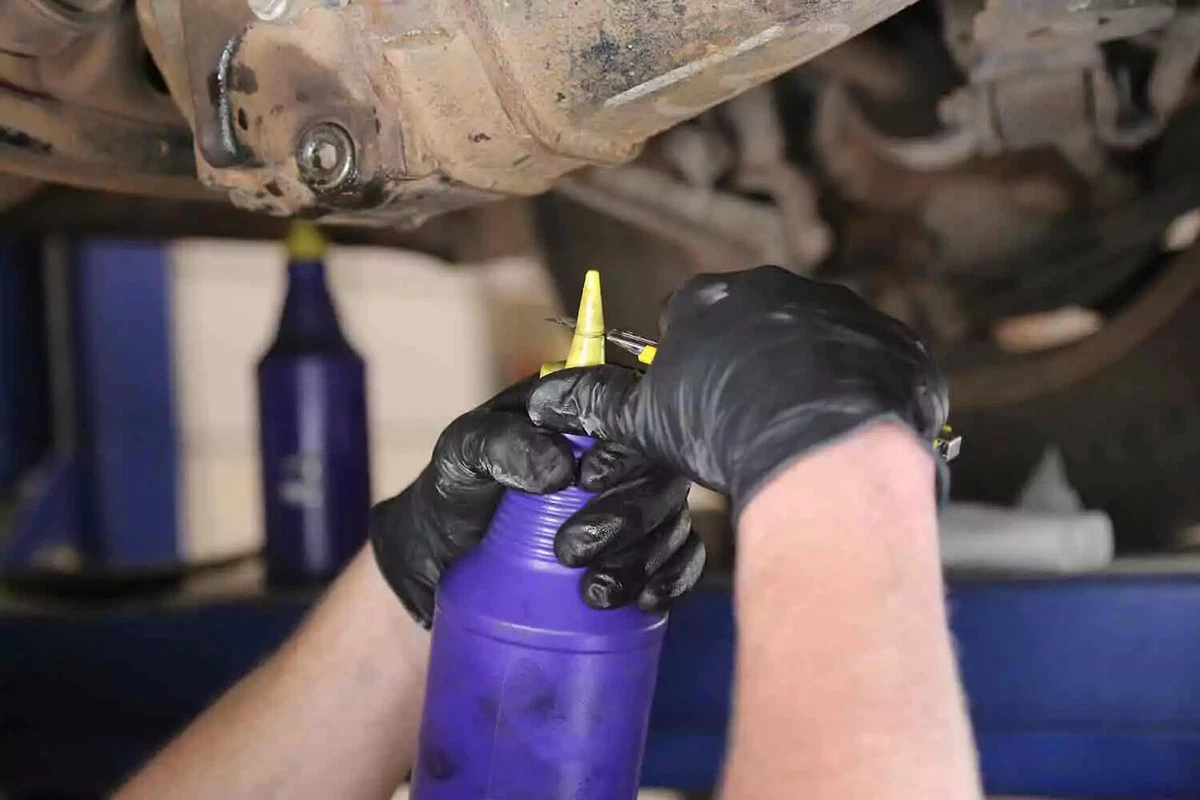
Differential fluid comes in tall bottles with a cone-shaped tip. Use a knife to cut the tip off.
Differential fluid is thick, especially when cold. If working in cold weather, store the oil near a heater or run hot water over the sealed bottles so it flows easier.
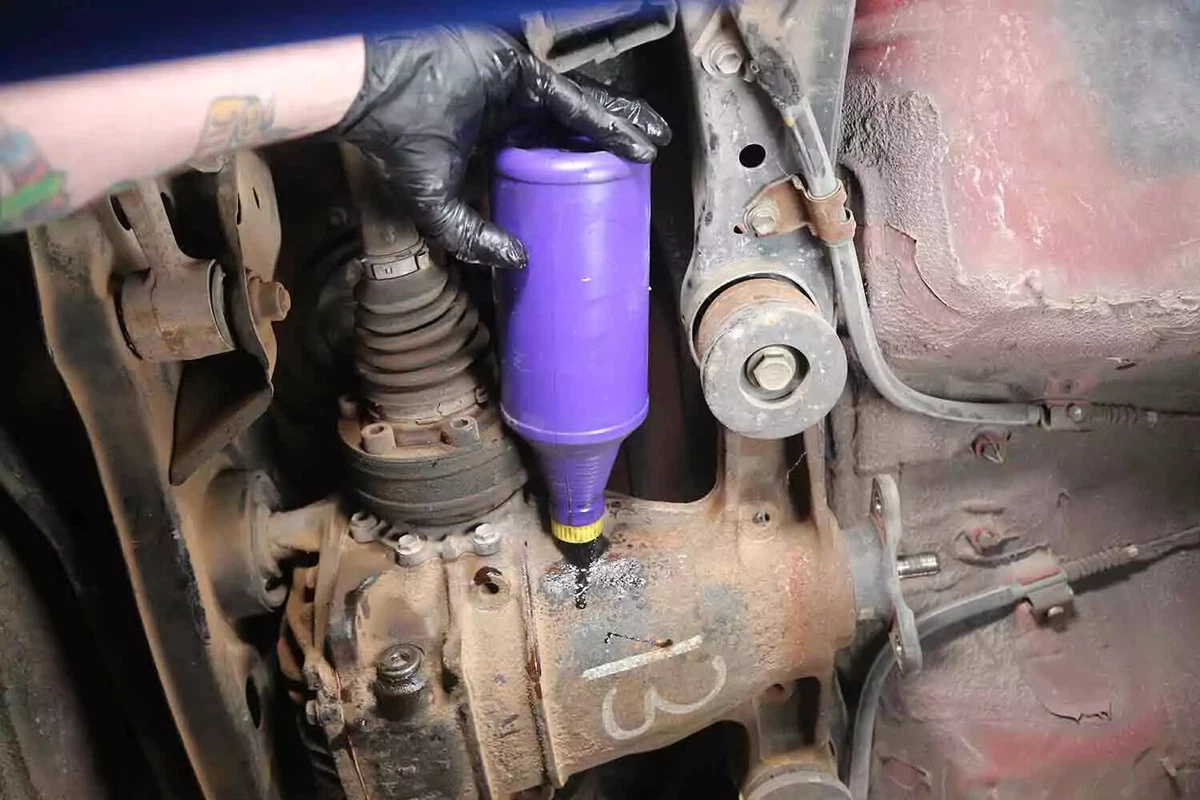
Carefully tip the bottle into the fill port. Gently squeeze the bottle, although you may need to force it out. Most housings require 1.5 to 2 quarts. Fill the fluid until it’s level with the plug threads and no more will stay in.
Smaller vehicles have limited space to position the bottle in the housing. In this case, cut a length of 3/8-inch rubber hose long enough to move the bottle away from the vehicle. Slip one end of hose into the fill port and the other end over the bottle tip. You might need a helper.
After the oil is level with the bottom threads of the fill-plug port, reinstall the plug with the appropriate seal or thread sealant.
Clean the housing and tools with brake cleaner and a towel. Ensure you have proper air ventilation when using brake cleaner under the vehicle.
About the author

Share your feedback
This article is meant to provide general guidance only. Automotive maintenance, repair, upgrade, and installation may depend on vehicle-specifics such as make and model. Always consult your owner's manual, repair guide for specific information for your particular vehicle and consider a licensed auto-care professional's help as well, particularly for advance repairs.
Recommended for you
Find answers and inspiration
Types of U-Joints and When They Go Bad
6 min read
How to Buy the Right Differential Fluid
4 min read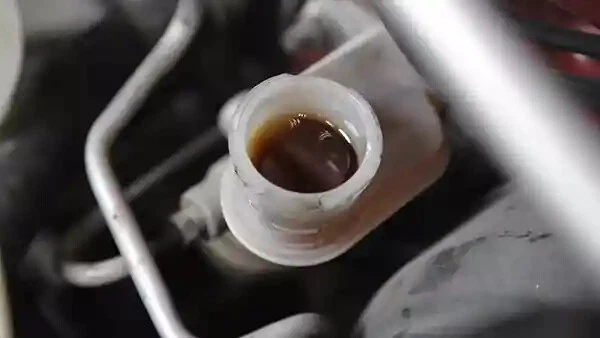
An Intro to Replacing Clutch Fluid
5 min read
How to Change Manual Transmission Fluid
4 min read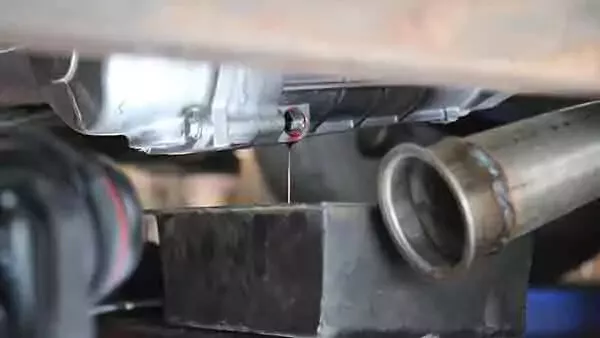
Picking the Right Manual Transmission Fluid
4 min read
How to Replace Wheel Bearings
7 min read
Choosing the Right Clutch Fluid
6 min read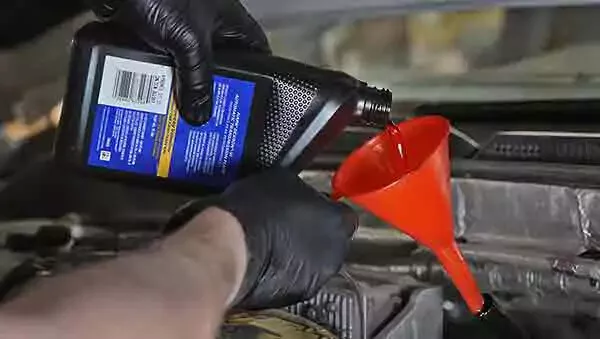
Buying the Right Transmission Fluid and Filter
4 min read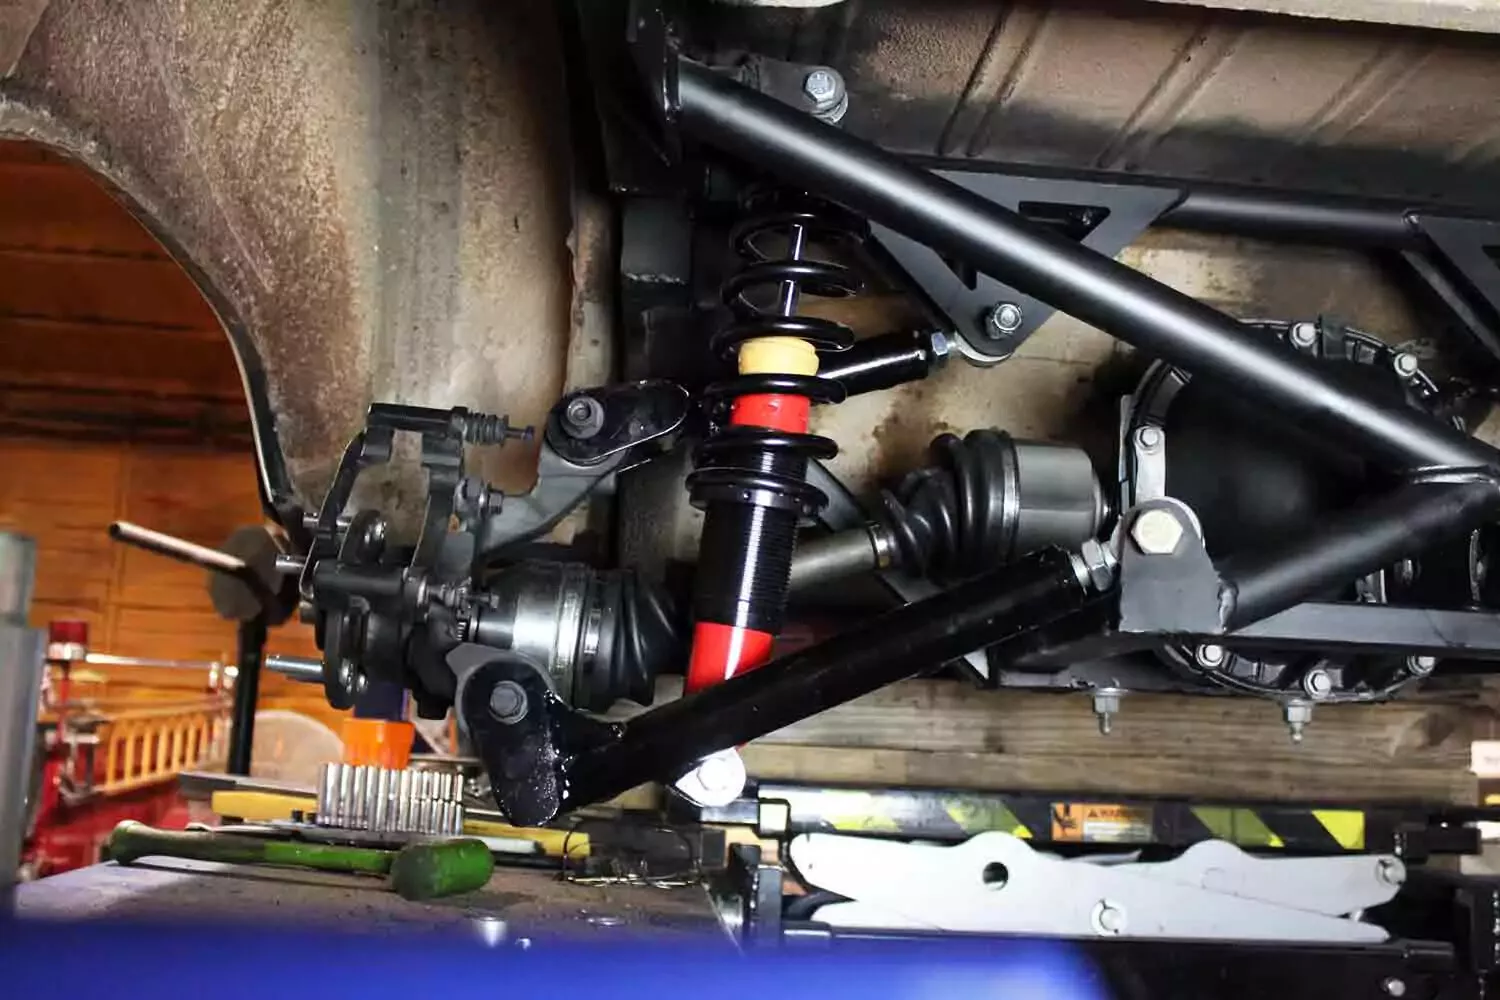
Buying the Right CV Axle
6 min read
How to Replace Transmission Fluid and Filter
11 min read
How to Change Automatic Transmission Fluid
6 min read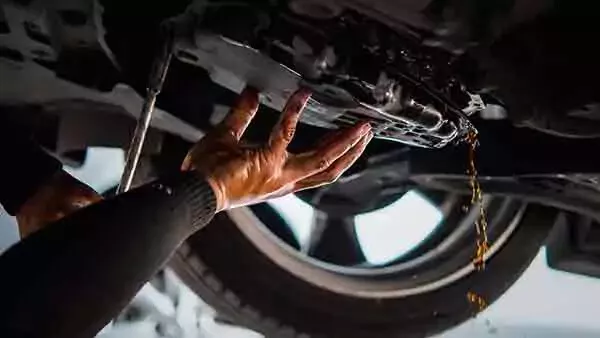
What to Know About Changing Transmission Fluid
6 min read
How to Replace a U-Joint
14 min read
Choosing the Best Clutch Master Cylinder
4 min read
How to Buy the Right Transmission Fluid
5 min read
Buying the Right Transmission Mounts
4 min read
A Quick Guide to Your Clutch Master Cylinder
5 min read
How to Replace a Clutch Master Cylinder
11 min read
How to Replace a Transmission Mount
7 min read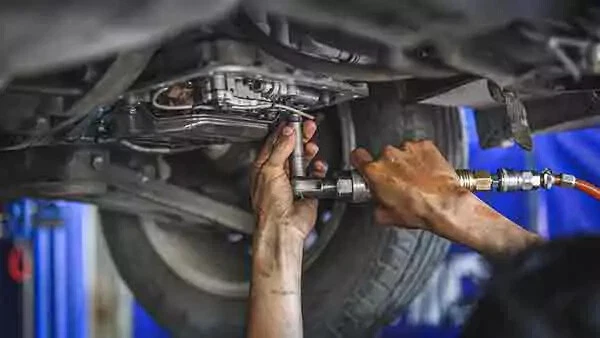
Replacing Your Transmission Fluid and Filter
5 min read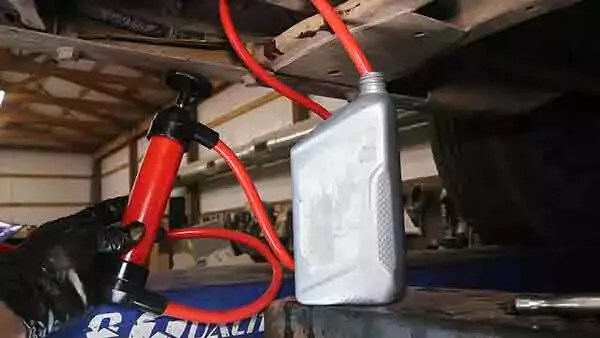
Selecting the Right Transfer Case Fluid
4 min read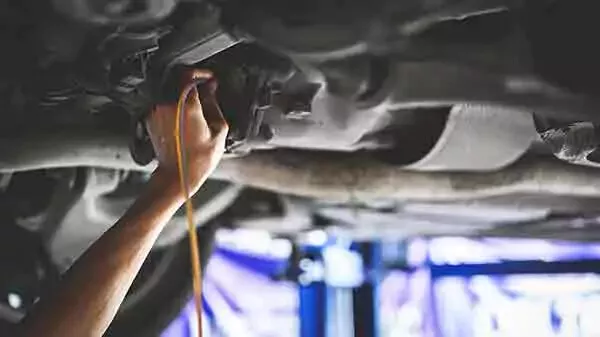
What Your Differential Fluid Is Telling You
5 min read
How to Replace a CV Axle
7 min read
Everything You Need to Know About Wheel Bearings
7 min read
How to Replace an Idler Pulley
4 min read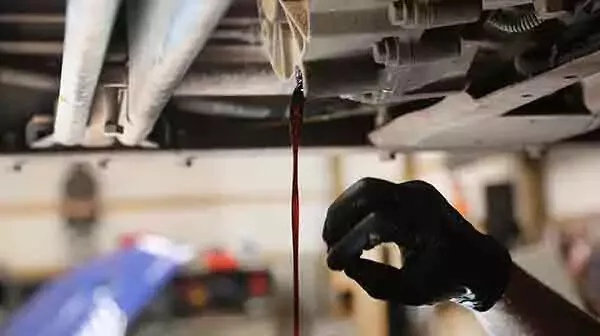
What You Need To Know About Transfer Case Fluid
4 min read
Understanding the Purpose of Transmission Mounts
5 min read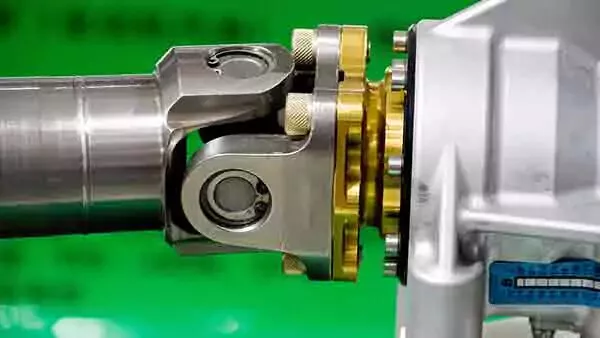
U-Joint Buying Guide
4 min read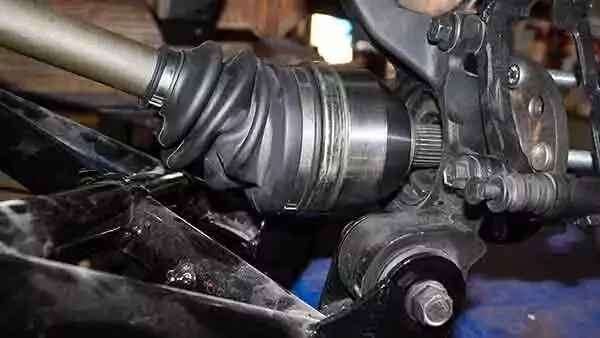
An Introduction to CV Axles and Joints
5 min read
How to Buy the Right Replacement Wheel Bearings
6 min read
How to Replace Ball Joints
12 min read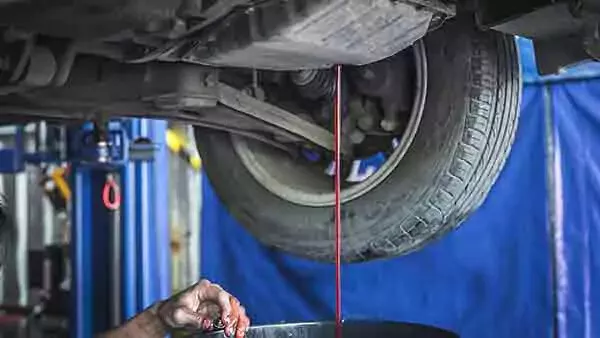
An Intro to Replacing Manual Transmission Fluid
4 min read
Explore more projects

How to Repair a Chipped Windshield
1 to 2 hours
Beginner
7 min read

How to Replace Brake Fluid
1 to 2 hours
Beginner
10 min read

How to Replace an Ignition Coil
Less than 30 minutes
Beginner
6 min read

How to Replace a Radiator Hose
Less than 30 minutes
Beginner
5 min read

How to Replace Brake Rotors
1 to 2 hours
Beginner
7 min read

How to Replace a Serpentine Belt Tensioner
Less than 30 minutes
Beginner
4 min read

How to Replace a Drive Belt
Less than 30 minutes
Beginner
5 min read

How to Rotate Your Tires
30 to 60 minutes
Beginner
5 min read

How to Refill Windshield Washer Fluid
Less than 30 minutes
Beginner
4 min read

How to Replace an Oxygen Sensor
30 to 60 minutes
Beginner
5 min read

How to Replace Sway Bar End Links and Bushings
30 to 60 minutes
Beginner
6 min read
How to Replace Transmission Fluid and Filter
1 to 2 hours
Beginner
11 min read

How to Replace a Cabin Air Filter
Less than 30 minutes
Beginner
5 min read

How to Change Disc Brake Pads
30 to 60 minutes
Beginner
8 min read

How to Replace a Valve Cover Gasket
Less than 30 minutes
Beginner
7 min read

How to Change Windshield Wipers
Less than 30 minutes
Beginner
3 min read

How to Replace an Engine Air Filter
Less than 30 minutes
Beginner
5 min read

How to Clean Fuel Injectors
1 to 2 hours
Beginner
8 min read

How to Replace Shock Absorbers
30 to 60 minutes
Beginner
8 min read

How to Change a Car Battery
Less than 30 minutes
Beginner
6 min read
Automation How to Change a Car Battery
Less than 30 minutes
Beginner
6 min read

How to Replace a Mass Air Flow (MAF) Sensor
Less than 30 minutes
Beginner
7 min read
How to Replace a Clutch Master Cylinder
1 to 2 hours
Beginner
11 min read

How to Flush and Change Engine Coolant
30 to 60 minutes
Beginner
6 min read

How to Replace a Distributor Cap and Rotor
30 to 60 minutes
Beginner
5 min read

How to Check Tire Pressure and Change a Tire
Less than 30 minutes
Beginner
9 min read

How to Replace a Fuel Filter
30 to 60 minutes
Beginner
7 min read

How to Replace a PCV Valve
30 to 60 minutes
Beginner
6 min read

How to Replace a Brake Caliper
1 to 2 hours
Beginner
7 min read
How to Replace an Idler Pulley
30 to 60 minutes
Beginner
4 min read

How to Change a Headlight Bulb
Less than 30 minutes
Beginner
6 min read

How to Replace an Exhaust Gasket
1 to 2 hours
Beginner
9 min read

How to Replace a Throttle Body
30 to 60 minutes
Beginner
6 min read

How to Change Oil in a Car
Less than 30 minutes
Beginner
8 min read

How to Replace an Alternator
1 to 2 hours
Beginner
11 min read

How to Replace an EGR Valve
30 to 60 minutes
Beginner
5 min read

How to Jump Start a Car
Less than 30 minutes
Beginner
9 min read